Beginner's Guide to Character Creation Using Blender
Paulina Perez's focus is on 3D Modelling, with a passion for stylised characters and environments optimised for video games.
In this article she shares her Beginner's Guide to using Blender to create your very own stylised 3D character.
Paulina Perez is a self-taught 3D Artist who hails from Medellín, Colombia. Here interests first led her to discover Concept Art. Now, Paulina's focus is on 3D Modelling, with a passion for stylised characters and environments optimised for video games. In this article she shares her Beginner's Guide to using Blender to create your very own stylised 3D character.
In the industry of 3D modeling everyone gets the chance to succeed, but as a beginner you can get lost in a sea of endless information. To start learning is the most important step you can take.
Motivation and perseverance are key to achieve good results as a 3D artist.
The first step of the learning process is to define which style you want to achieve. I recommend looking for a character design sheet or concept art to start. Aiming for a specific result is easier than creating something from scratch.
Focus on the key concepts and shapes of your 3D character by choosing a simple character. Later on you can expand your skills to achieve characters with your preferred art style - mastering the technical pipeline of 3D modeling is key to reach your goals.
After you have chosen your reference you are ready to start creating something great! The software i used for the Little Pirate project were the following:
I am going to focus on the tools of Blender 3D and show you how a beginner can get great results with this Software. Blender is a great Tool to start learning the fundamentals of 3D Art. When I started doing 3D art I did everything in there. Later on I learned different programs like ZBrush and Substance 3D Painter.
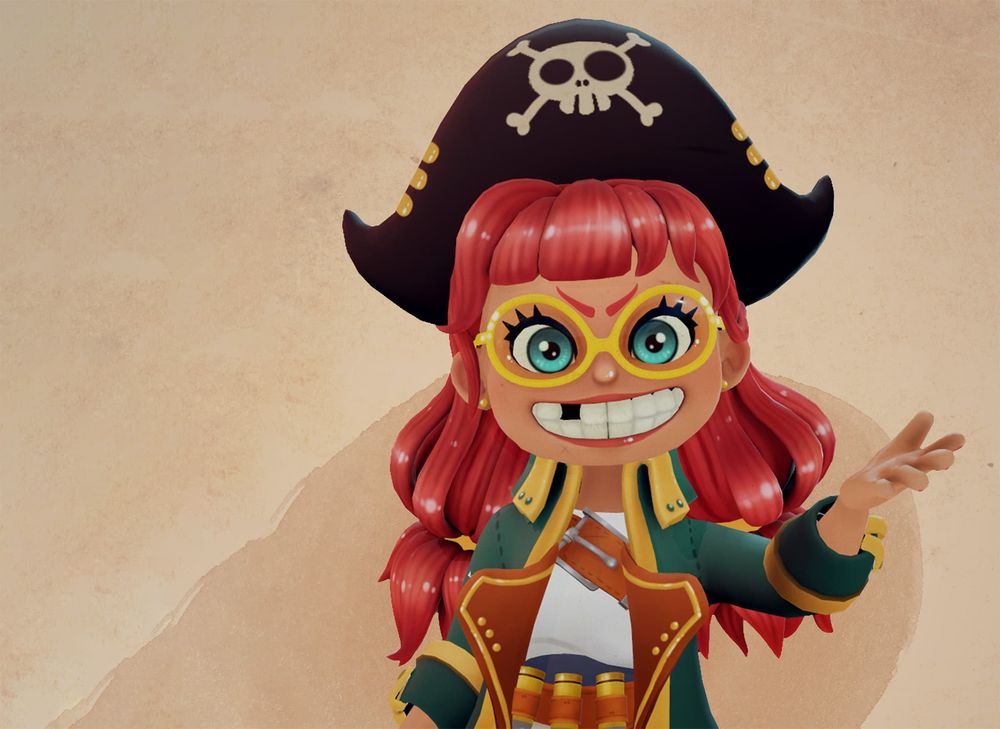
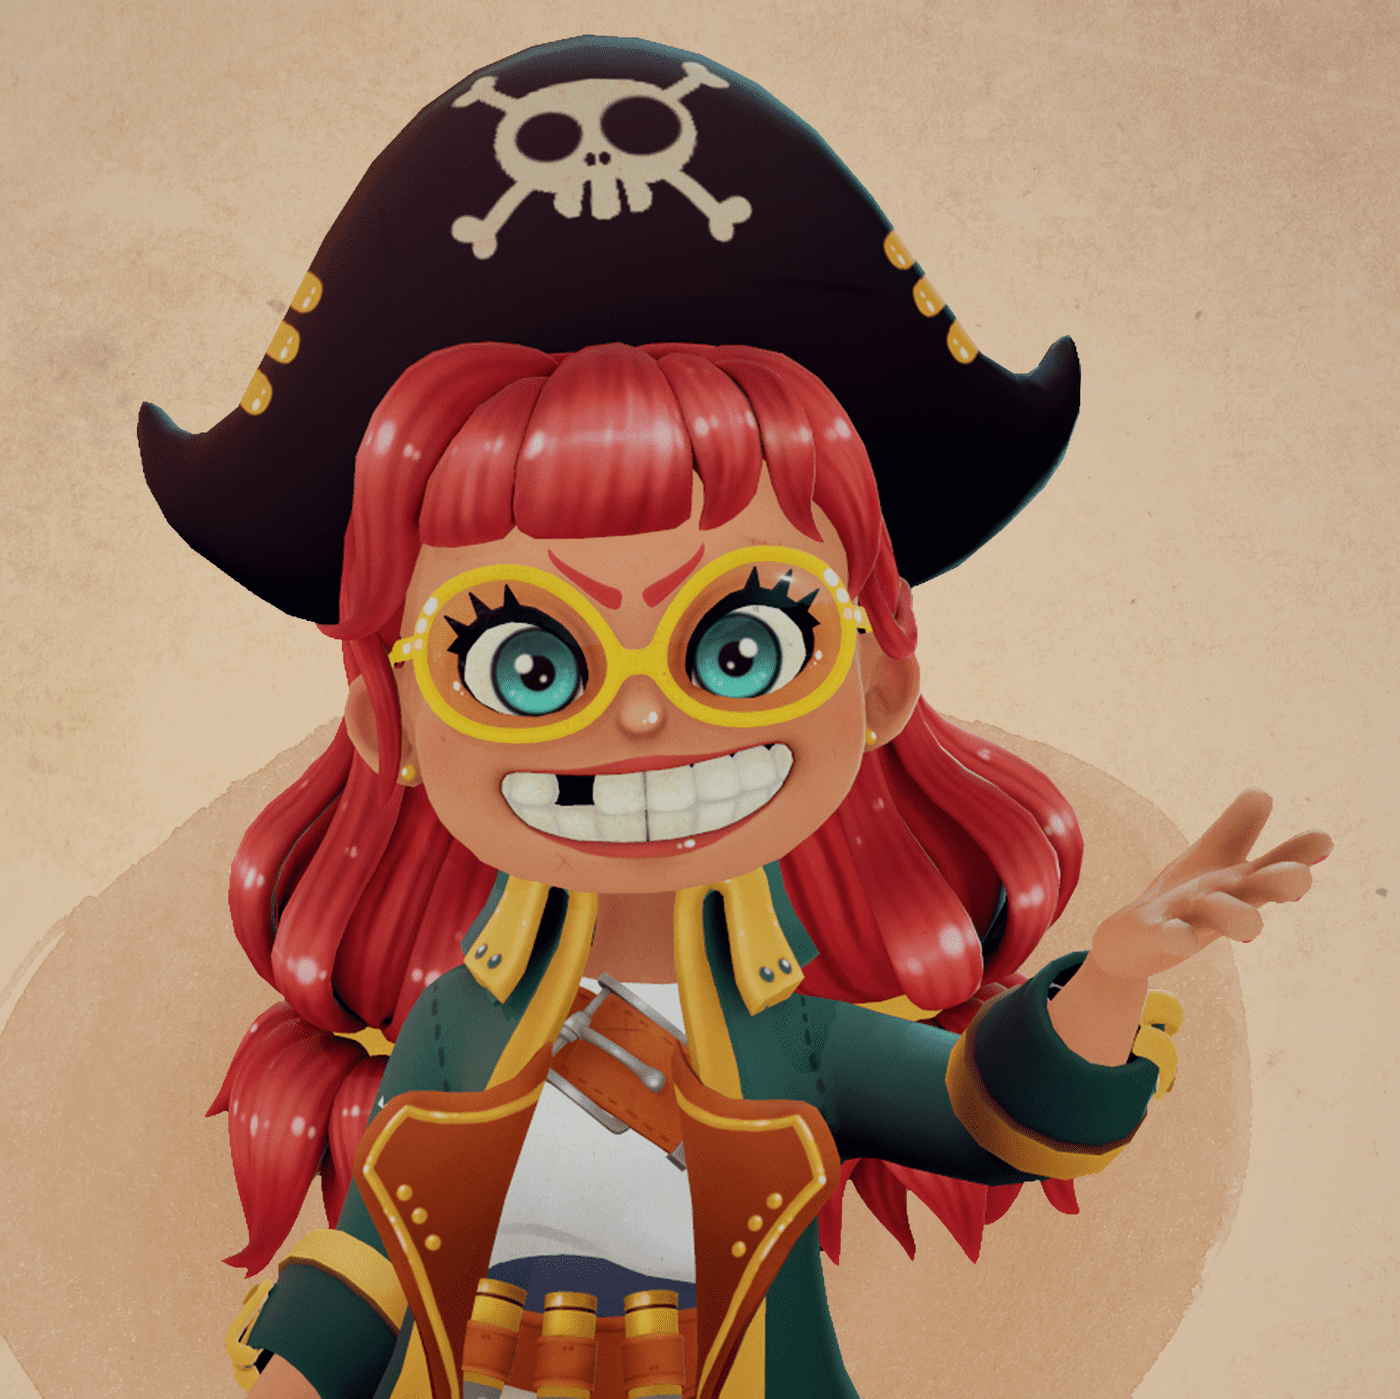
Little Pirate, by Paulina Perez
Sculpting
The first step of the process is sculpting. I used ZBrush but you can use the software of your choice. Begin by creating basic shapes (spheres, cylinders and rectangles). Focus on the proportions and silhouette, don't create any details or use a lot of topology as this will pose an obstacle to getting clean shapes. Don’t worry If your character looks a little bit weird at the beginning, it will get better.
Don't be too hard on yourself and keep going, in every step of the process you are going to learn something new, and in the end that’s what matters the most.
For achieving a good sculpt you have to focus on the big picture and keep looking at your references. work in all the character at the same time and keep adding new shapes and details until you are happy with the result. If you are not going to use normal maps, don't make a lot of small details, they won't show on the final model.
After you finish this stage it is time to jump into Blender and prepare the model for texturing. At the end of the process you must have the following elements:
Highpoly model: Posed in A or T pose to allow good posing and UV mapping.
Lowpoly model: With good topology to be usable.
UV maps: This is where our colour information goes, we use this to paint the model.
At this point we already have the Highpoly. To get the Lowpoly model you need to trace the Highpoly model in Blender - this process is called Retopology. To do this you only need four things: A plane, Shrink-wrap modifier, mirror modifier (optional) and face snap.
Plane Creation
After creating your plane you are going to use the Shrink-wrap modifier. This modifier sticks the plane to the highpoly allowing you to trace it. Use this modifier for each part of your model to get better results and keeps things organised. The offset is the separation between the plane and the highpoly model, I start with a value of 0.02 and finish around 0.003. The smaller the value the closer to your sculpt the lowpoly model is going to be, so keep that in mind.
Shrink-wrap modifier
To use the Shrinkwrap modifier I recommend you activate face snap; this allows you to trace your model easily. Also, remember that Blender works with different modes. To trace your model you need to be in Edit mode. You can switch between Object mode and Edit mode by pressing TAB.
Face snap
Now you have all the tools to take on the retopology process, it's very important to look for references with good topology, otherwise your model may not be suitable for animation or simple posing.
Retopology result
UVs
Next we will move to a process called UV unwrapping. Imagine you are going to create a paper dice for a board game, first you make a flat pattern with a drawing on each side, before building it. In 3D something similar happens. We “cut” parts of the model and organise them on an UV set to store colour information in our model.
The UV set has a limited resolution for the entire model, so if necessary use many sets. In my case I used two maps of 2K resolution, but for your first model I recommend you to use only one. For making your UV map you need to follow the next steps:
Seam creation
UV unwrap with display stretch
UV organisation
To create a seam(cut) you select a loop from your topology, click U and press mark seam, the result will show up in red.
Seam creation
When you have all your seams, you are going to select all your geometry (A key), press U and Unwrap. This process is going to generate the UV map we need for painting our model. This process is not perfect and we need to organise our islands (parts) or change the seams to have enough resolution and minimal distortion.
For this step, I recommend using the UV editing UI layout and to turn on the display stretch option. This overlay allows you to visualise the distortion of your islands. Always avoid green/yellow colouring. Finally, make sure to organise your islands by categories, for example: All the clothes at the bottom and the face and hair at the top. This is a good practice!
Display stretch
Texturing
At this stage of the pipeline I start to get excited because texturing is my favourite step of character creation. This model has only an albedo map, this means all the metal or glossiness effects are done hand. This kind of texturing is great for beginners because it doesn’t require any fancy tools.
To texture this character I used 3DCoat. I won’t dive deep into this software, but I will give you some tips about how you can archive great textures. Before importing your model into a texturing software you must make sure that all the normals are facing in the same direction. You can do this by pressing face orientation, your model must look completely blue in most cases.
Face orientation
Once your model is all set up, start with the basic colours - this will allow you to choose the right tones first hand. Make sure the colours are not very similar between them, contrast (value) allows the viewer of your model to understand all its parts. Next, add gradients to break flatness, they make your model look more interesting and professional.
Flat colours and gradients
At this point things may not look as expected but the key is to keep going, you can always come back and change colours or details. When you have done some details on your model I recommend using some “generators” called Ambient Occlusion and Curvature. These are generated layers you can use to create effects.
Ambient occlusion generates shadows on the darker parts and Curvature highlights the hard edges. You can also do this manually by doing more gradients and details on hard parts of your model. The outcome of using these effects is more contrast on the textures. After you have played around with effects and some details it’s time for the finishing touches.
In this step I recommend putting some asymmetry to your texture. For example a scratch somewhere or a cool gloss, as asymmetry makes the model look more natural and professional. Also it is important to know where to put more detail. It may be useless to add a lot of details in a part of the model that the viewer won’t see that much. In my case I spent more time on the head and the front part of the coat and not so much on the shoes or arms.
Finished texture
To use this colour information it needs to be exported in an image format (PNG). Now you can apply this texture to your model inside Blender or any other Software.
After this long process it is up to you to decide if you want to pose the model or do some renders in A pose. I recommend you to learn a little bit about Rigging, Skinning and Posing to stand out from the crowd. It is more appealing to see a posed character than a character in a neutral pose.
An easy way to pose characters inside Blender is by using the basic human Meta-Rig and then add some bones if necessary. For this project I used Meta-Rig and I tweaked the skinning of the character. Another important part of the posing process is to set up a camera and to make keyframes. One with your A pose model and the other one with your desired pose. This helps you keep things organised.
Meta-rig
Rendering
Finally, it's time to render your character, this last step is crucial. It's the compilation of all the steps of the process.
A good render is your presentation as a 3D artist to the world.
Most times the viewer doesn't see the entire process of your project and that’s why I'm going to give you some tips to make appealing renders. I used Marmoset Toolbag 3 to render this character, but the concepts can be easily translated into other render engines.
To have a good render you have to set up a proper camera, we did this before in the posing process but it’s a good time to make sure it actually serves its purpose. The camera frame should communicate something to the viewer. Most times it’s an emotion or personality trait. In my case I wanted to communicate that my character was confident, mischievous and cute. I did that by making her look directly into the camera and with an inviting pose.
Another key concept in rendering is lightning. For this kind of project it wasn't so important since all the light details have been faked with the texture. But I did use global illumination (HDRI) and two coloured rim lights.
Global illumination is the light of your world. In most cases it does not set the mood of your scene, you can download HDRIs online and test them, I use neutral HDRIs and add rim lights.
Rim lights are lights that help you separate the character from the background and make the scene look really good. I always recommend using at least a soft rim light in all your scenes.
Marmoset Toolbag scene
After taking all the renders I always do some tweaks in Photoshop. The first thing I do is change the background. I used a flat colour, added a vignette, a stain and a dirt texture I found online. I choose all these elements according to my character, since she is a pirate I could use some old paper background like from pirates maps.
Vignettes and focal points like circles or spot lights draw the attention of the viewer to the character. You can use these elements in all your projects to separate key elements from the background.
Background layers
The final tweaks are filters I use in most of my projects. They help me control the contrast, brightness and colour of the picture. In this case the render is too yellow because of the layers I used to create an old paper look and it needs a little bit of more contrast. How do you know all this as a beginner? The trick I use is to make a white layer in colour mode on top of all my layers, this shows the picture in grayscale. Make sure the values of your character are very different from the ones of the background. You can also add this Grayscale render into your project post as an extra to show that you know the fundamentals.
Filters
Now that your project is complete, I want you to remember to focus on the process and not on the outcome. Enjoy each step of your journey, learn and improve to fulfil your own expectations!