A Guide to Creating a Famous Likeness in 3D
Markus Gruner, a student attending Think Tank Training Centre online, shares his process for creating a famous likeness in 3D.
Markus Gruner, a student attending Think Tank Training Centre online, shares his process for creating a famous likeness in 3D.
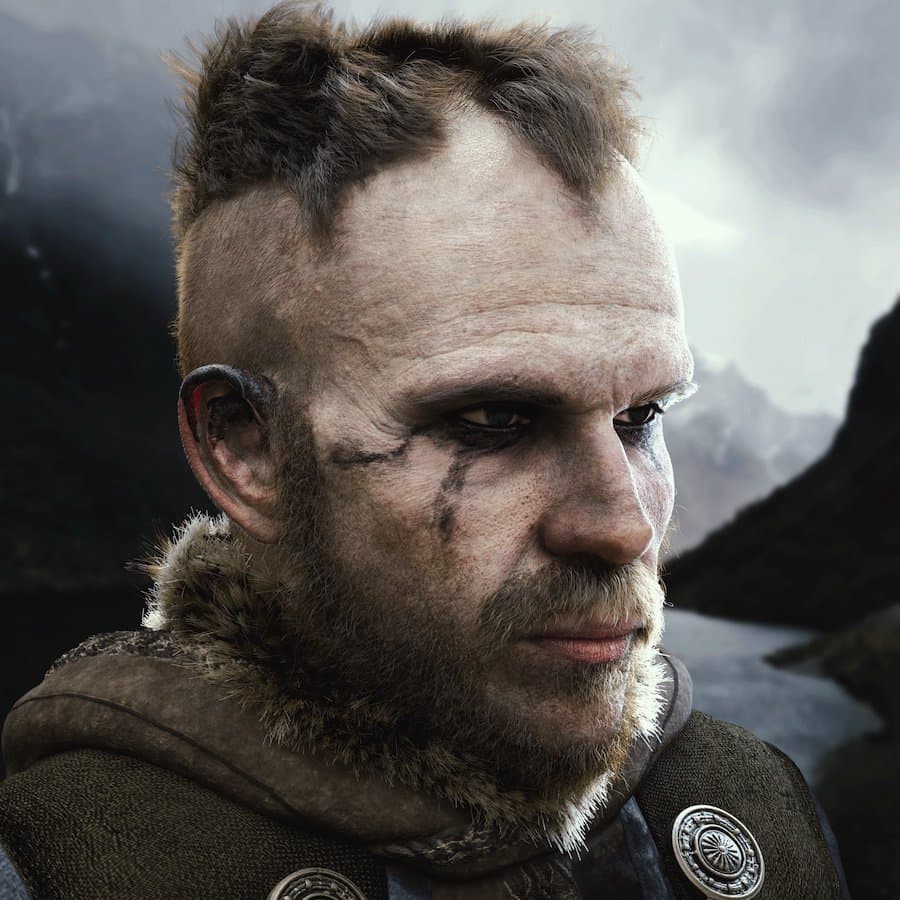
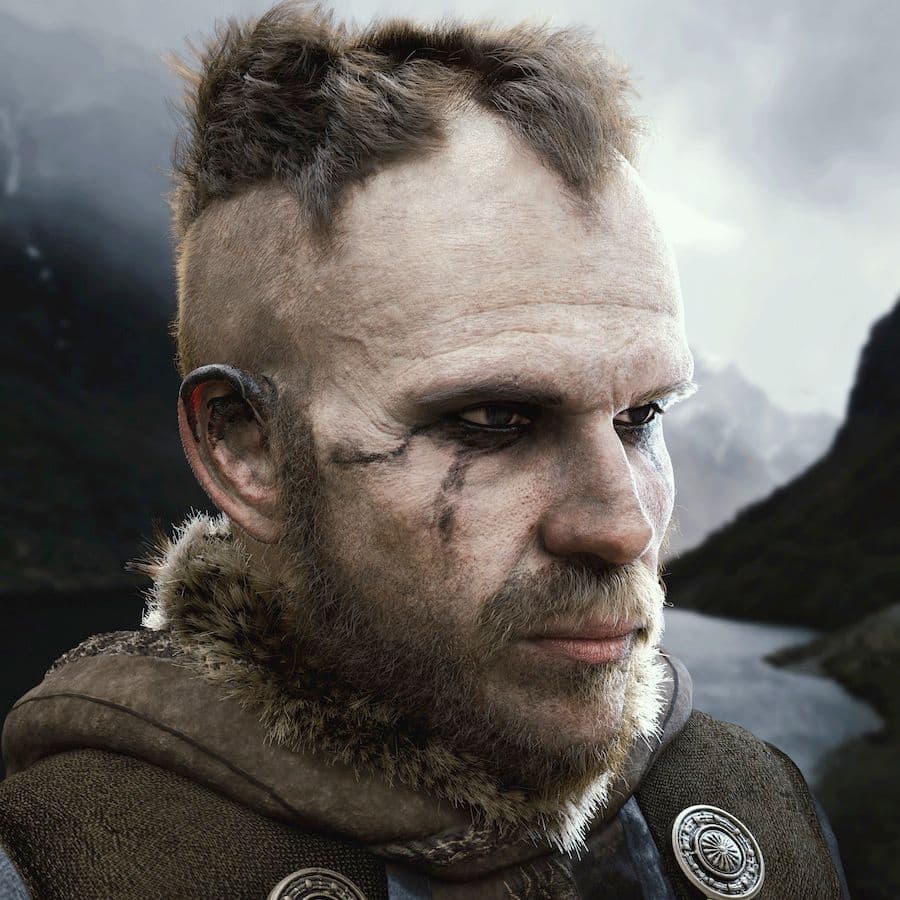
Markus Gruner, a student attending Think Tank Training Centre online, shares the process behind his advanced term project: a likeness bust of Actor Gustaf Skarsgaard in his role of Floki from the television series Vikings.
A likeness more than any project requires lots of good reference. I took my time gathering many angles of both Gustaf and Floki. I also took the time to line up facial features of various reference photos in Photoshop of front side and quarter views of Floki to help me clarify the issues with the sculpt later down the line.
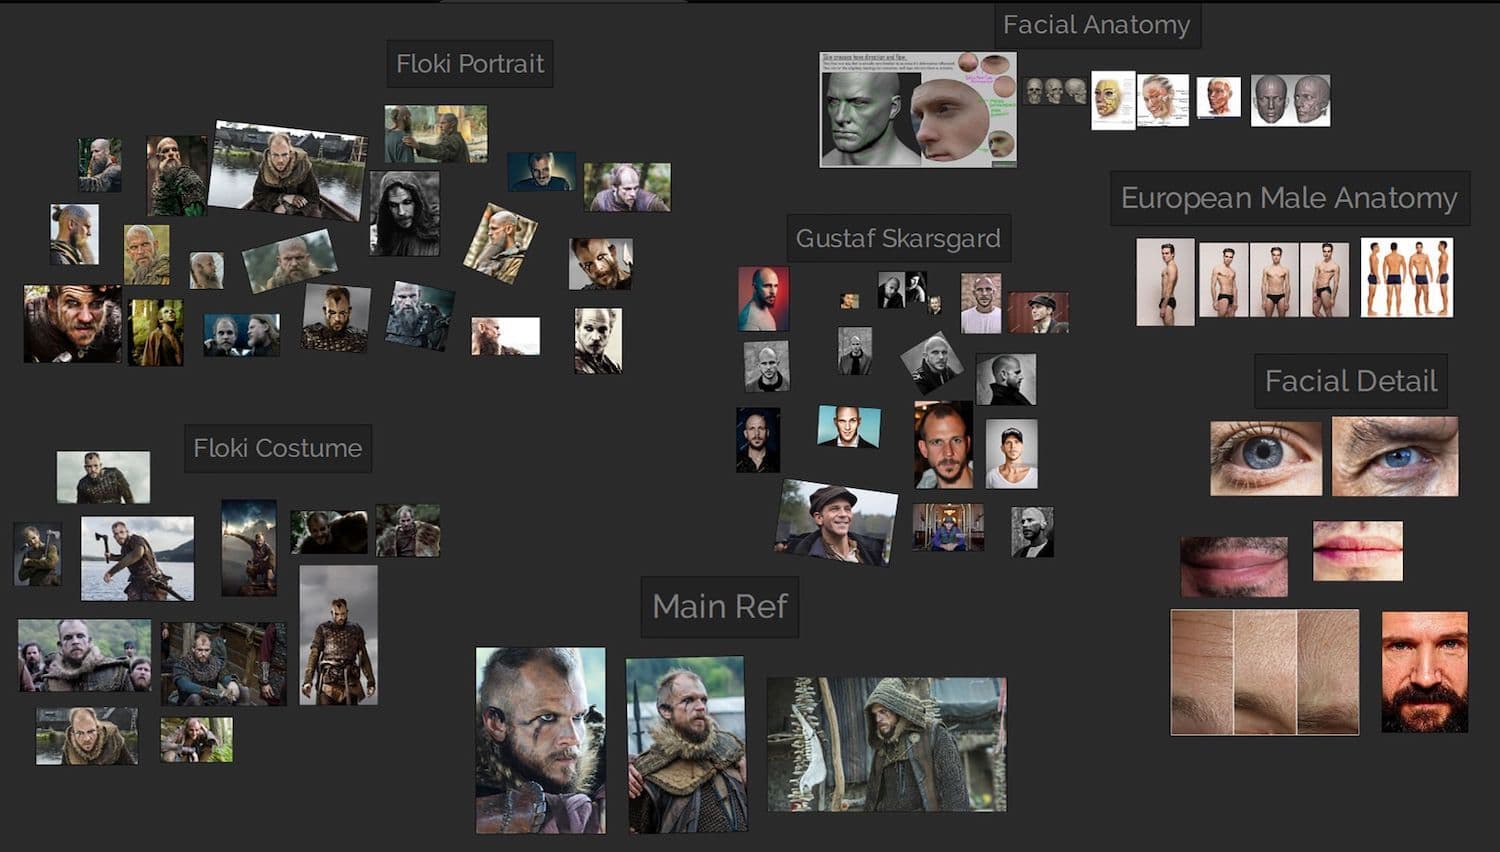
It's important to factor in the camera focal length's used in various photos as it will fish eye the face to lesser or greater degrees. The persons age at the time of each taken photo is something else to consider as the face changes vastly over time.
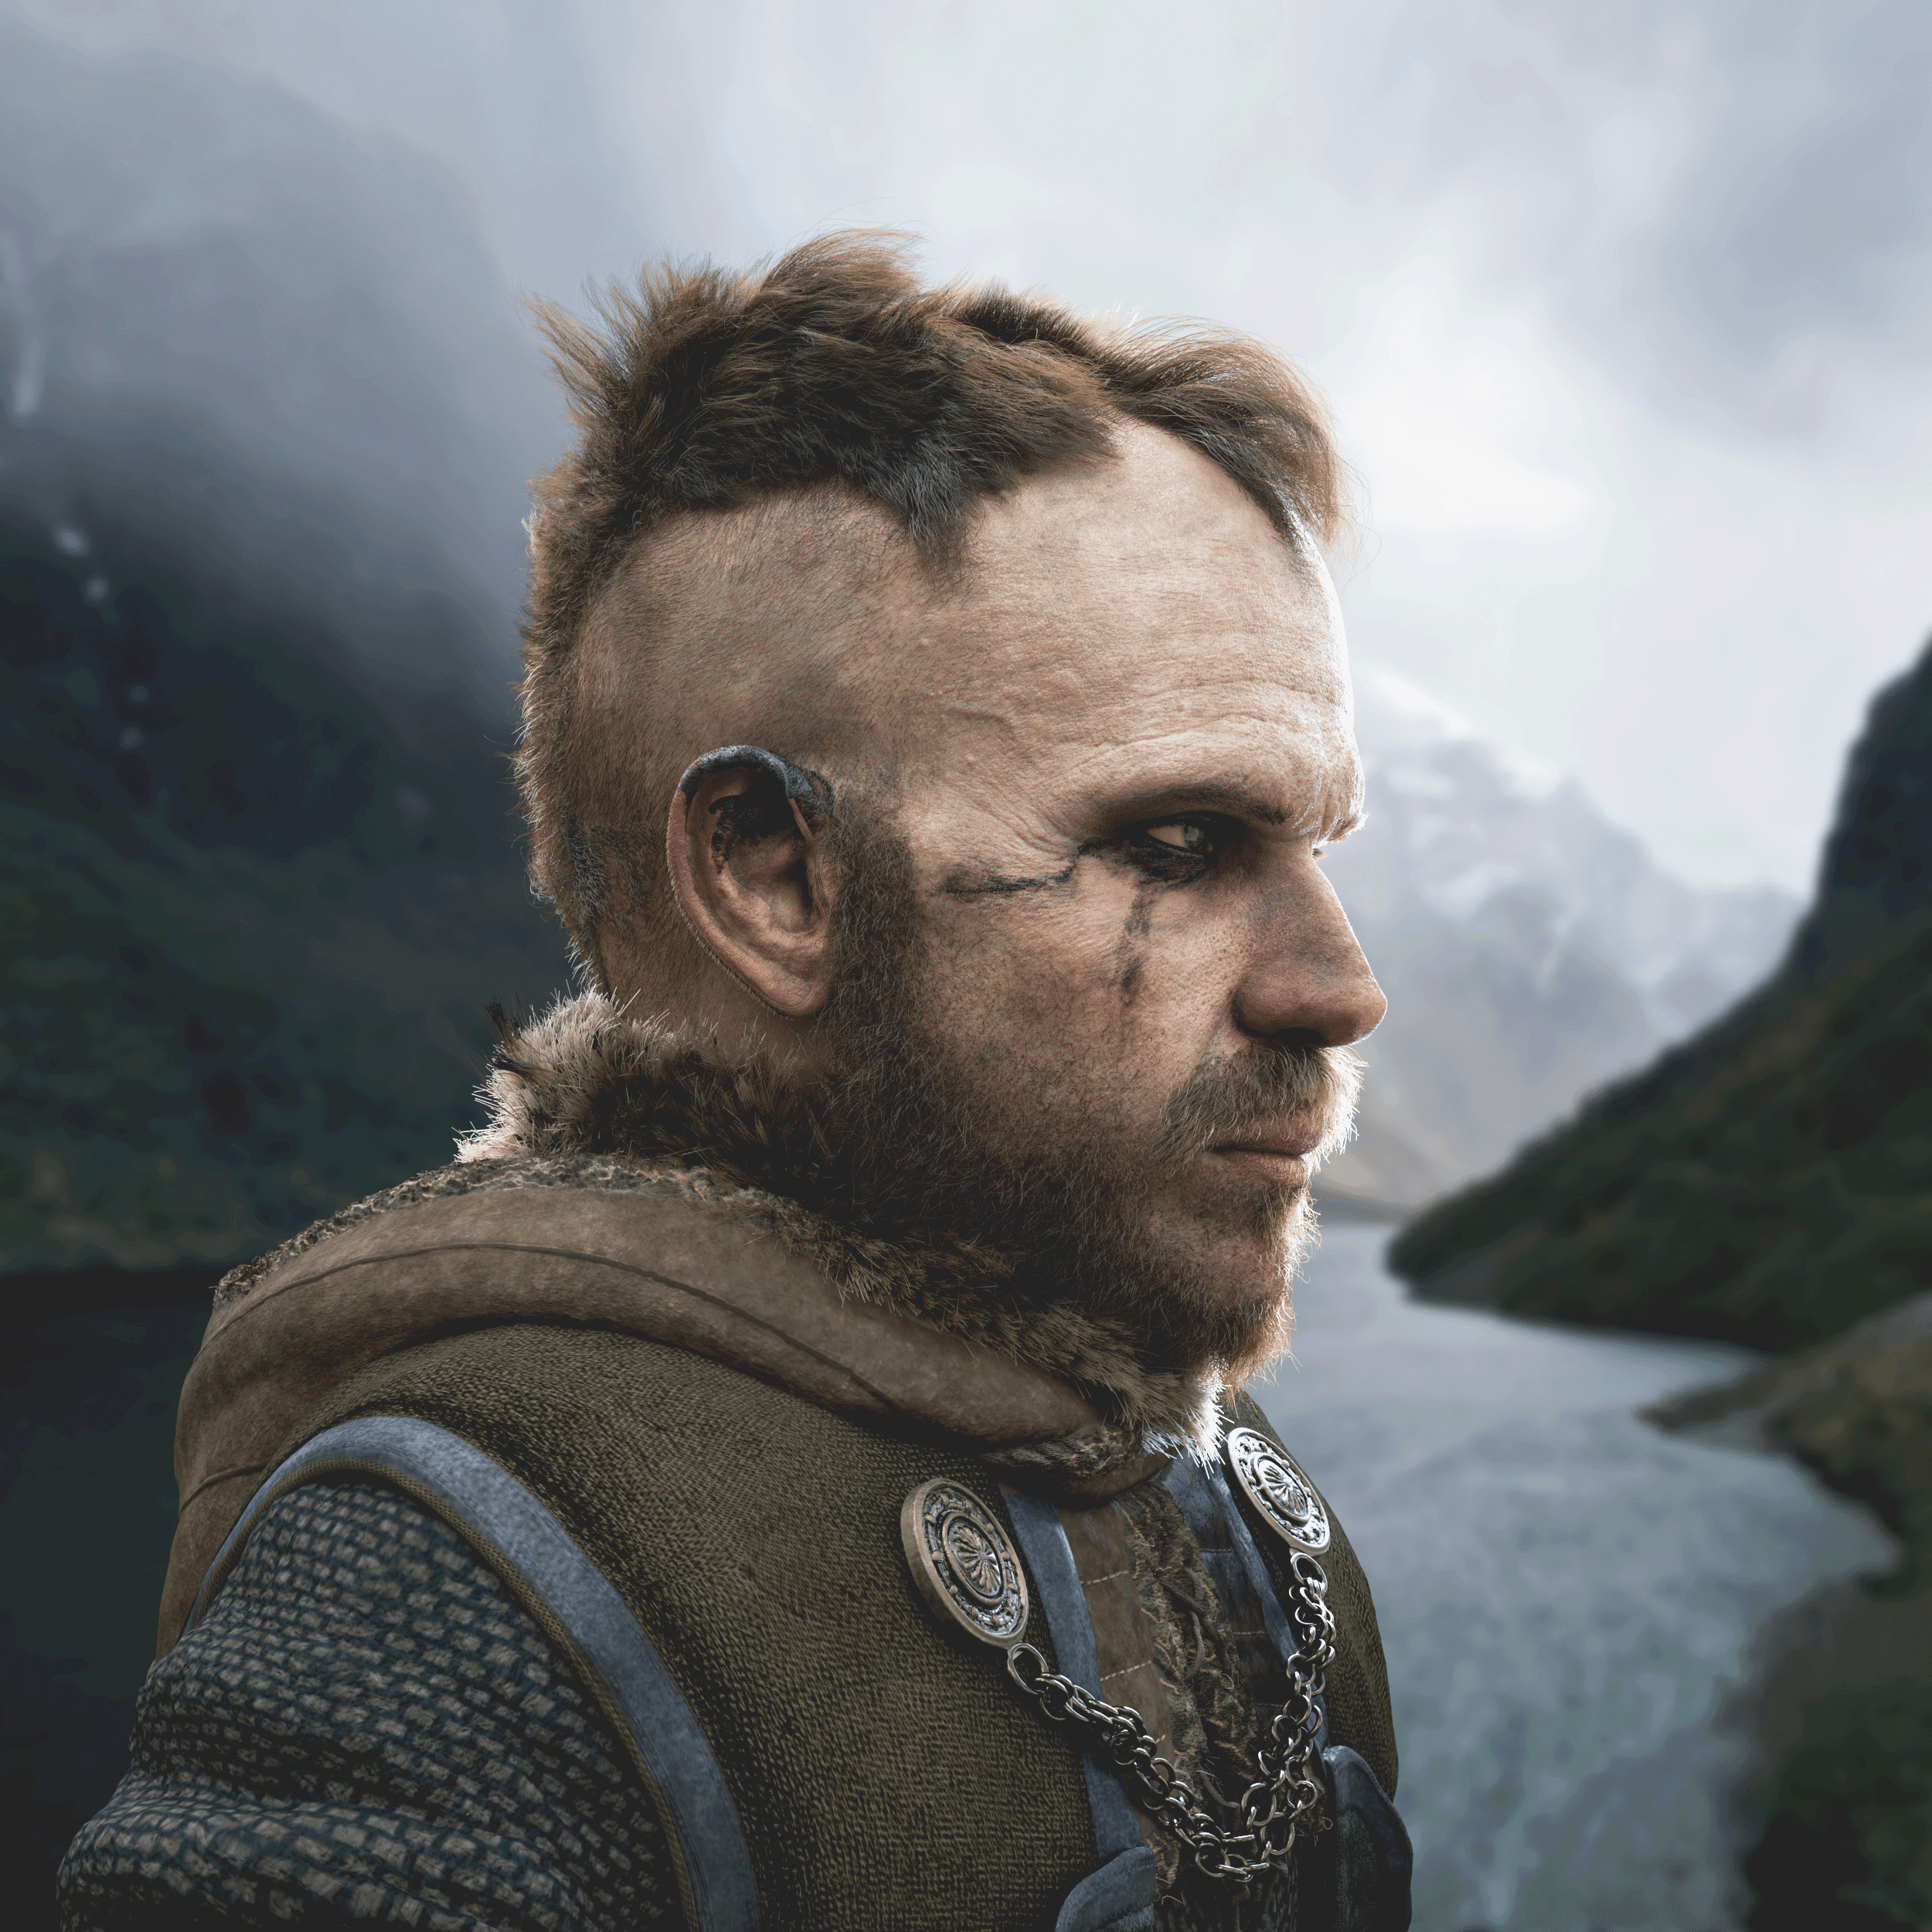
I was lucky to have access to bald reference in this project as the shape of the skull is an often overlooked yet an extremely important subtlety that can change the look of the face because of its close relation.
The sculpting phase was by far the most time consuming aspect of the project. I spent most of my time working at very low resolution in Zbrush, getting the primary forms locked in using my photo lineups as constant feedback.
Hours and hours went into trying to emulate what I saw, when my own eyes began to fail me, the lineups came even more into play; overlapping the sculpt onto them and moving features millimetre by millimetre until they were sitting correctly. This step was done in maya, by importing the images into the scene and drawing curves on them. I then keyed a plane so that it would reveal/hide the head sculpt while leaving the curves visible.
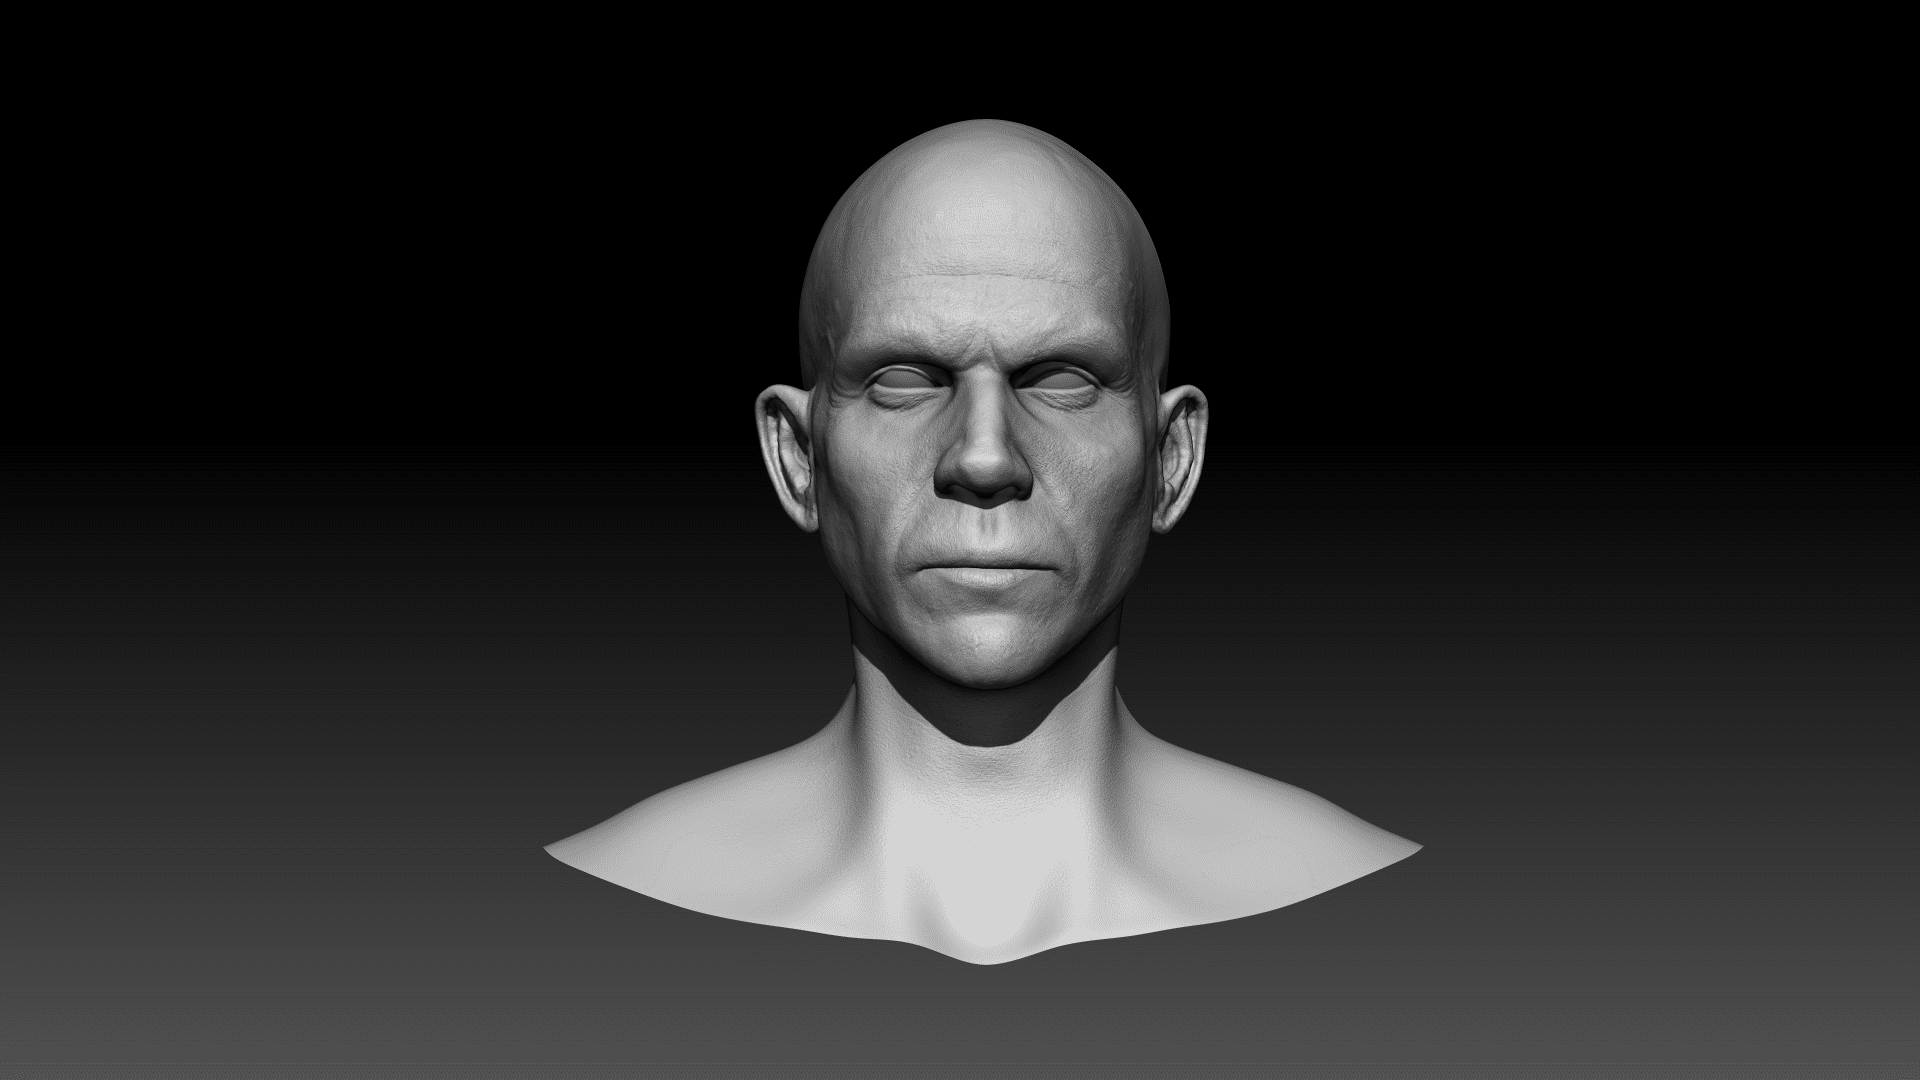
I also put the curves on a layer so they could be hidden to clarify certain areas if needed. After the likeness was achieved at a medium distance, I moved into detail work.
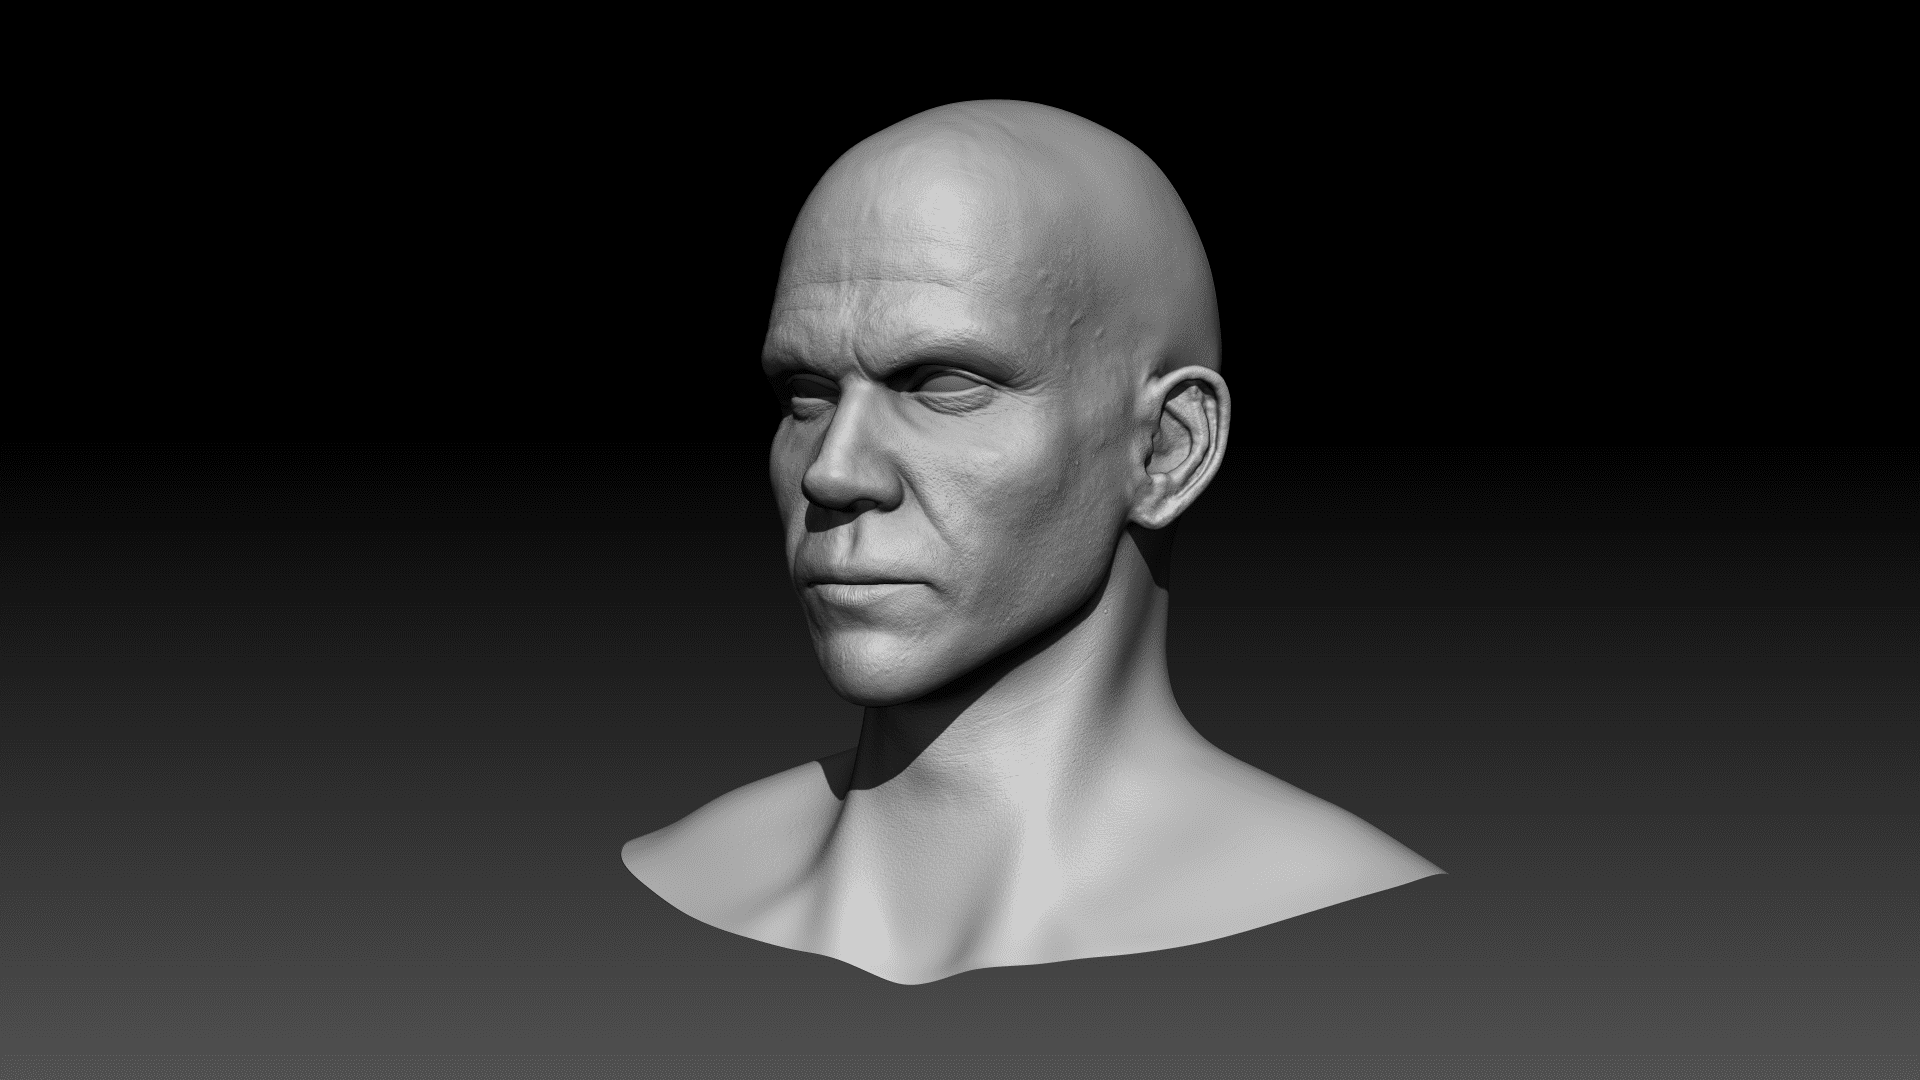
I projected an XYZ Displacement map onto my sculpt using Mudbox's excellent projection/warp tools to align the facial details. Afterward, the map was split into three channels for each level of detail and applied back into Zbrush as layers, where the intensity could be adjusted.
A lot cleanup was done after, with Gustaf's unique "hero" skin detail features all done manually. I applied more breakup with a standard spray brush and soft alpha to create organic bumpiness across the surface to emulate the way real skin forms over time.
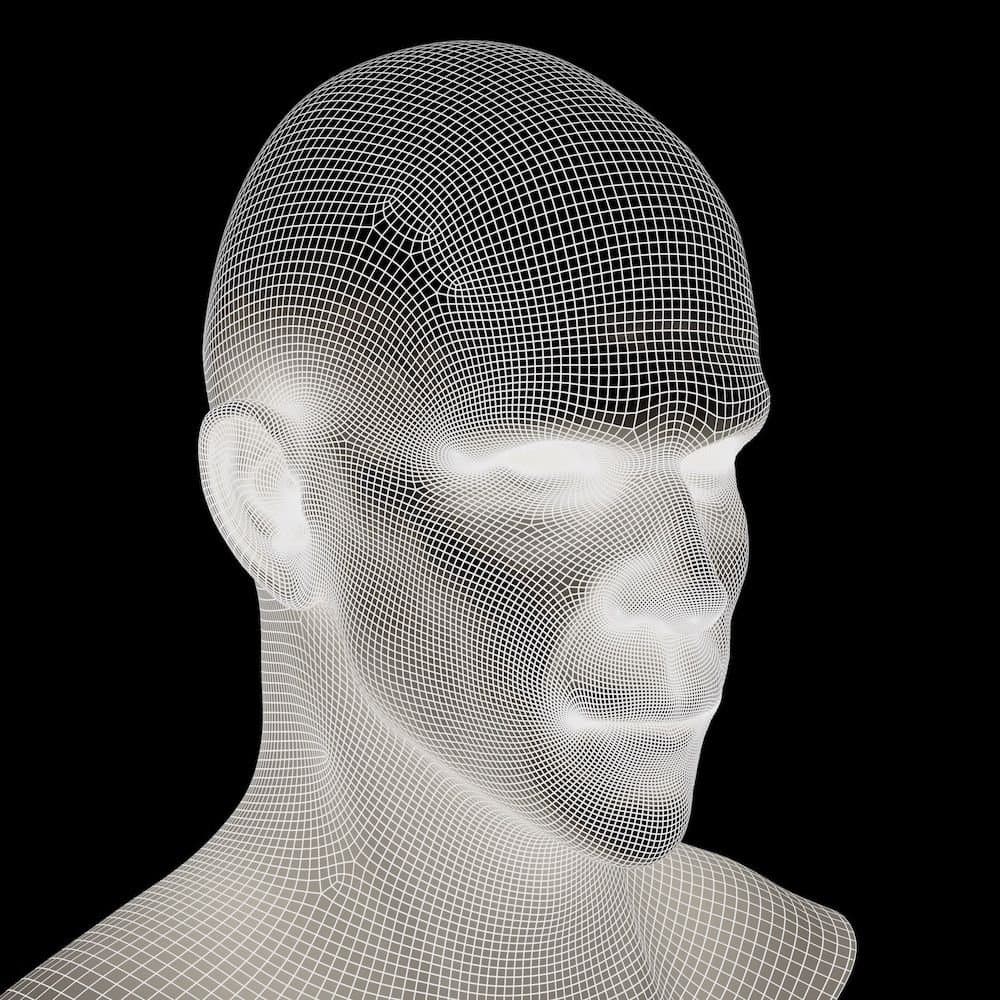
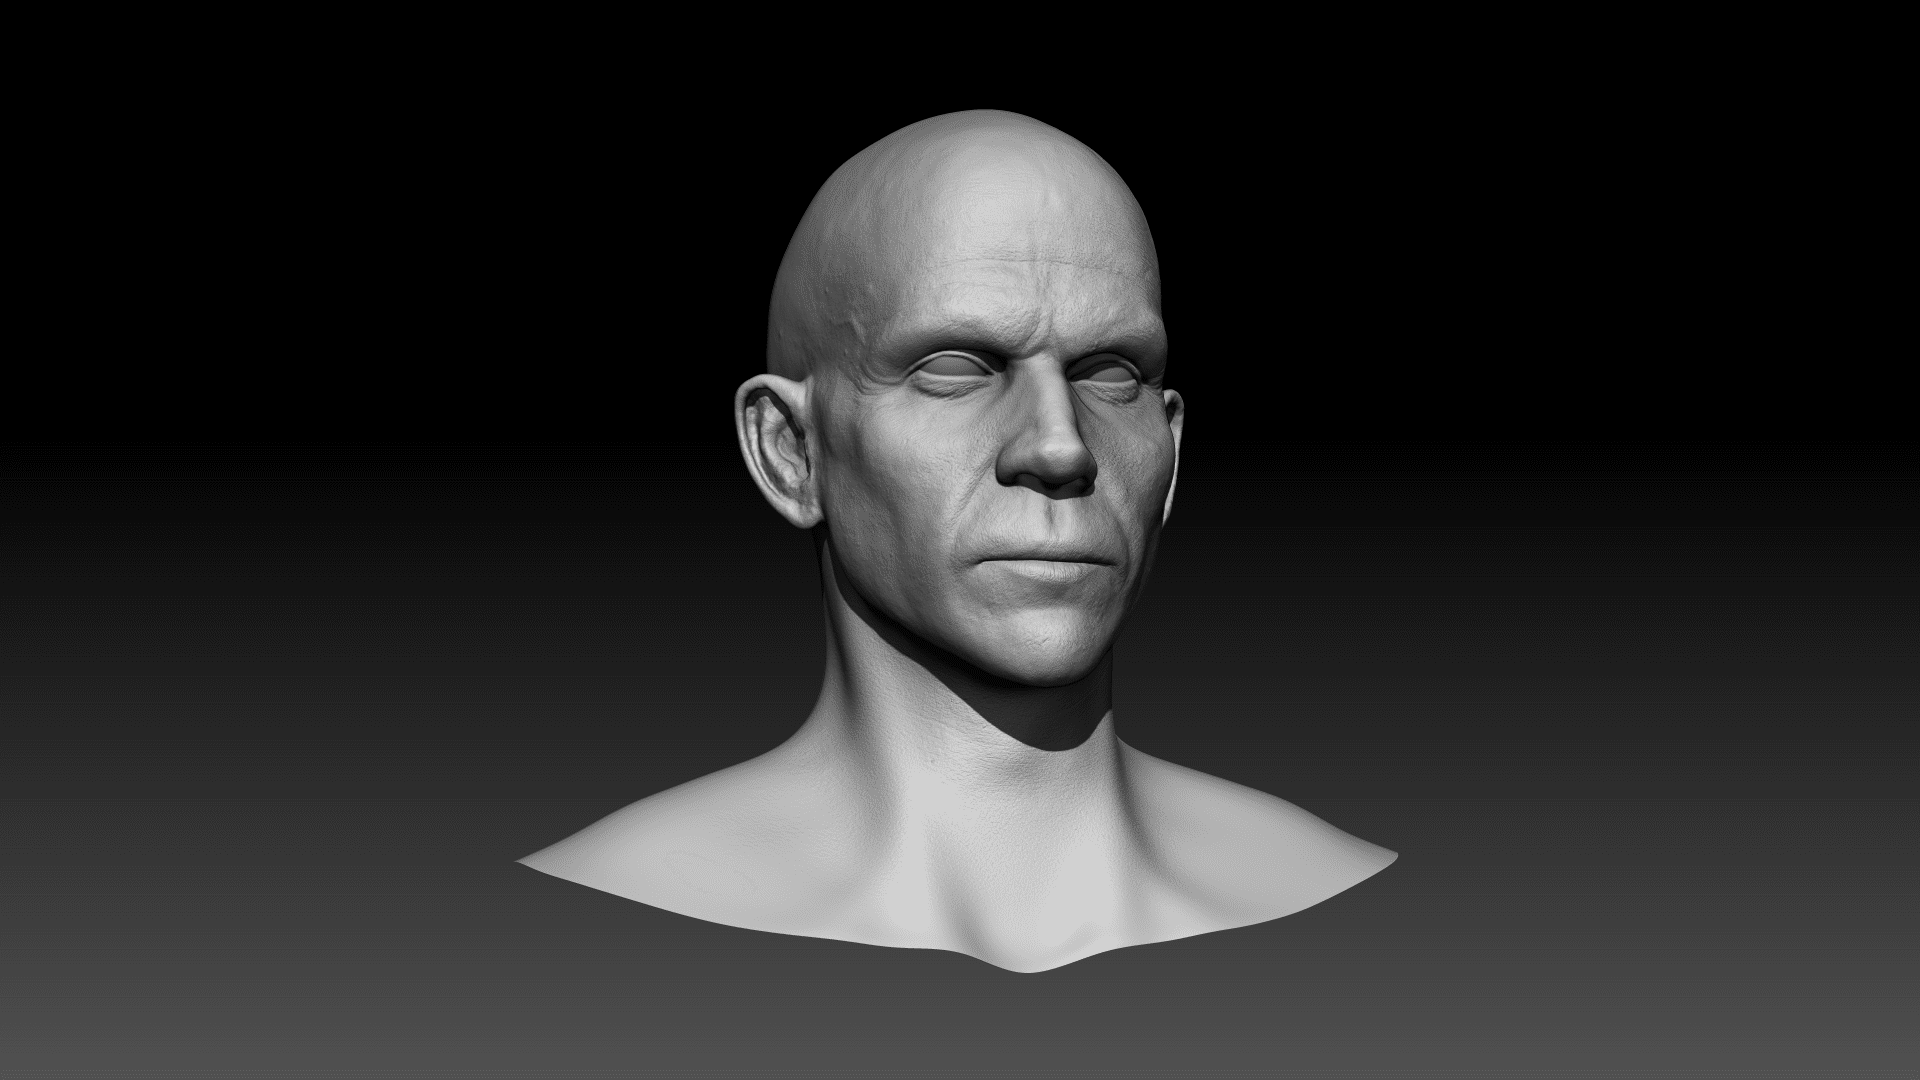
I retopologised the head after the primary forms were sculpted. I sculpted in a neutral expression with the intention to add the frown in later, so, I prioritised density around the mouth, brow and eyes, where the most extreme movement occurs.
I learned a lot about correct facial loops during this process and learned the hard way not to put any 5 sided vertex's near area's of movement or complexity (in my case the lip corners were pinching due to the 5 sided vertex and had to be moved manually up towards the nasolabial fold).
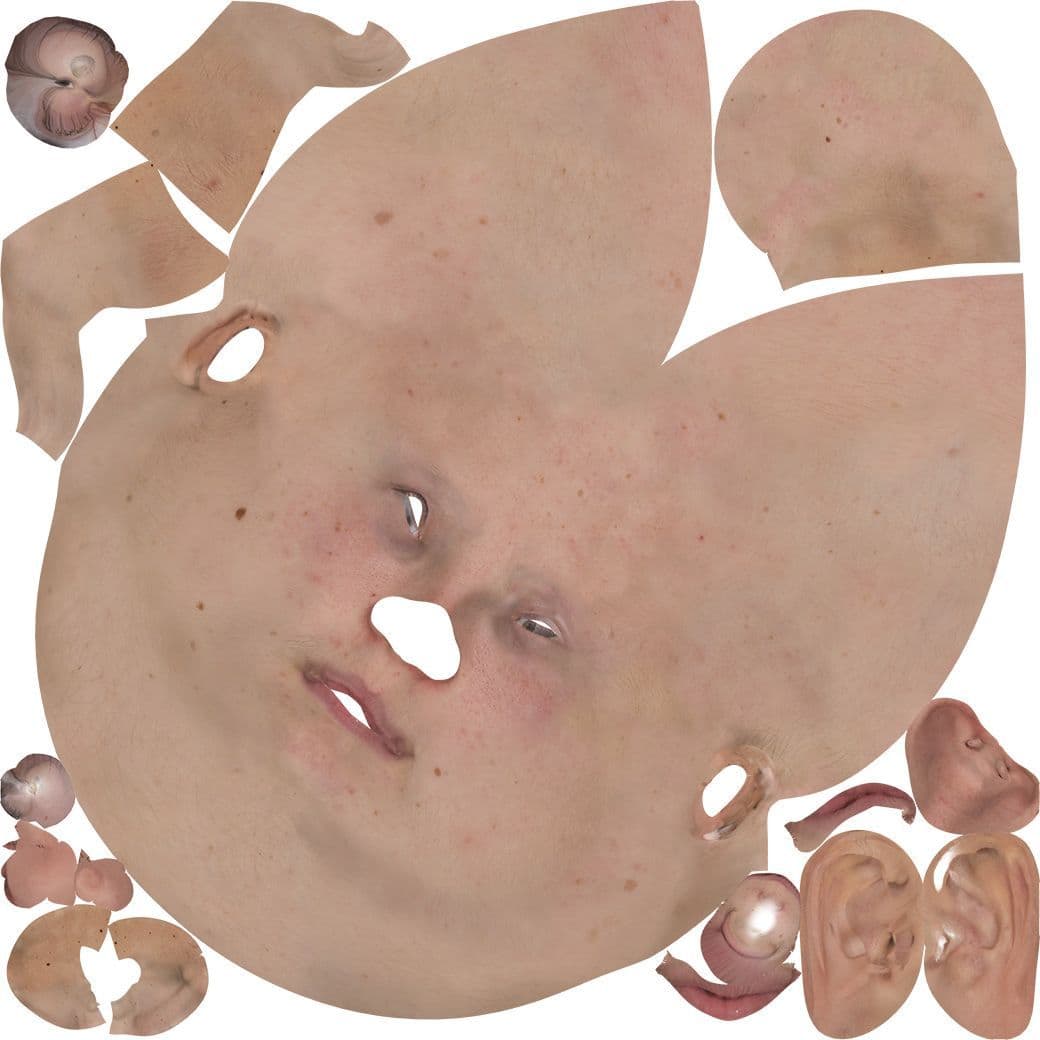
All Texturing was done in Mari using the node graph. I projected an albedo from the same TextureXYZ map using Mudbox so that it would line up with the displacement map (Both the Albedo and Displacement were done in the same step). A lot of manual work went into matching the skin tone, and capturing the dirt and makeup.
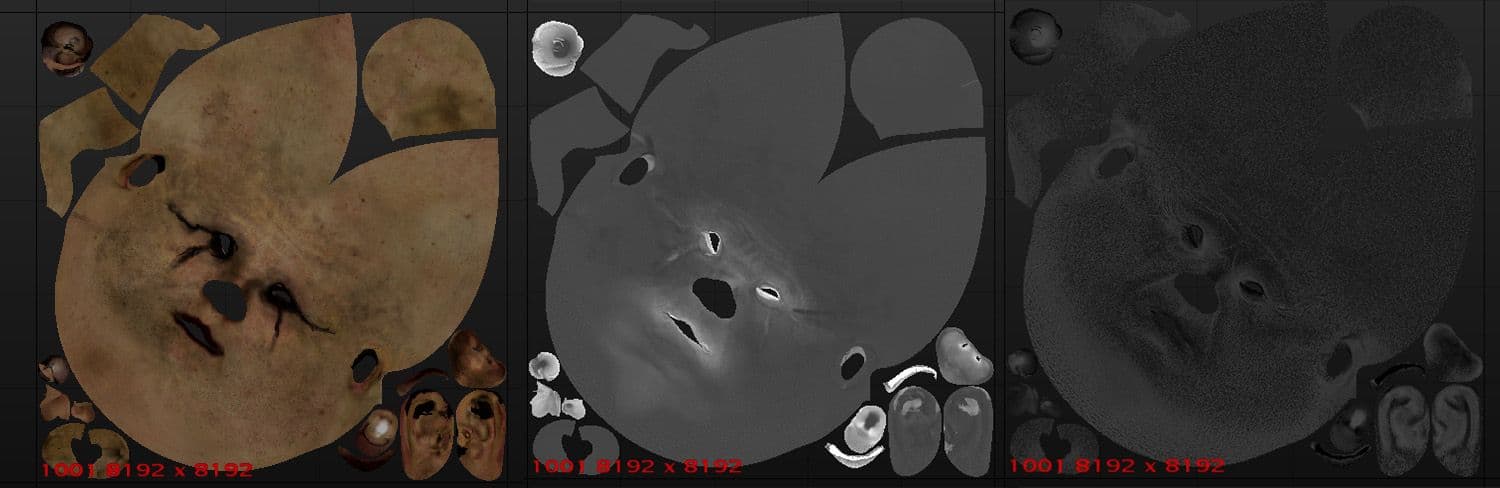
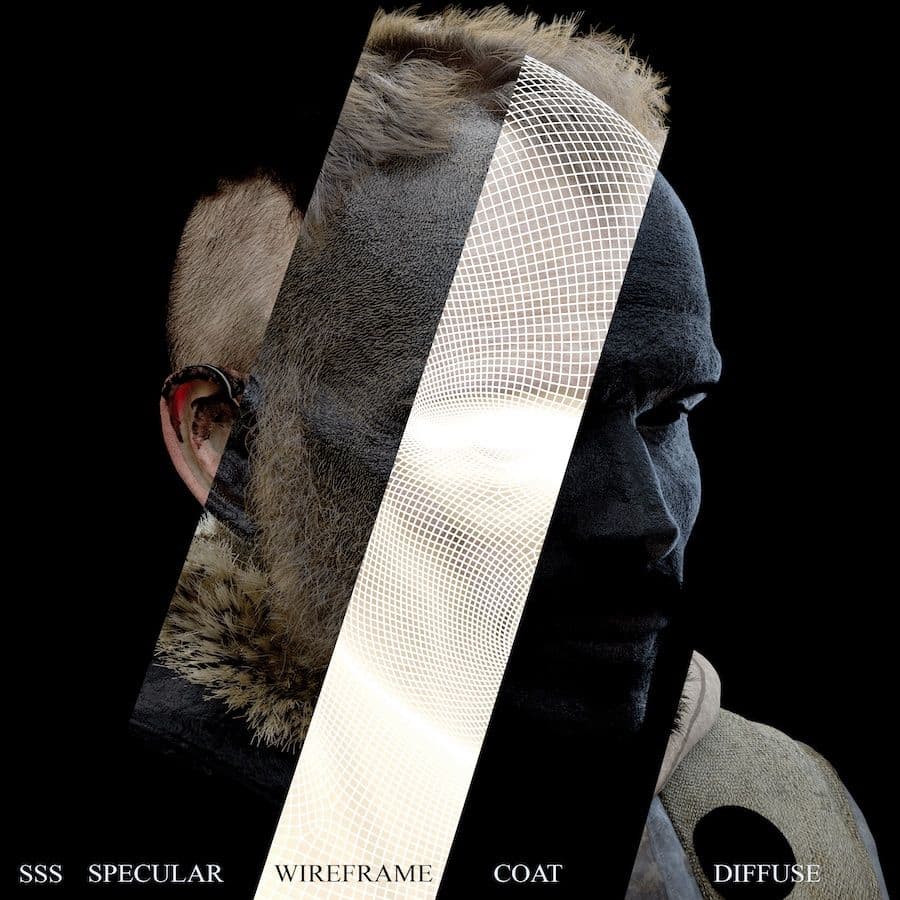
I used a high definition curvature map created in Substance 3D to mask out a layer to add more redness to the cavities. After the diffuse was created I used it as the base for the specular with a luminance mode to make it greyscale. After that, I tweaked the T-Zone for more shine. I then inverted the map for the gloss(coat) pass. Countless render tests and value tweaking went into getting these steps finalised.
I tried not to get too fixated on a single reference for the texturing, as many of the photo's I found had multiple versions with different colour ranges. The goal was to find a medium between them all that read like the character. I made the decision early on to go for a winter look rather than the more tanned summer look. I used Substance 3D Painter to get quick results on the prop textures as the head was my real focus for the project.
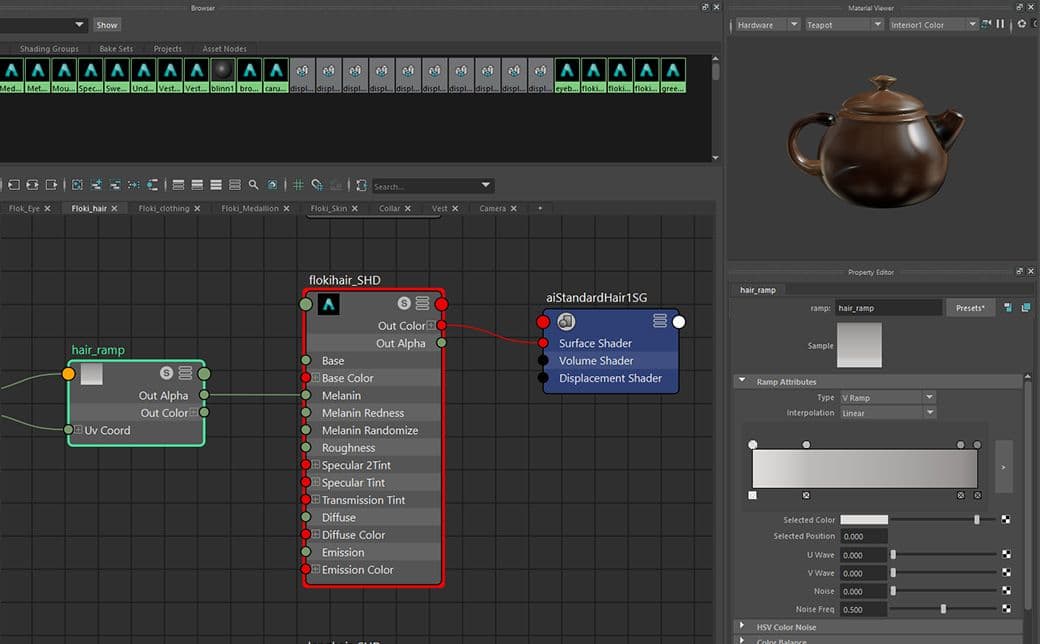
All grooming was done in XGen using guides. I broke the groom up into descriptions for the main hair, short hair, beard, moustache, eyelashes, eyebrows peach fuzz, and a blonde hair description at the end for more variation. A separate collection was made for the fur collar. I used melanin ramps on all my hair shaders darkening towards the root and light at the tips.

For lighting I used a misty pines HDRI from HDRI haven for my primary source. I then accented the eyes and lips with small lights. A backlight was added behind the hair to create a more luminous silhouette, and another placed depending on the camera angle to create a bright silhouette of the face. Fill lights were placed and tweaked until I was happy with them.
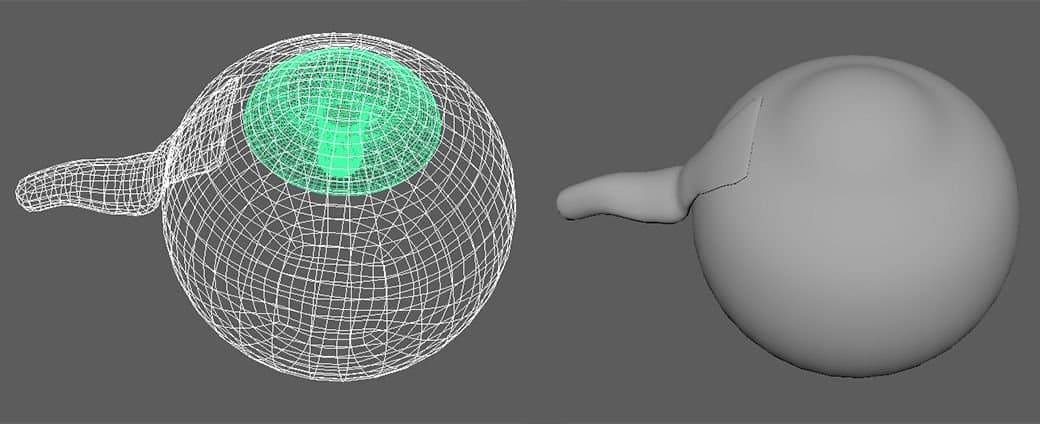
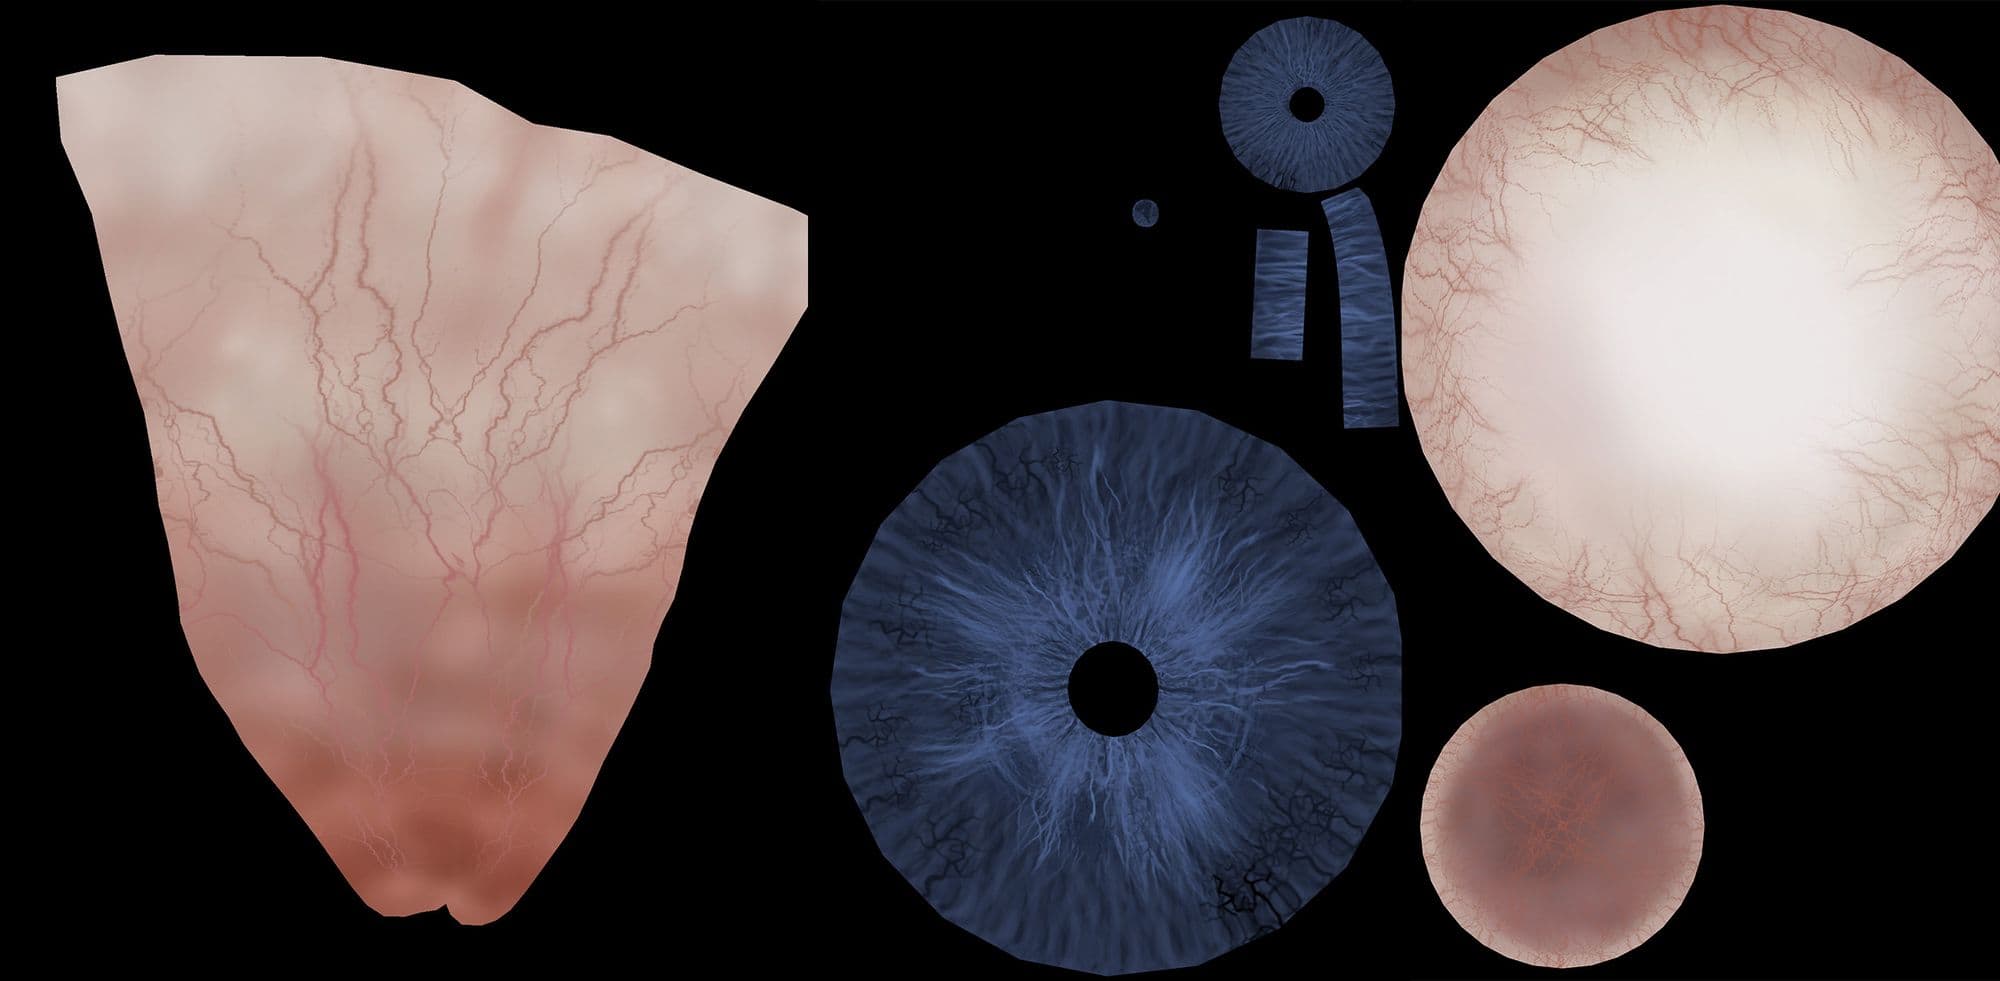
I split the eye model into the caruncle, pupil, sclera, and iris, using the shader to create the cornea rather than an additional geo. The iris was sculpted in Zbrush as well as some vein detail on the sclera.
Transparency ramps were used to blend the cornea into the eye, and to reveal the iris within the sclera. (I made the mistake of not centralising the sclera UV within the UV tile and so the circular transparency map had to be manually moved in the place 2d texture node, so that the iris could be seen)
Thanks for reading I hope my journey helped you understand some of the technicalities of portrait creation! Feel free to get in touch with questions or feedback. You can find me here: