How to Create an Eye-Catching Motion Graphics Project
3dsense Media School graduate, SiJie Goh, shares her tips for creating an eye-catching motion graphics project and Rookie Awards entry.
3dsense Media School graduate, SiJie Goh, shares her tips for creating an eye-catching motion graphics project and Rookie Awards entry.
With a background in graphic design, 3dsense Media School graduate, SiJie Goh, has always been intrigued by brands with well thought out narratives and visuals. SiJie finds her inspiration from great designers, books, objects and spaces.
We hope you find inspiration in SiJie's breakdown of her Rookie Awards 2022 entry in the Motion Graphics category for which we was awarded Rookie of the Year Runner Up.
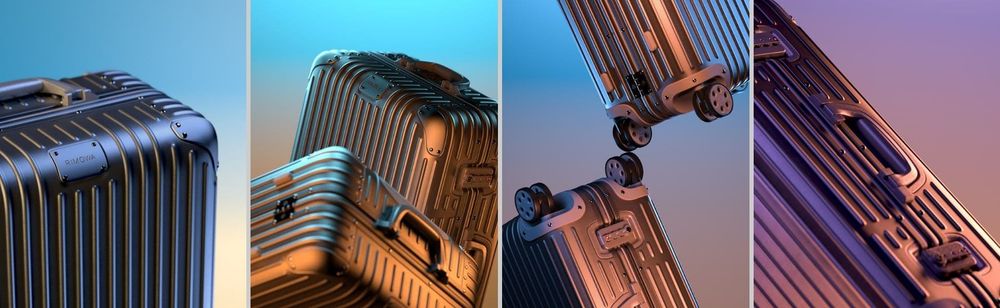
With this project, I wanted to put into practice everything that I have learned so far related to CGI, motion design, and branding. I collaborated with Edwin Tan, also a 3D designer, to create a brand promo video for Rimowa, using the Original Check-In M Luggage. This piece aims to strengthen Rimowa as a luxury luggage brand, the brand’s association with traveling, as well as to highlight the product’s beauty.
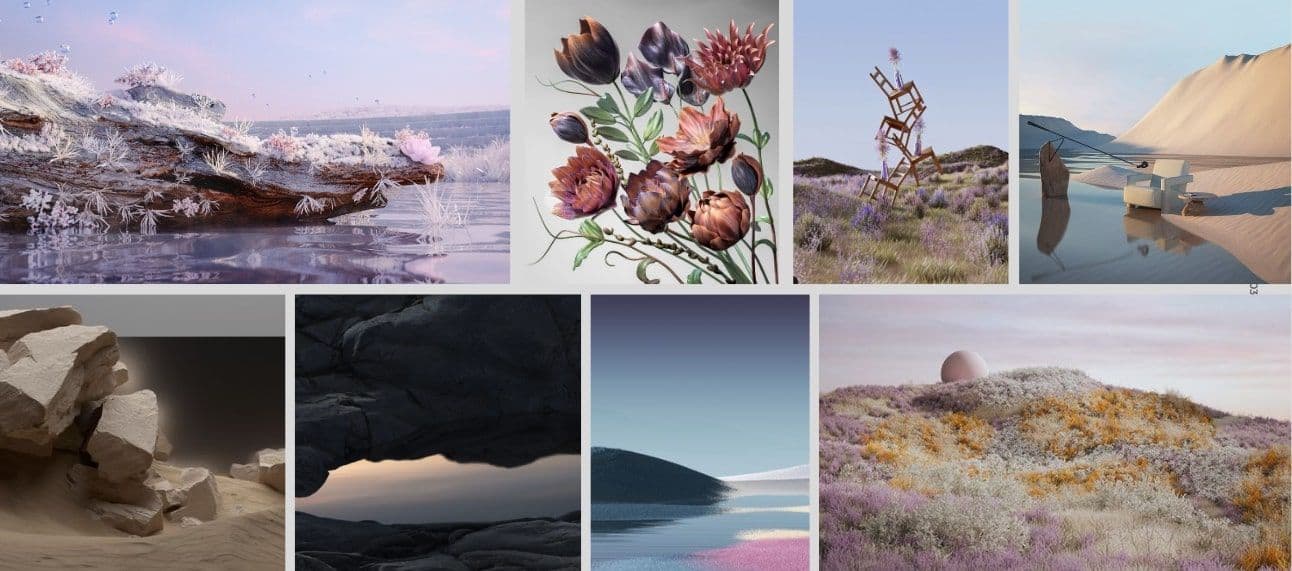
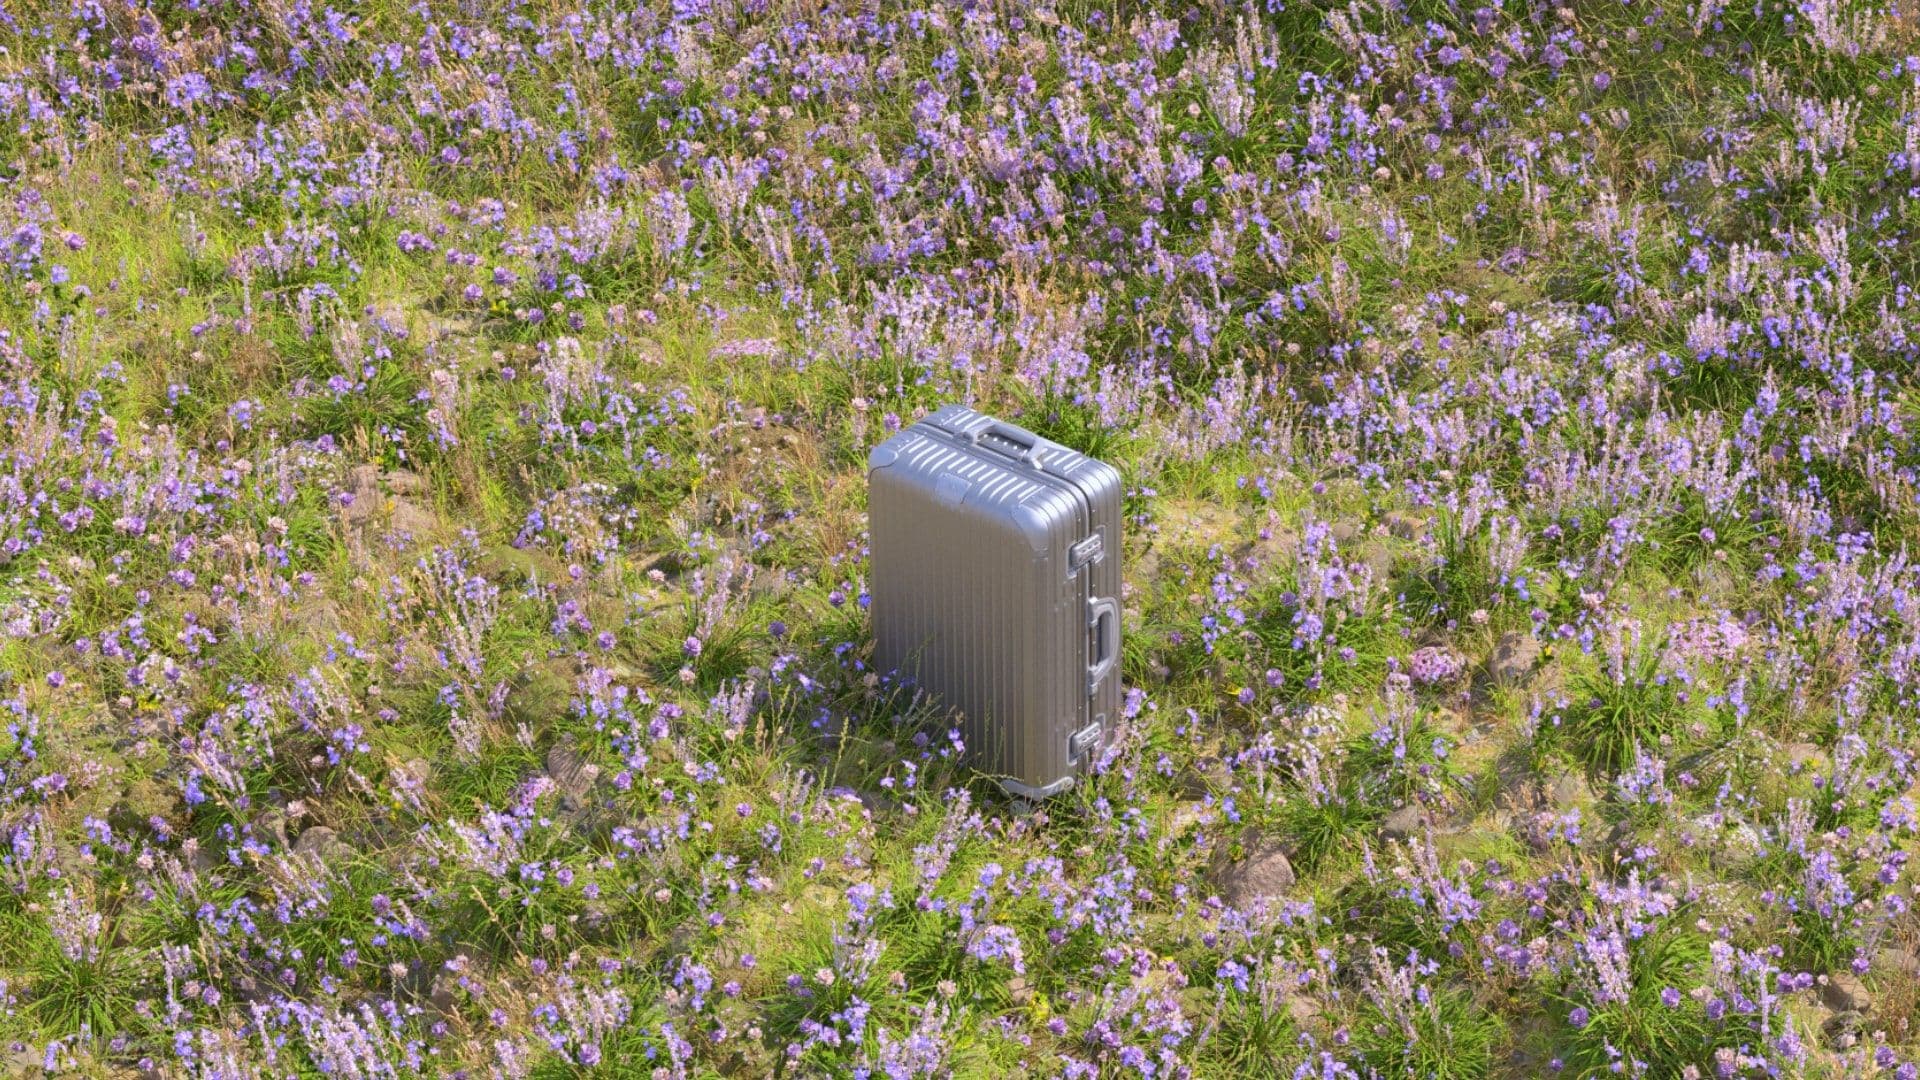
When we think about travel, sceneries and cities come to mind. We decided to use nature landscapes to represent travel, as nature to us is timeless.
Unlike architectural buildings where they get torn down and new ones get built, nature has always existed. Nature rejuvenates itself through the changing seasons and in the grand scheme of things, it remains unchanged.
This to us reflects the Rimowa brand. Throughout the brand’s history, they are known for their premium, well-crafted luggage. They constantly innovate, improve and modernize their products, while keeping consistent and true to their heritage.
By portraying the wonders of travel and timelessness through natural landscapes, To a World Beyond is a reflection of Rimowa being as timeless as nature itself.
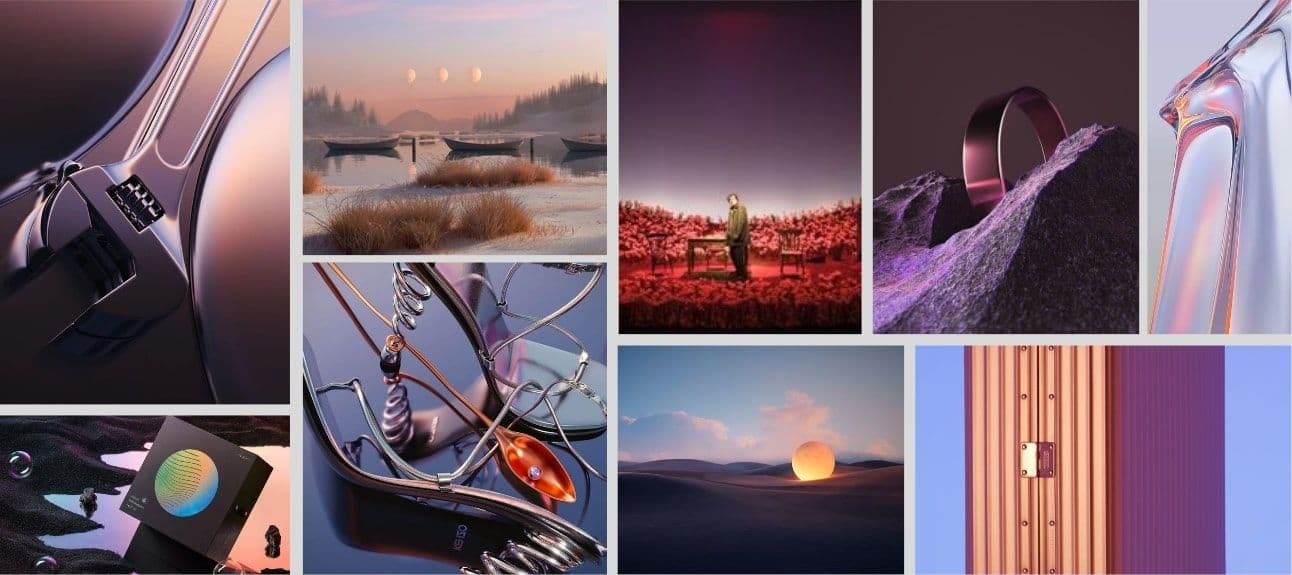
Inspired by the aluminum material of the luggage.

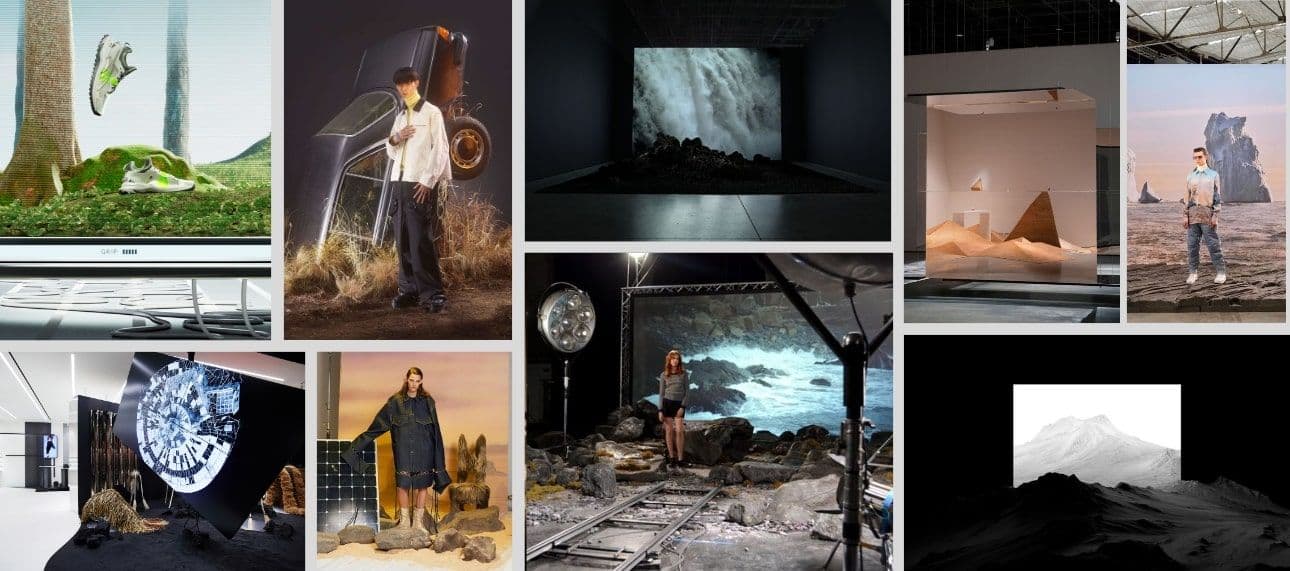
Inspired by fashion visual merchandising and sets.
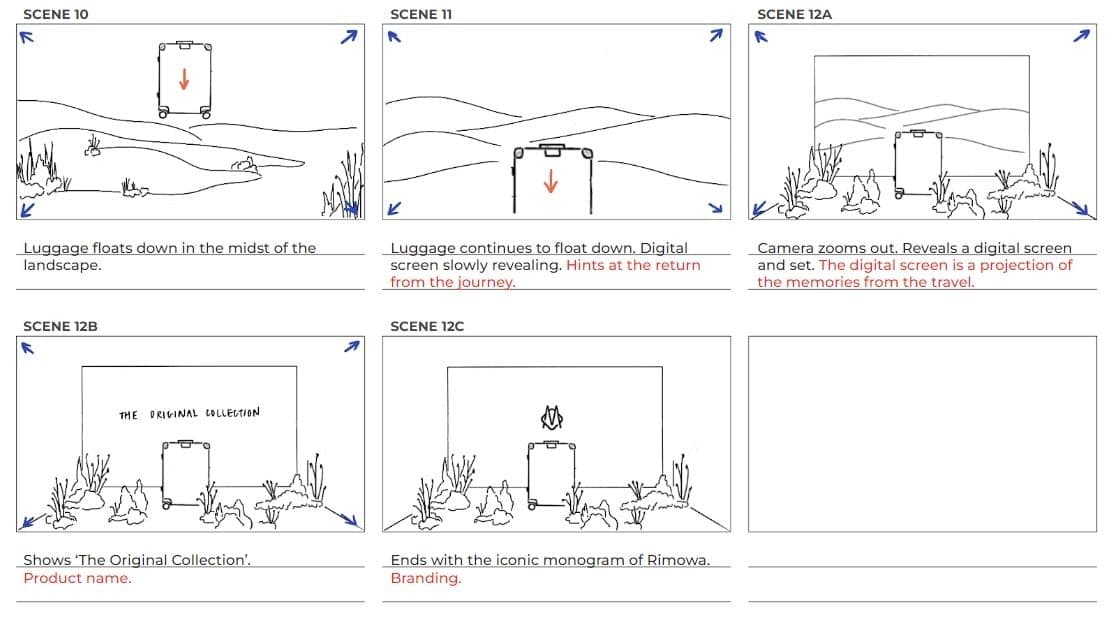
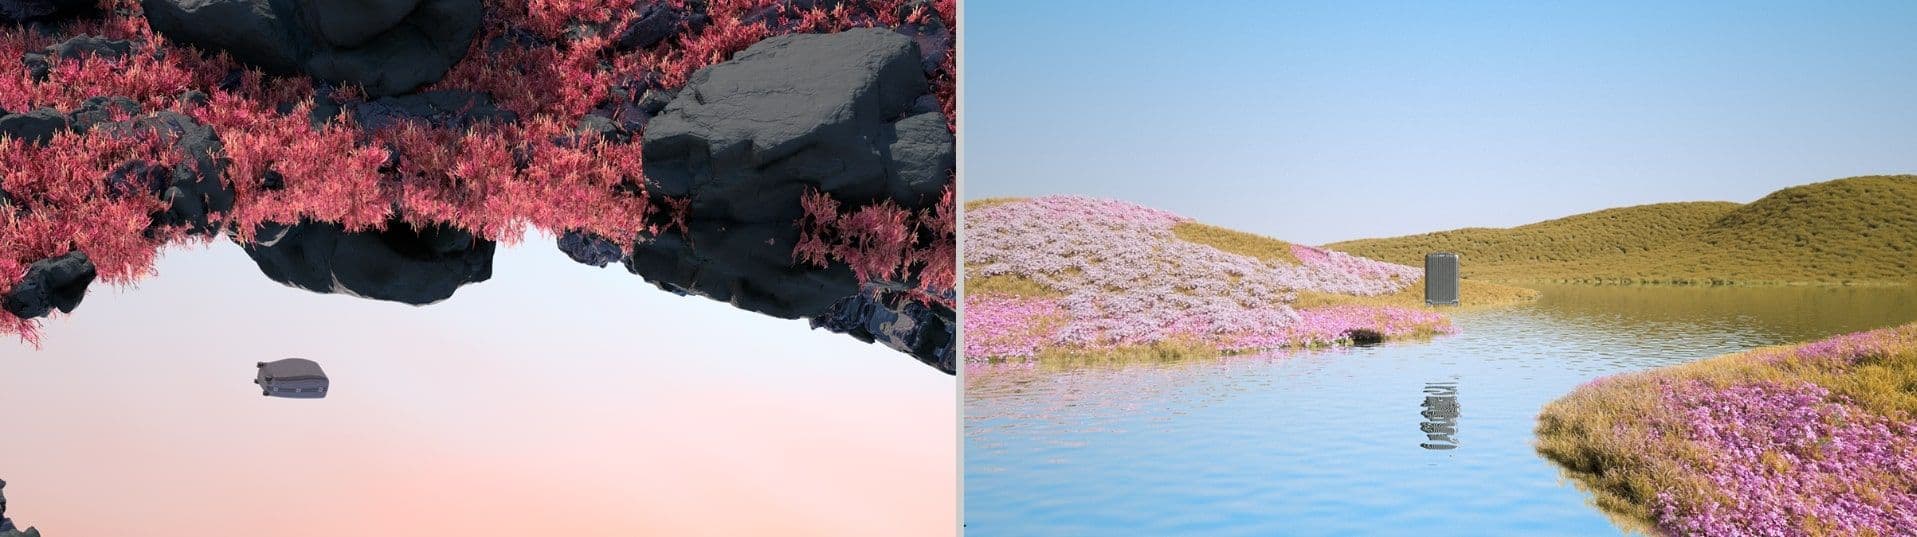
With the idea and concept in mind, we were inspired to set an art direction that would show Rimowa as a brand that is timeless. Portraying through nature (different skies and flowers), this reflects how nature is always unfading and they evoke a feeling of wonder and exploration - just like traveling.

Skies can look different in different places and times of the day, we wanted to make use of various gradients to show the idea of experiencing the different hues of the skies as we travel.
To kickstart the project after all the above research, we worked on the styleframes first to get the overall look and feel of the direction that we are going for. These include building models, texturing, lighting the scene, and compositing them together.


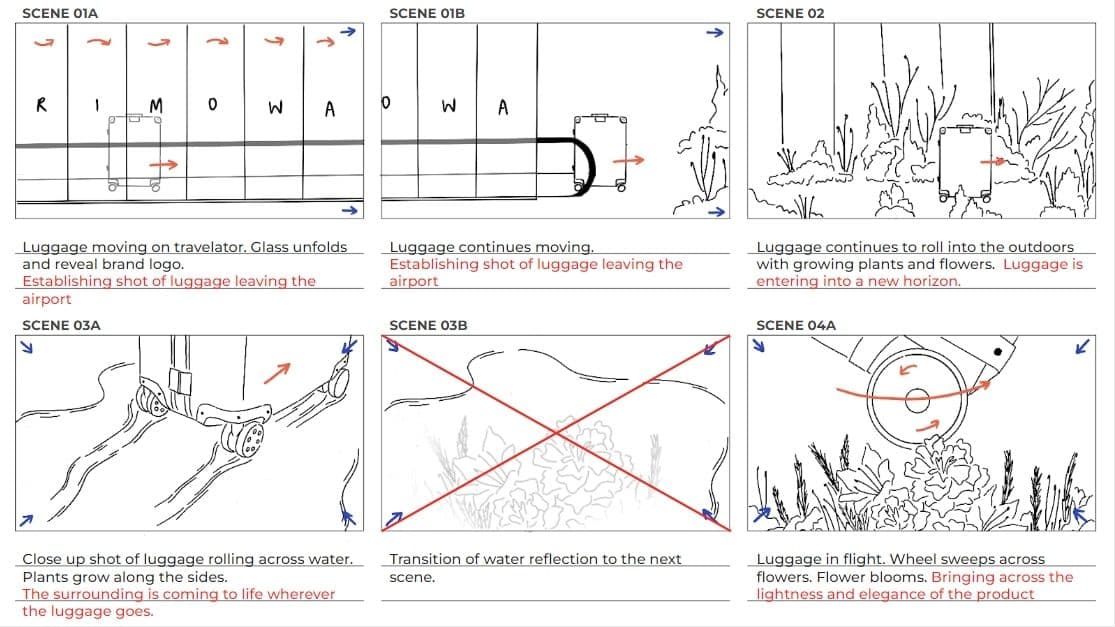
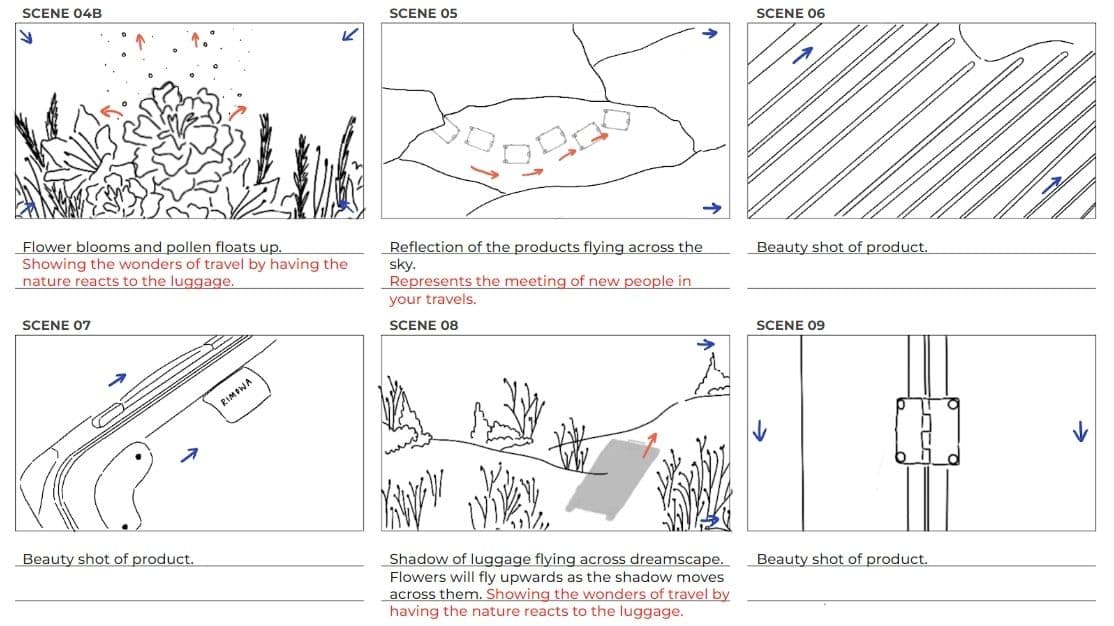
After finalising the styleframes and animatic, we worked on the animation. As it was our first time working on surreal landscapes, we did a ton of R&D to get the elements to work together. Let's break down some of the scenes below.
For this particular scene, we used a Mospline to create and animate the bloom of the flower. It helped to control how we want the flower to look, as well as, how the flower opens up.
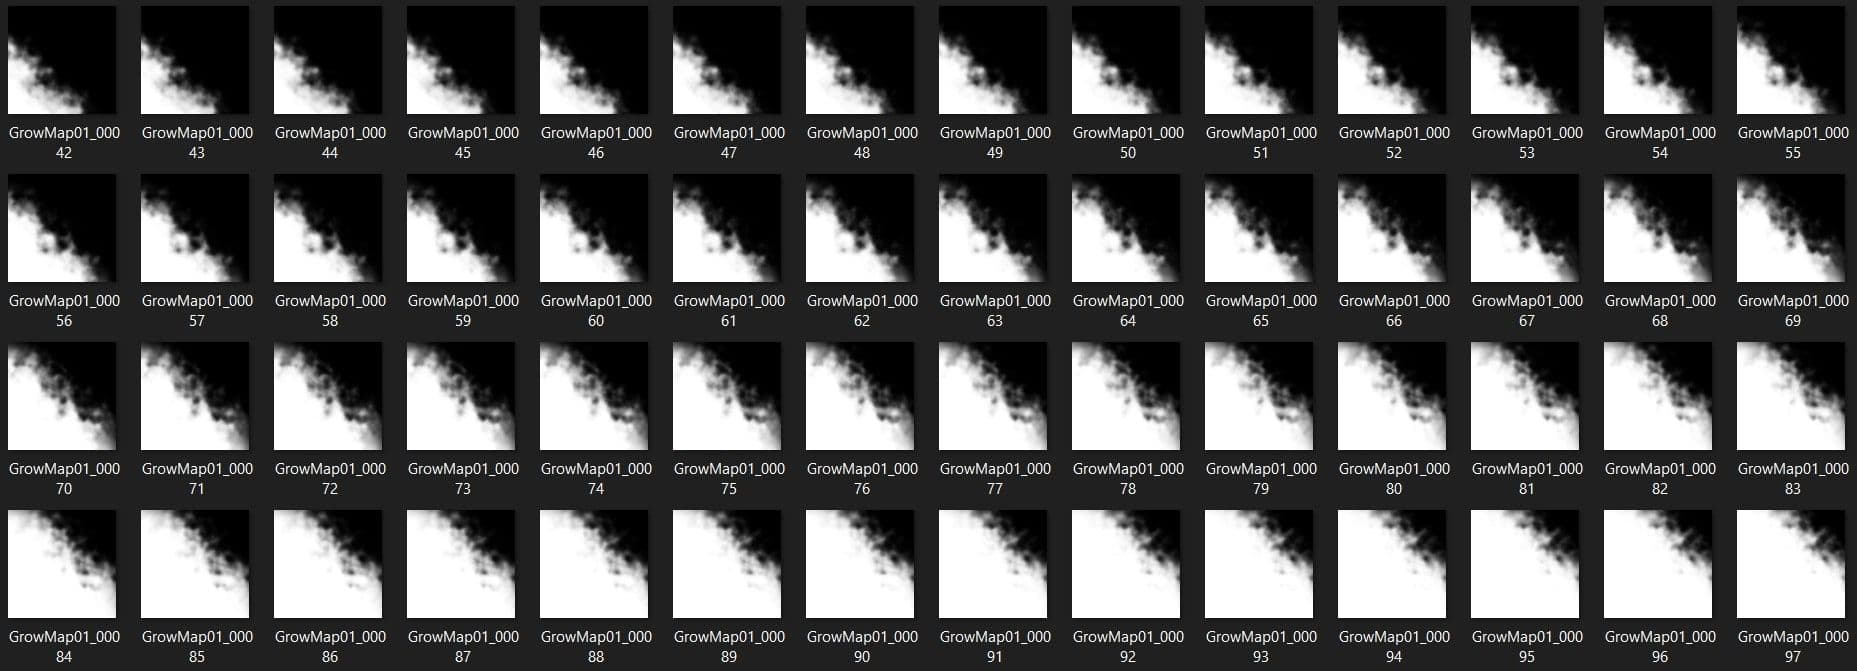
For most of the scenes with glowing plants, we used Effectors and Fields to animate the growth of the plants. To create a natural growth of the plants, we explored lots of grow maps using Aftereffects and layered them in the animation.
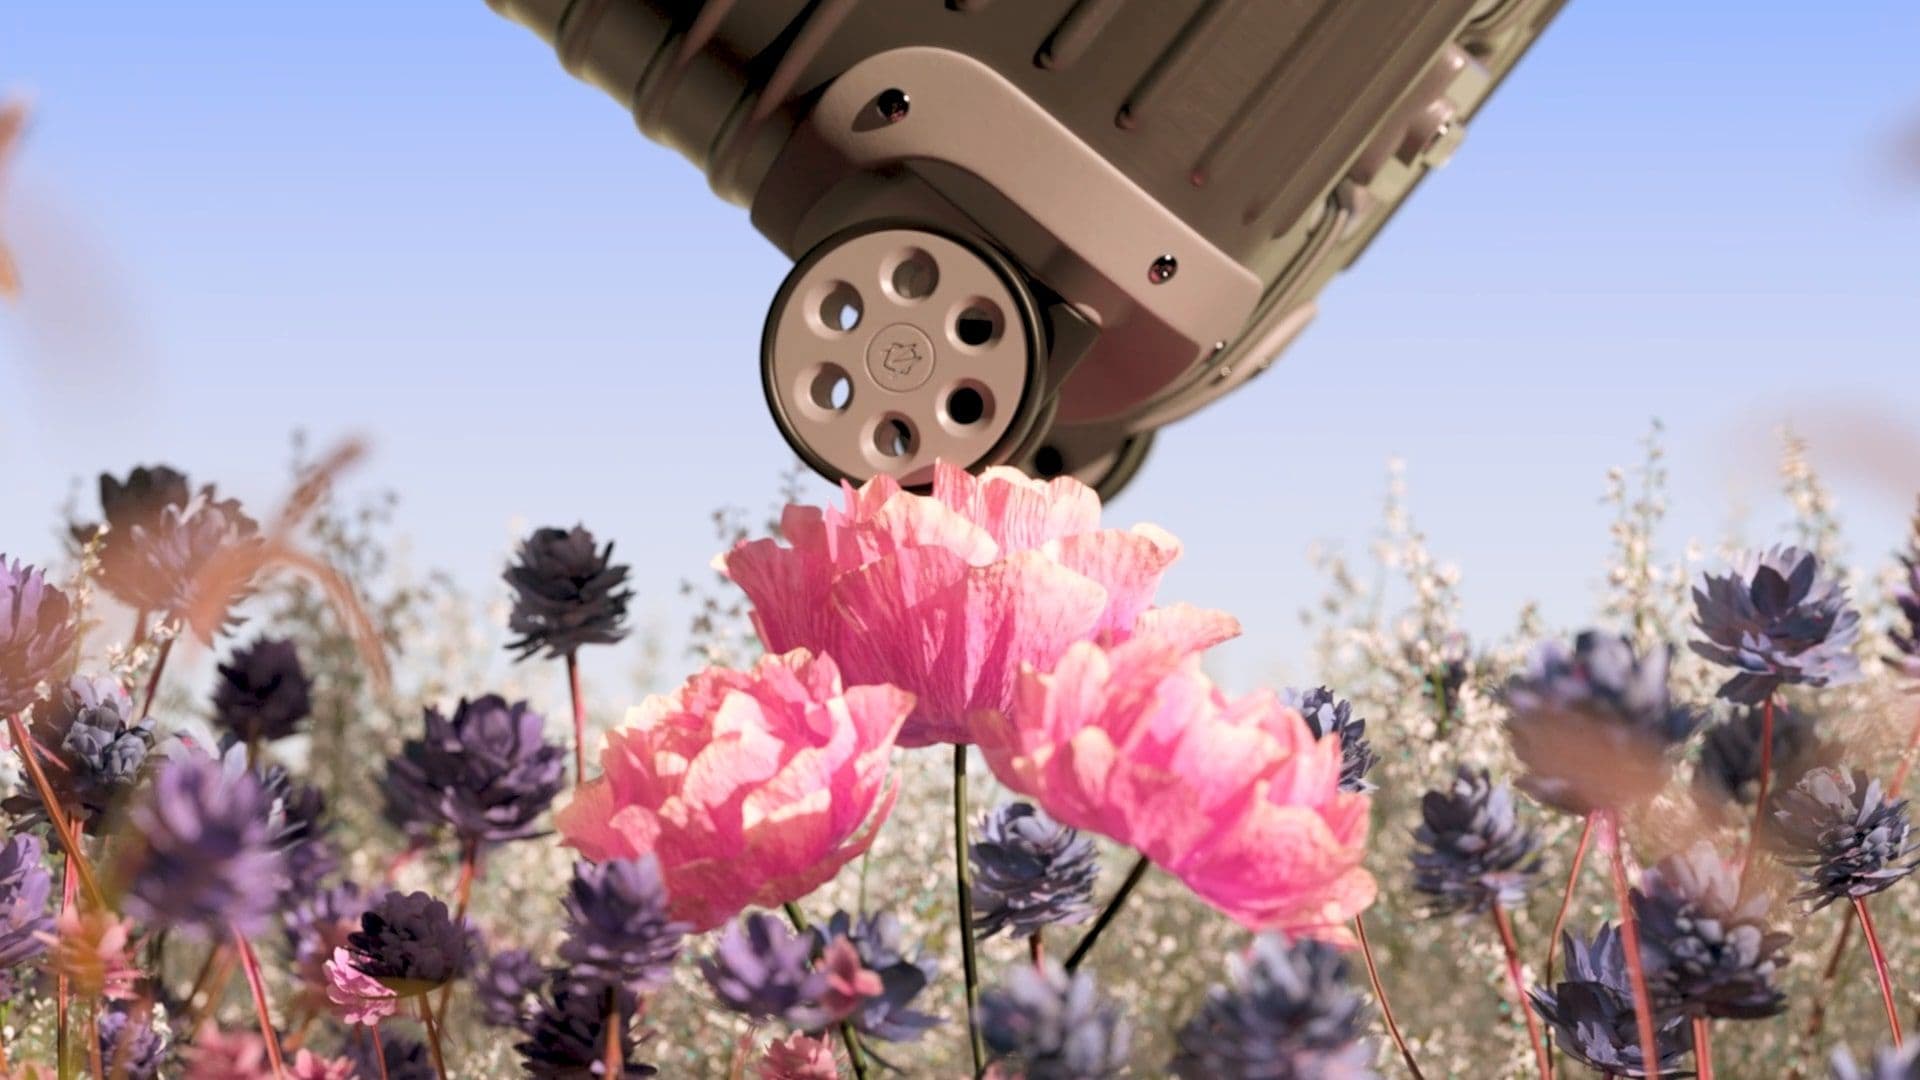
When animating beauty shots, using Depth of field brings focus to the details of the product. In this case, we wanted the focus to be the tag of the luggage, thus the rest of the area is blurred out.
That's all folks. I hope this article has helped you to understand my thought process behind this project and given valuable tips that you can apply to your projects in the future. You can reach out via my website, Instagram and LinkedIn.