Create a stylised 3D Vampire Character in ZBrush & Maya
Character Artist and 3D Instructor, Gerard Martinez, he imparts some of his wisdom with us and shares how to create a stylised 3D Vampire Character using ZBrush and Maya. If you need an idea for your Rookie Awards 2023 entry, this might be the article for you!
Gerard Martinez, is a 26 years old Character Artist and teacher who resides in Mollet del Vallès, near Barcelona. Gerard is part of the team teaching the University Degree and Master of Concept Art programs at FX Animation Barcelona 3D & Film School. Additionally, he instructs at Libel Academy, a prominent 3D training institution in Latin America with a diverse student body from various parts of the globe.
Thanks to his teaching roles and role as an ambassador for XP-Pen Spain and Arte Rodin, Gerard has been able to share his passion for the fusion of art and technology with a larger audience. Today he imparts some of his wisdom with us and shares how to create a stylised 3D Vampire Character using ZBrush and Maya. If you need an idea for your Rookie Awards 2023 entry, this might be the article for you!
First of all, I would like to express my gratitude to The Rookies for giving me the opportunity to write on their site. I am very excited to be able to share a little bit about my creative process and myself with all of you. I sincerely appreciate this opportunity and hope that my experience can inspire other artists in their creative journey.
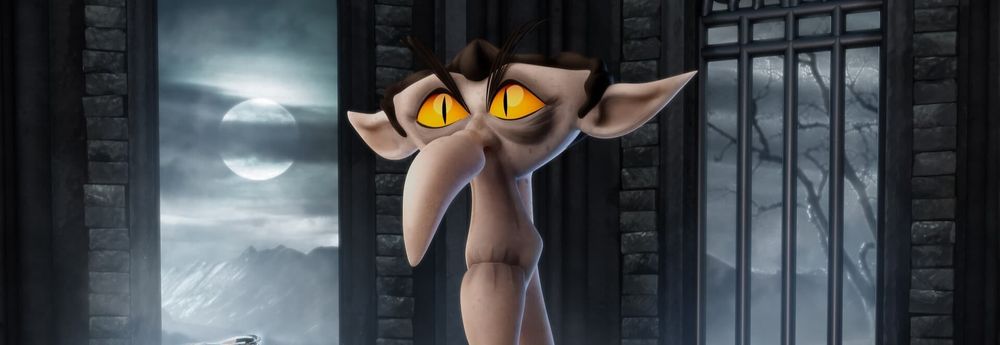
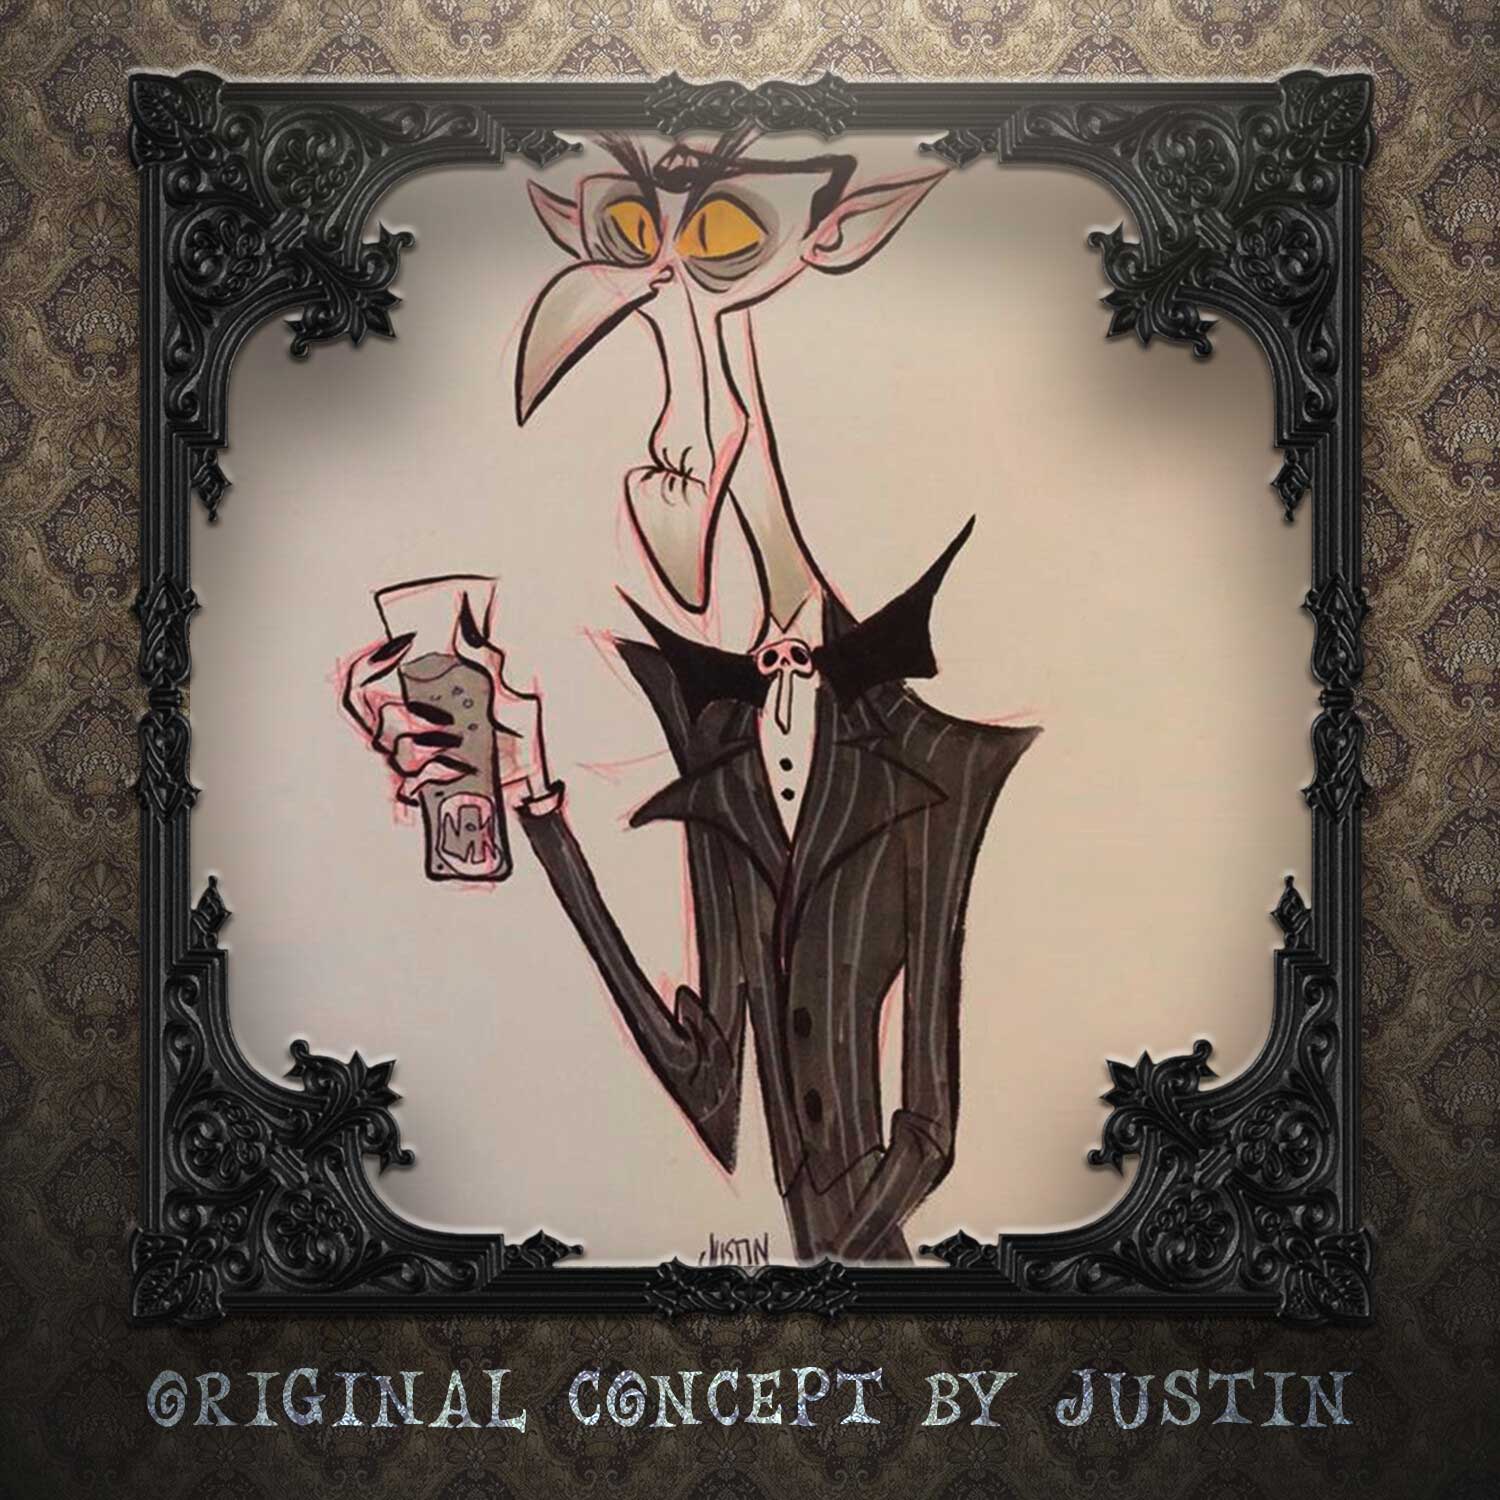
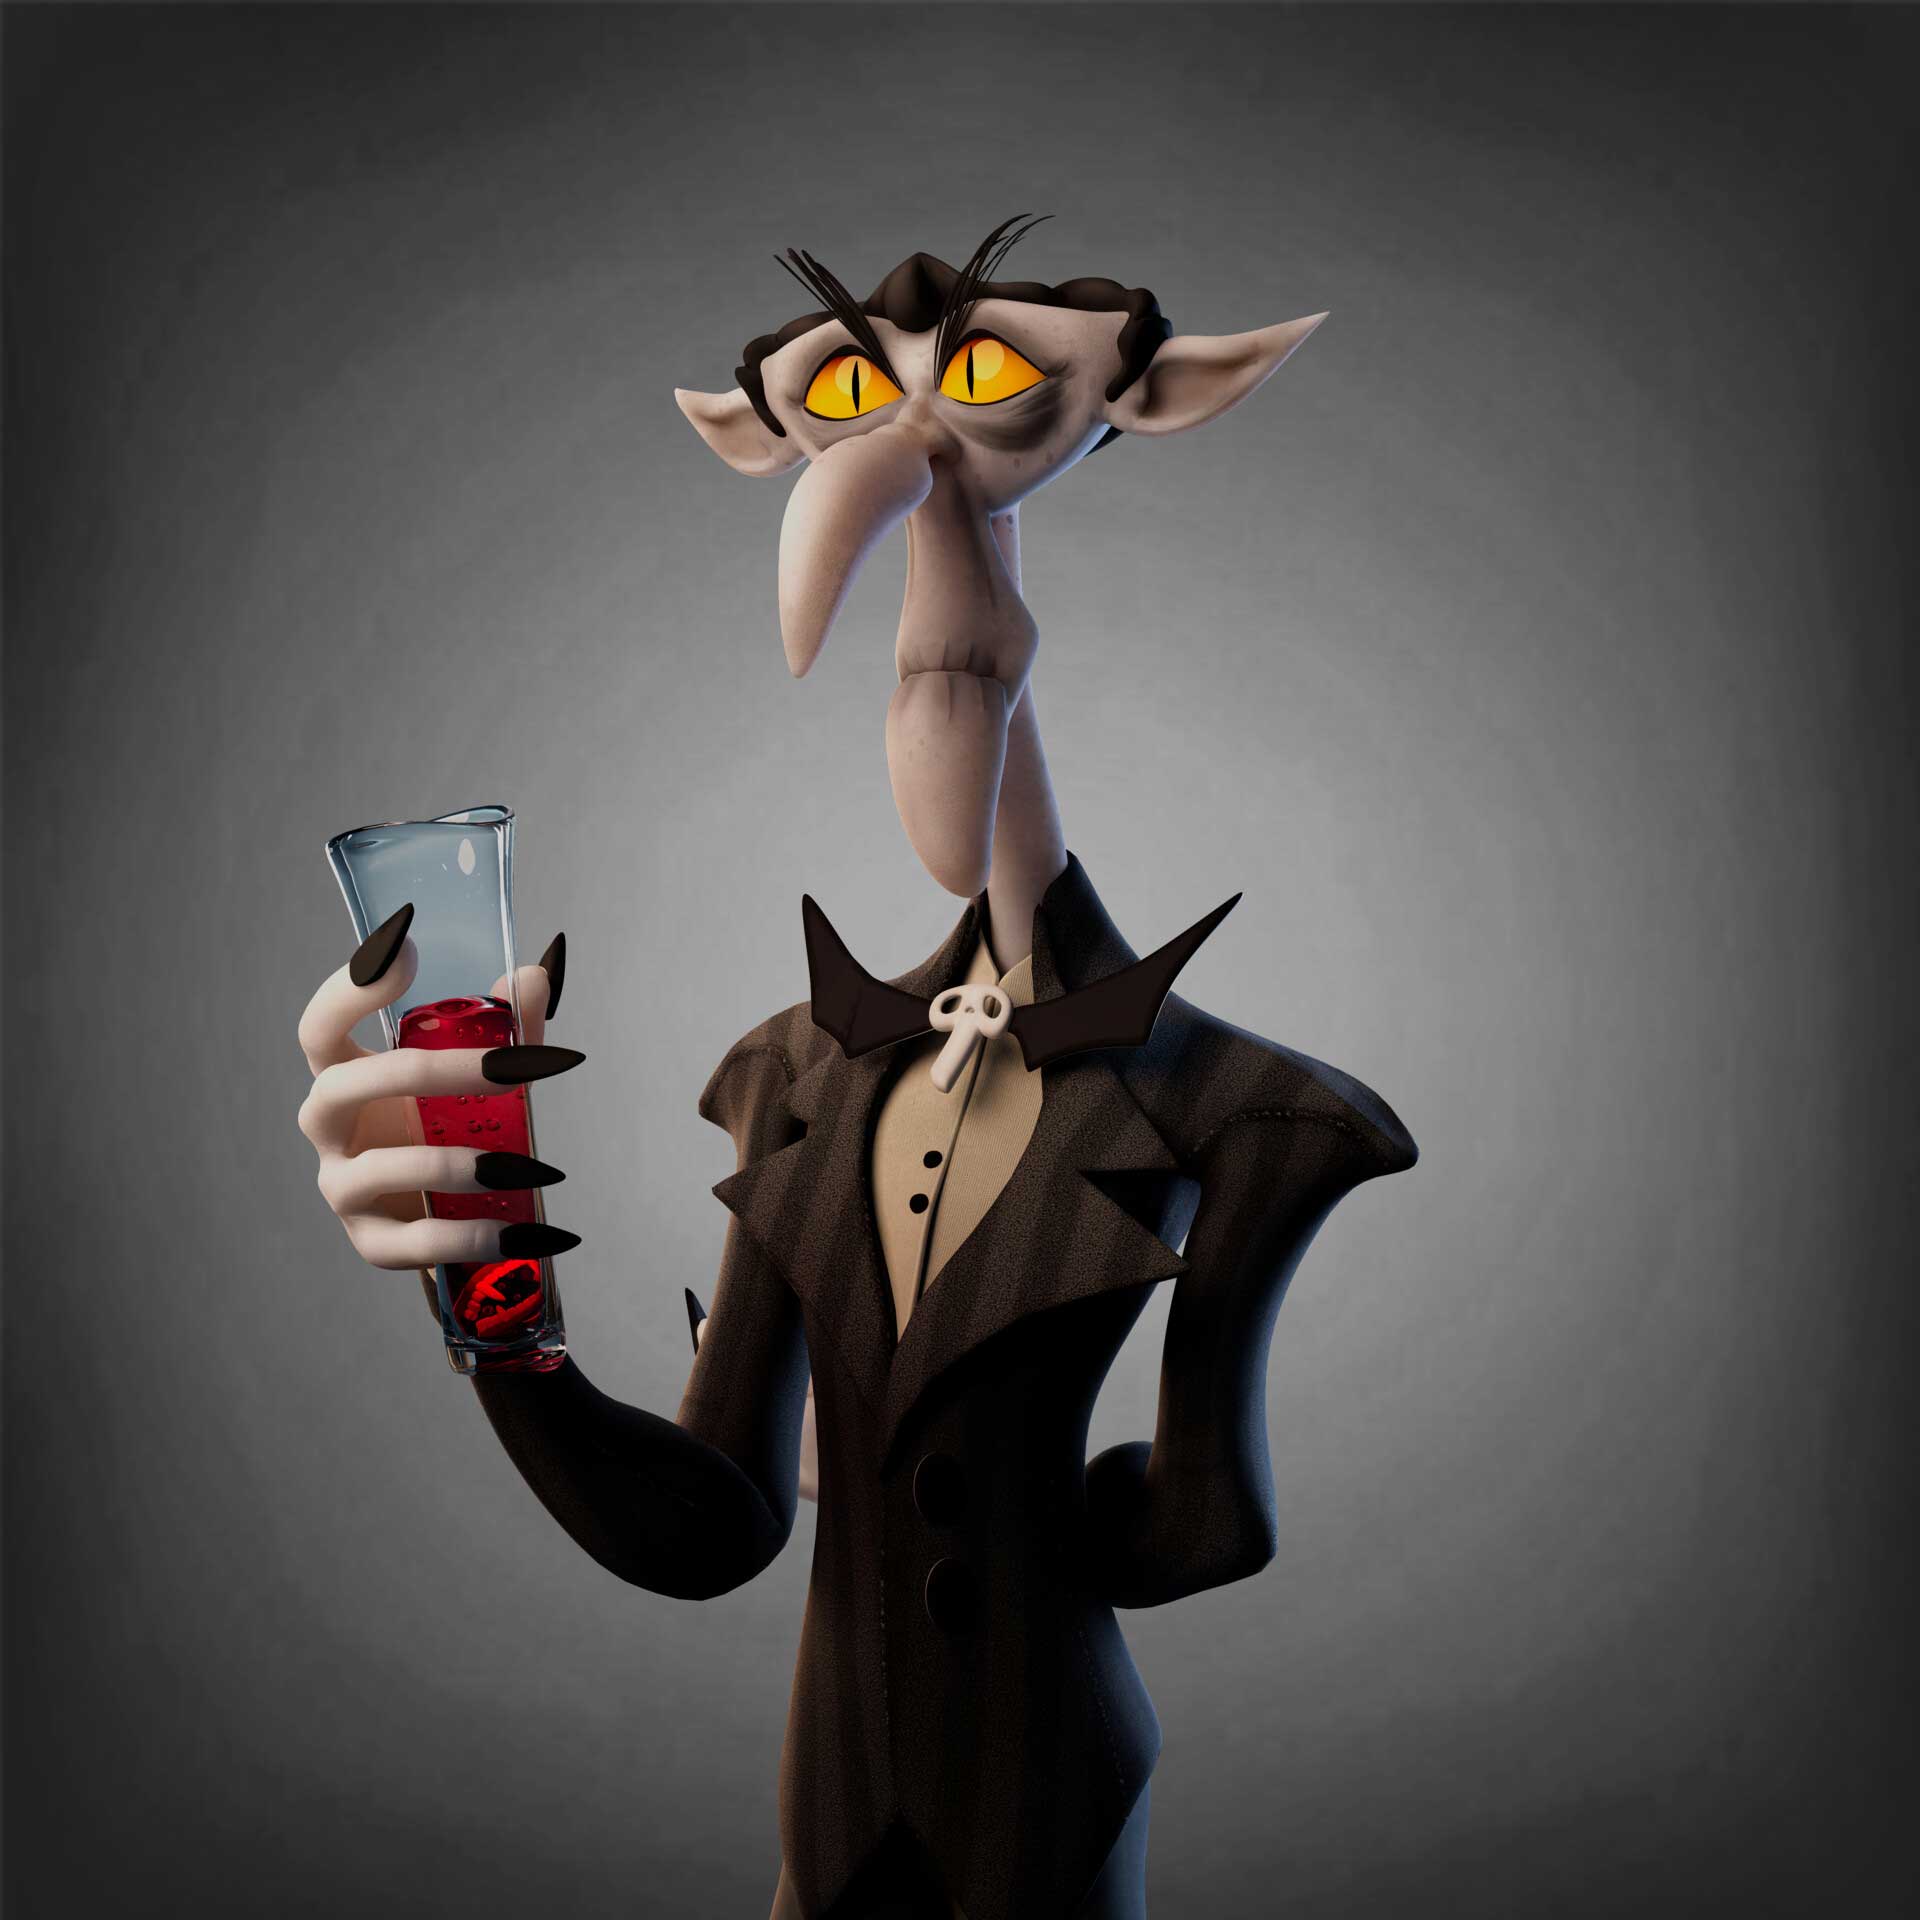
And now, let's take a closer look at one of my latest characters, Vlad the Vampire. The character is based on the original concept of a mysterious artist named "Justin" that I stumbled upon on the Internet.
I couldn't find any social network or contact information, but I fell in love with the concept and decided to bring him to life in 3D. If anyone knows the name, please name it in the comments!
Concept Art
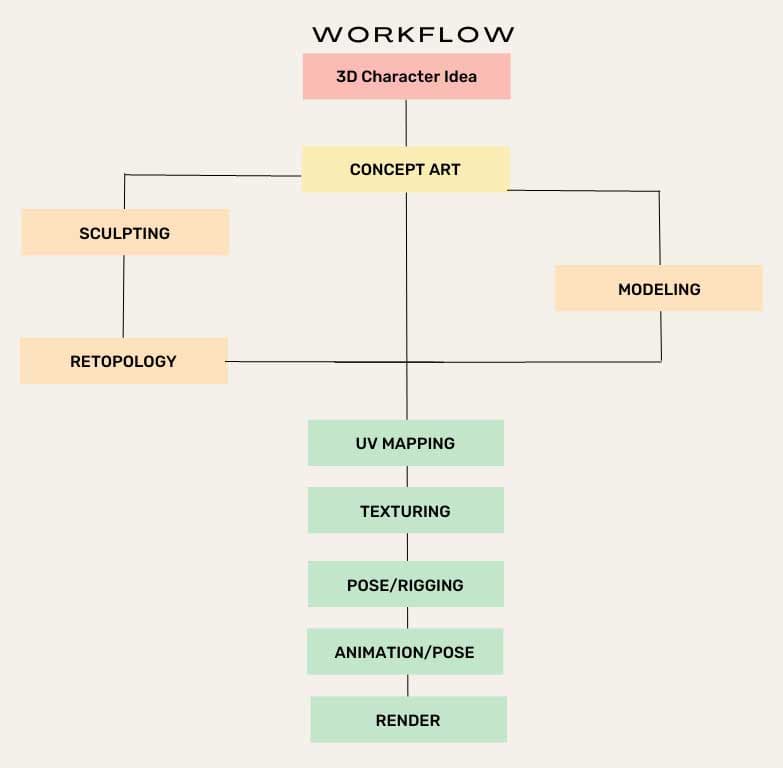
I leave you this conceptual map of the different points that we will deal with:
Workflow
Software Used
PureRef: An application for collecting and visualizing references.
During this first phase, a study of the character to be developed is performed.
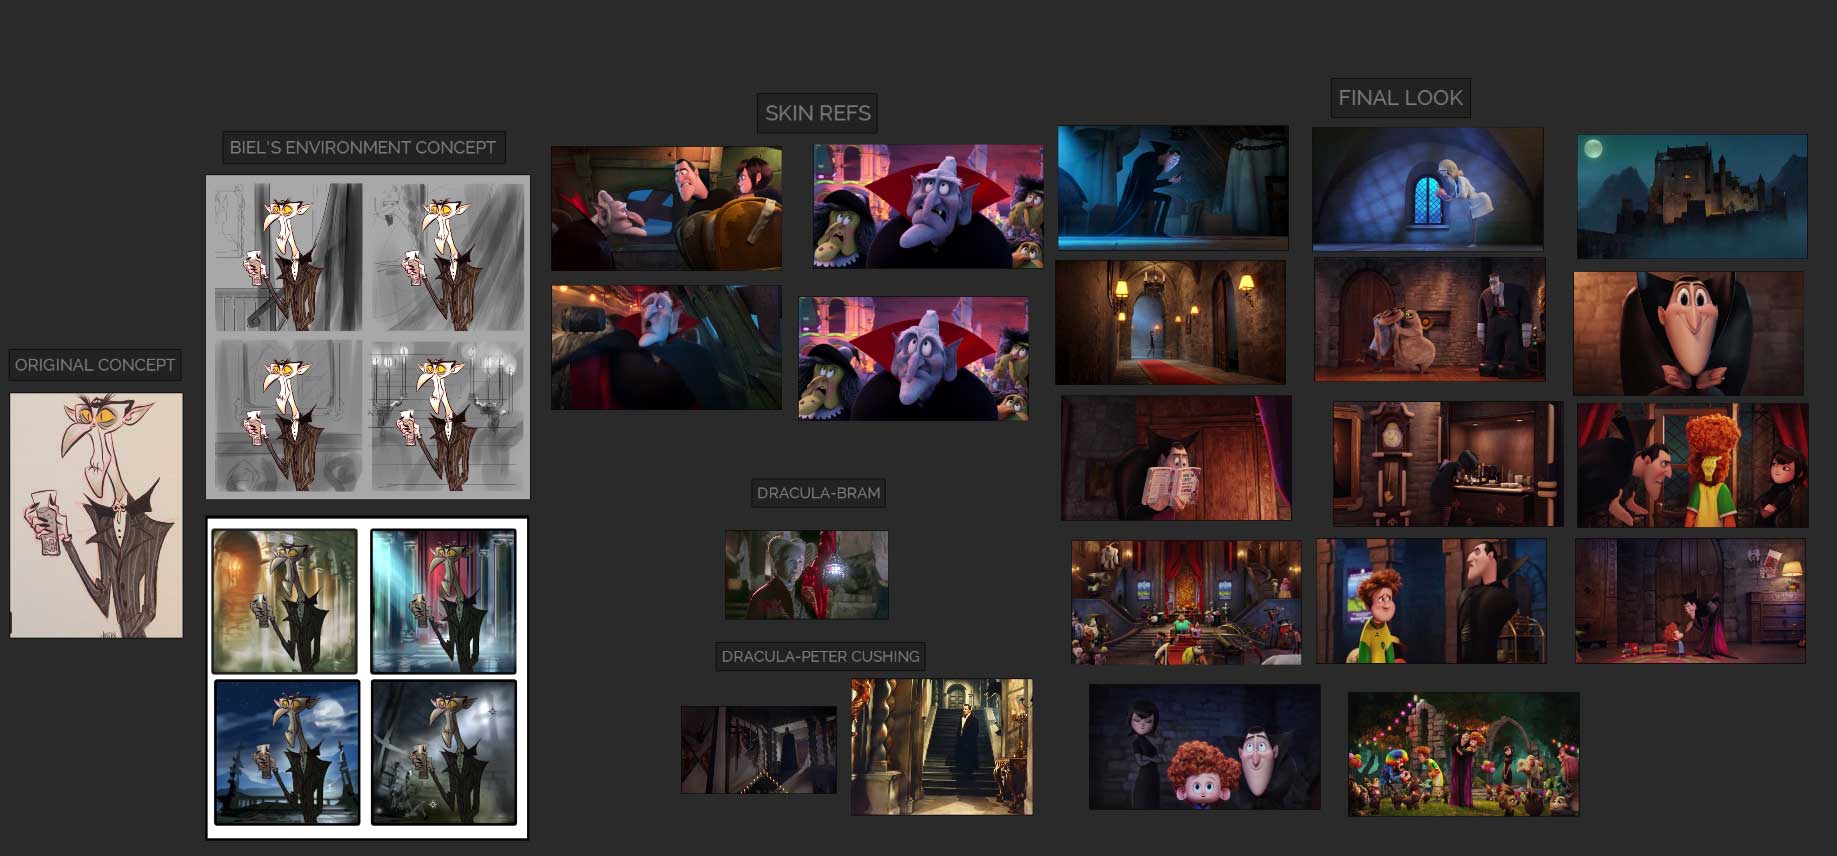
In my case, being a concept art by Justin, the design is already given to me, but I still searched for references to see where to go with the modeling, textures, and final render phase. My recommendation is that you take your time and think about which images will work best for your design or sculpture.
It is of vital importance to gather as many references as possible, whether for hair, clothing, pose, anatomy, etc. Work without good references is always more difficult to achieve the desired result.
For the search, I always use ArtStation, Pinterest, and Google Images, where after making the compilation, I load them into the free software PureRef.
References of my PureRef
Another of the websites that I use the most and share with my students is www.animationscreencaps.com , which allows me to view high-quality frames of the best animation films. In this case, I searched references from the film Hotel Transylvania.
Modeling in Zbrush
Initially, I open a new ZBrush document to start the Blocking and generally begin with a low-poly Polysphere or sphere. When I model a character, I like to use the "Reference Views" function to place my reference in the background of my modeling so I can easily compare it to the concept and make my decisions based on that.
And now we start modeling! I will detail the different stages that I follow when sculpting a character in Zbrush.
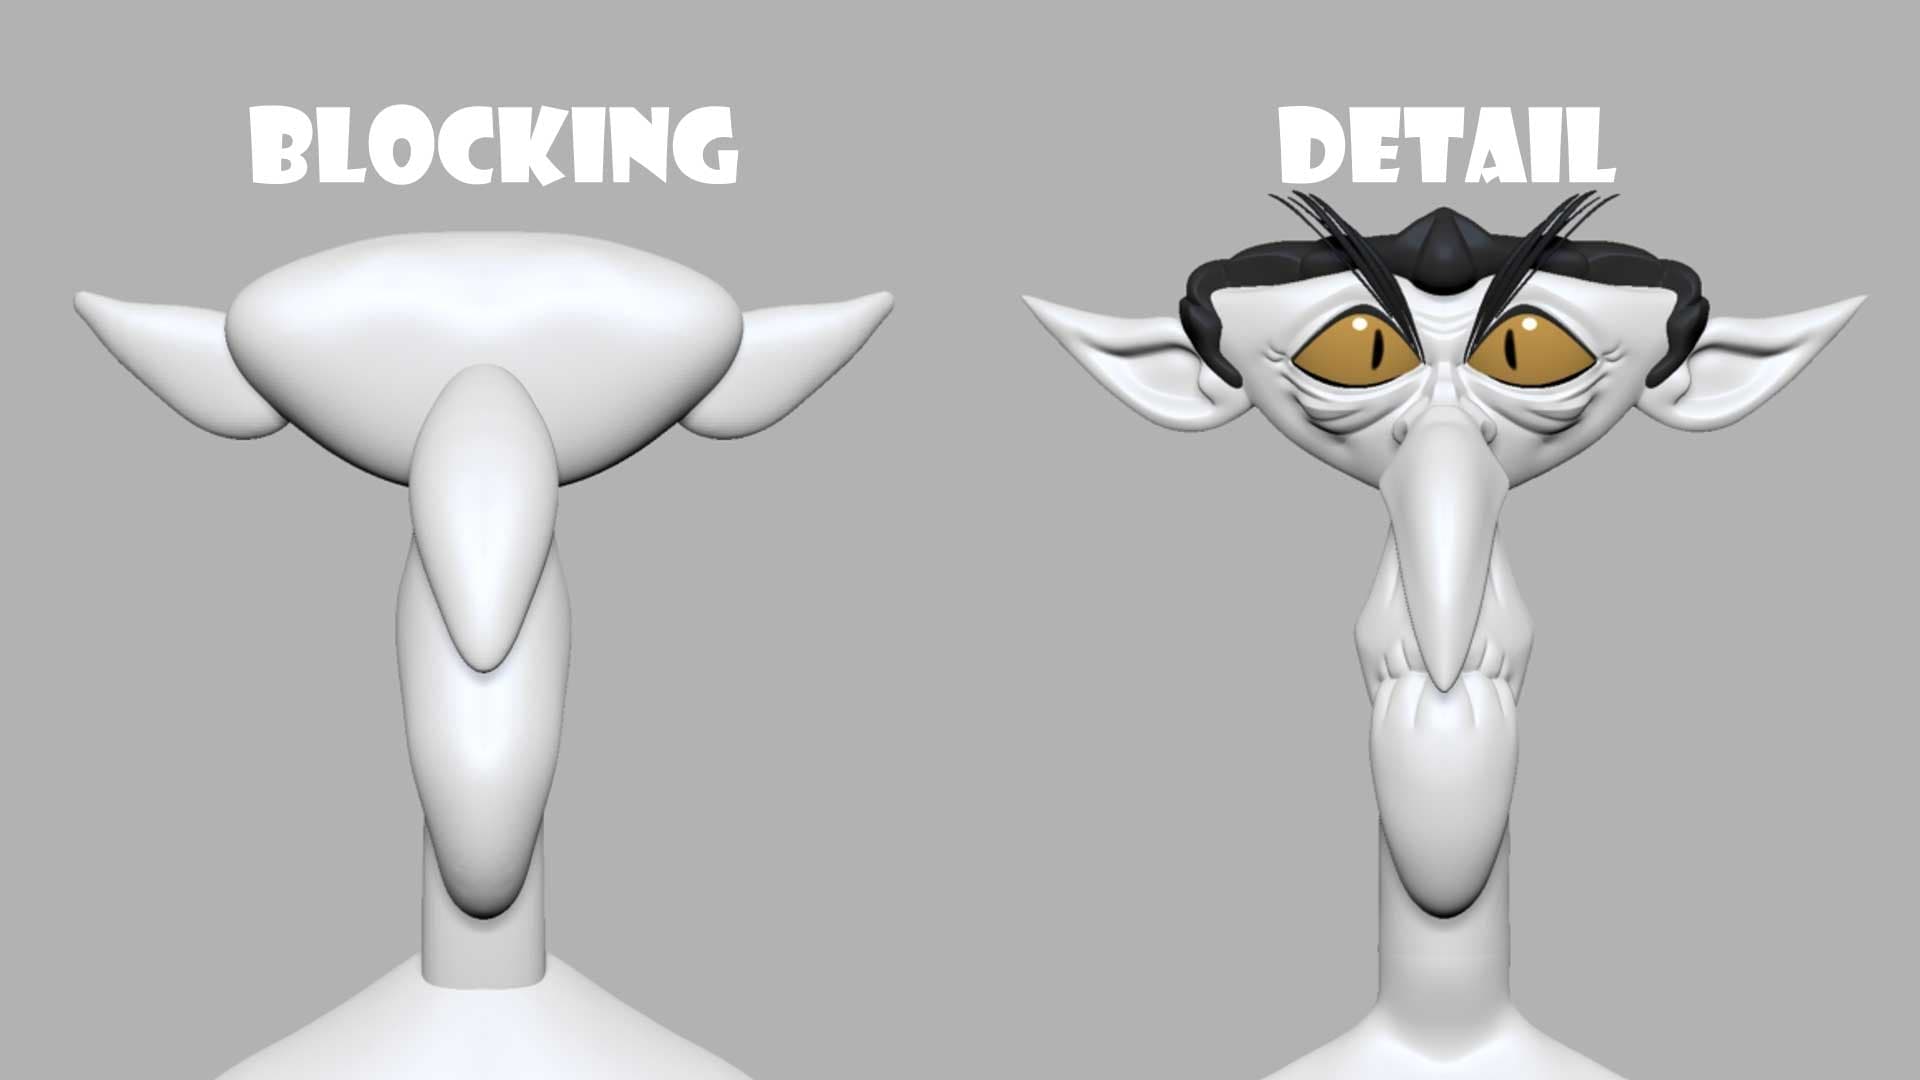
Blocking
In this first stage of sculpting, what we have to do is create spheres or primitive shapes, which we will use to create the base of the character. In short, we have to synthesise the design, taking it to geometric shapes. This will help us to see it and make modifications as easily as possible so that it can match the idea or concept we have.
Blocking to detail
Tip: In this stage, we must give great importance to balance in general. Understanding balance means paying close attention to the volume and silhouette of the character.
Refining and detailing
In this phase, we need to define shapes and increase the polygon density of the character. To do this, we will apply Dynamesh.
In this way, by applying Dynamesh to our blocking, all the shapes we have created before will merge together. Then, by simply smoothing each object with Shift, we will start to have all the volumes well defined and we can start detailing.
In the Geometry submenus, we find Claypolish. If we activate this option it smooths the model and gives it a quite stylized touch. I highly recommend this tool for cartoon or stylized characters.
If we are based on a concept, as in my case, we must ensure that the facial features keep the appropriate proportions in relation to the general shape of the head and body. For example, having the correct position between the eyes, nose, and mouth will help us better capture the resemblance of the character we are trying to sculpt. The next step is to capture the secondary facial features, such as the shape of the eyes, the thickness of the mouth, the shape of the nose, eyebrows, etc.
At this stage I usually paint the eyes with Vertex Paint to make them a little more "alive".
Tip: In this stage, we need to pay close attention to the cleanliness of the entire character. As I tell my students, "It all has to look neat!"
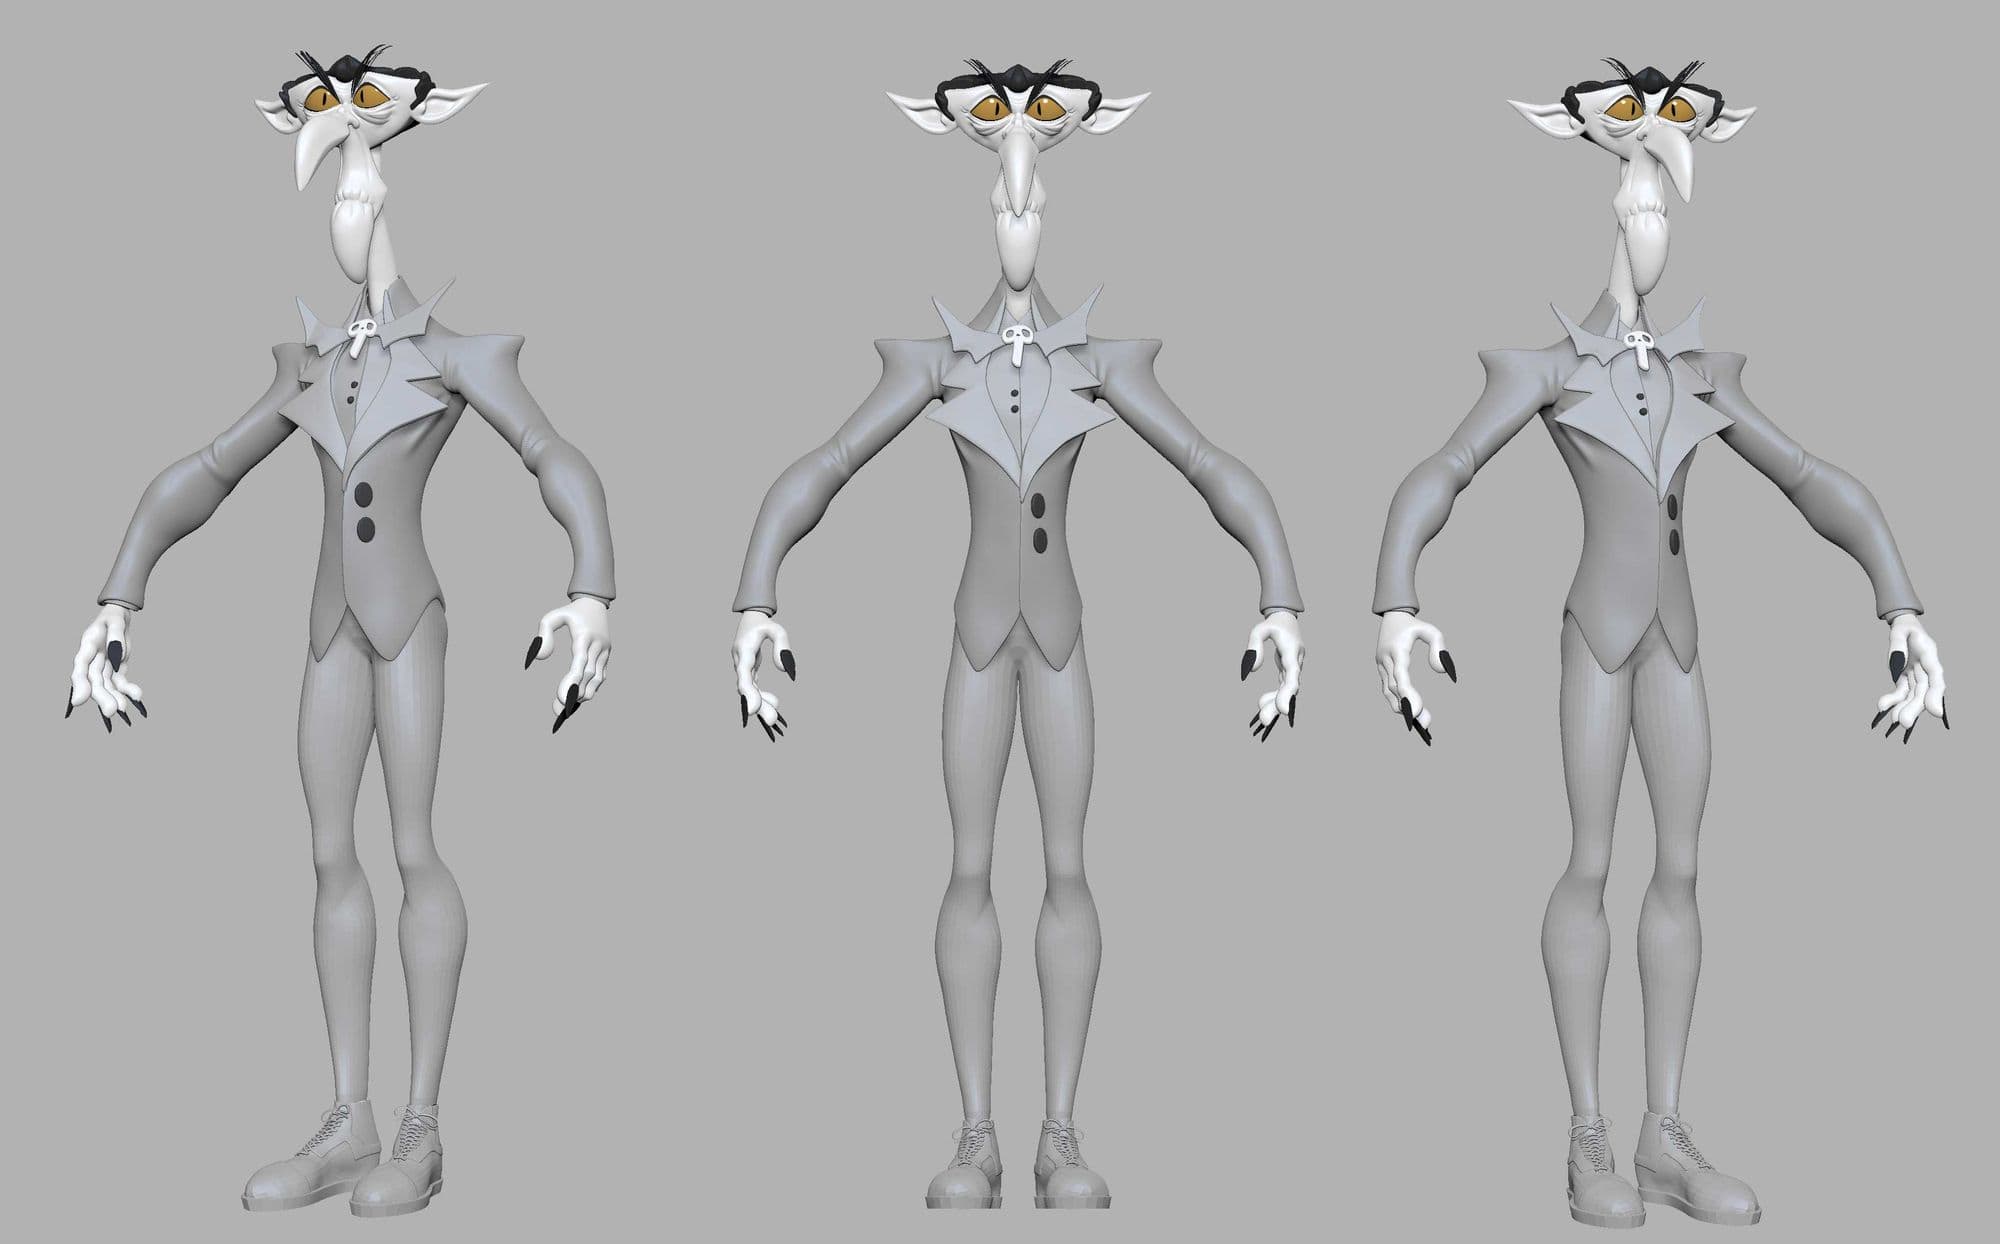
High Version
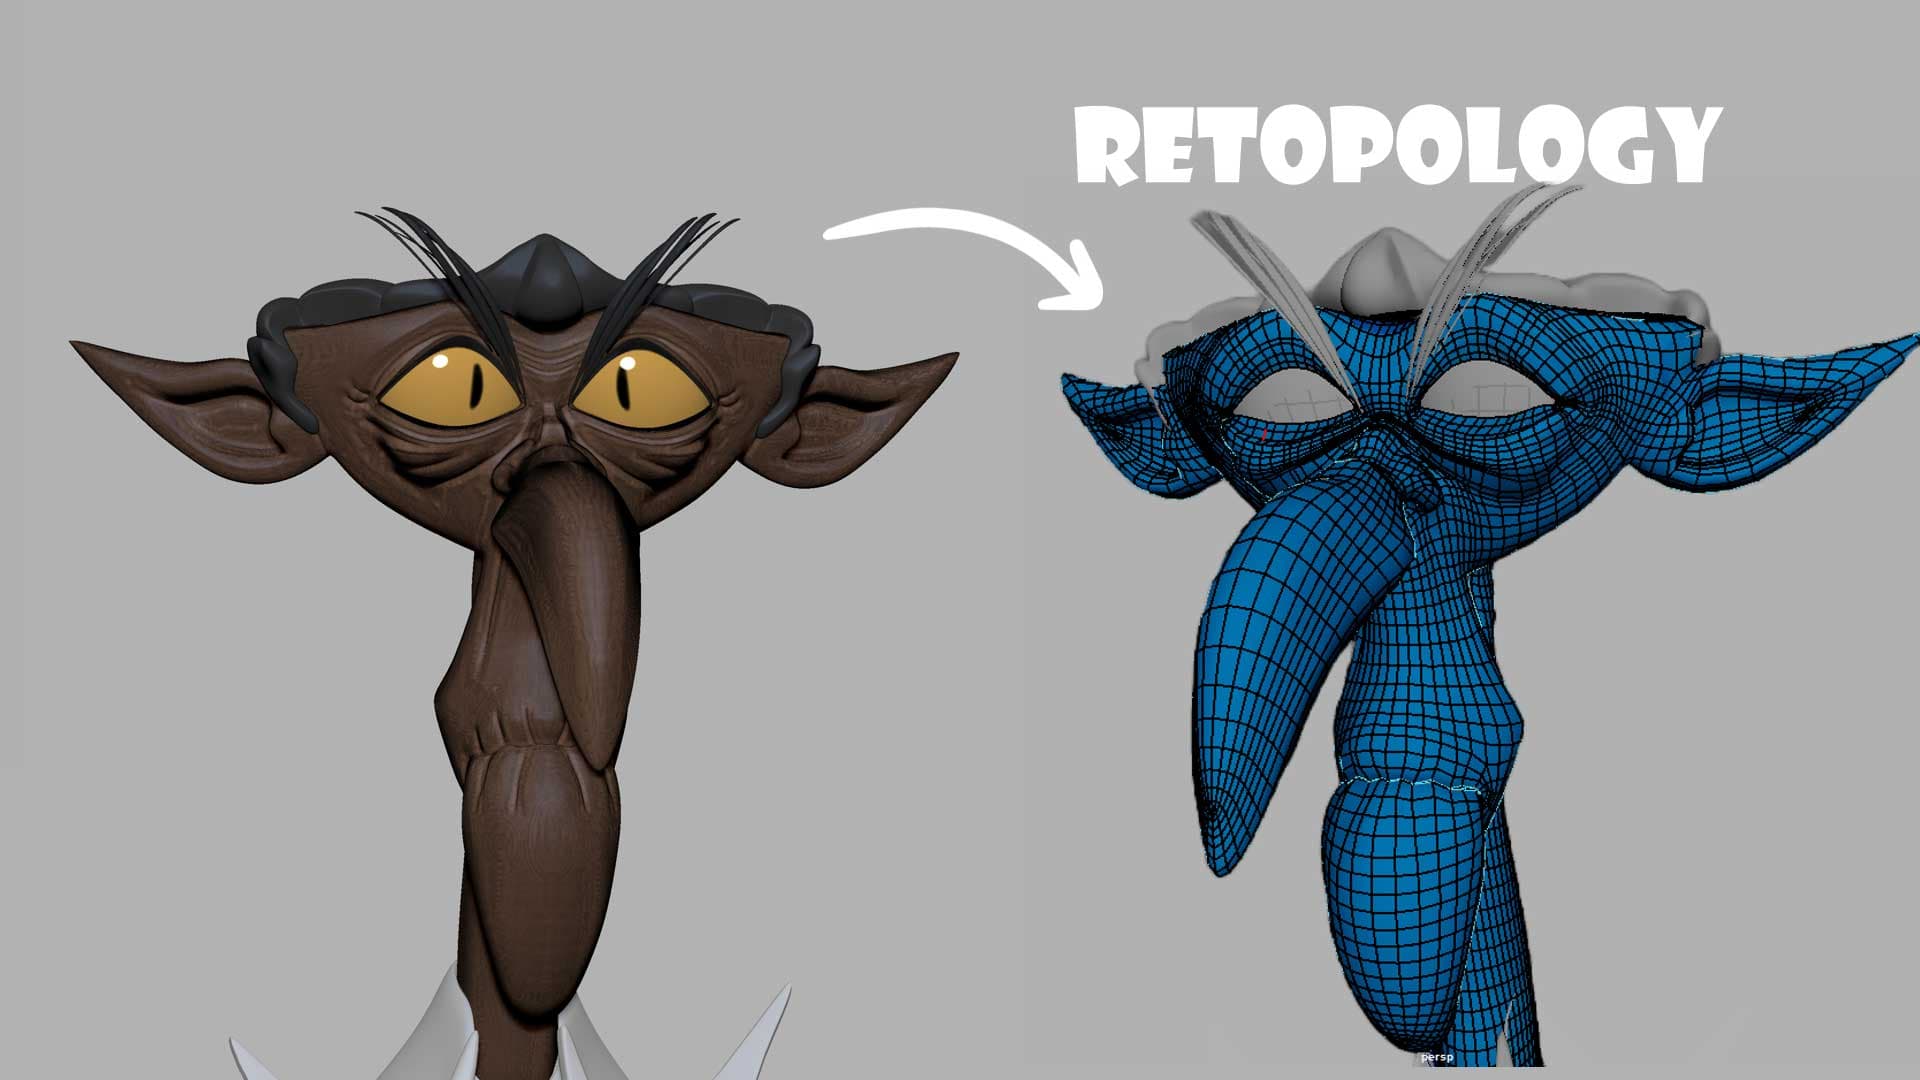
Retopology
The retopology process I consider very important because it facilitates subsequent processes, such as UV Mapping or Rigging.
I develop this stage in Autodesk Maya, as it seems very practical and intuitive to me. Before importing the character, it has to be optimized so that Maya does not crash with the amount of polygons. For this, I always use the Zplugin "Decimation Master" and once I have all the Subtools, I export them as .OBJ to Maya to carry out the retopology.
Once imported, I use the Quad Draw tool which allows me to create a polygon by polygon retopology from an object. It is very important that the polygons have a similar size for the topology to be constant.I always put reference images to make my topology as best as possible.
Retopology of head
Regarding the retopology of clothing and hair, if you do not want to spend much time on it like I did in this project, you can help yourself by doing a Zremesher. The result is not perfect but with some manual adjustments in Maya, it is quite acceptable.
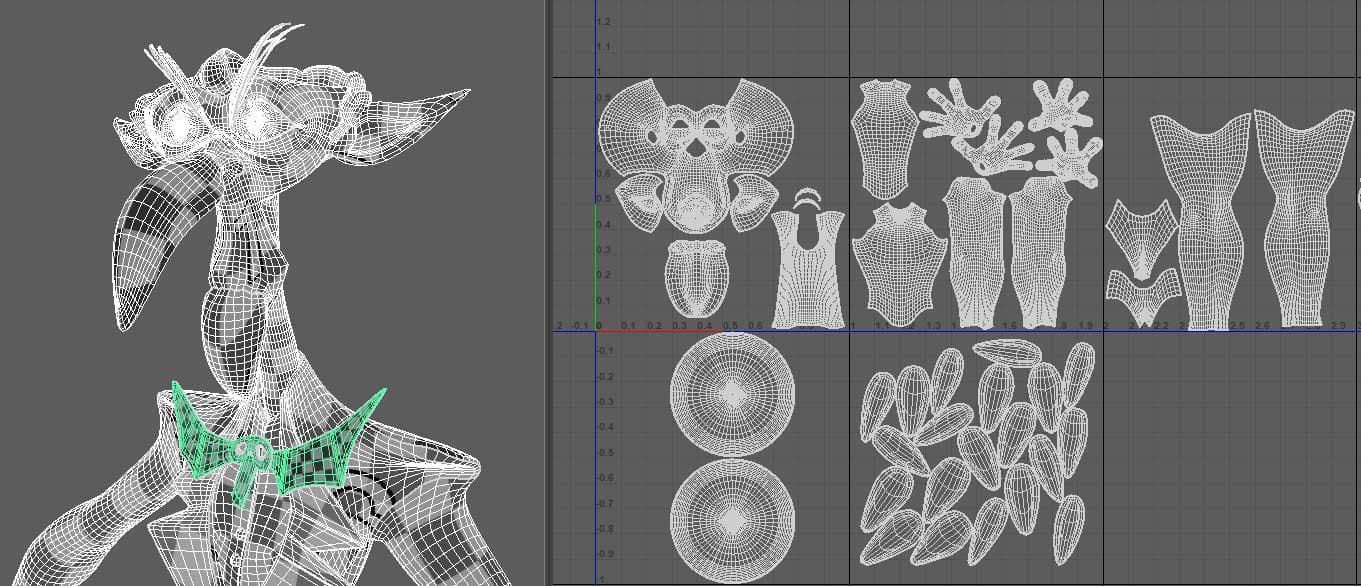
UV Mapping
Before performing the mapping, I always create a map of how I am going to texture the model. This helps me think about the number of UDIMs I may need and the texture resolution.
The methodology I use for this type of characters is to remove the largest pieces possible, especially in the head area, to achieve the highest possible resolution in later texturing. I made the UV cuts in the less visible areas to avoid it being noticeable in the final render.
Another thing to keep in mind with UDIMs is the Texel Density, where basically it is to equalize all the UVs and there are no inconsistencies between one and the other. They all have to be the same size.
Screenshot of UV Editor
Texturing
And now we are going to paint our character in Adobe Substance 3D Painter. This is one of the stages that I enjoy the most!
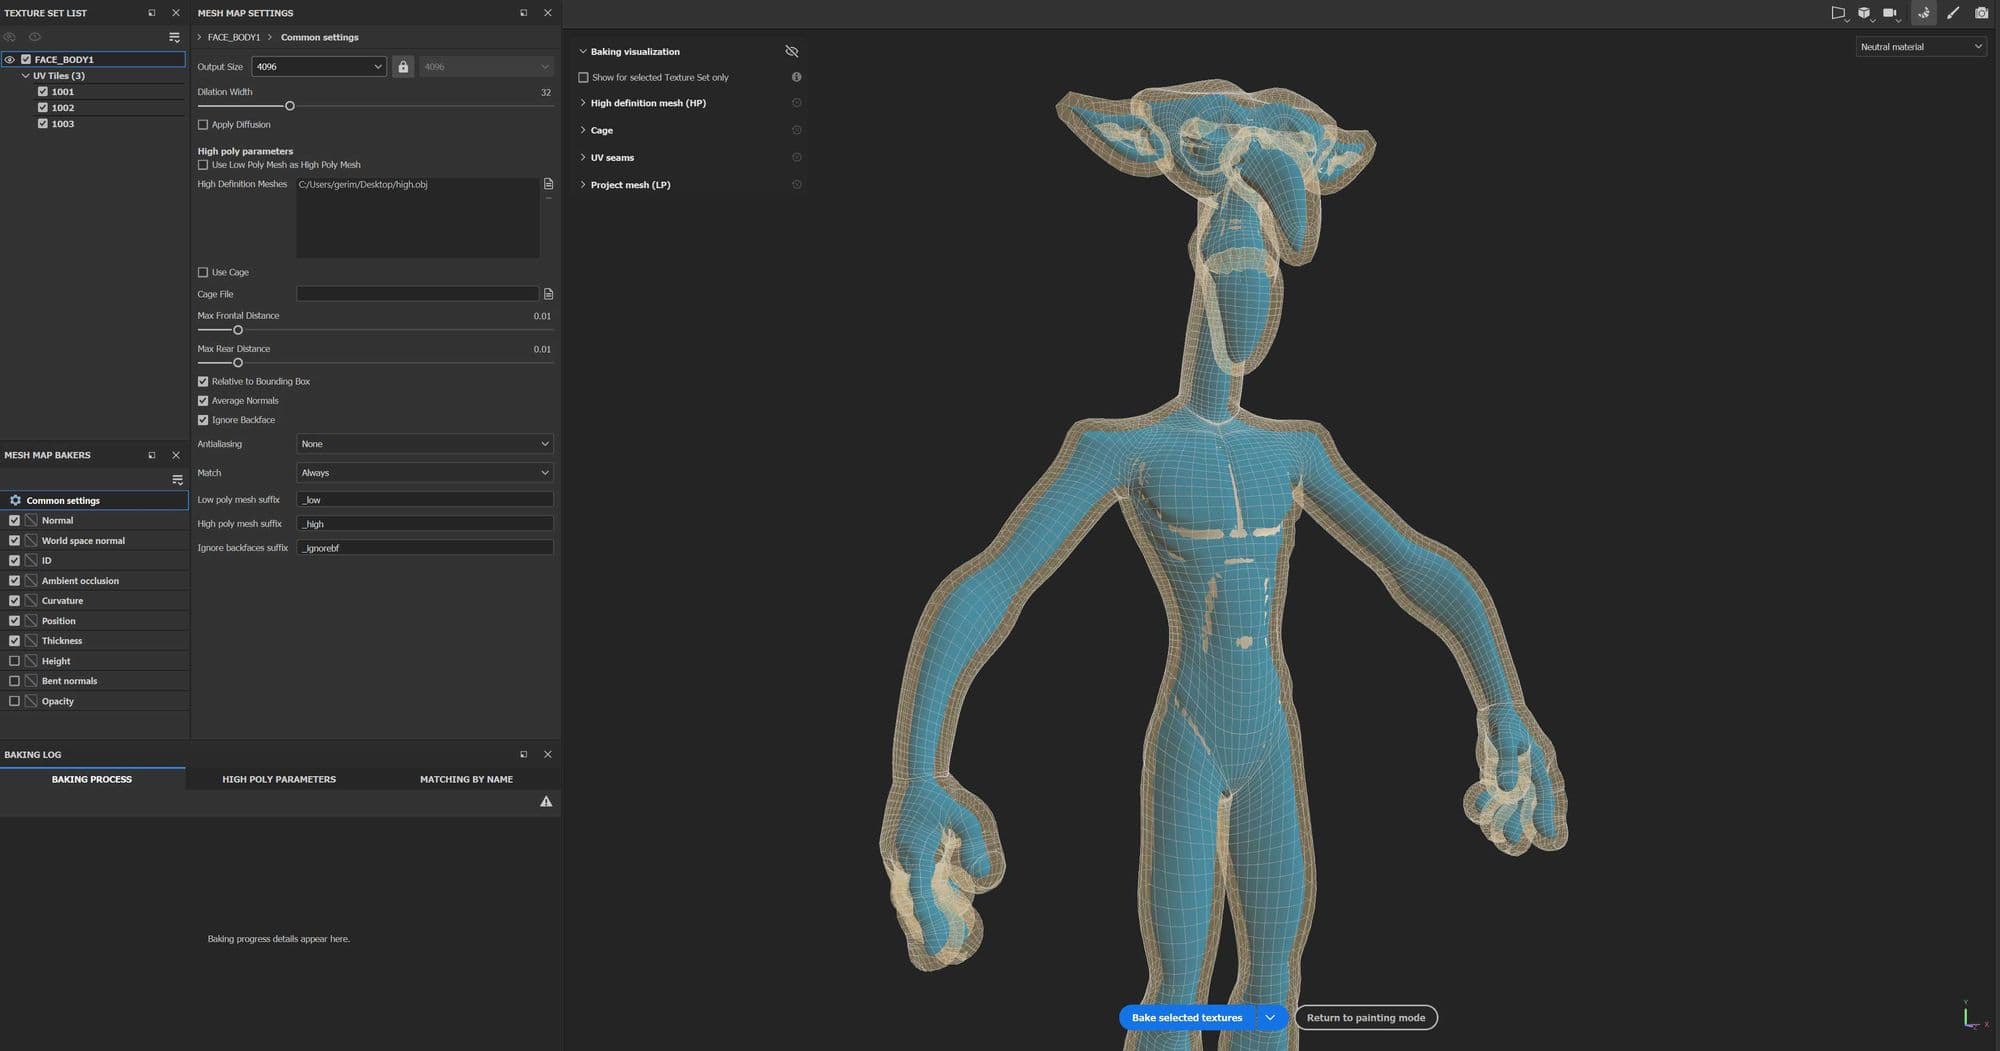
The first thing I do before texturing is to bake all the details from the high version and transfer it to the low version.
Baking
Skin textures
The first thing I do before texturing is to Bake all the details from the high version and transfer it to the low version.
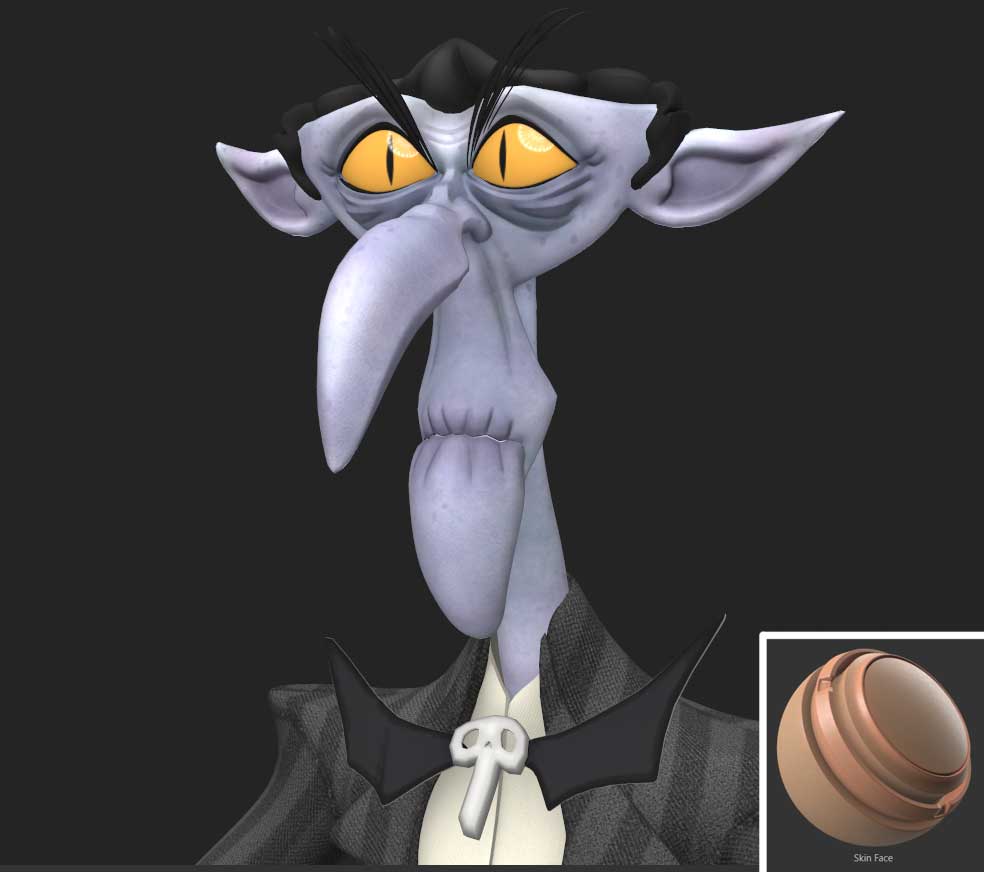
I always start with the texturing of the face with the smart material "Skin Face" and later modify it to my liking.
The interesting thing about smart materials is that we can modify them to our liking. First, I modify the Base Skin to a more neutral tone, I duplicate the "Skin Pores" layer to change the size of the pores in the scale value and distribute them strategically depending on the face. All of this with layer masks.
Next, I add a new folder called "Skin Shades". In this, I create different fill layers to create a colour variation. In each layer, I add Black Mask to paint the determined areas depending on the color. I recommend you look for color study references for the face.
Head textures
Eye Textures
The eyes are simply a texture previously made in Photoshop and projected in Substance Painter with a roughness value of 0.
Clothes, hair and accessories
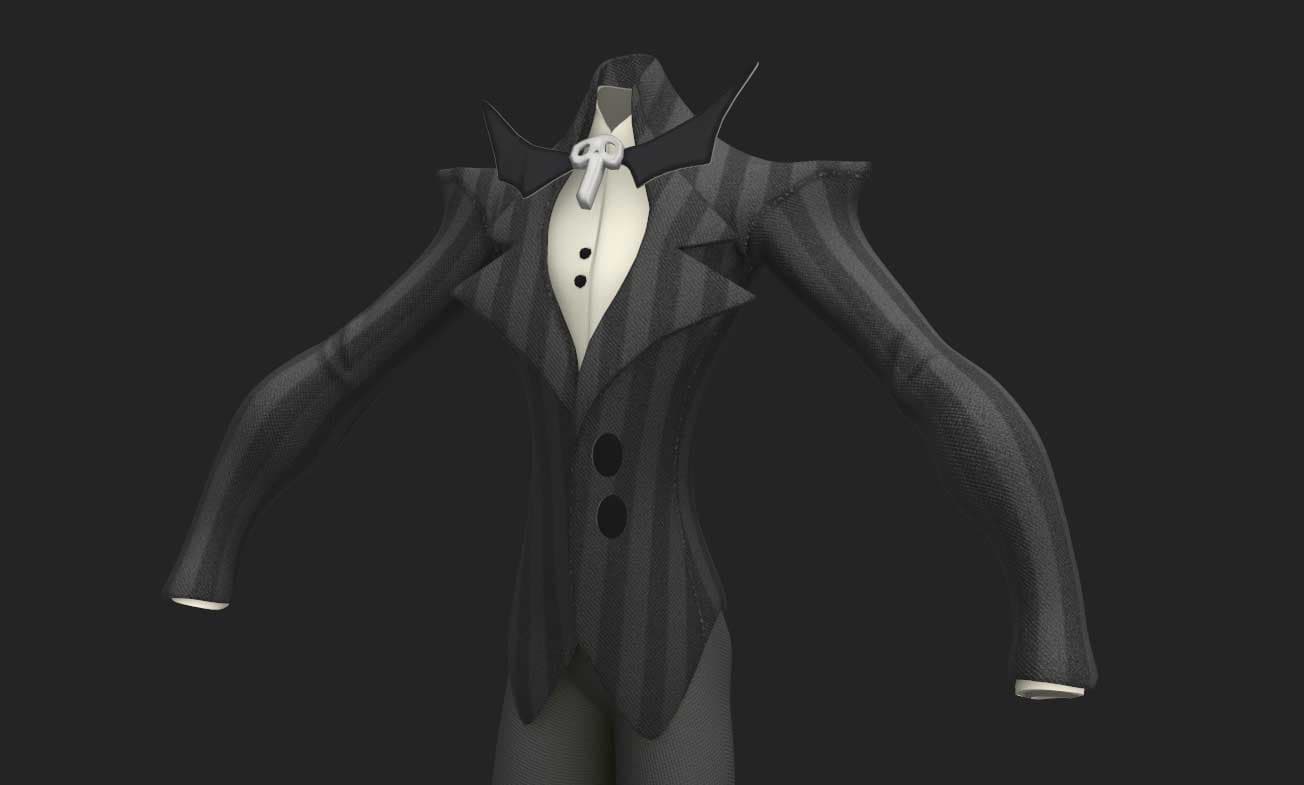
Finally, for the clothing and hair, my main goal is always to add more definition and highlight the areas where I want the viewer to focus. I add a bit of Ambient Occlusion to the Base colour, paint some colours and details like shine on the edges.
Cloth textures
Export
Once I have all the textures done I start the export. The configuration I use is Arnold's (Ai Standard), in targa format with a resolution of 4096.
Posing
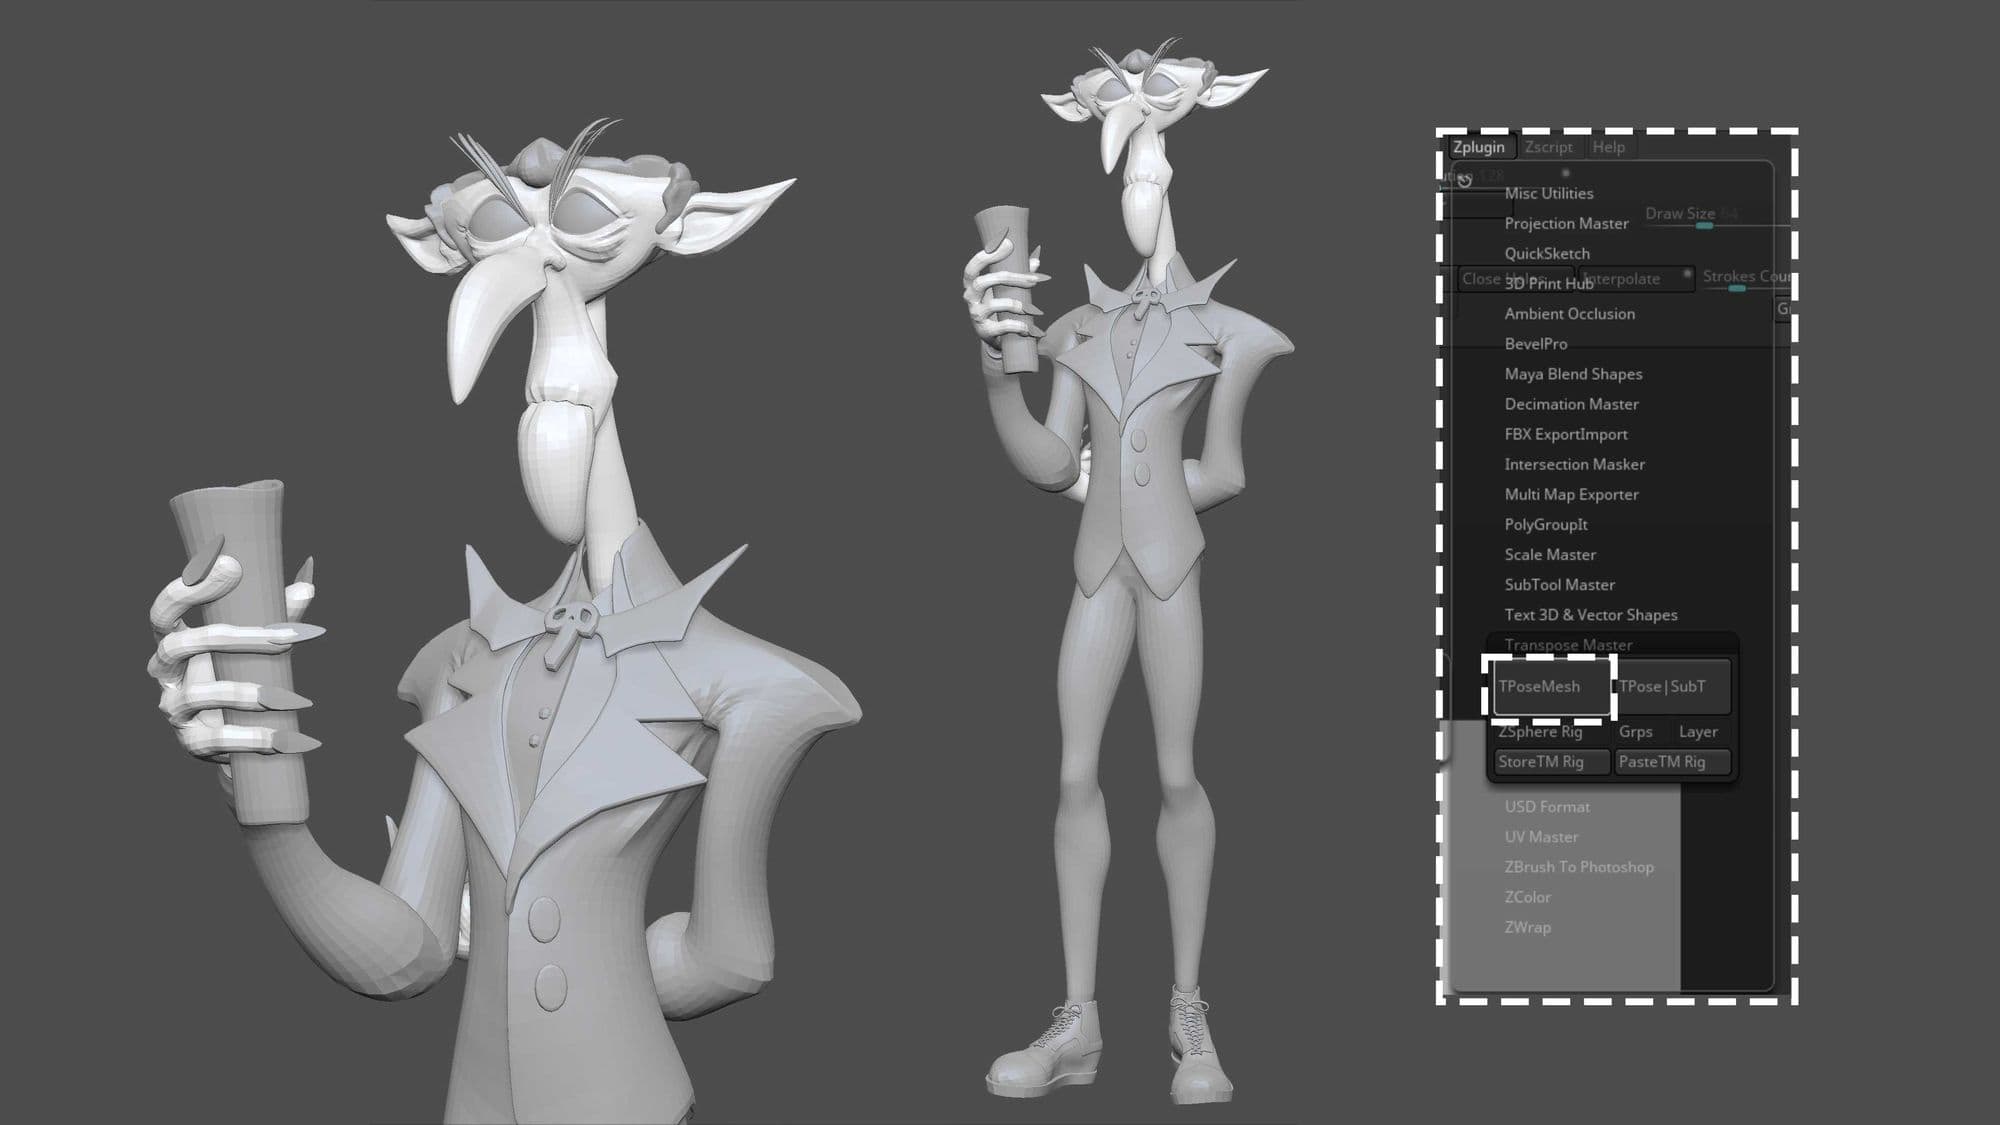
Finally, it's time to pose! The pose is crucial to bring the character to life. I usually use the "Transpose Master" plugin to pose. I go to the Zplugin> Transpose Master sub-palette and press the TPoseMesh button.
Now, I can start using masks along with the transpose tool and Lasso to pose the character in a single subtool. Also, in some cases, I use the hide and show polygroups function as an aid to better pose the character.
When posing my characters, I like to have the lines of the shoulders and hips opposite to each other to create more dynamism. In this case, I had to base myself on the original illustration by Justin.
Once I have the pose finished, to transfer all these movements to the different subtools, we return to Zplugin> Transpose Master, and press the Tpose | Sub button.
And again, we bring it to Maya to do all the shading, lighting and rendering.
Transpose Master
Shading and Lighting
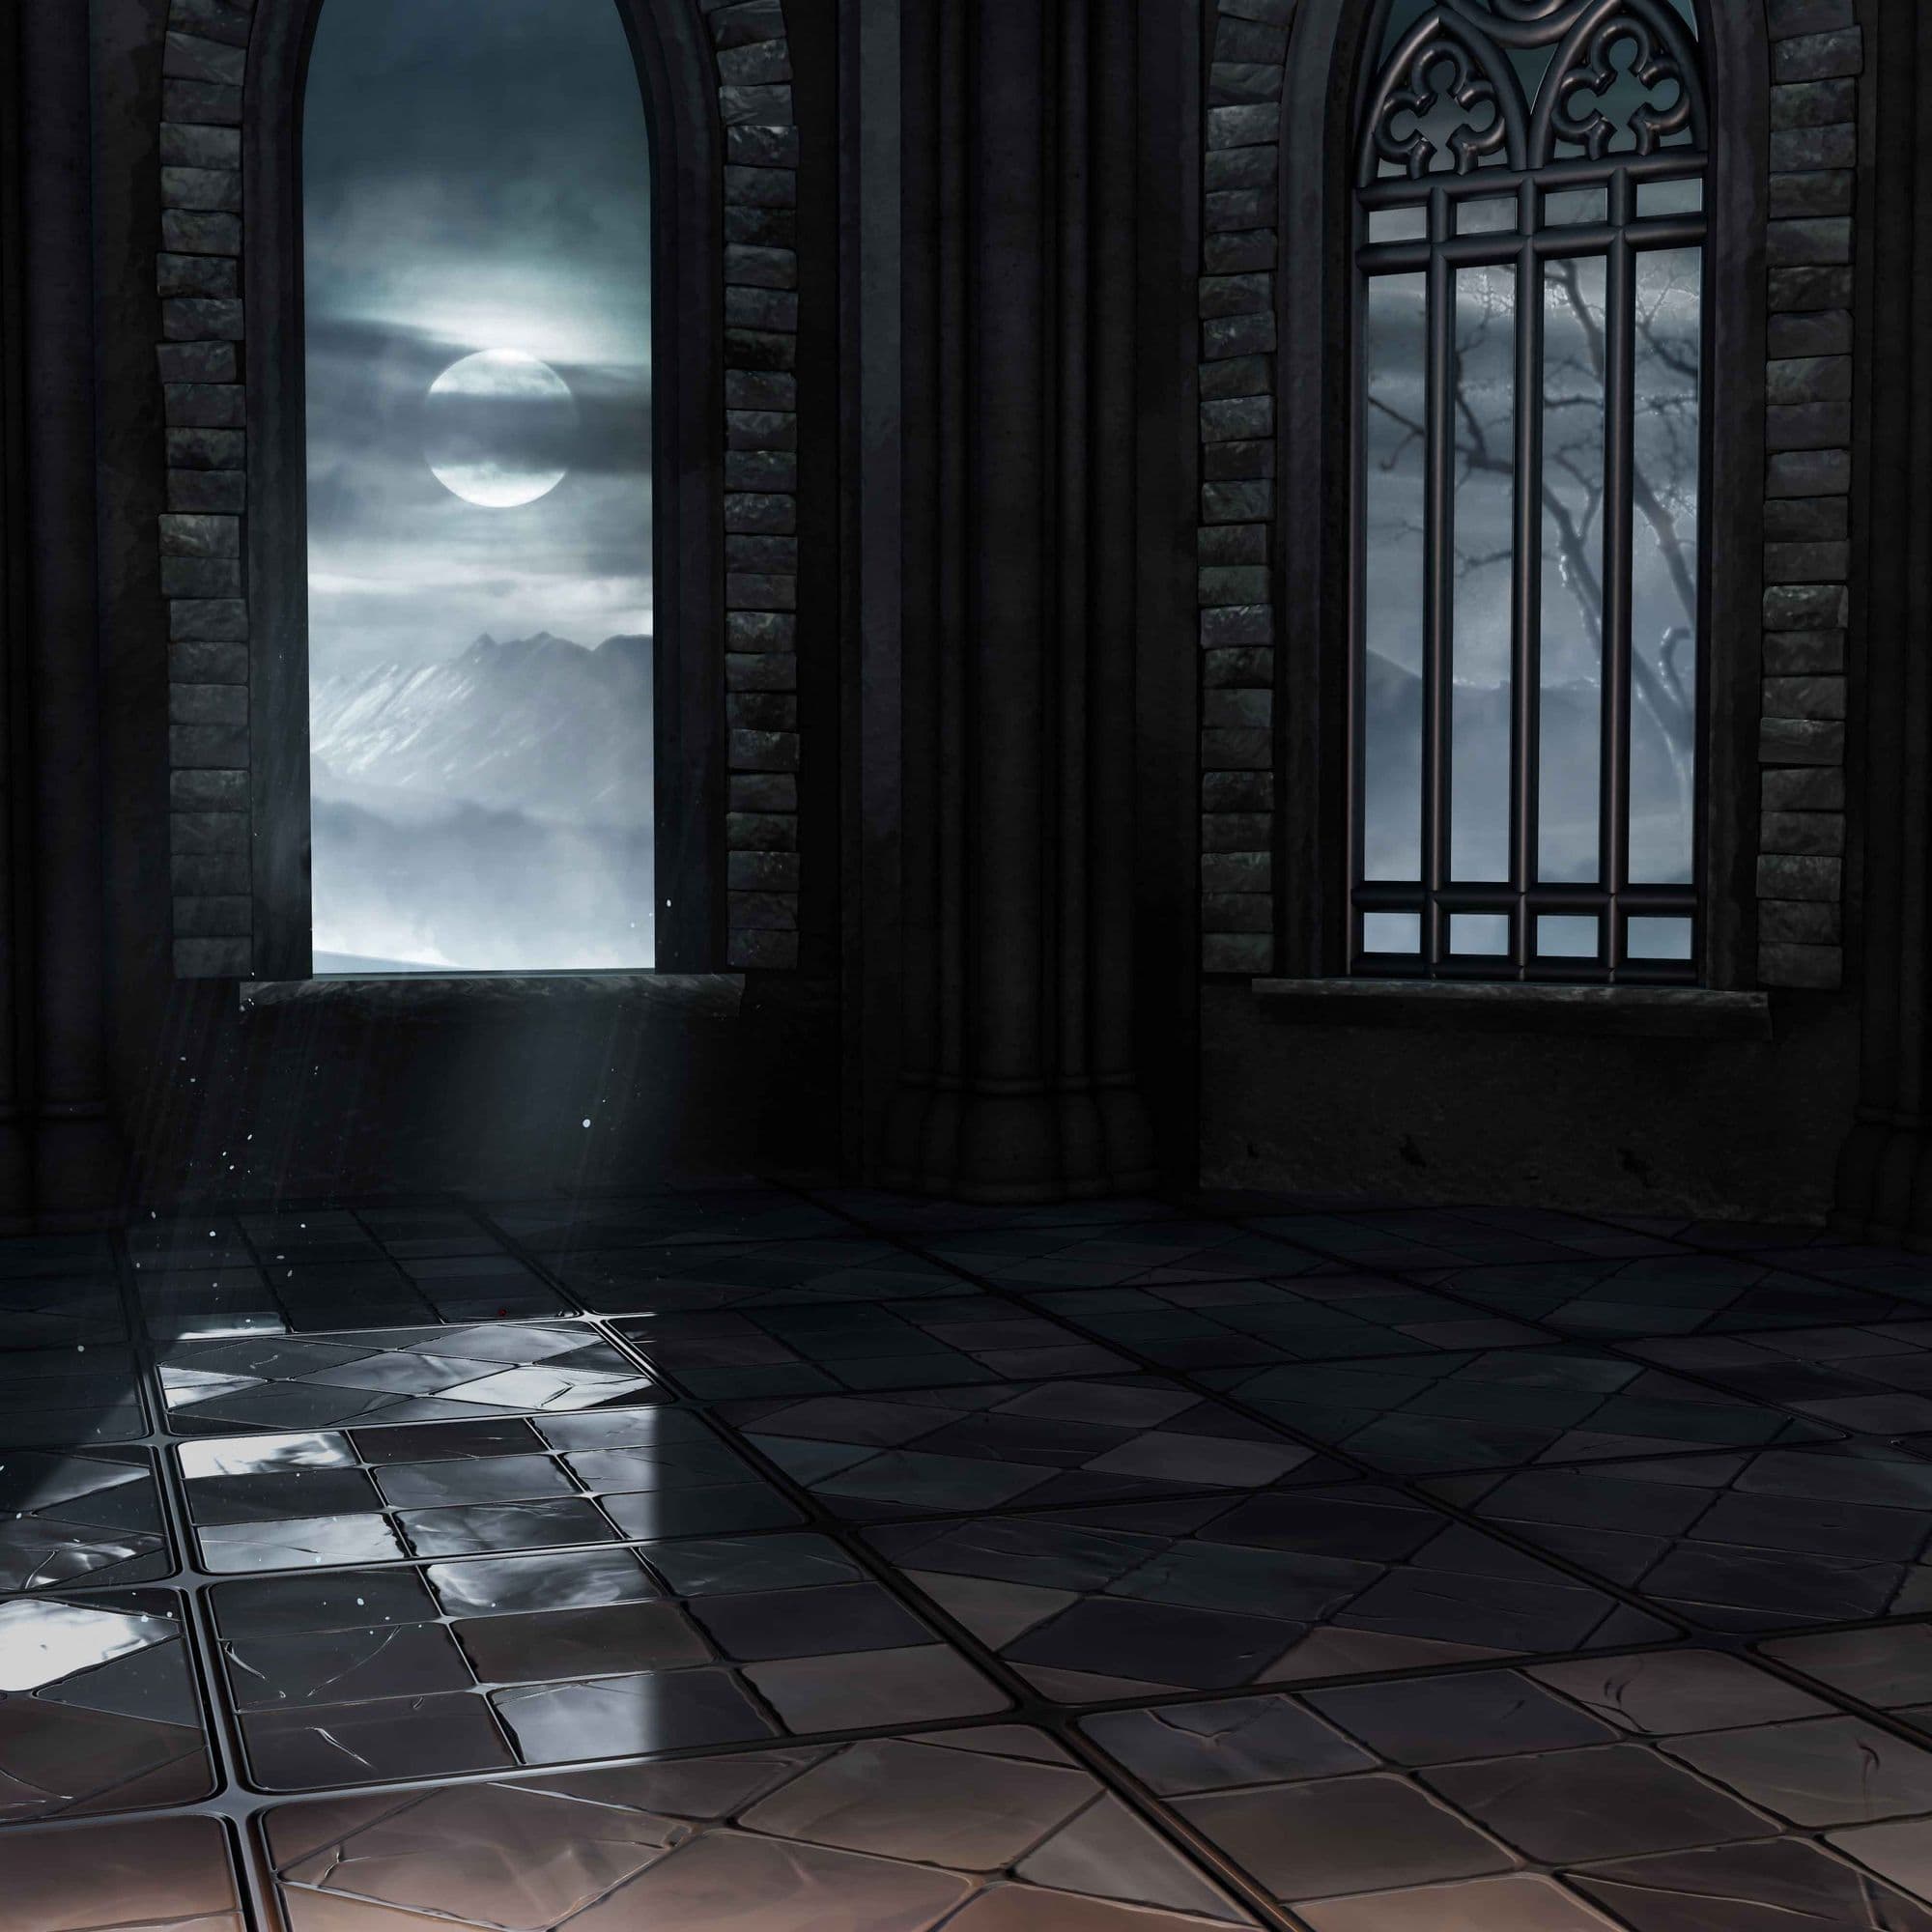
Finally, for the final render of Vlad The Vampire, I wanted to achieve a cinematic look similar to animation movies. To give the result a bit more life, I decided to model a small, simple set with objects that would later help with the final composition.
Environment
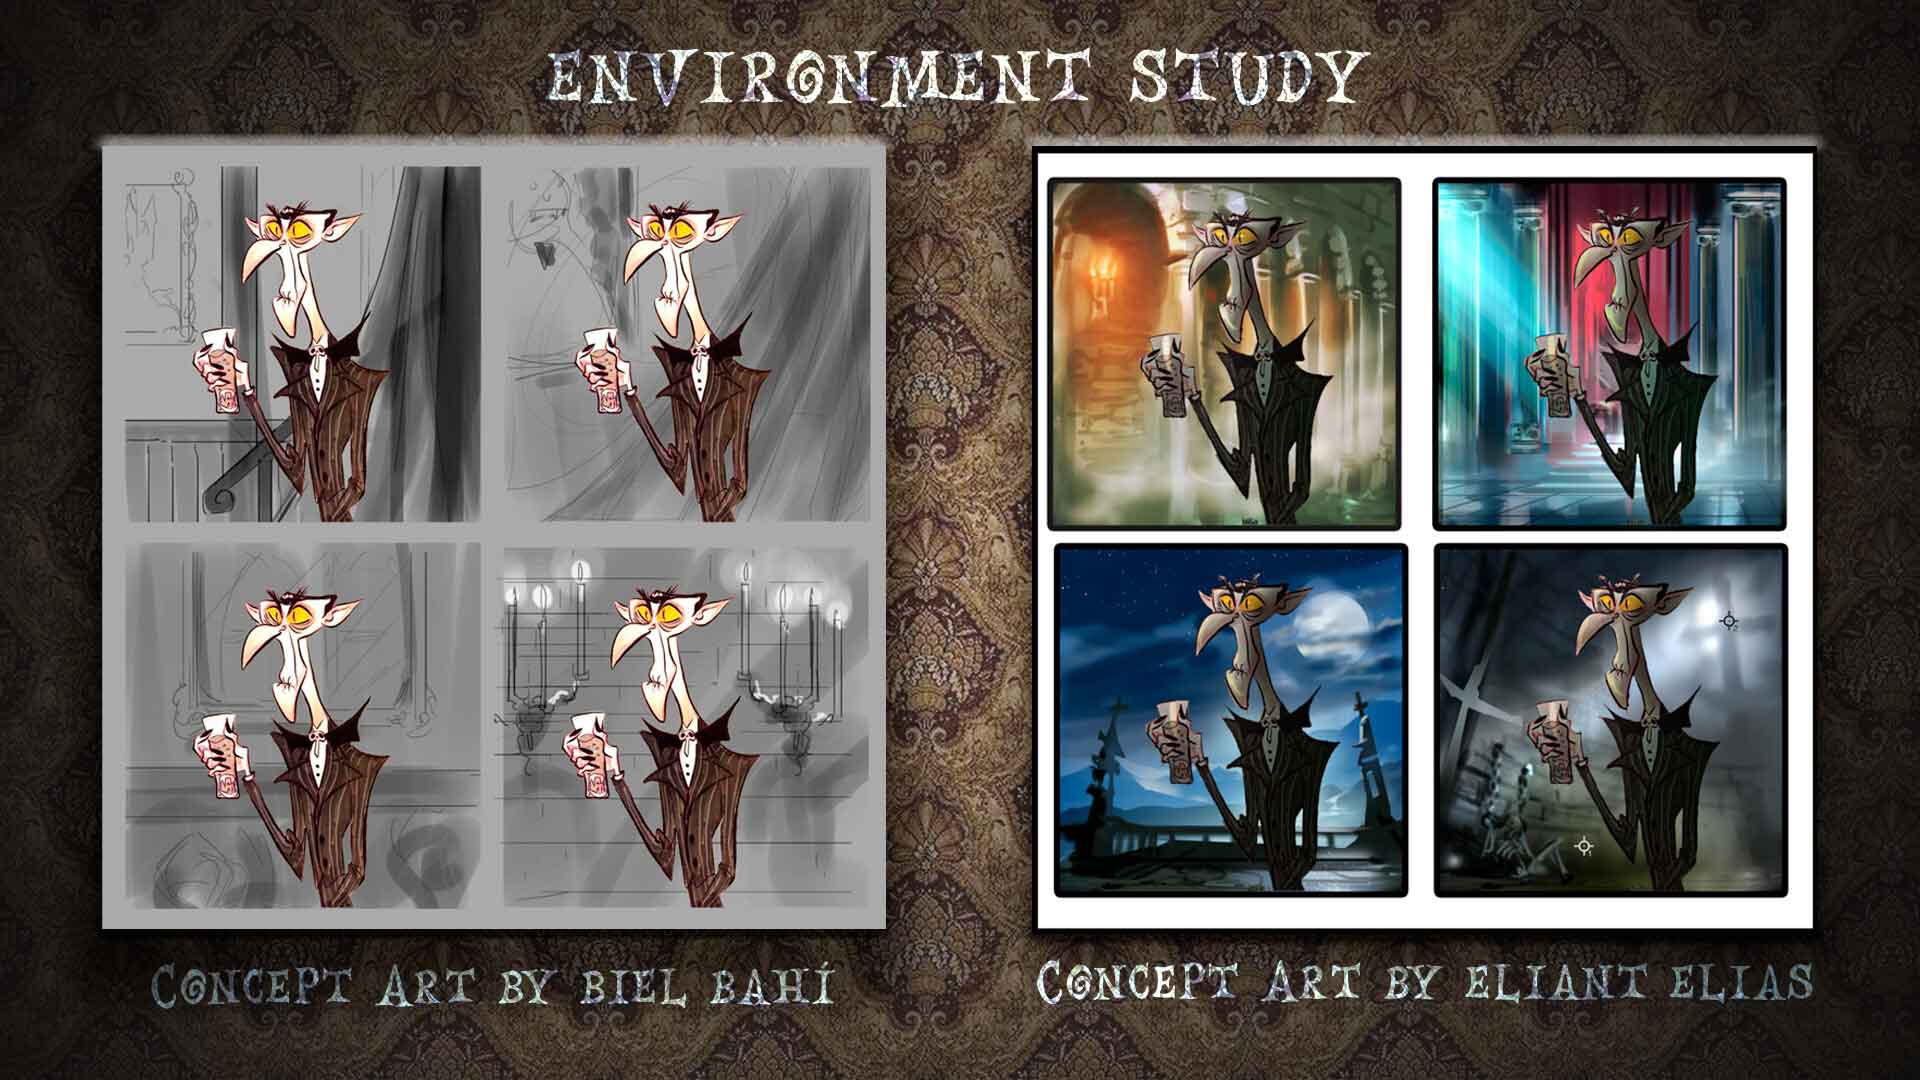
During this process, I was aided by Biel Bahí and Eliant Elias in designing the environment. They are two talented concept artists and have been a great help.
Also, I need to give thanks to my life partner Ivet Macias, also a 3D artist, who has provided constant feedback in the final step.
Environment Study
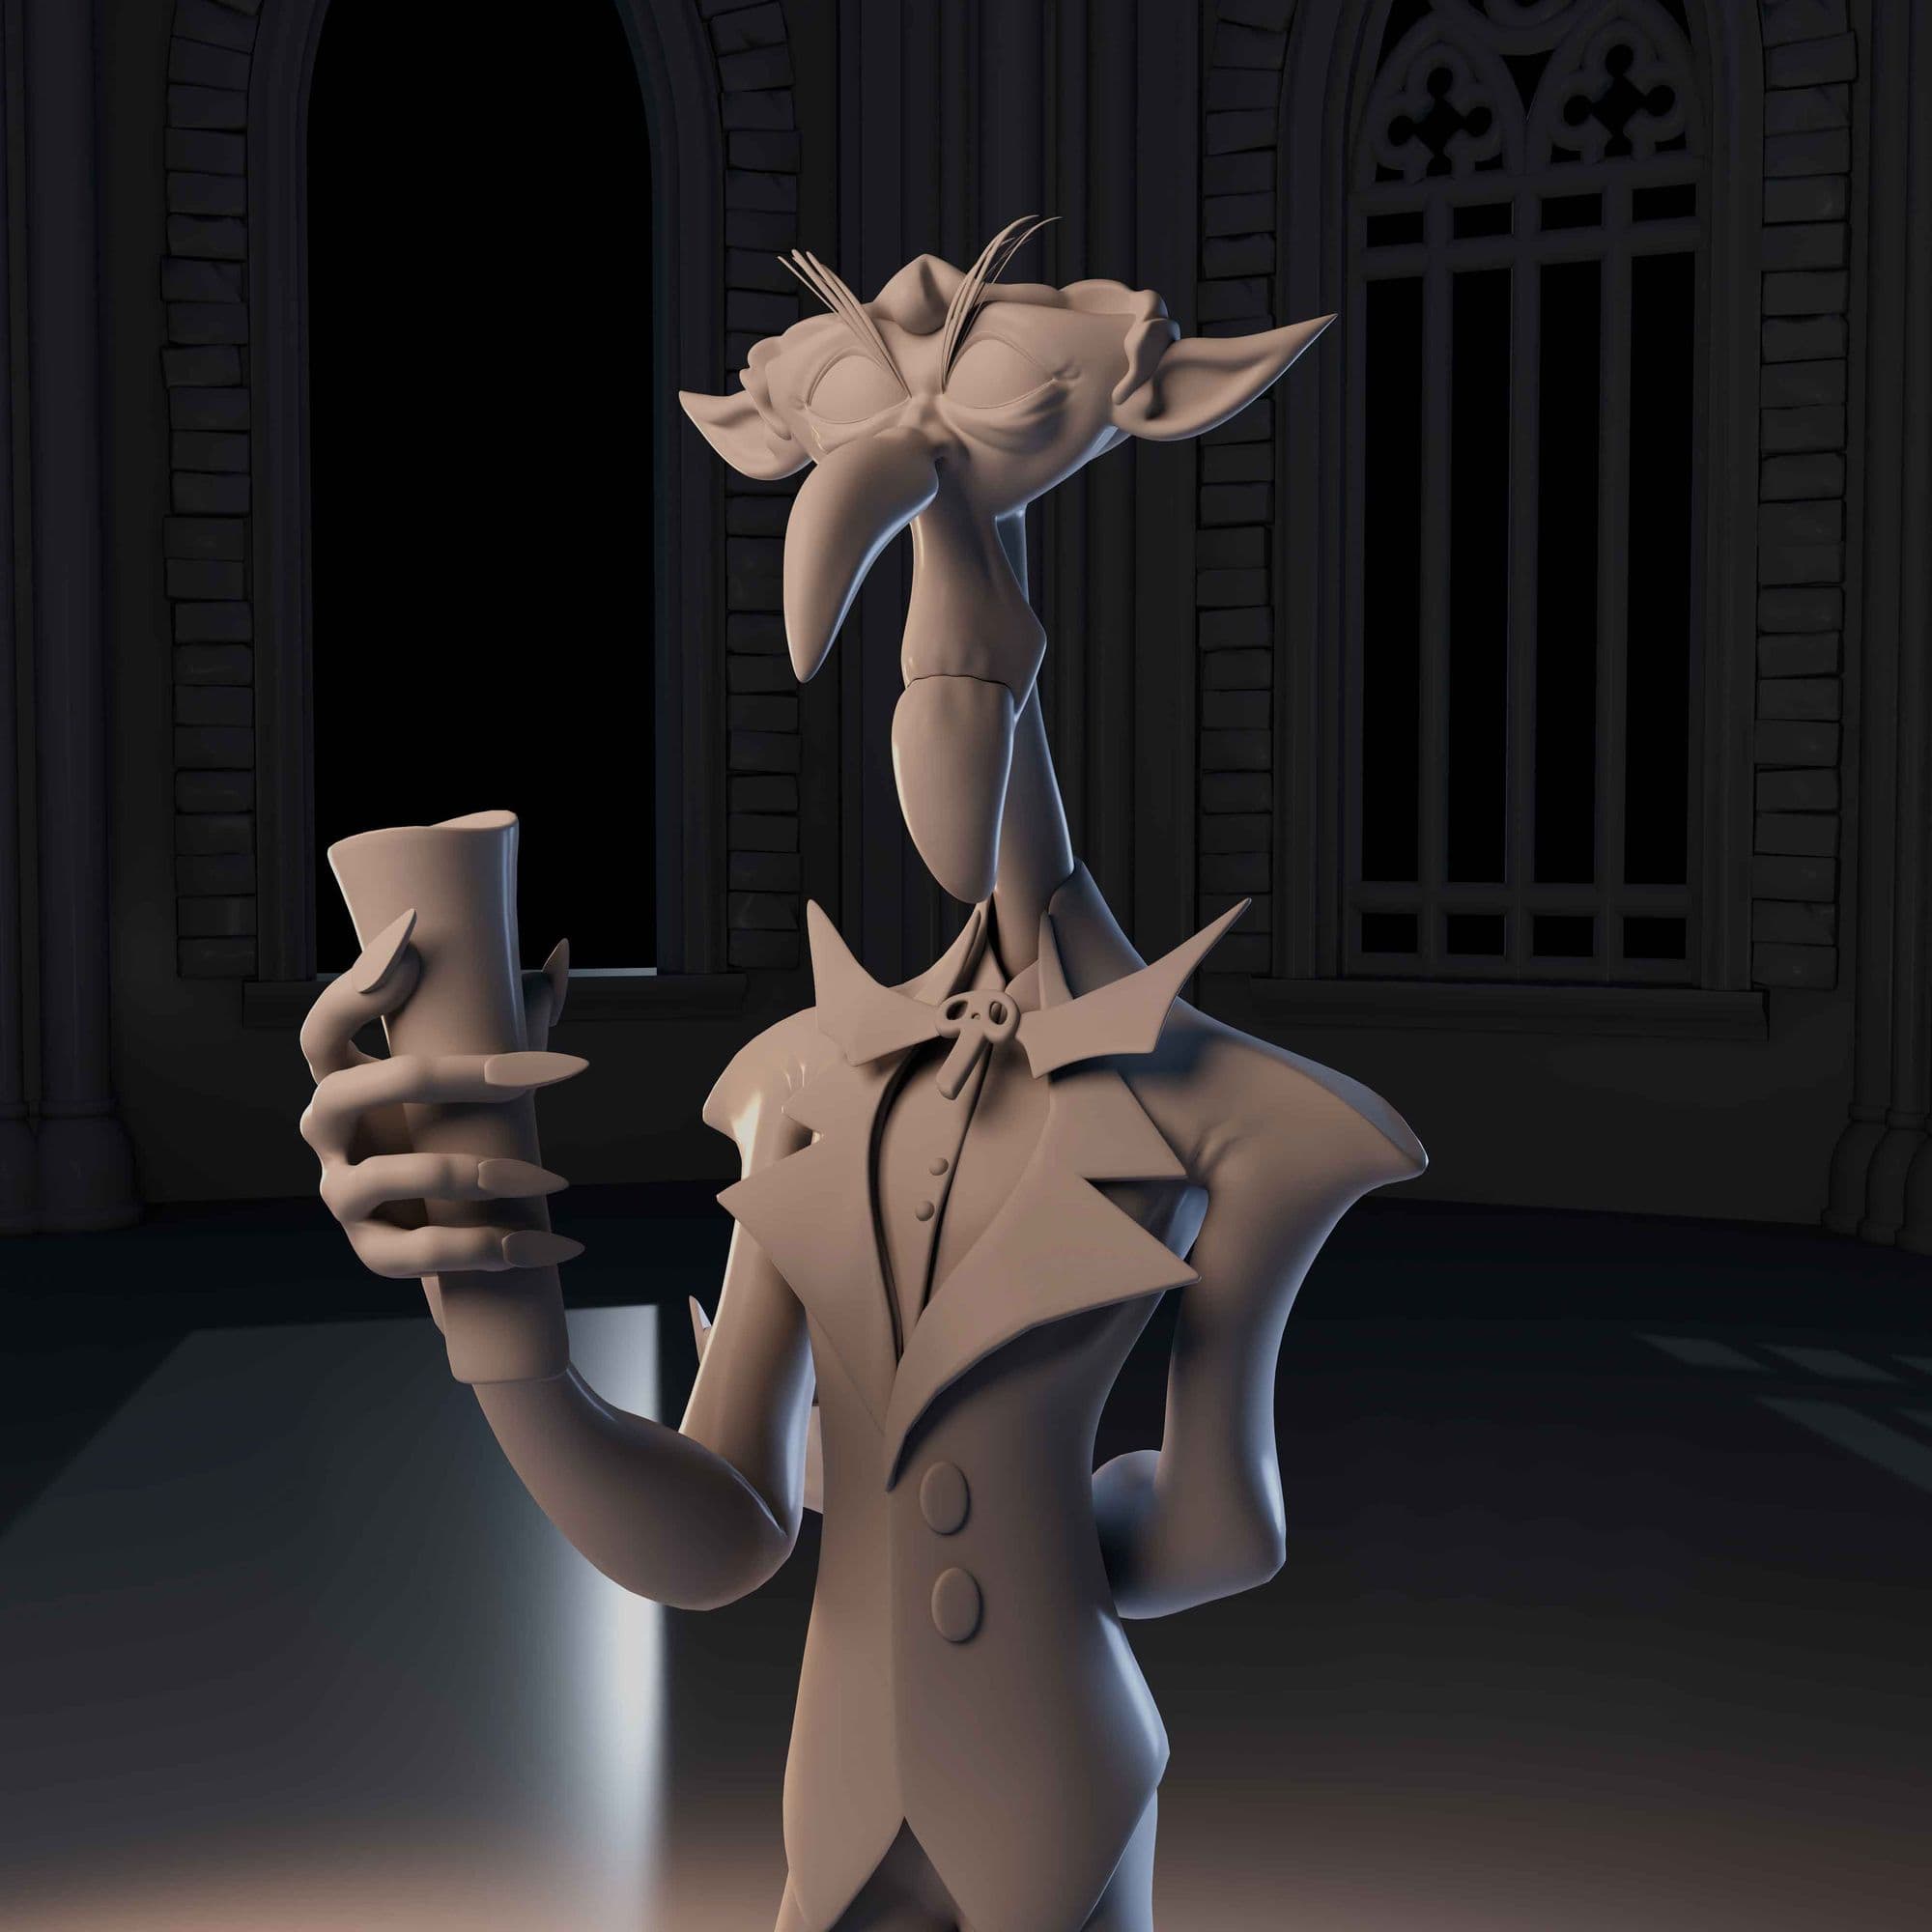
At this stage, I apply the maps in the Arnold's aiStandardSurface material. I apply the base color map both in the base color and the subsurface scattering. I also connect the roughness, metalness map and finally the normal map.
In the lighting process for the character, a four-point lighting scheme was used: a key light, a fill light, rim light and an ambient light.
The Key light is the main light that illuminates the main subject of the scene, and its function is to provide the main and dominant illumination of the scene.
The Fill light is a secondary light that is used to soften shadows and reduce the contrast of the Key light, and its function is to provide a secondary light that illuminates areas that are not reached by the Key light, allowing details that would otherwise be hidden in shadow to be seen.
The Rim light is a light that is placed behind the subject and its function is to provide a visual separation between the subject and the background, creating a sense of depth and three-dimensionality in the image. It is also used to highlight the edges of the subject and give them a more defined and clear look.
Ambient light is the light that comes from non-directional light sources in a scene, such as natural sunlight filtering through a window or general room lighting.
Lighting
Conclusion
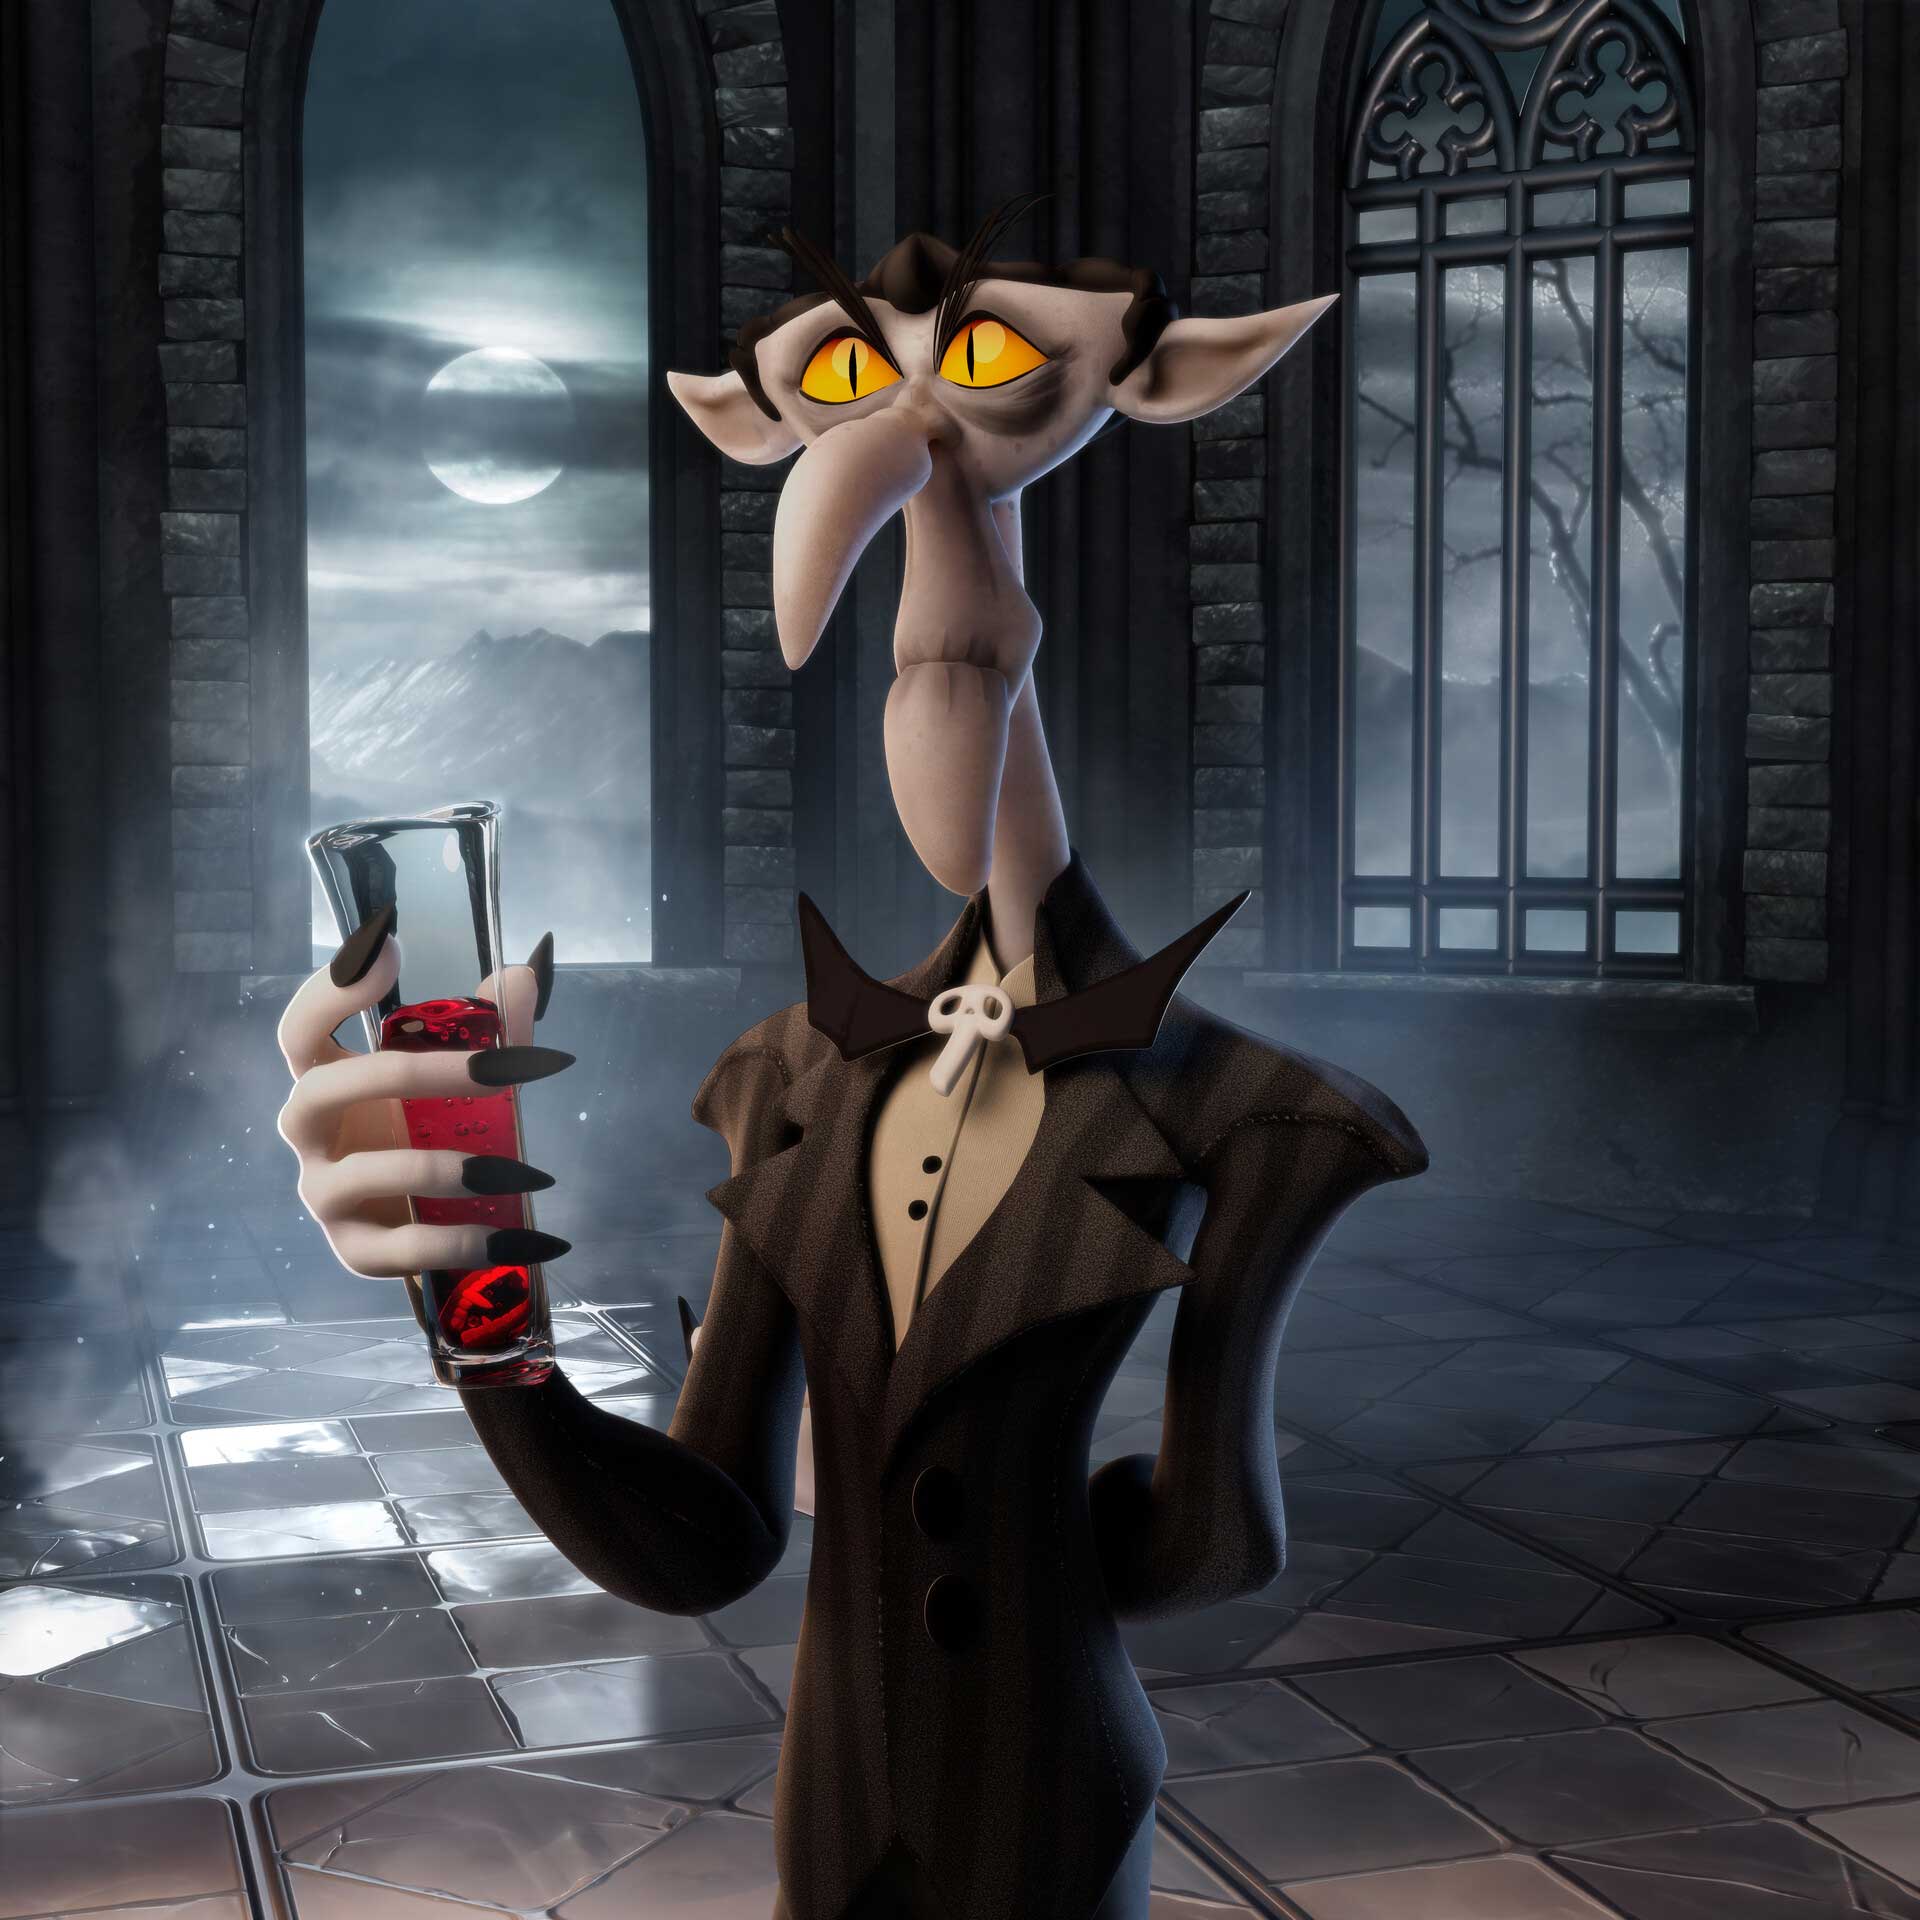
In conclusion, today we have explained the process of creating a 3D character named "Vlad the Vampire". This process included creating the base structure, sculpting details and texturing. Then, we used a plugin called "Transpose Master" to pose the character and achieve a dynamic and lively pose. Finally, we modeled a small scene and applied materials and texture maps in the Arnold render engine to achieve a cinematic look.
Final Renders
It was a pleasure to describe this process and collaborate in the Rookies! Thank you very much!
You can find more of Gerard Martínez Sánchez's work here: