Unleashing Your Inner Manga Artist: A Guide to Creating Anime-Style Characters
In this post, Eddie Dzaferovic, a recent CDW Studios / Flinders University graduate, will walk you through the entire process of creating an anime-style character from start to finish, giving you the tips and tools you need to unleash your creativity and design a character that's uniquely yours.
Are you an aspiring artist interested in learning how to create your own anime-style characters? Whether you're a seasoned professional or a beginner, designing an anime character can be a fun and rewarding experience. From sketching and colouring to adding details and personality traits, there are numerous steps involved in bringing your character to life.
In this blog post, Eddie Dzaferovic, a recent graduate from CDW Studios / Flinders University, will walk you through the entire process of creating an anime-style character from start to finish, giving you the tips and tools you need to unleash your creativity and design a character that's uniquely yours. So grab your pencils, tablets, and artistic supplies, and let's get started!
The beginning of my 2D Art Journey
I discovered CDW studio during high school through my animation VET course. I found CDW to be valuable to me for its extensive art knowledge.
When I first started, everything was so new, but the CDW instructors put me at ease - they gave feedback to students based on the level they were at.
Learning the fundamentals from their bootcamp classes was super beneficial. I was exposed to perspective, construction, rendering and more. When you start your studies, you’ll be trying out their introduction classes, each made up of three classes. The classes are: anatomy (3d sculpting), 3d animation, and design. Then in second year, you choose your specialisation: 2D or 3D. I chose 2D because I wanted to do 2D animation, character design and digital painting for my second year.
Sadly, I didn’t pick up storyboarding until I found out that I enjoyed the process. I enjoy working on my own stories through my personal projects. At the time, I picked 3d animation, however felt out of touch, and thought my work wasn’t as expressive as I wanted it to be. I may pick up 3D again in the future, but for now I want to focus on my 2D work.
The Tools
The tool I use for the majority of my pipeline is Clip Studio Paint, for both art and animation. I have also used Photoshop for the first half of my studies at CDW Studios. I see it more suitable for digital painting work than my animation work. So, Clip Studio Paint fits with my pipeline, and I still use Photoshop if it’s ever needed. Lately, I’ve been discovering different process tricks done by Japanese anime artists. I haven’t tried them yet, since I haven’t found a suitable artwork to apply them.
Clip Studio Paint contains advanced tools I use in my work. Tools such as: vector layers, magic wand, liquefy, colorise, layer clipping, and more.
I'm always discovering new tools in Clip Studio Paint and Photoshop by seeing other artists' processes and experimenting with tools to fit with my process.
Photoshop is a good option, but it depends on your needs. Based on my personal use, I find Clip Studio Paint to be an affordable art software. It can be a useful software for young artists starting out, which can later be picked up for professional use. It has similar features to Photoshop but without the photo editing tools.
Inspiration
The inspiration for my art style comes from my interest in the anime style. I'm always interested in the style of how stories are told through this medium. The inspiration for the drawing below is from the mobile game called Arknights. The game is known for its rich world-building and modern and high-tech clothing designs for its characters.
Character Design Process
The work I’ll be showing below will be my process of my character design work from third year. The task was to complete a character in 3 weeks.
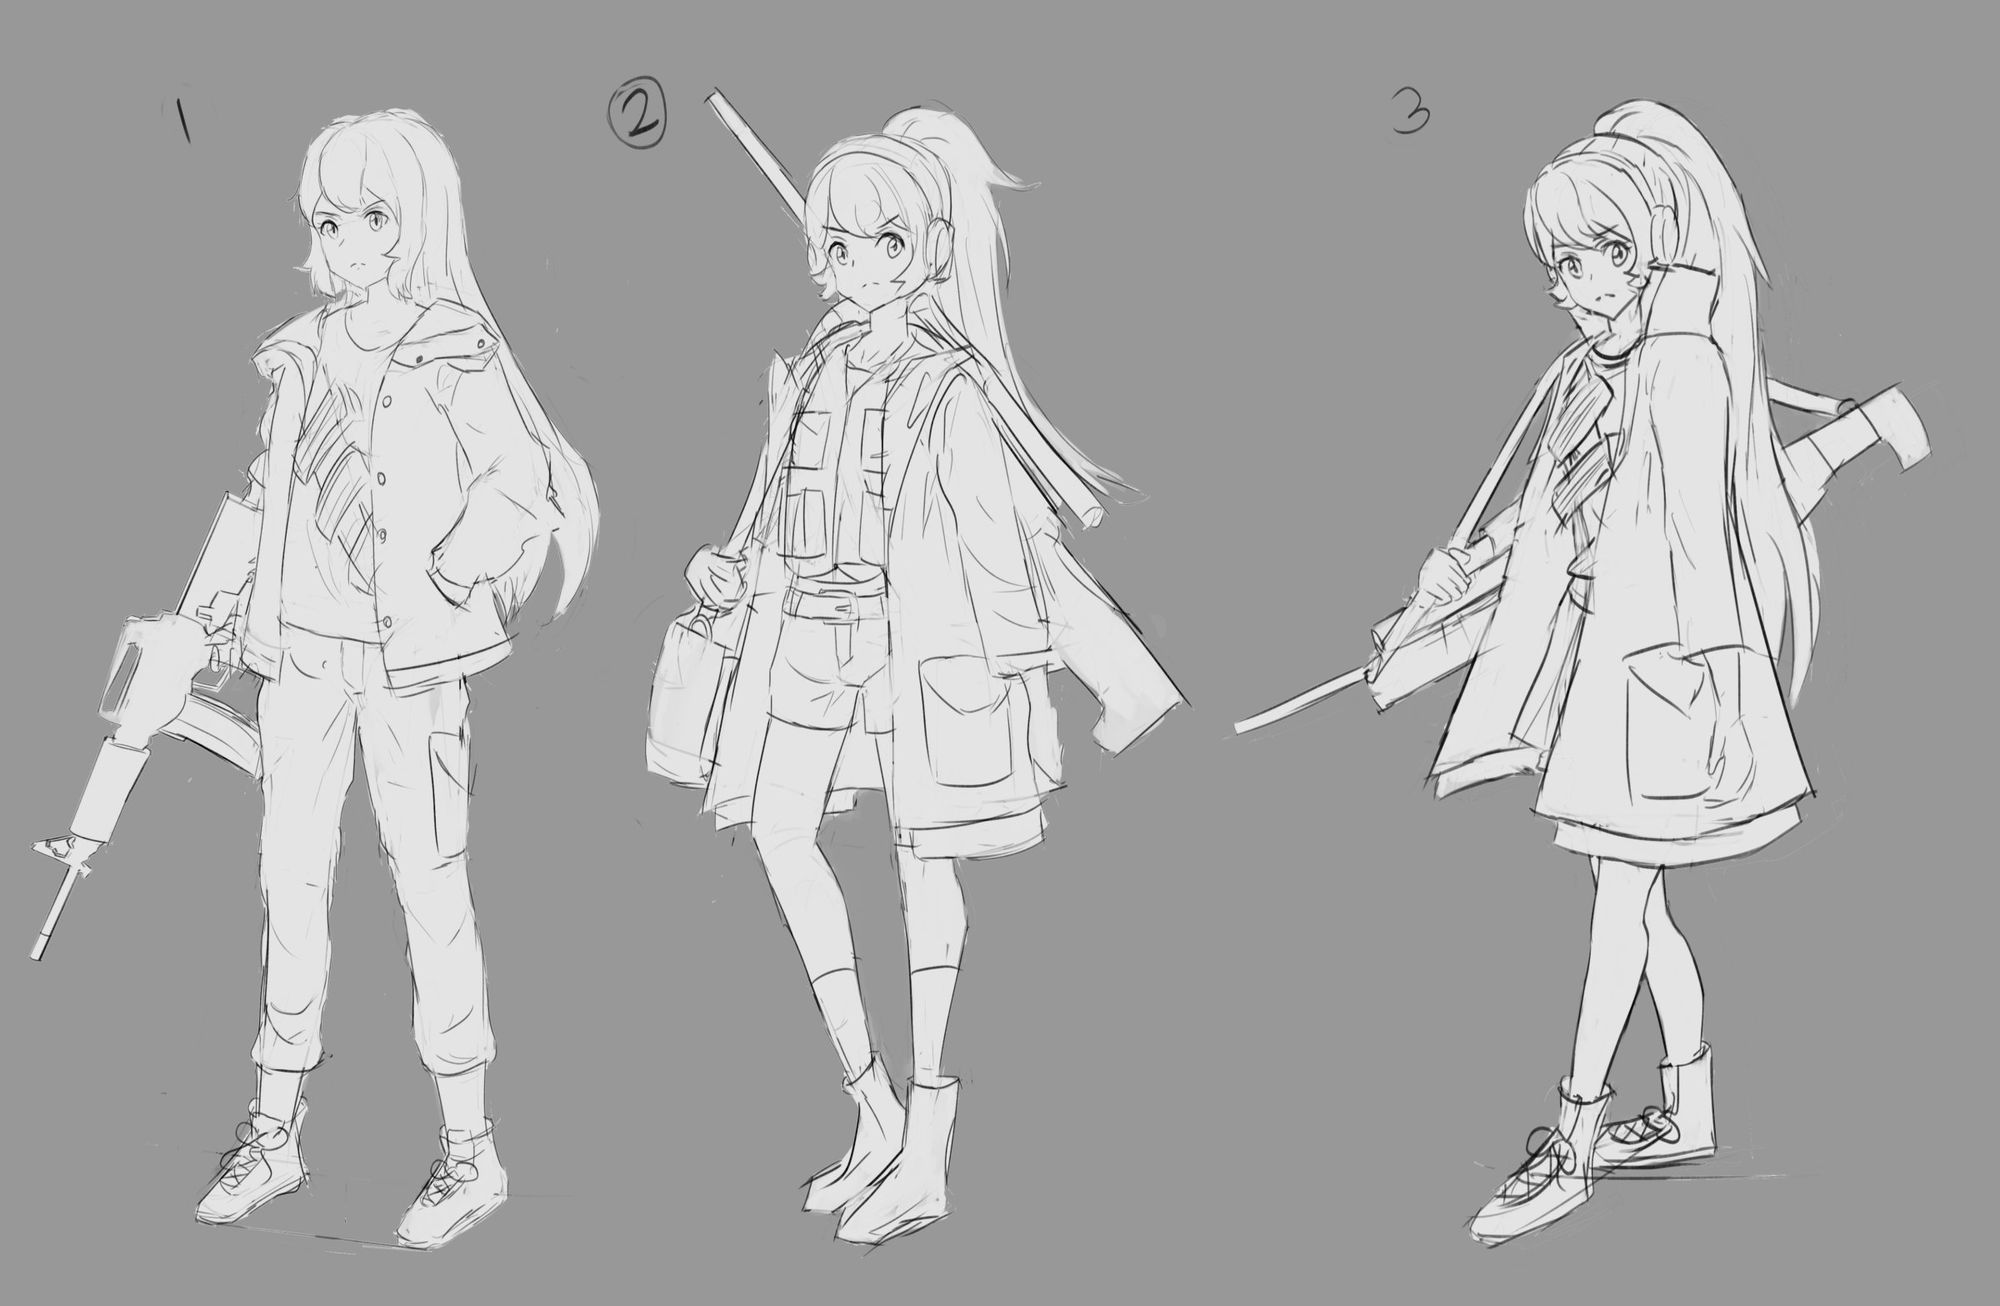
Thumbnails
In the first thumbnails, I usually draw rough sketches of the character. Not as detailed, but quick, simple designs. I looked into references as sources of inspiration to lay out the fundamental design.
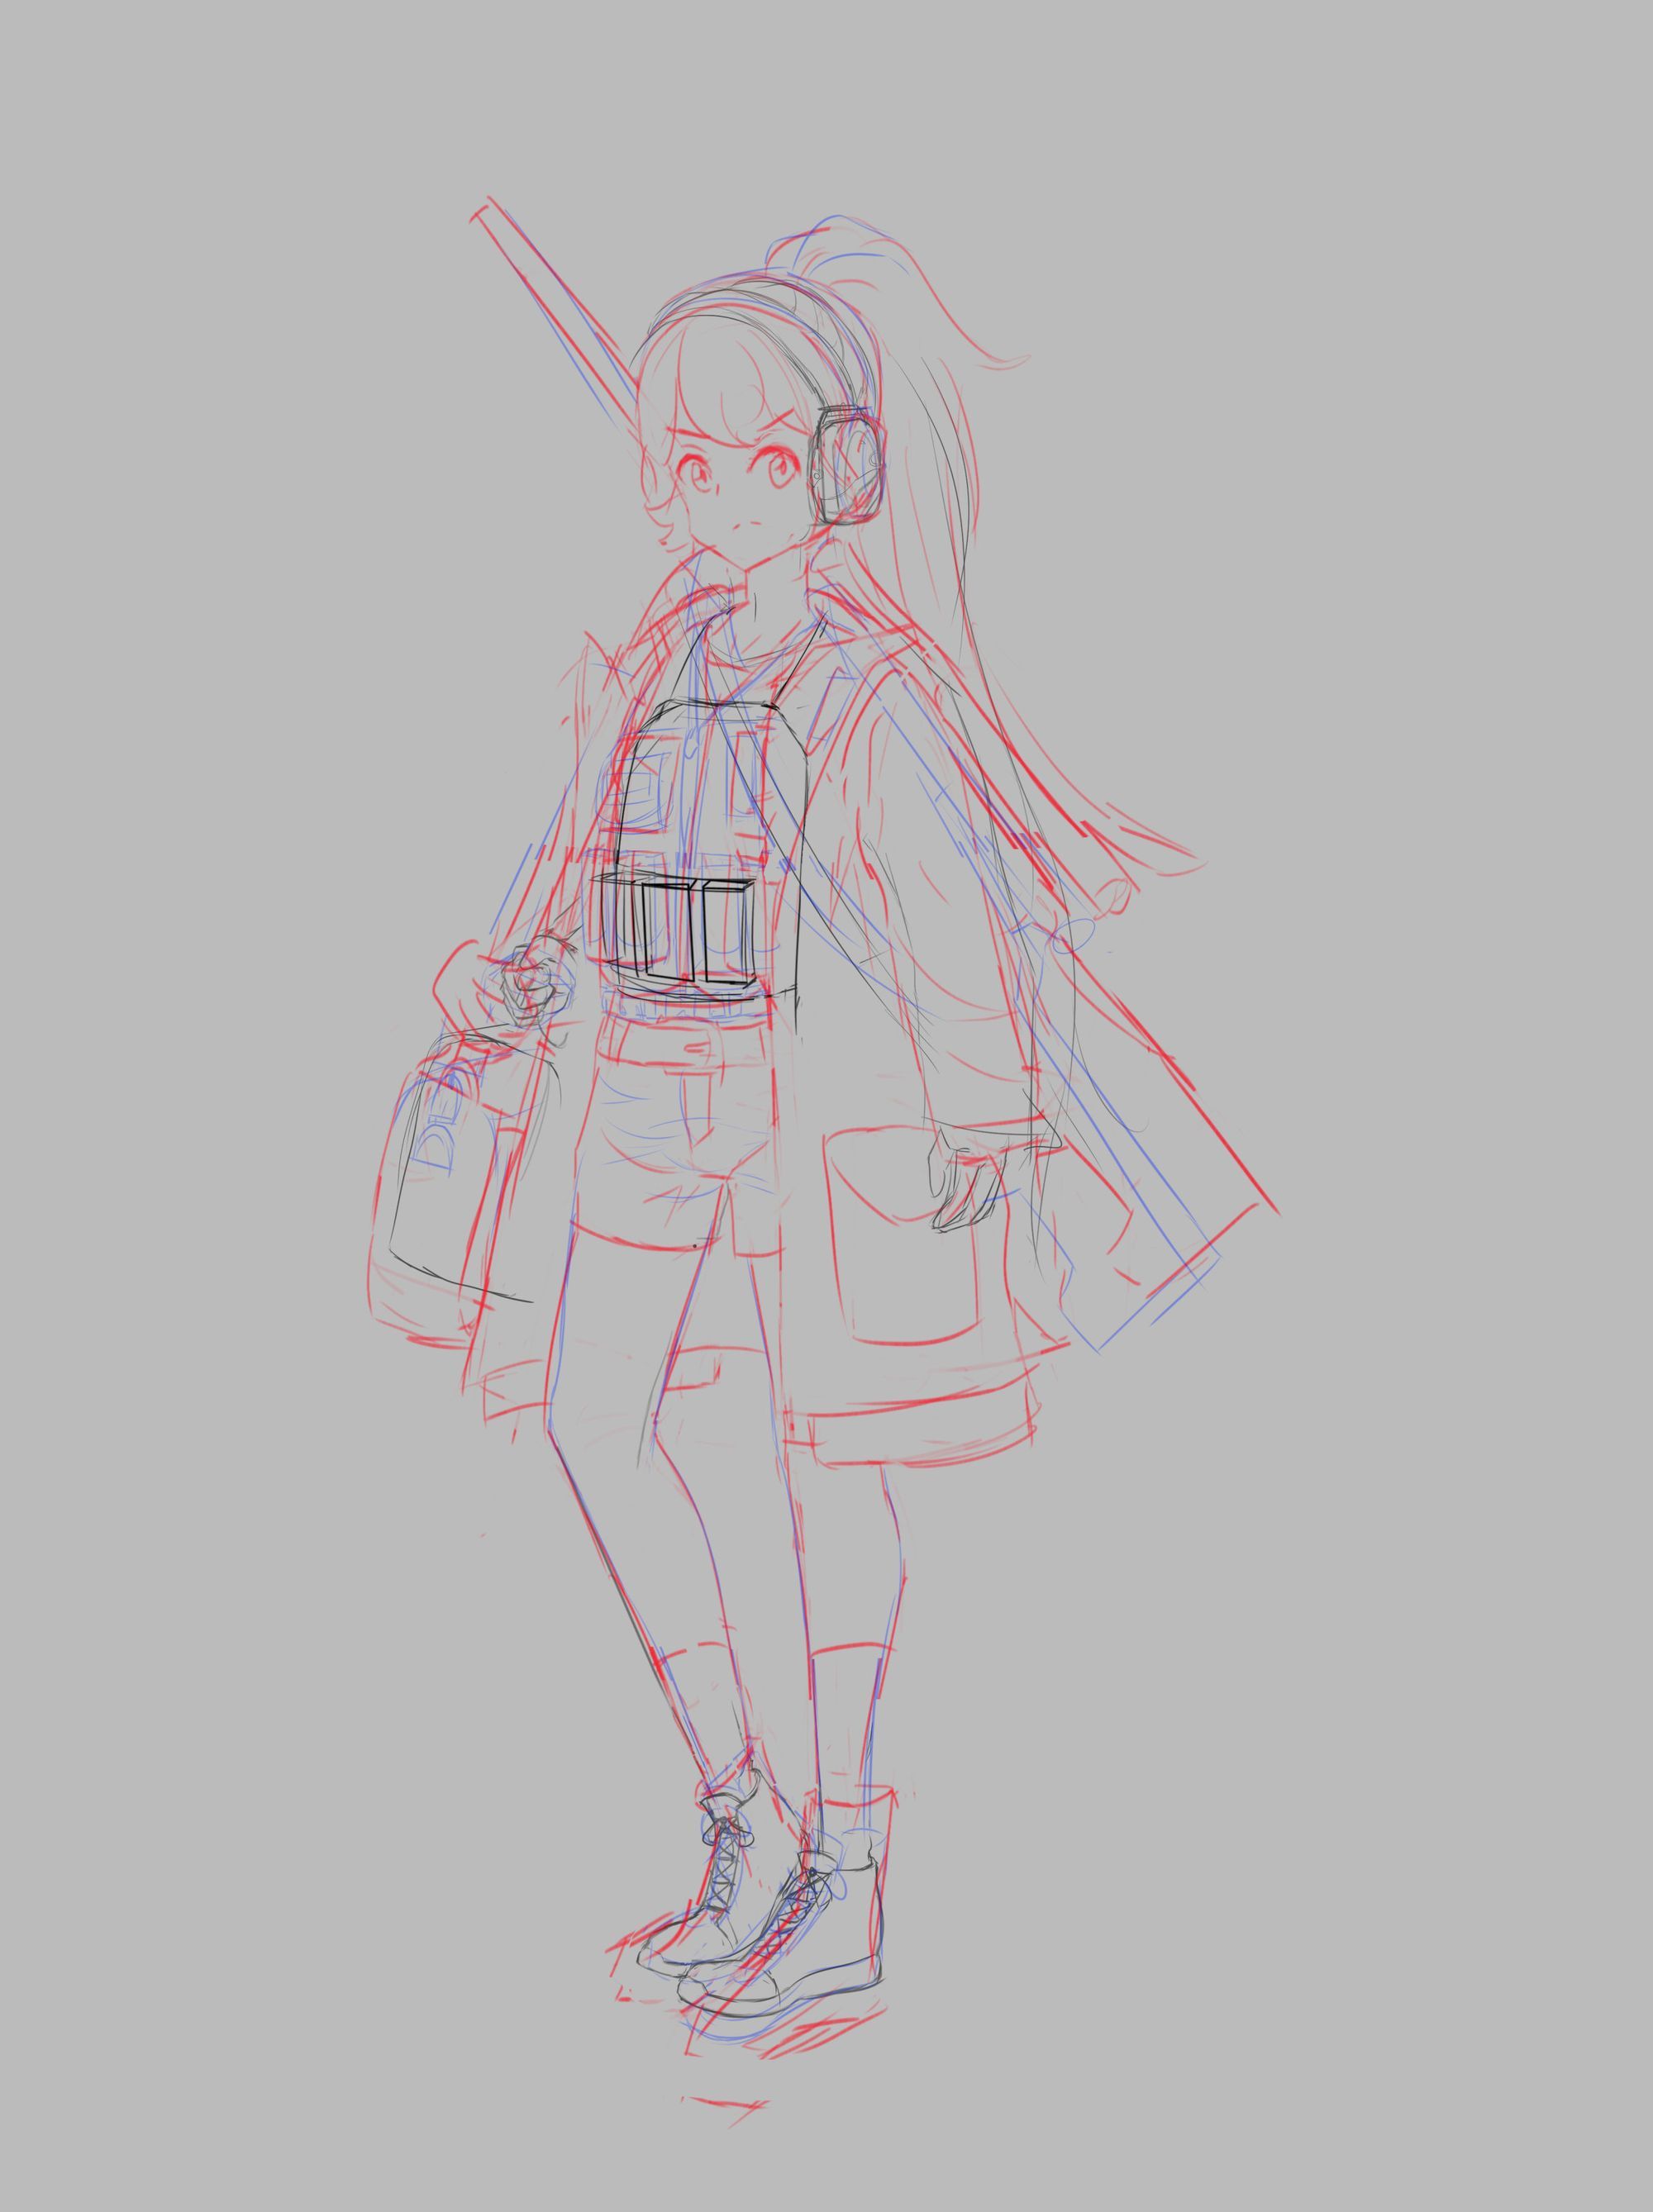
Second Pass Sketch
After the thumbnails, I give a second pass with a form breakdown as part of the construction process. This stage includes improving the character’s anatomy. I used Bryan Lee’s method of breaking down the figure. I learnt it during my third year of my studies through Peter Yong’s figure drawing classes.
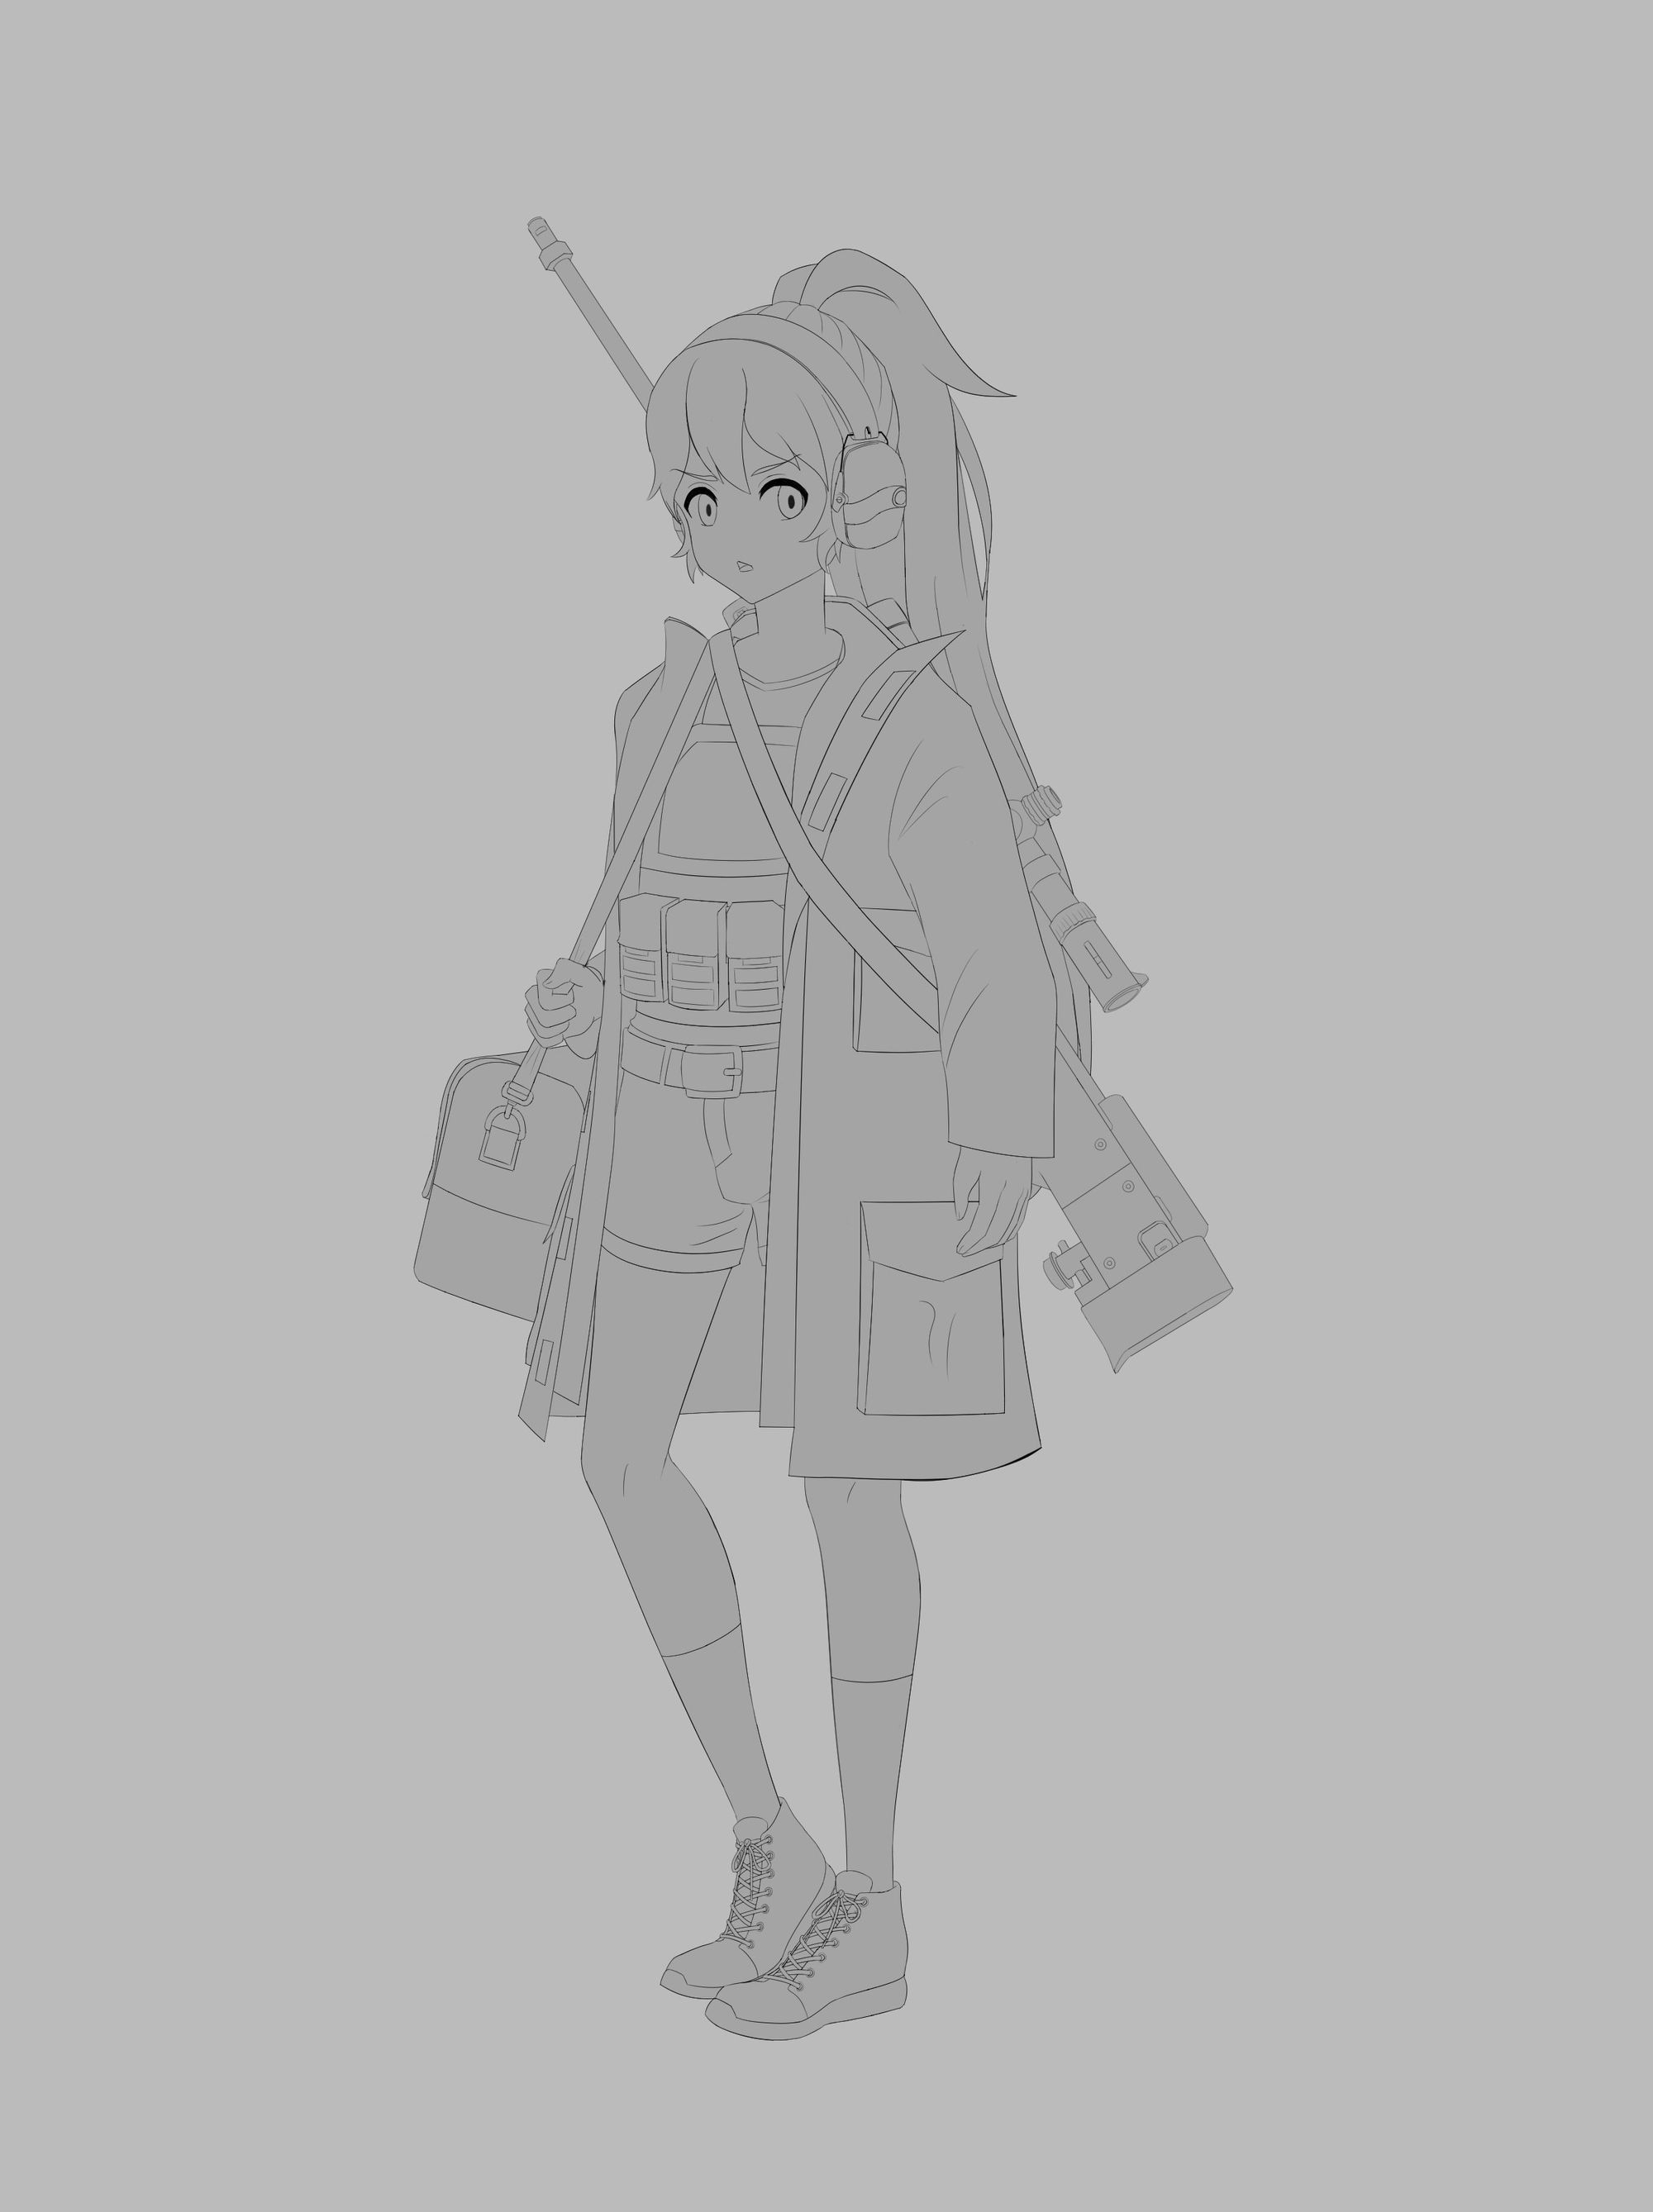
Line work
For the line work, I use vector layers since it gives me more control over the lines. I can edit my lines or change the thickness at any time. In fact, I use the tool too much, since I spend a lot of time cleaning up the line work.
To give more information on vector layers, they are a tool that gives users the ability to edit lines by tweaking the line's individual points. It’s quicker to erase lines using the vector eraser tool and allows users to adjust the line thickness.
Colour Variations and Logo
In this stage, I created a few colour variations of the character and picked out the ones I liked. I did some logo designs for the character's armour plate by drawing up some silhouette drawings.
Base Colours
After I added the base colours, this is when I decide what colours fit with the design. I use the magic wand to fully colour each section. The tool detects sections to colour.
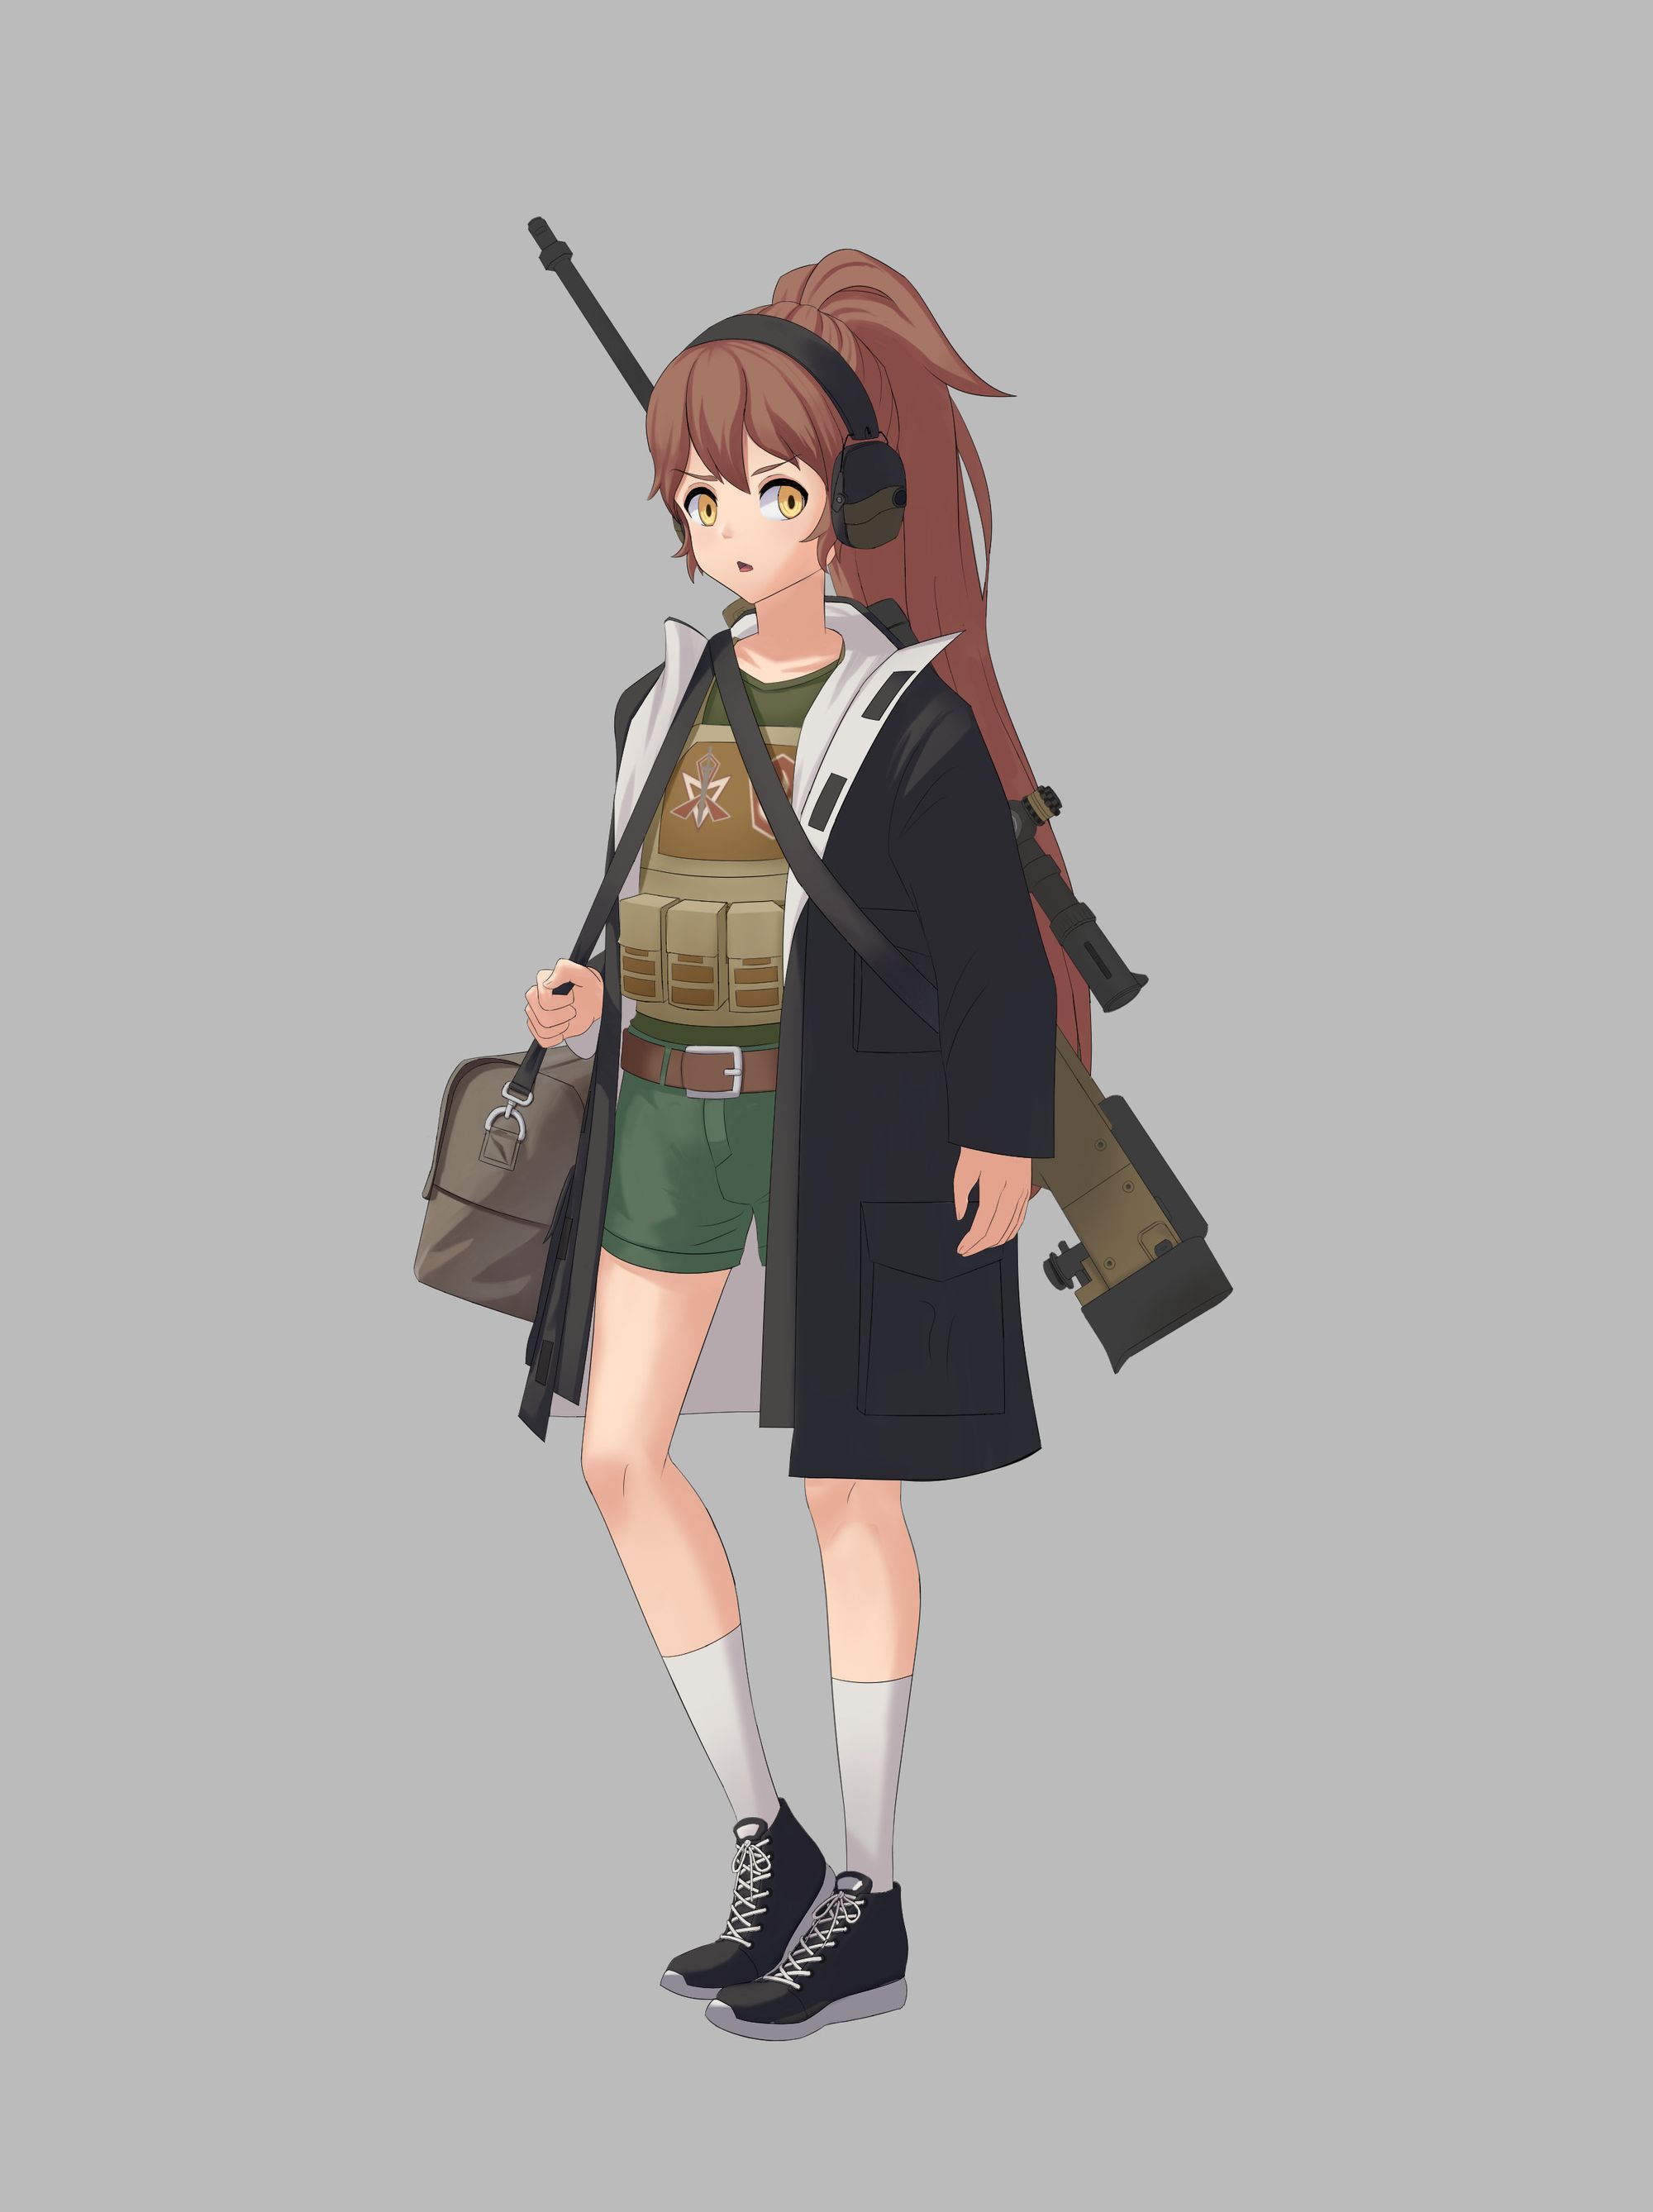
First Shade
After applying the flat colours, I then block out the lighting direction with a hard brush to shade the core shadows and an airbrush to shade the softer areas.
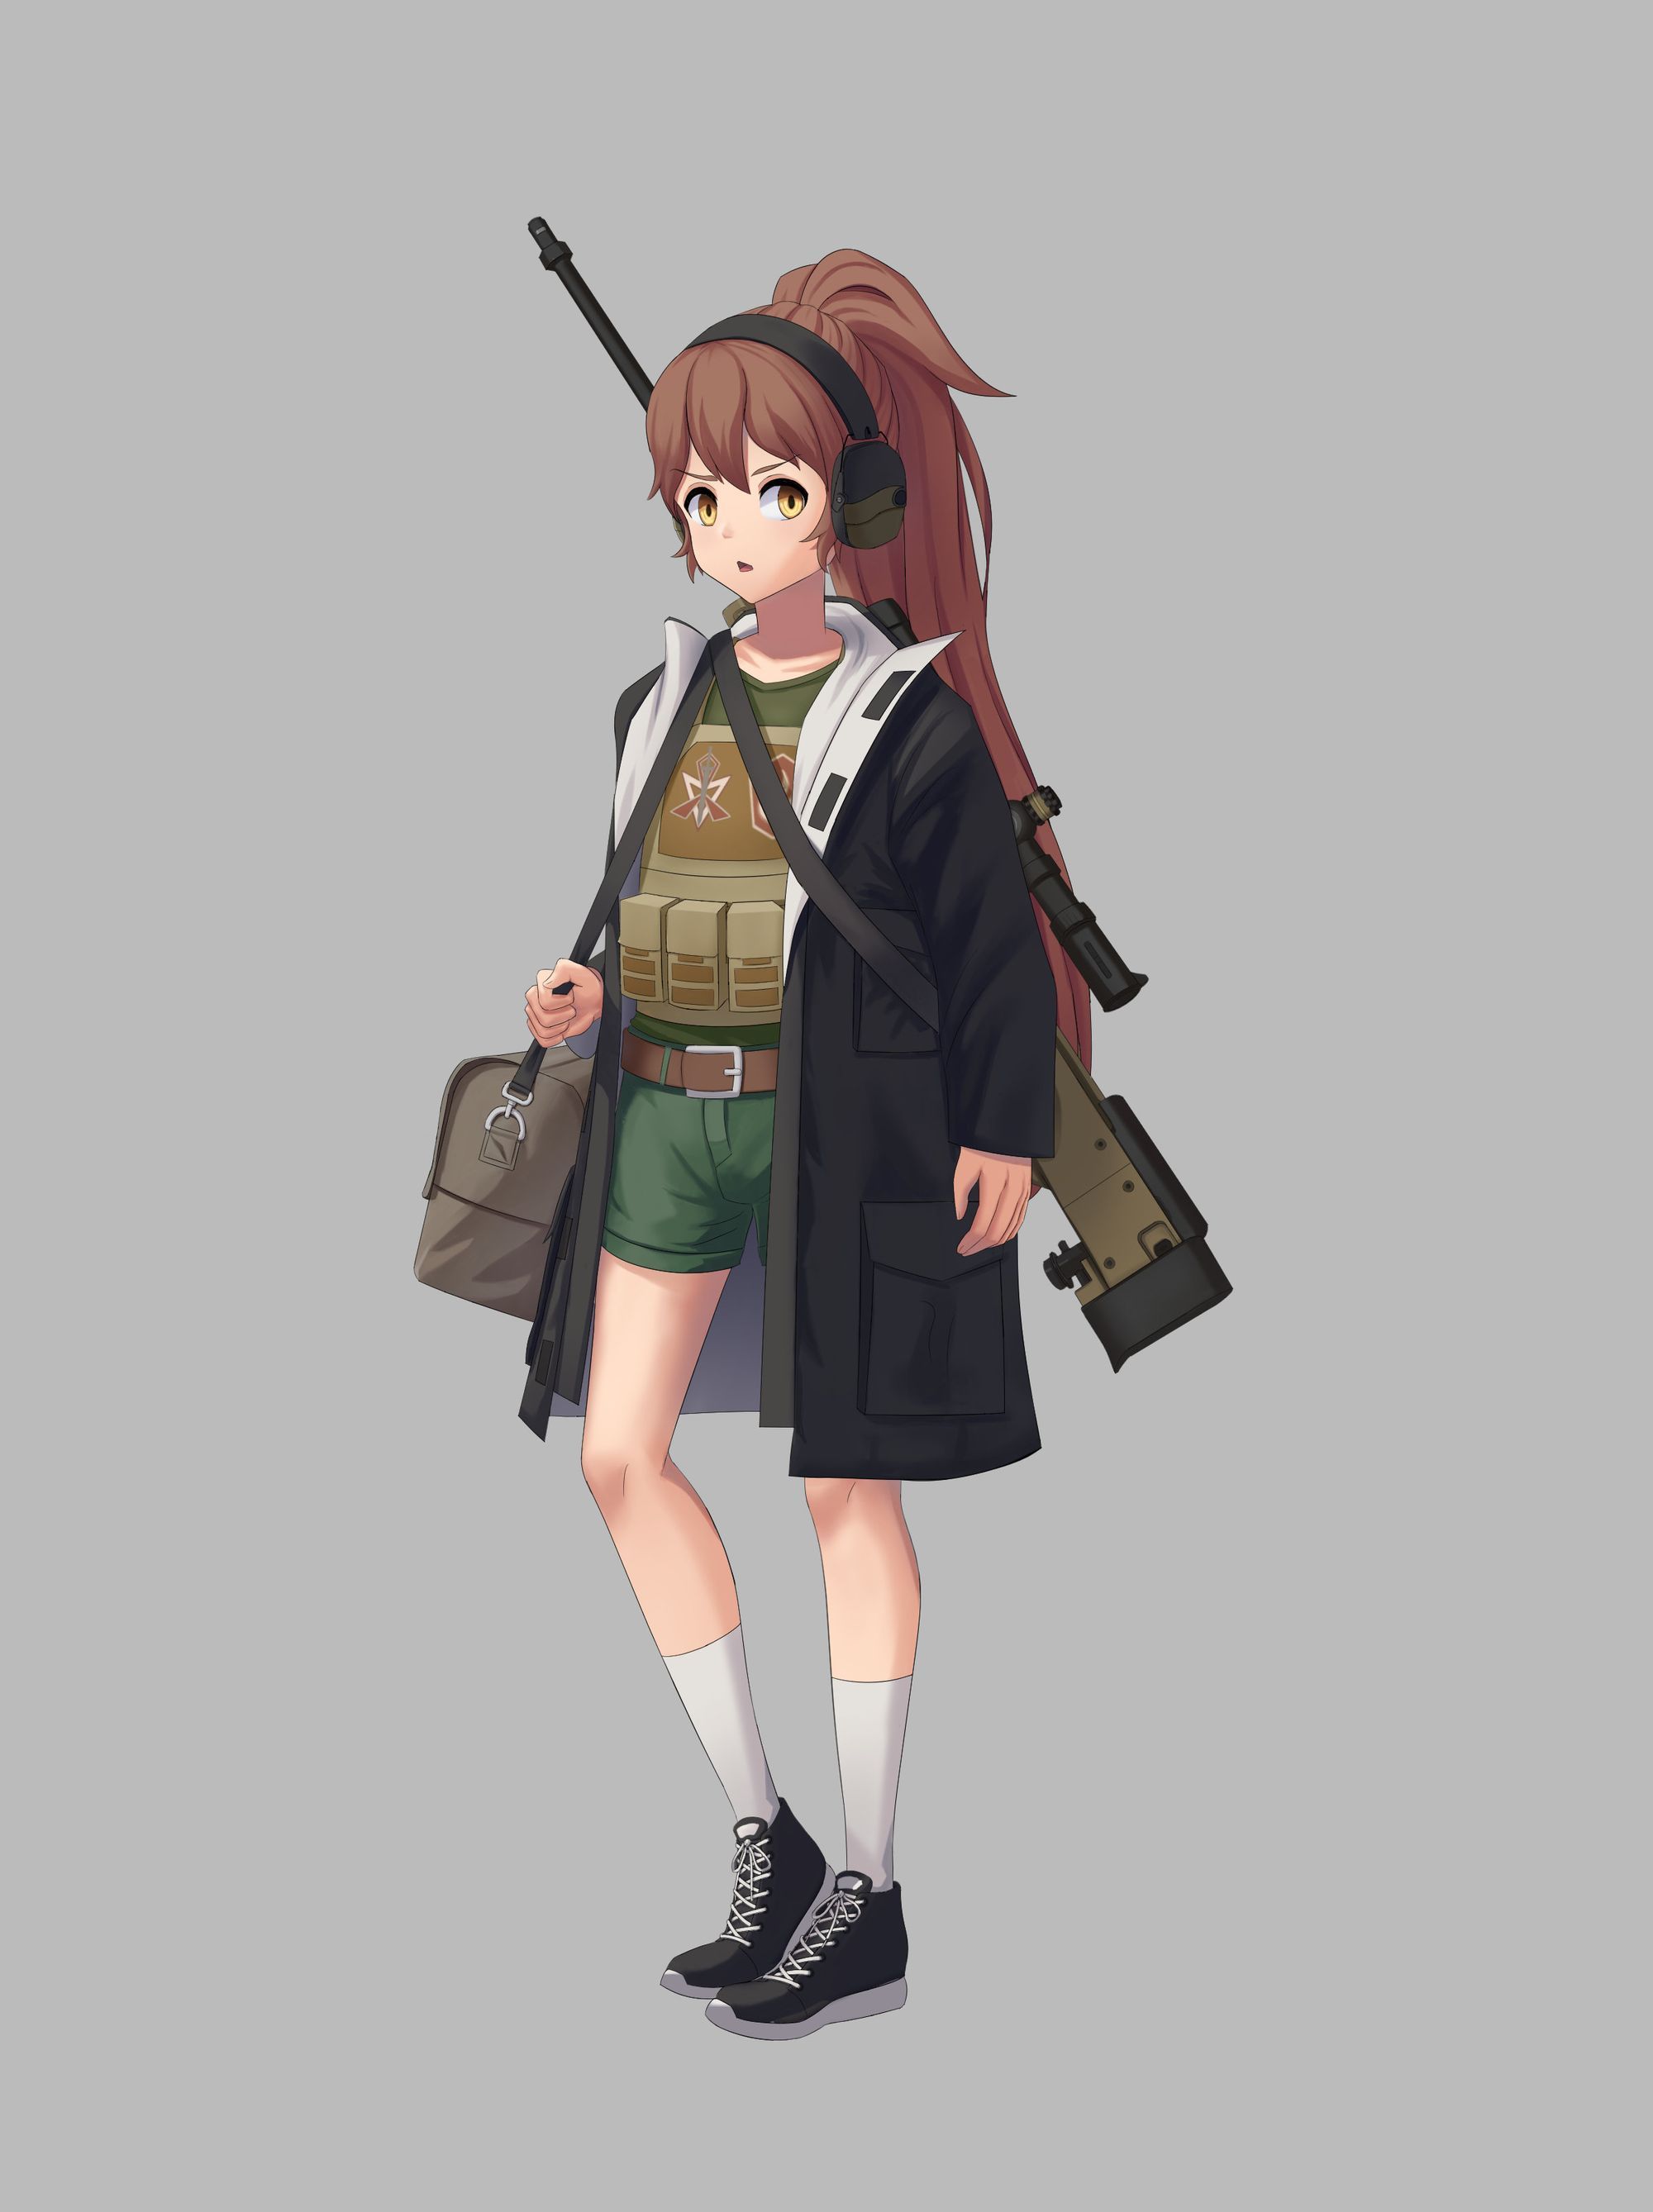
Second Shade
I added in the darker shade value in the darker areas of the character while keeping the lighting direction in mind.
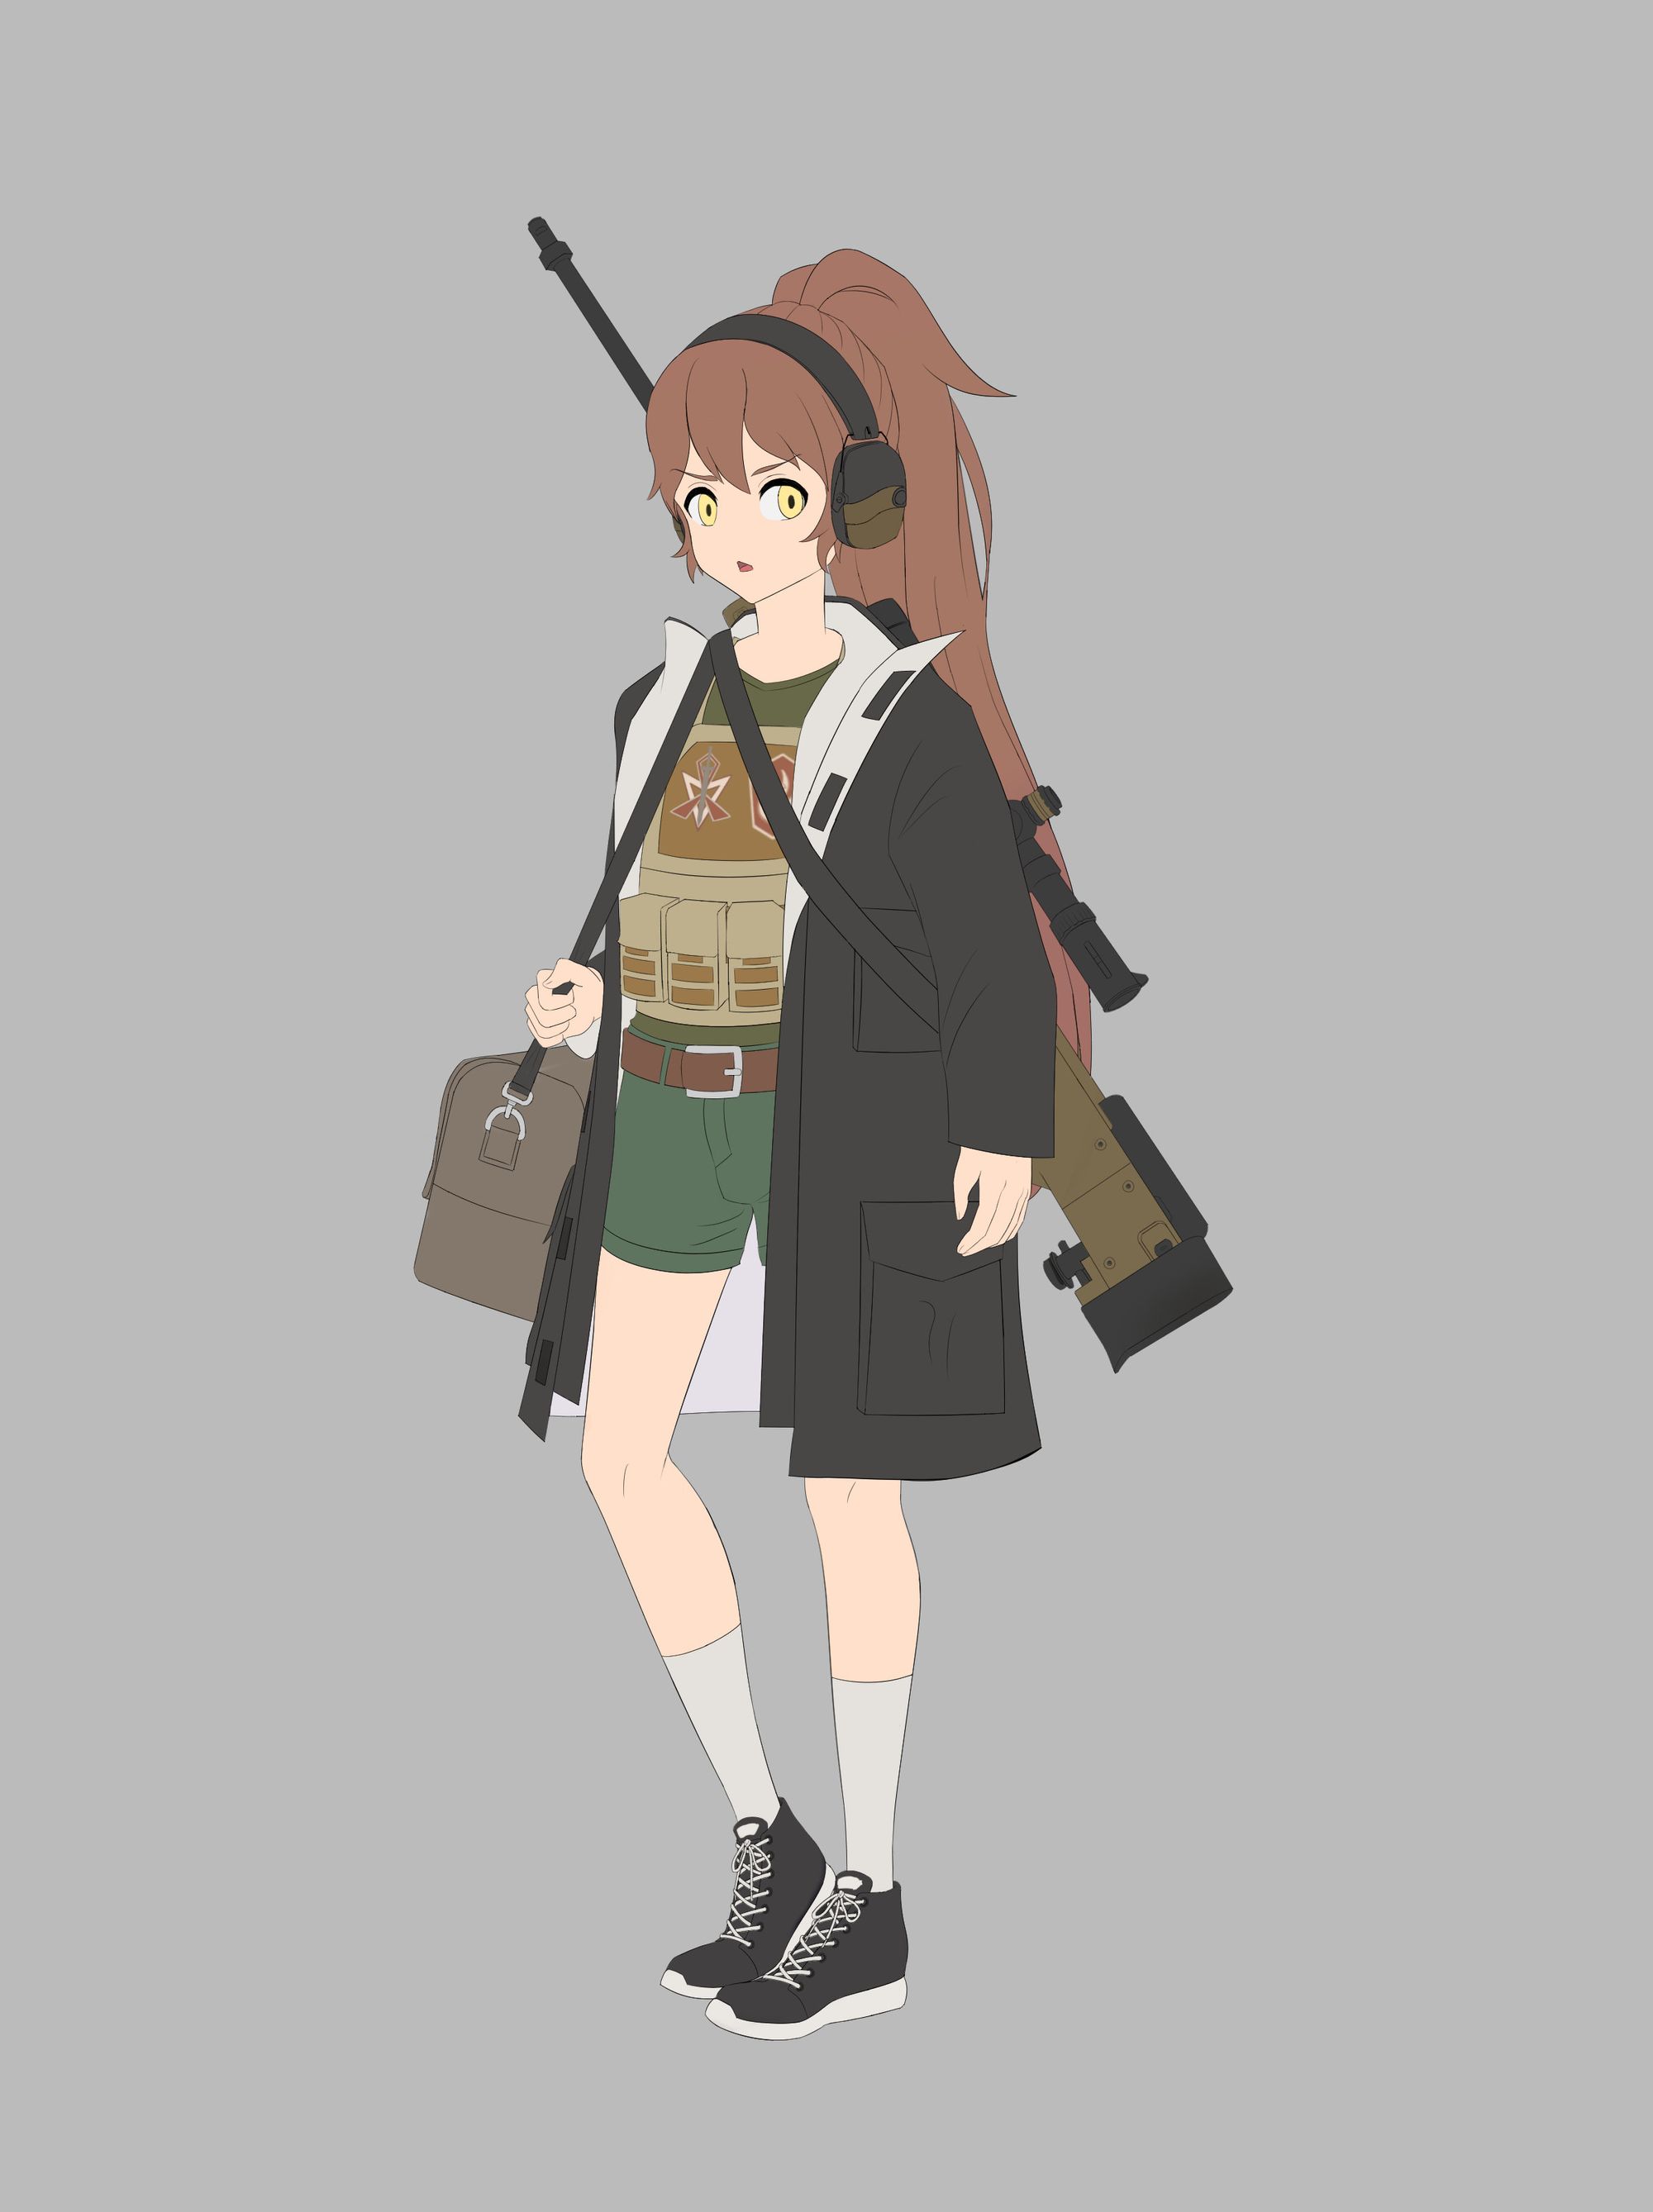
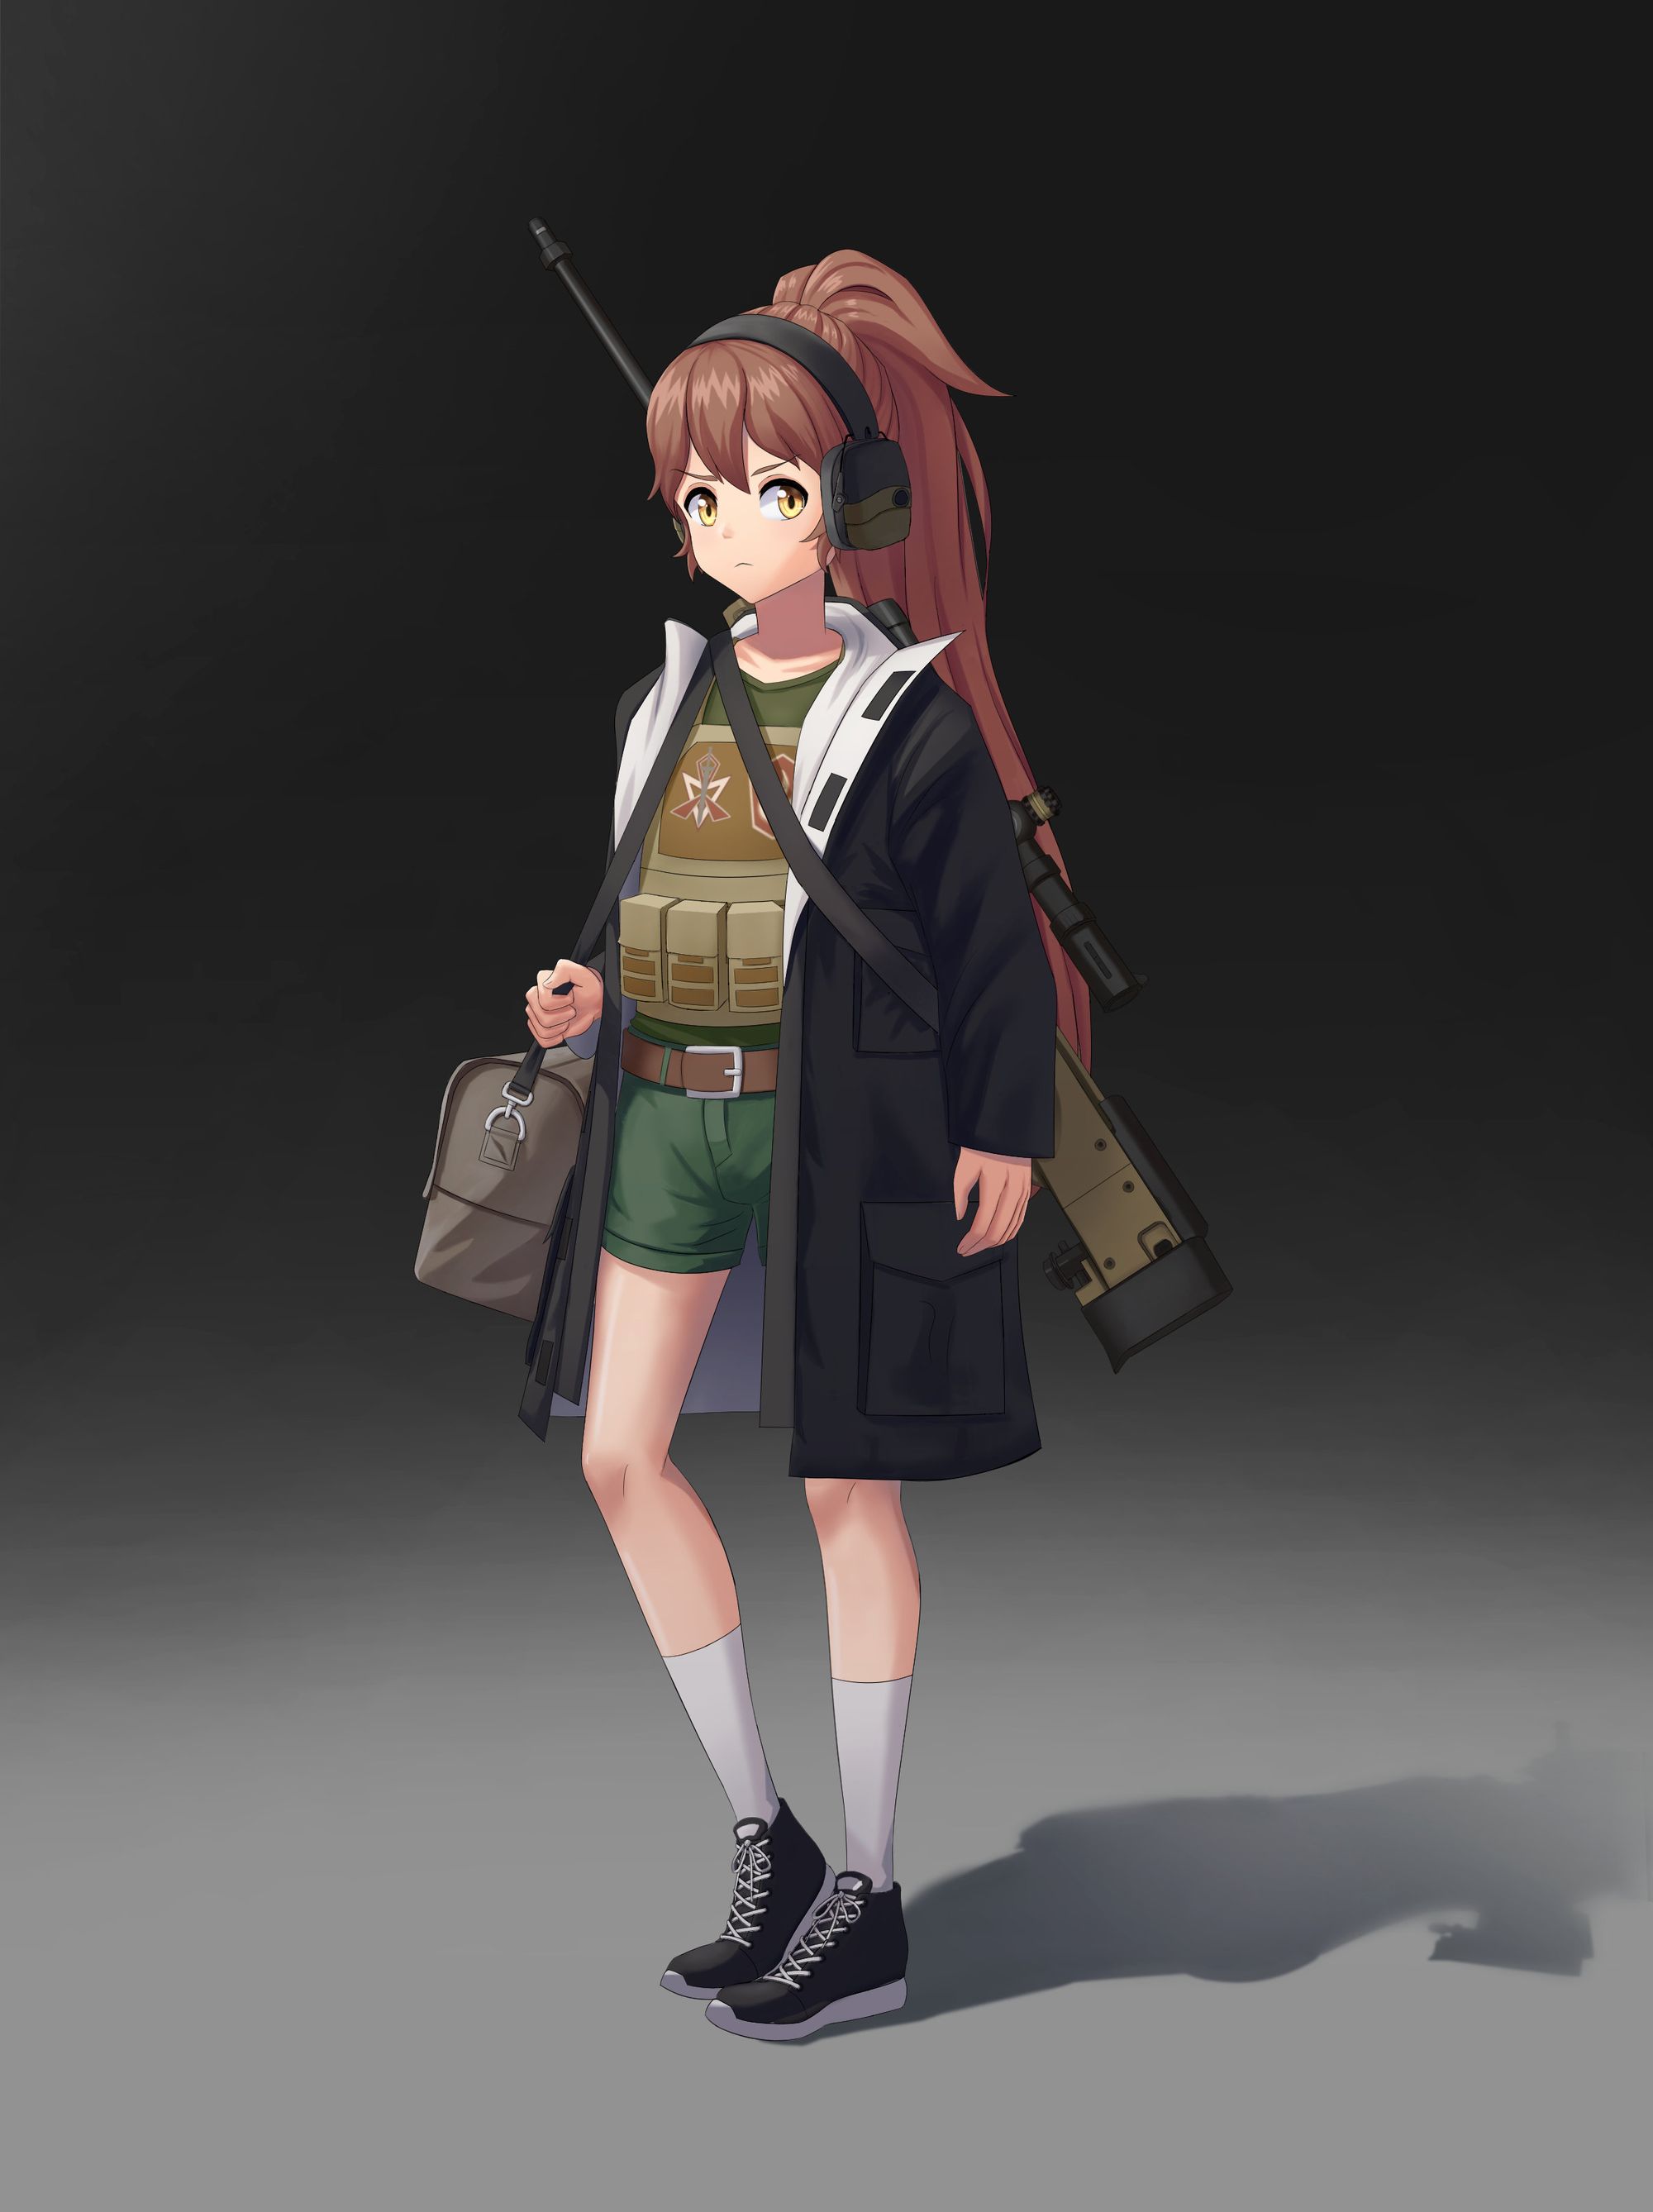
Final
Next, I added in the highlights on the areas where the light is hitting. Then added her shadow on the ground by using her silhouette and transforming it. To bring a bit more depth to the drawing, I added an airbrush soft gradient going from below, to halfway up her body to support the lighting direction.
The backgrounds in most of my character designs tend to be simple, so I can make it clear where the light is hitting. There are some cases I don’t bother with the background, but only if I’m doing a character sheet.
I finalise the piece by fixing up errors. Then I add effect filters such as “levels” to help make the colours pop.
Conclusion
That’s the end of my process. I have developed the process overtime during my time at CDW Studios. Hopefully this gives you an idea of how to create a character design. You can go into more depth to explore the characteristics of the character or keep it simple. Most importantly, have fun!