Tips to Help You Elevate Your Character Design with Grooming Techniques
Vincent Locasio, a Full Sail University Alum, explores grooming's potential in character development, seamlessly integrating it into Unreal Engine 5 and Blender.
Vincent Locasio, a Full Sail University Alum, explores grooming's potential in character development, seamlessly integrating it into Unreal Engine 5 and Blender.

In this article, Vincent Locasio, Full Sail University Alum, delved into the realm of grooming, recognizing its immense potential in shaping characters and seamlessly integrating them into cutting-edge platforms like Unreal Engine 5 and Blender.
In this article, he shares his insights and experiences, focusing on the evolution of grooming techniques. While showcasing his project's origin and breakdown, Vincent discovered the significance of emphasising anatomy over modeling, allowing the character's appeal to shine through.
If you are looking to create your first groom, this article is for you!
I started my training at school, and like many others coming into the industry (especially from the start of COVID), we all strived for techniques to implement so as to catch the eyes of an older generation to give us a chance of hire. This was also to compete or stand on par with upcoming peers to show off our capabilities without the 3+ years of experience gap in a graveyard of layoffs and bankruptcy.
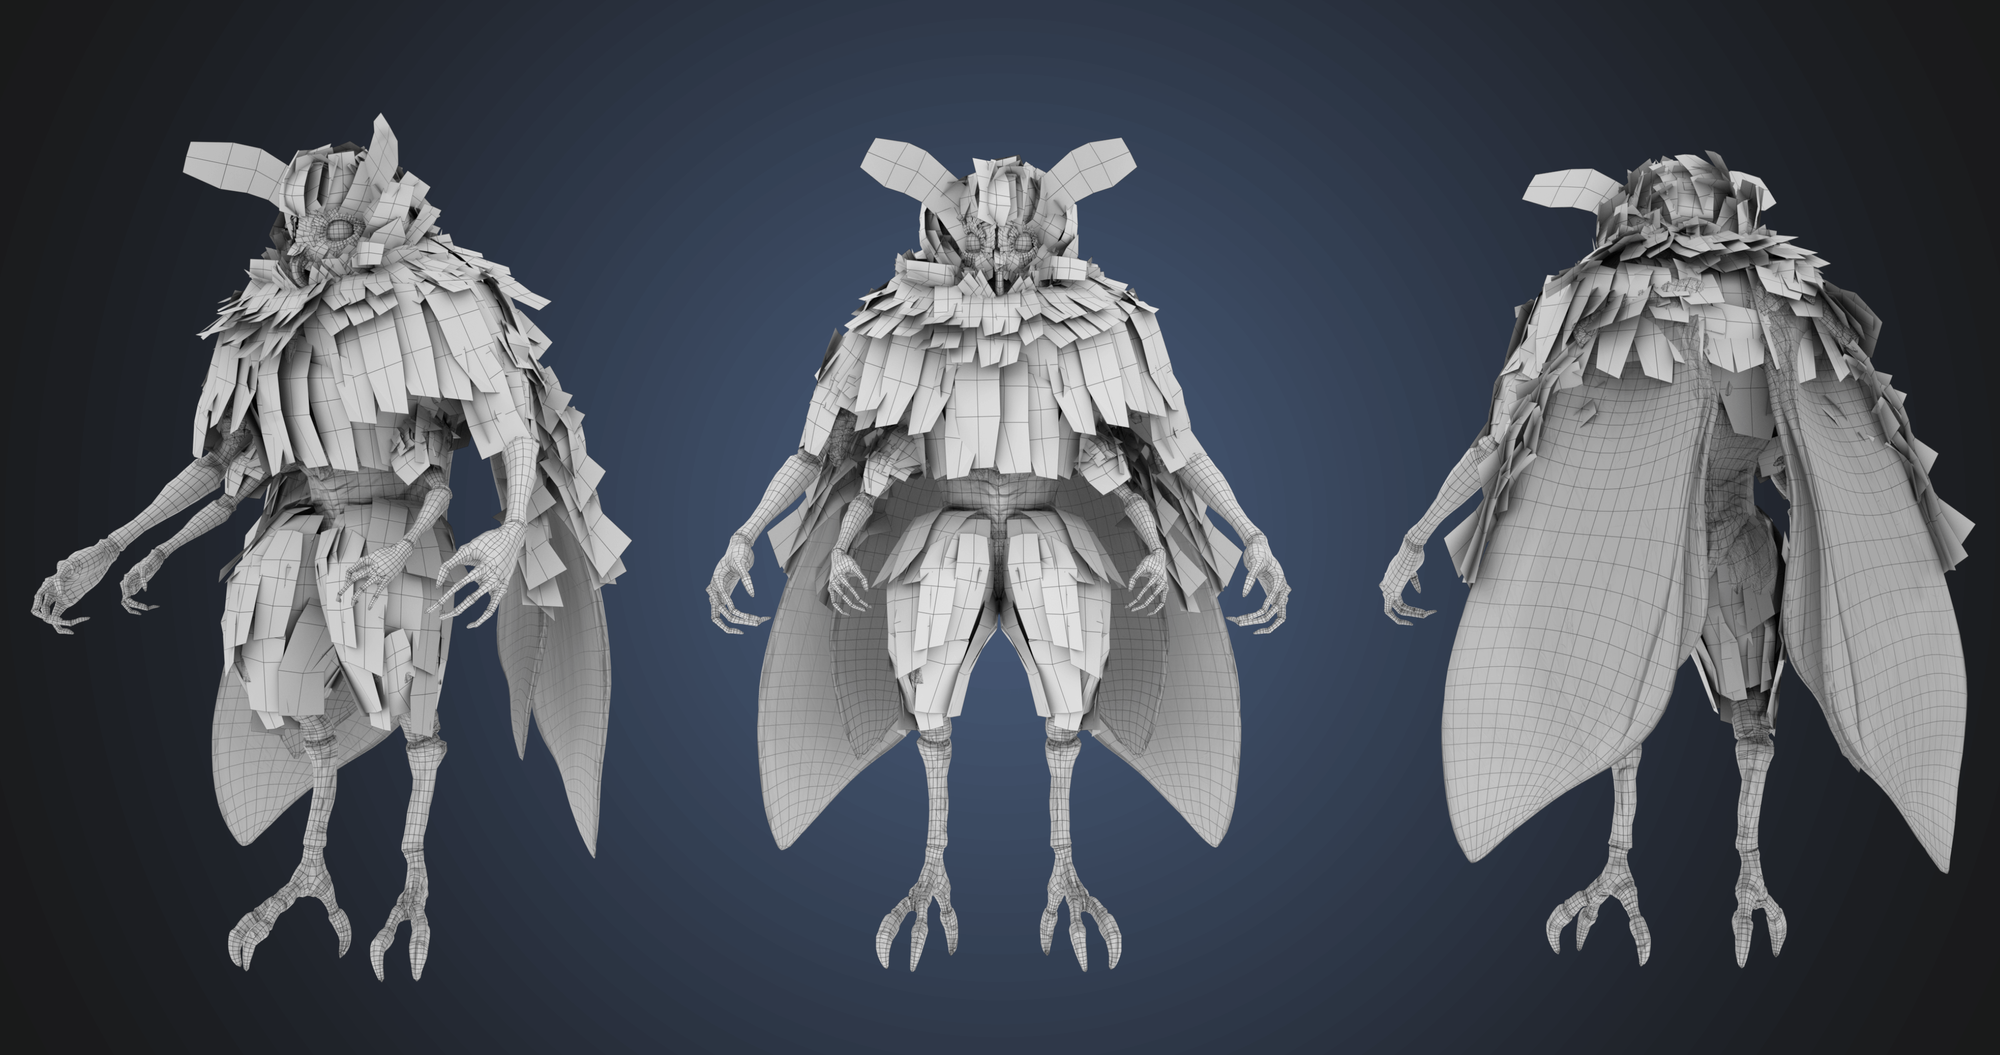
So, I strove to learn more grooming techniques, as these last couple of years it has begun to show that grooms are able to be interpreted, as well as integrated within UE5 (Unreal Engine) seamlessly. Even Blender has its own mechanics and system that are getting more and more fleshed out as time progresses. Here is my Breakdown of The Moth's grooming and some of the project's origin.
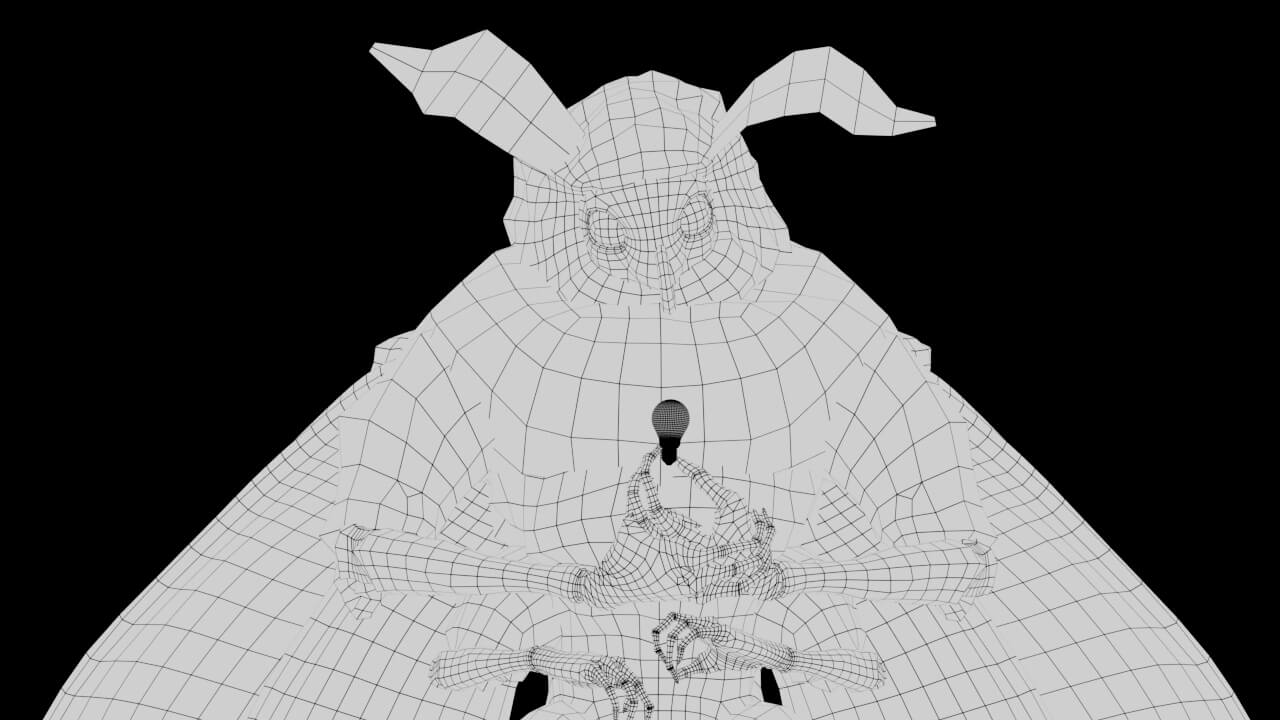
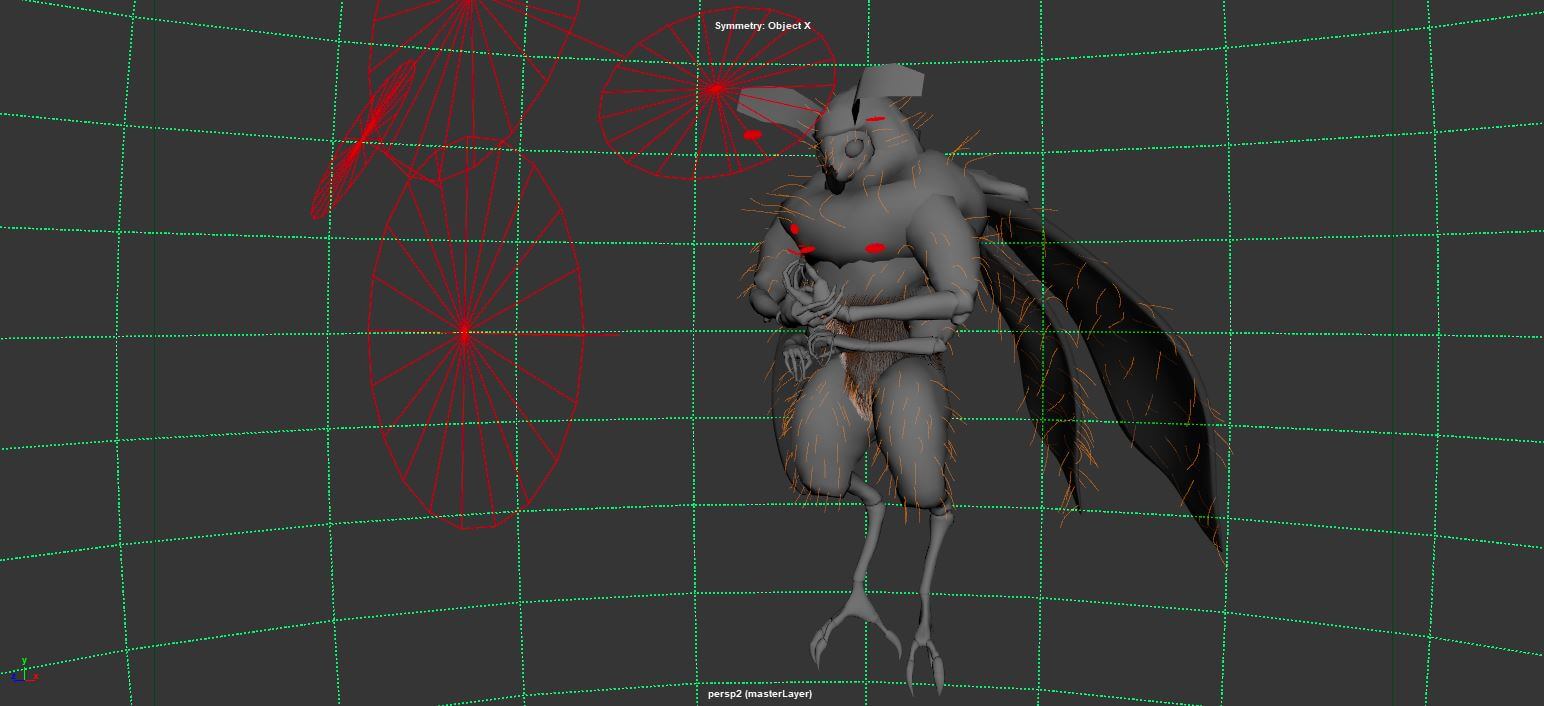
I knew the Character's focus wasn't going to be modeling, even though it was essential to show off for its appeal later on. I had to get the anatomy finalised and make the decision to move on at some point (Always the hardest stage to leave, so this character was tricky for me!)
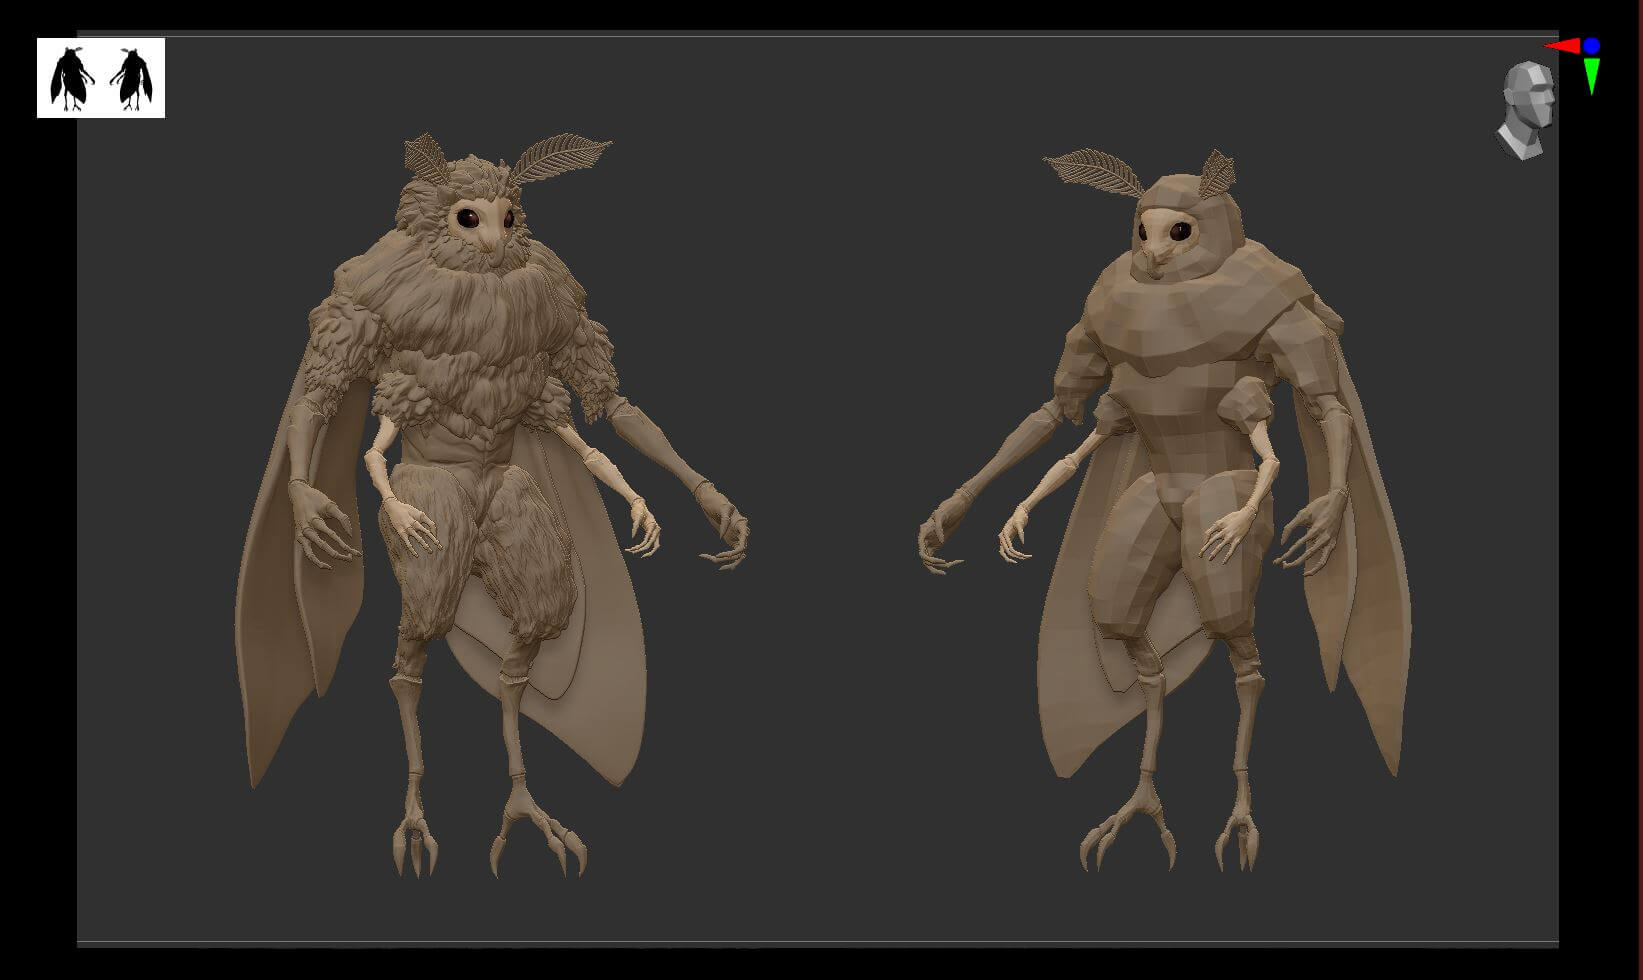
Moth and its race were already established a year back when my best friend and I weren't as busy as we are now to sit down, relax and create whatever popped into our heads for DnD (Oh, youth).
One of the things we strung out for multiple days were our interpretations of The Moth Folk concept within that category of fantasy. So, as an homage to friendship, and a model half established, I decided to put him on display to show off some techniques such as my new, fleshed out knowledge of grooms/hair-cards.
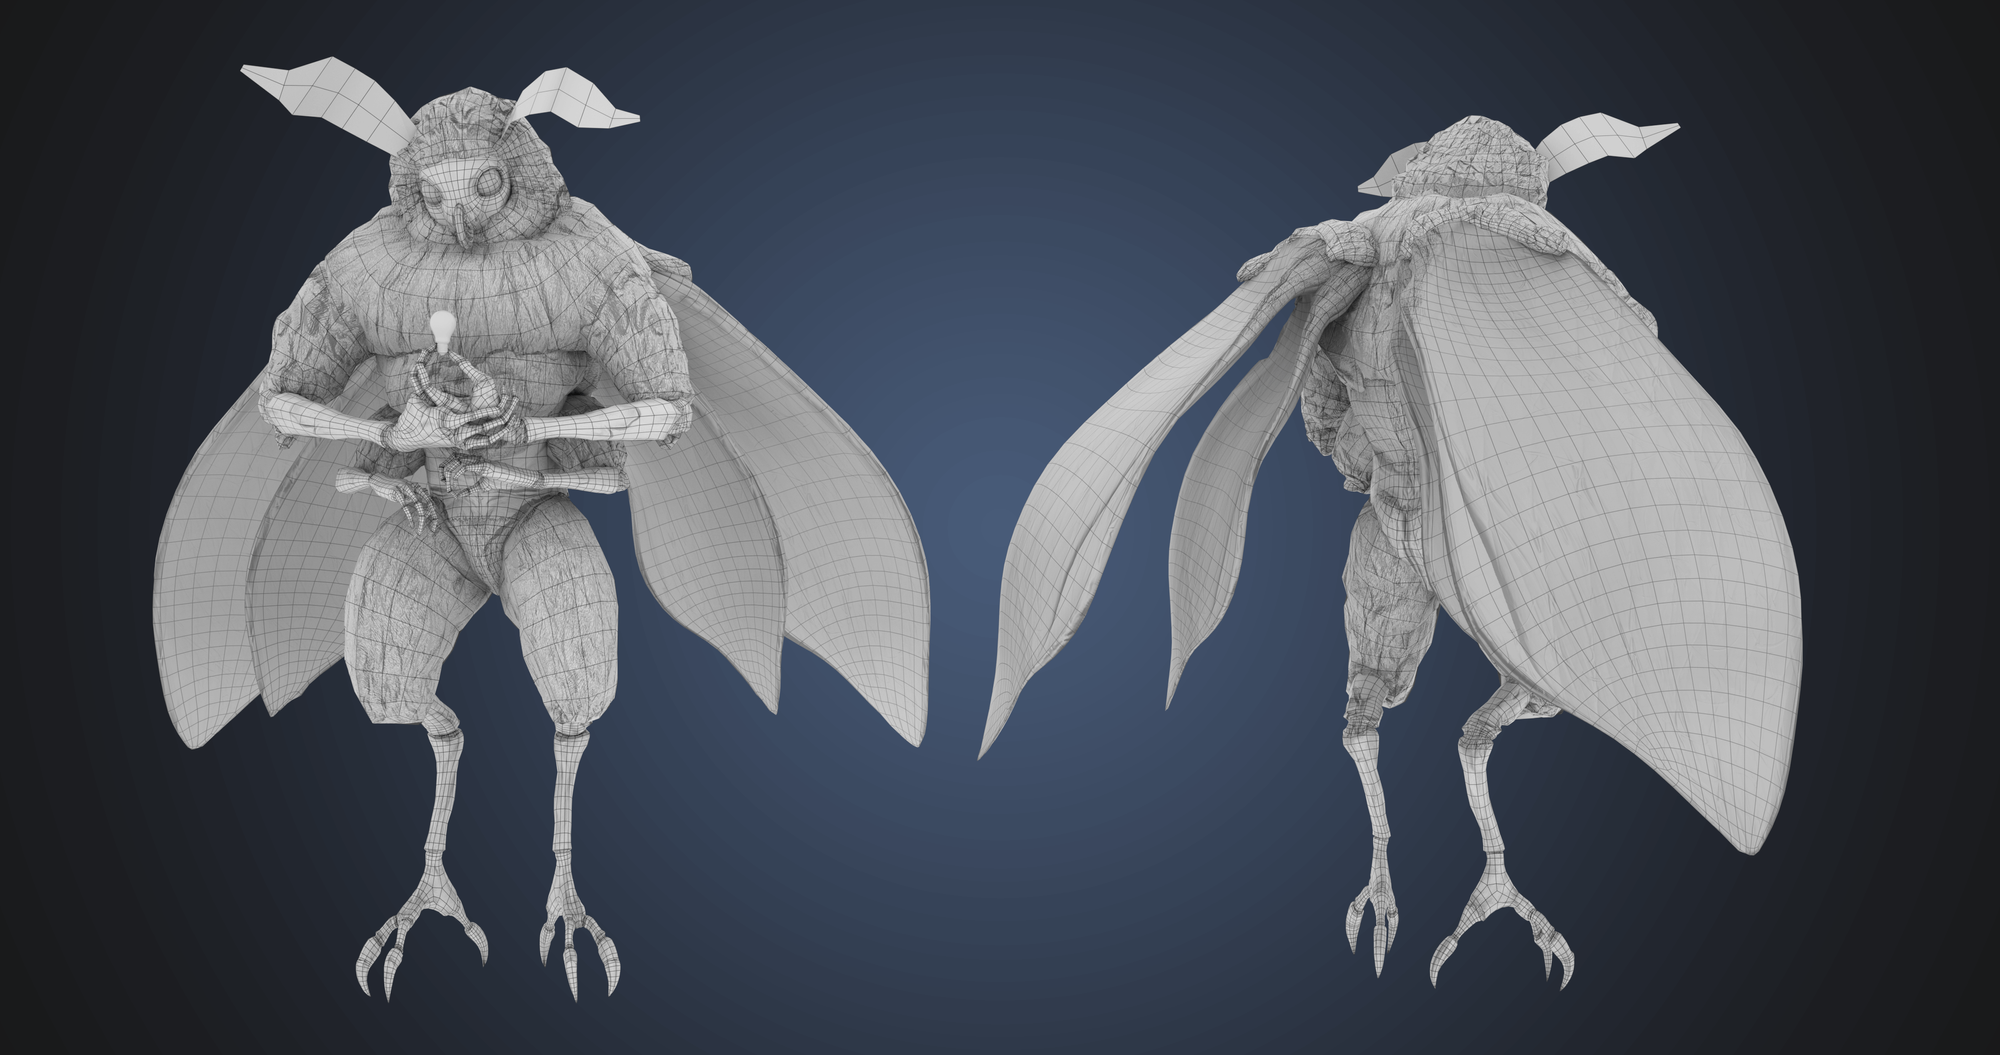
That said, taking from a game artist perspective, specifically JHill's philosophy @artofjhill, I placed most of the scales/chitin detail and the fur placement during the Texturing/Rendering stage within the materials. This was going to be the case for both Maya, as well as Unreal's parameter methods. This helped keep things moving instead of having to change the high poly constantly. It really helped when placing micro-detail and displacement maps to make the segments between the insectoid joints pop more, rather than adding more geometry.
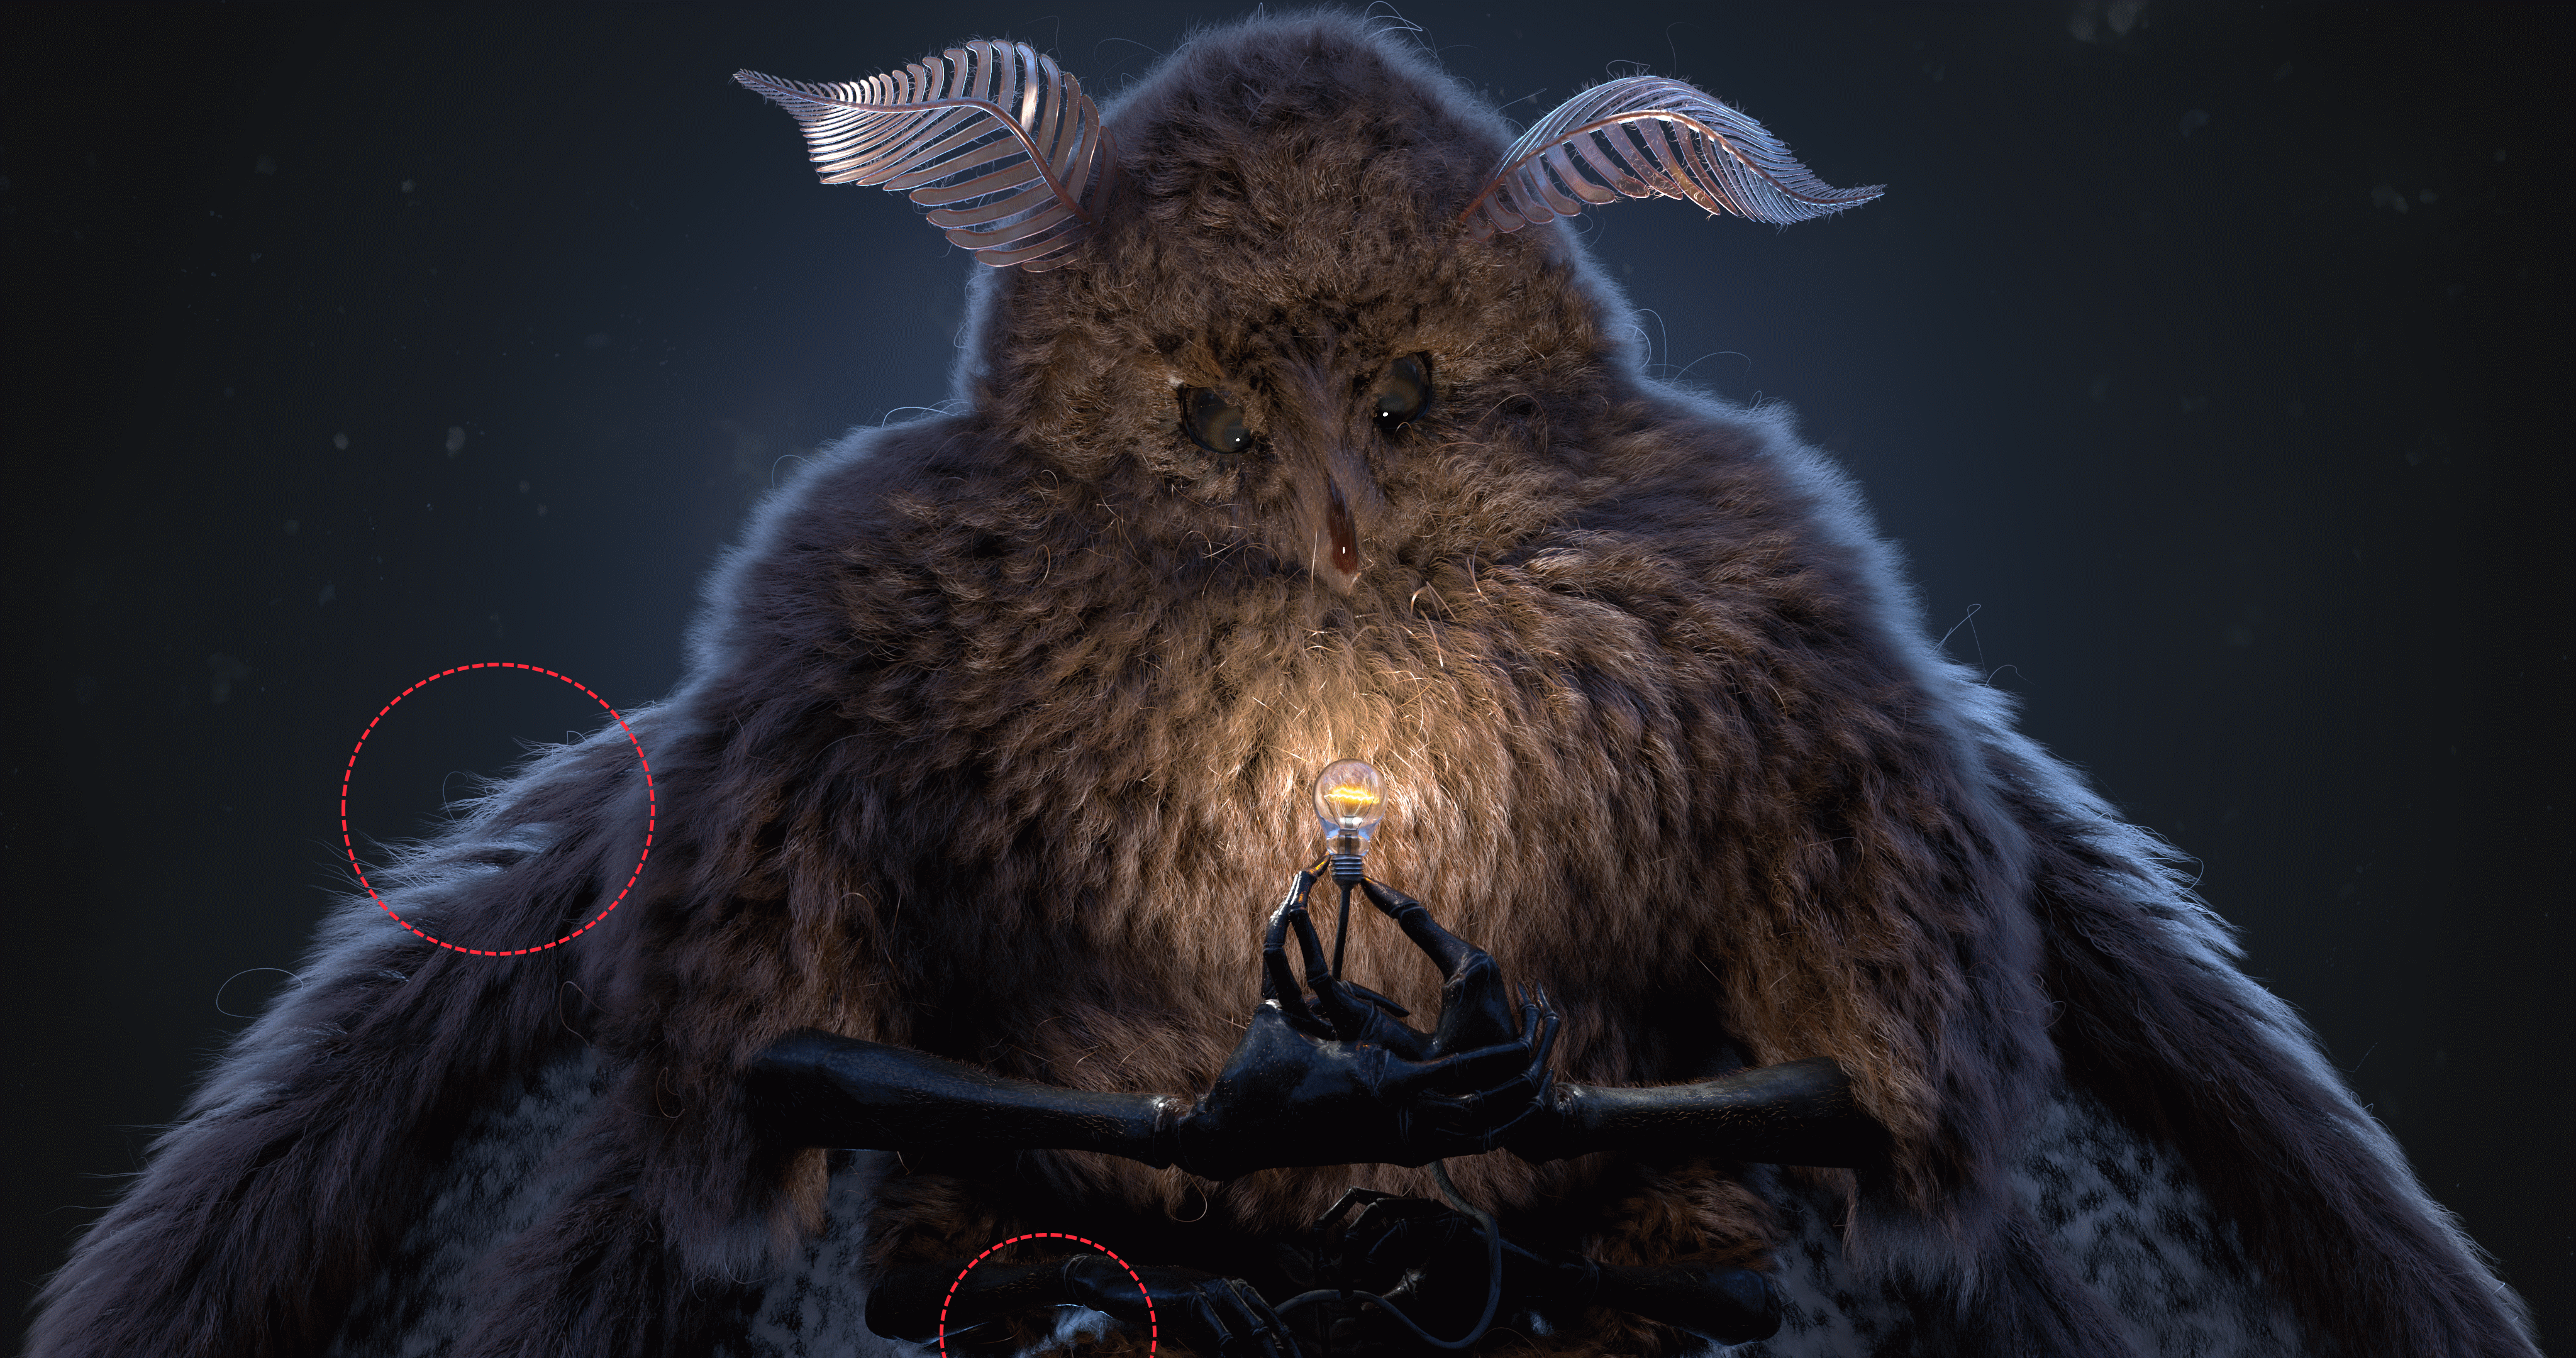
I get this question a lot, even from my peers within the industry asking about this piece. Nothing was painted over or added on except the background in Photoshop. None of the hairs or lighting comped in, from filtering, to even fly aways.

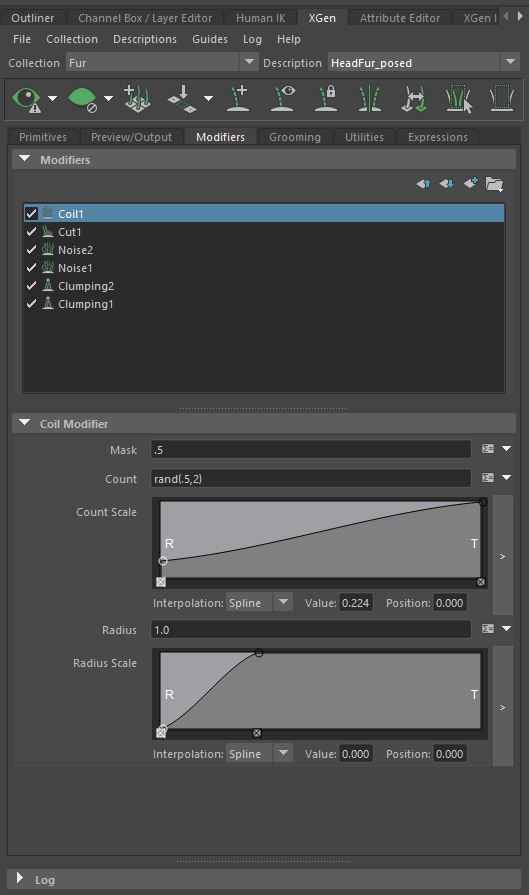
I know, I was surprised to be able to get it to that stage, but it was all I could do to get out of what I hate even more: painting over stuff! Here's how I did it starting from the basic steps, without boring you with each of the modifier's algorithmic concatenations.
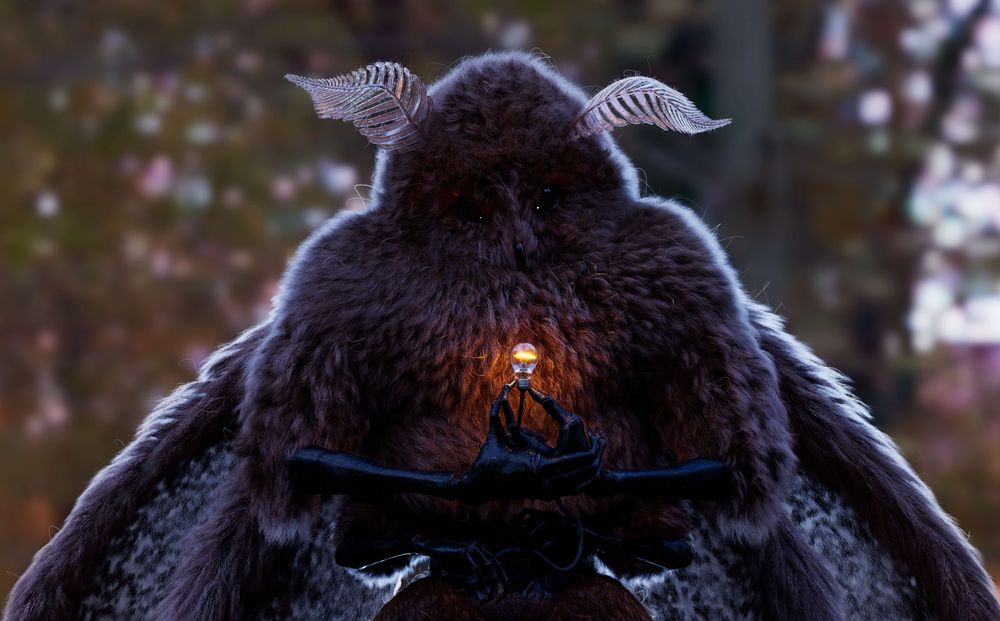
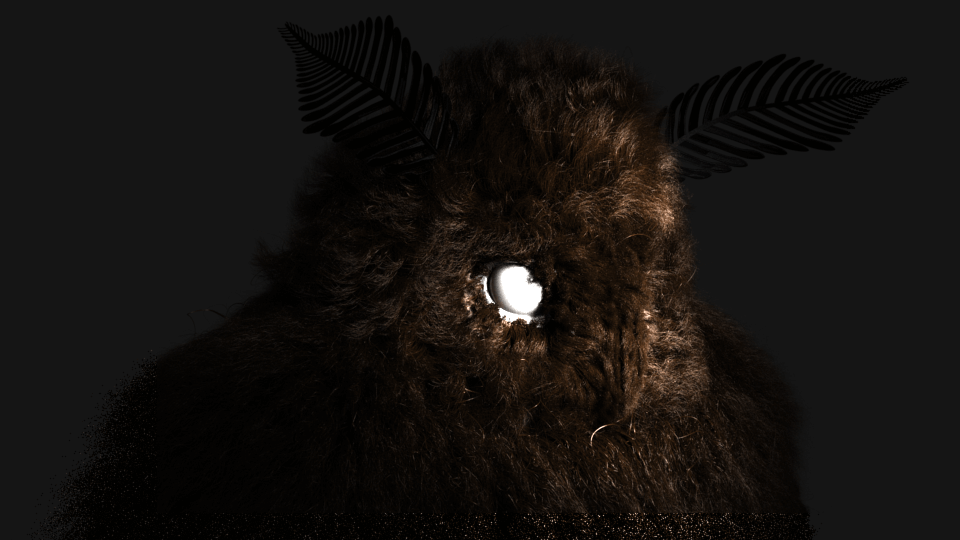
I looked at a lot of references, alongside loosely basing the pose and style off of Taran Fiddler’s Mothman. My underlying fear was realised when I saw the intensity of the amount of fur/hair real moths possess, and what my machine could handle at the time of this project. So, I stuck to the basics first and fitted the newer techniques as tertiary detail to break the final form's silhouette. Seeing the photo below, you can tell how it made the presentation pop as it did through the lighting between and inside all of the nooks.
My first attempt was done using Groom-able Splines for the overall growth of the follicles. To both keep the overall volume equalised with minimal effort, in turn keeping the body's sections aligned, but also, I saw ICON with their method in creating fur that way for Young Jedi or something (which was then rendered in Renderman).
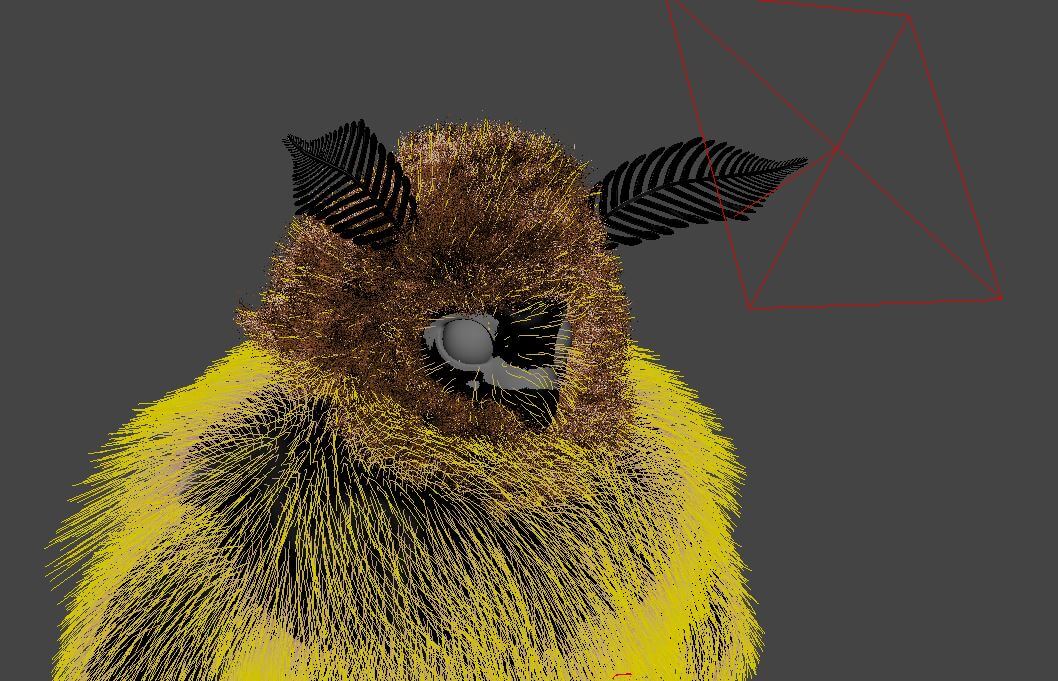
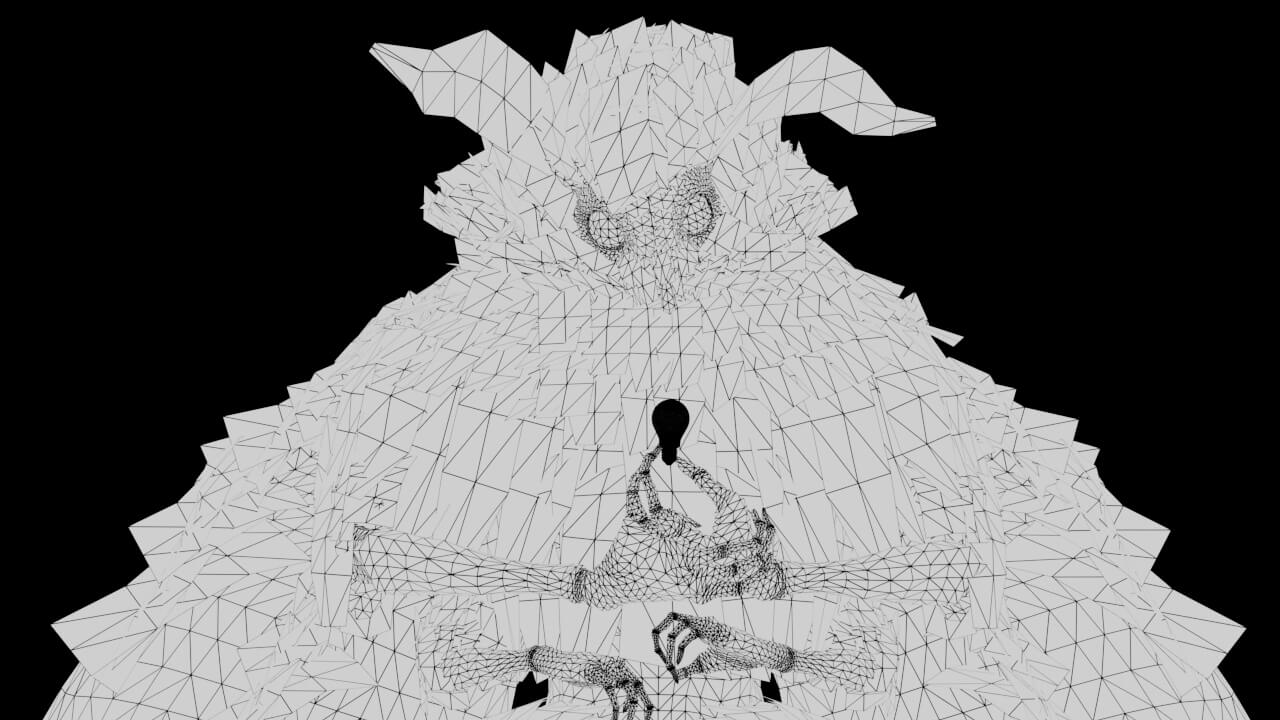
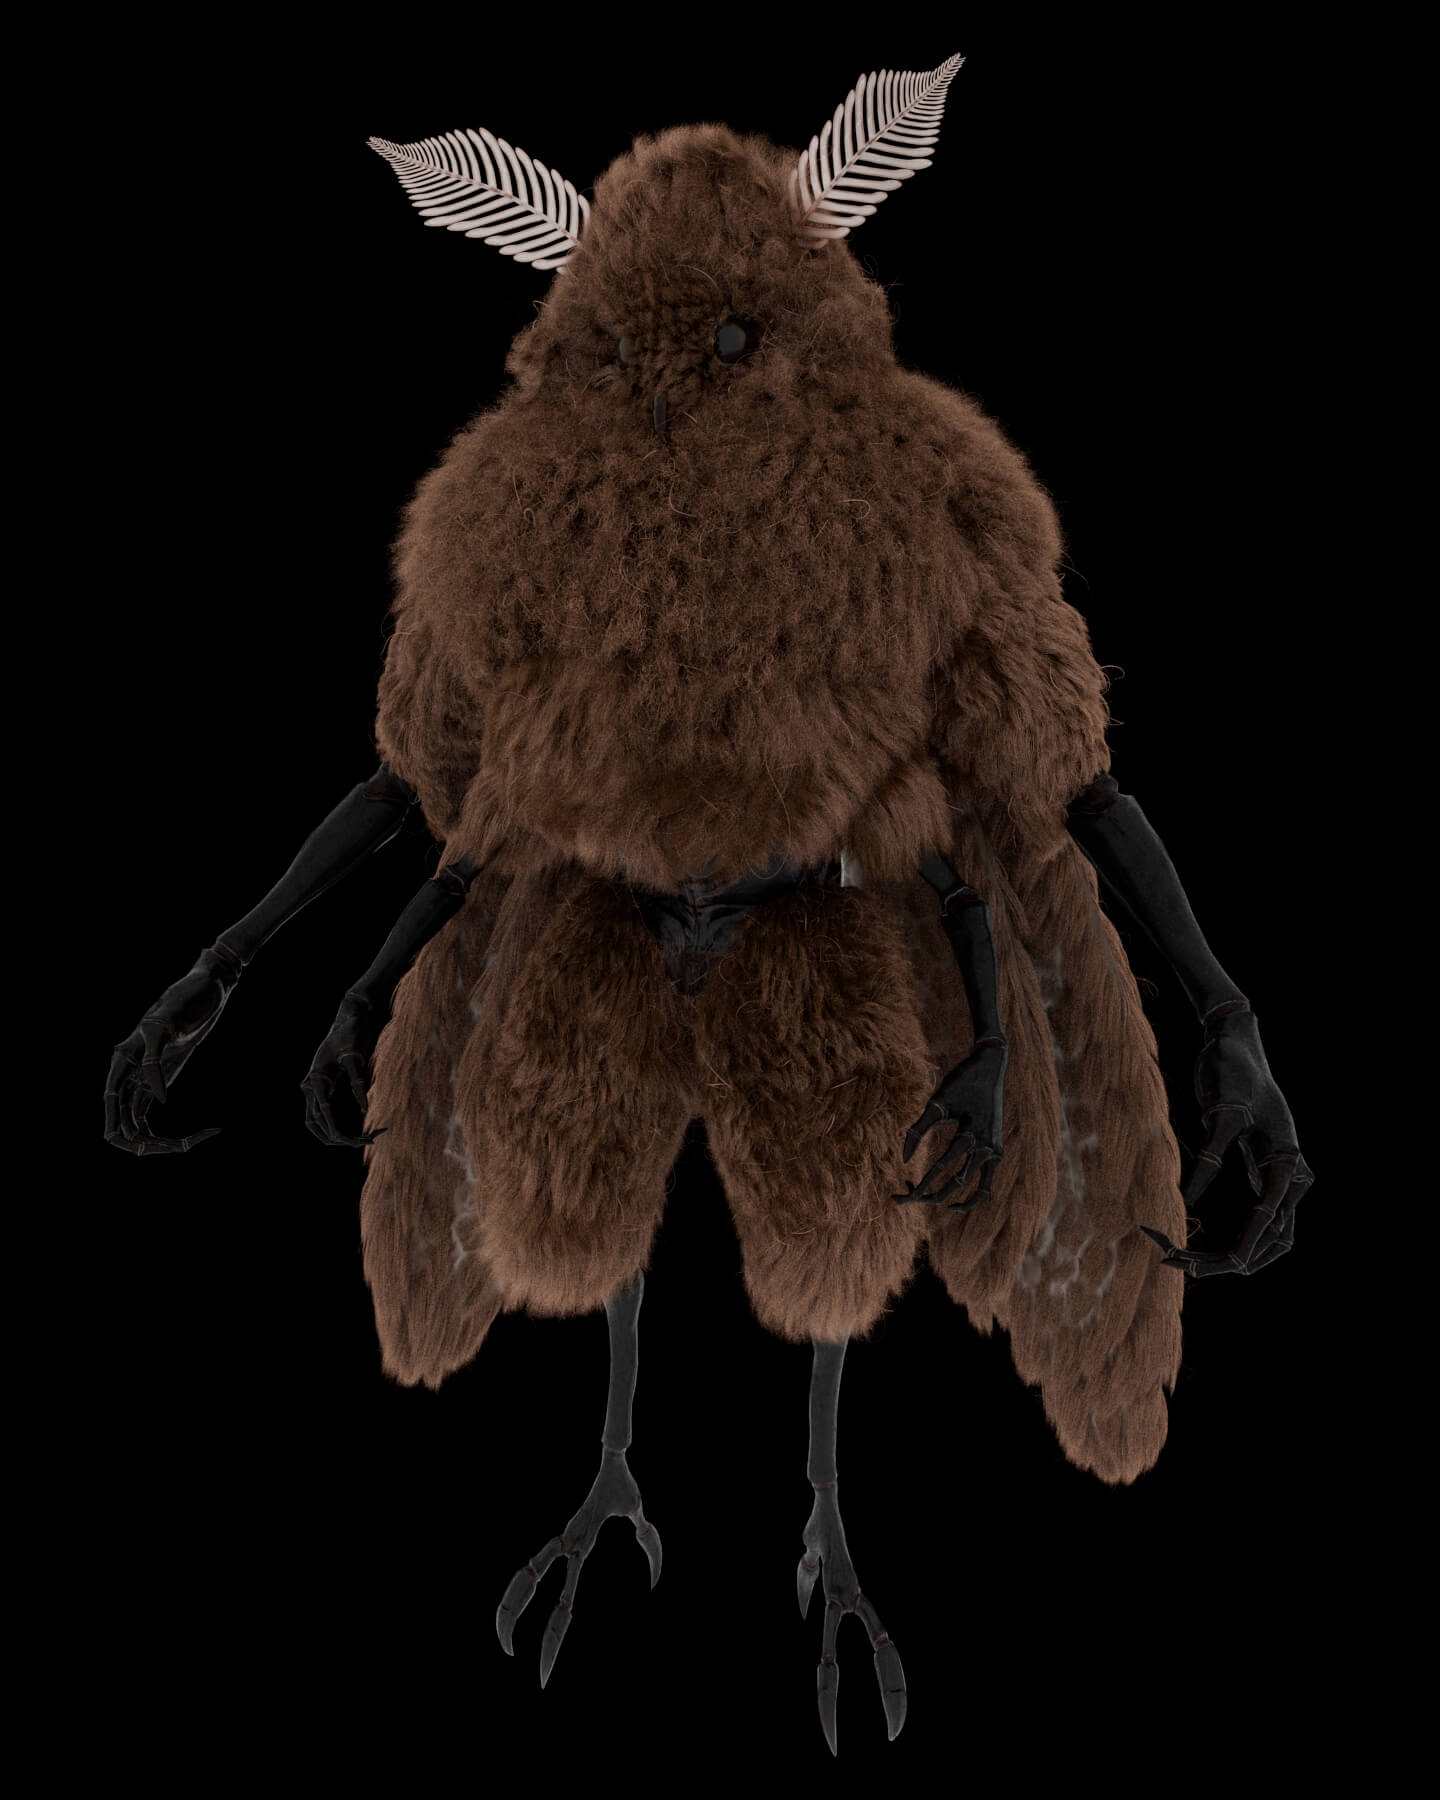
After that, I noticed a lot of places where there would be patches. With so many follicles to manipulate, the groom teared and knotted so much that it was a hassle to take care of and keep refining. From the wings and the arms going into a pose, it was impossible to get a clean result.
My group of friends from the Autodesk troupe, when I was working over there in the M&E department as a Shot-Grid engineer, threw me a series of FAQs recalling how many parameters there are with certain Modifier builds. They also let me know how much control you can get with multiple grooms in a mere 1 to 2 collections. It almost felt like sub-tool management in ZBrush. So, I started over, deep diving into individual guide placement.
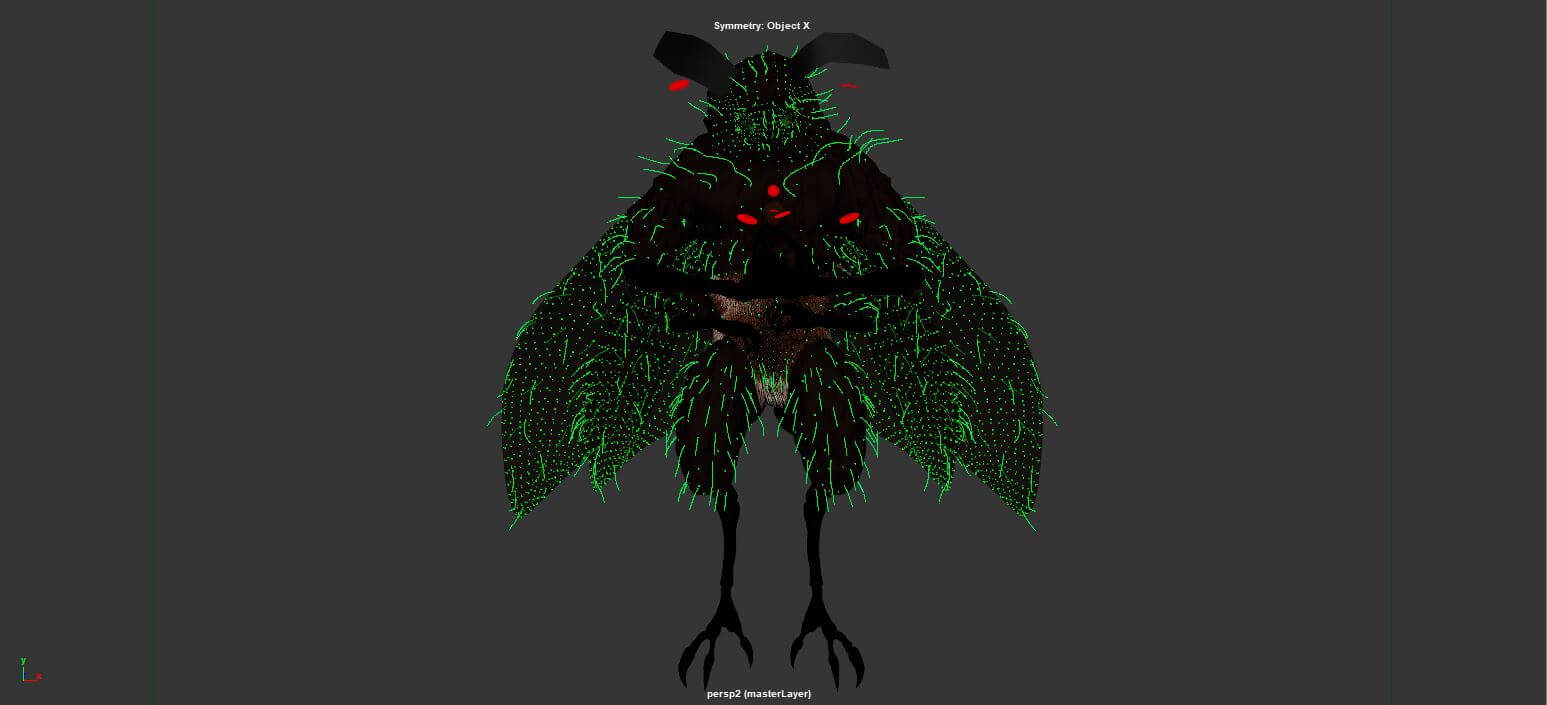
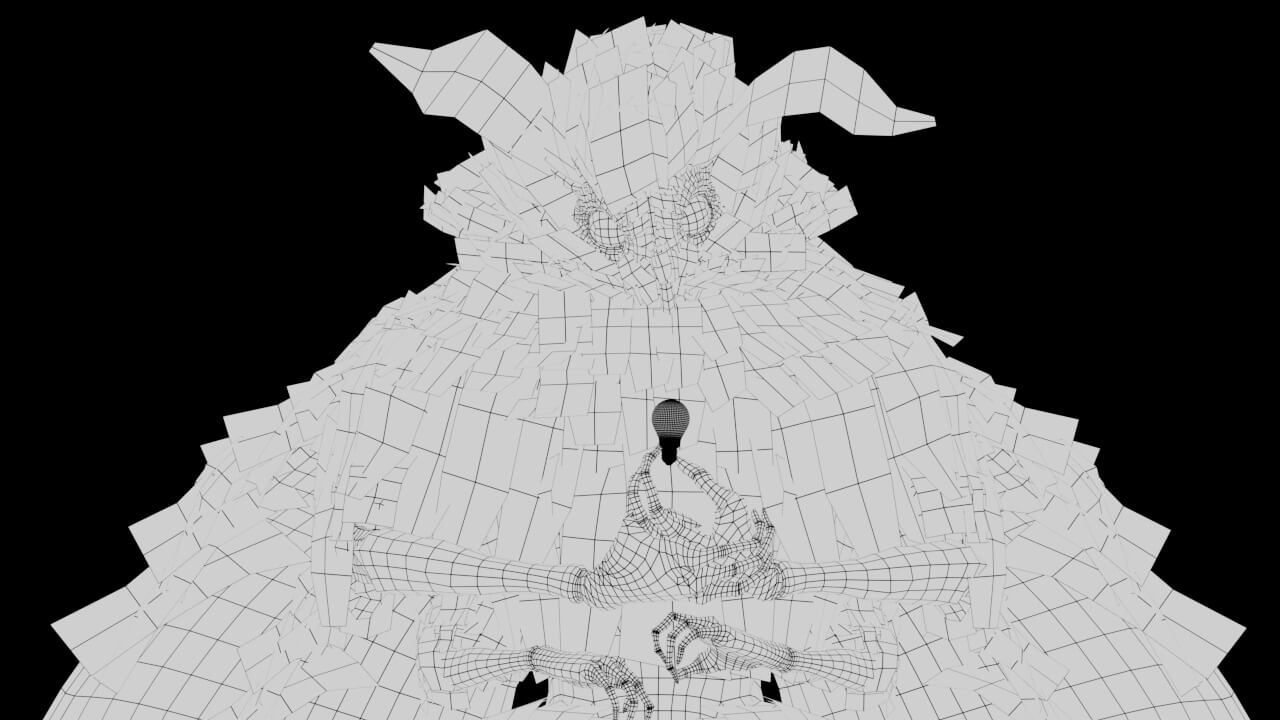
These fleshed out techniques were the adding and layering of the many grooms through Guides/descriptions based on the separate pieces of the overall mesh (from its head to the head’s mane, to the mantle, and so forth) rather than leaving it all up to Groom-able, short and densely populated splines like my initial attempt.
The next big factor was having the modifier build sheets and other artist’s takes who’ve gotten a shaggy hair achievement that I found online (shout out to JHill again, and Hadi Karimi).
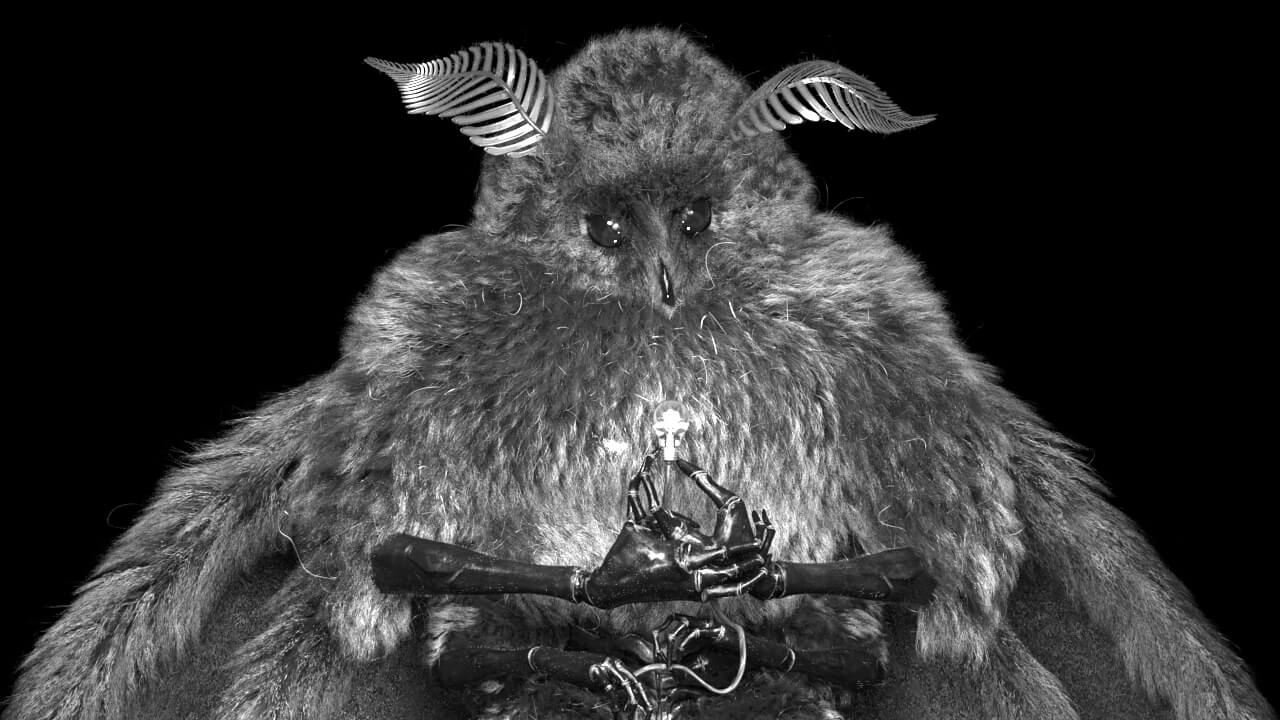
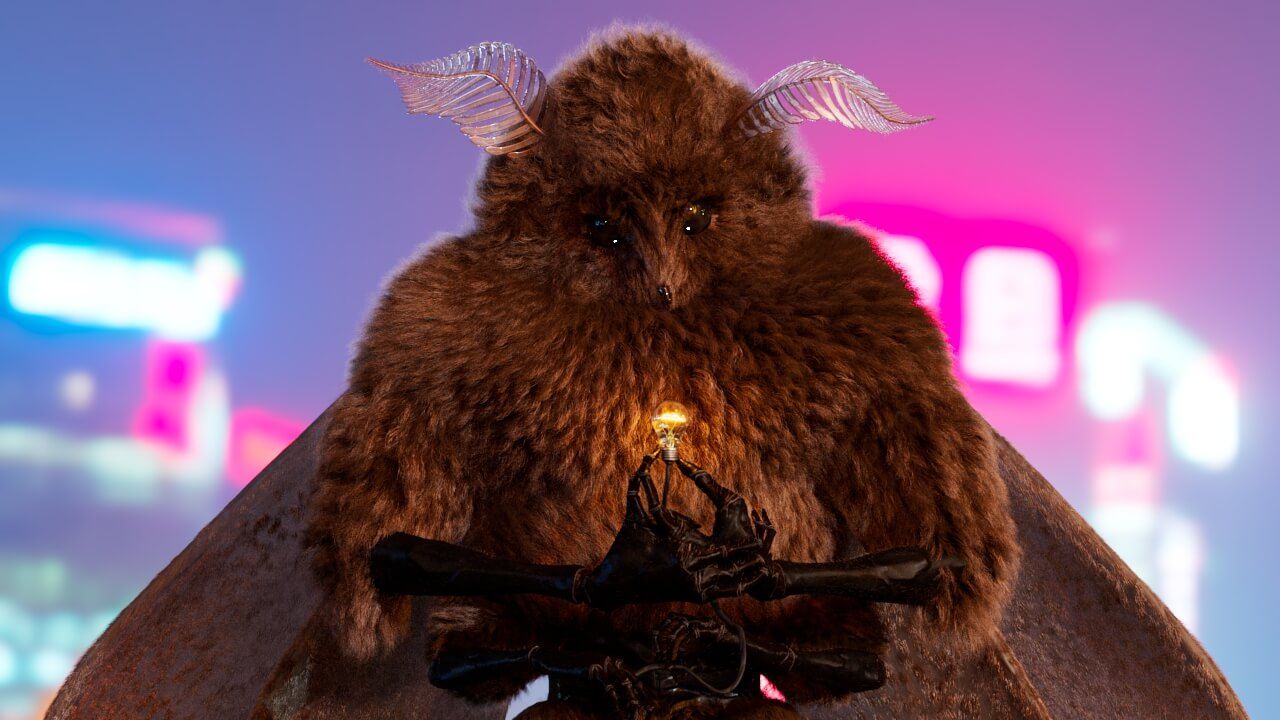
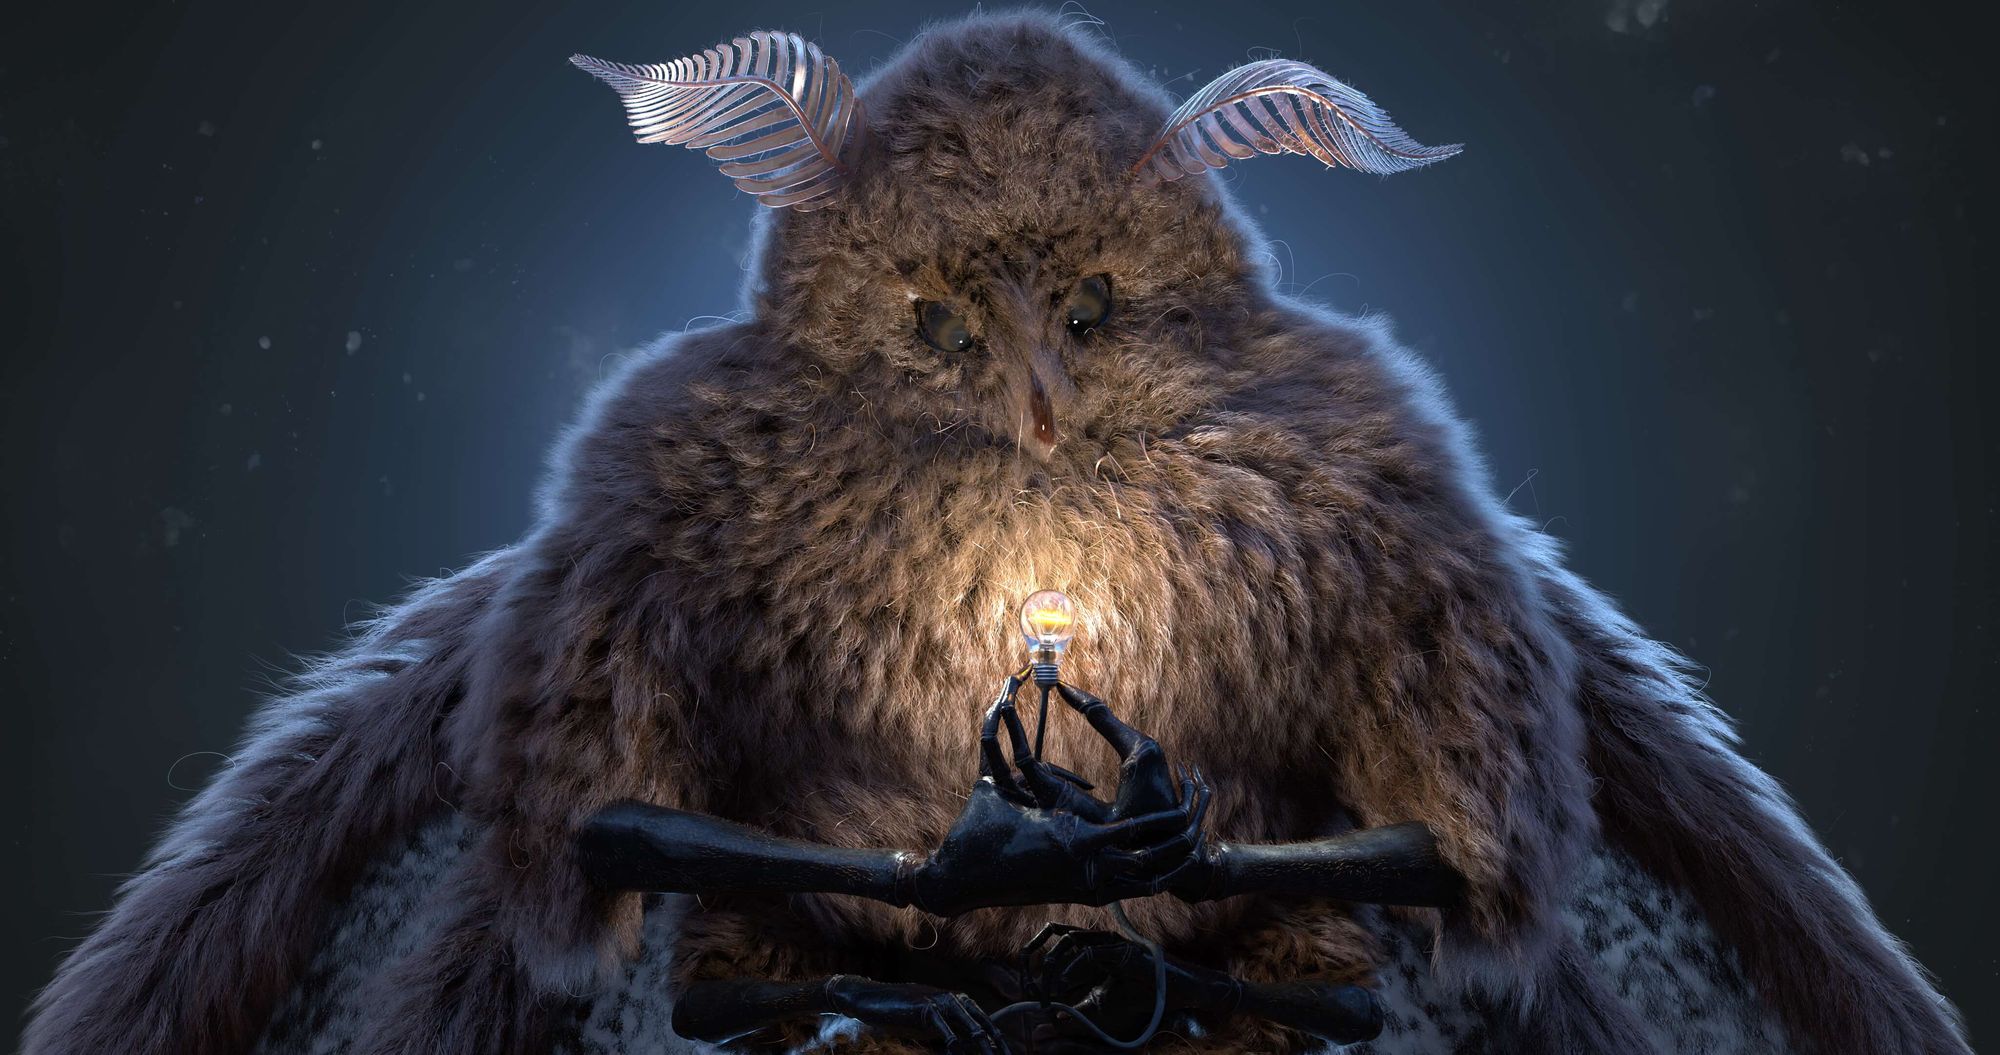
By then, we lit the scene with basic spotlights, made a light bulb to catch some lore in the piece, and have something for the pose to hold. Then Presto, it was thrown into Photoshop for the background and posted with some unreal renderings of my own inspiration!
This next shot was of the transferred, interactive grooms in unreal with an HDRI that I picked up in the Marmoset 4 library of all places (like, why not just stay in there, right?!). Unreal is always a great go-to with its Real time ray trace now, especially being open to the public. It’s great practice to stay honed in, especially with how and where the industry is evolving.

You can find more of Vincent's work on The Rookies, LinkedIn, Artstation, and Instagram.