3D Creature Anatomy: Monster Making in ZBrush
Kristel Rindlisbacher Guzman of PIXL VISN | media arts academy, shares details of how she sculpts captivating creatures, infusing them with shape, colour, texture, and personality.
Kristel Rindlisbacher Guzman of PIXL VISN | media arts academy, shares details of how she sculpts captivating creatures, infusing them with shape, colour, texture, and personality.

PIXL VISN | media arts academy student, Kristel Rindlisbacher Guzman, dedicates her time to creating and sculpting creatures in ZBrush, giving them shape, colour, texture and personality. In this article Kristel takes us through her process of sculpting her character, "The Blind Monster" in ZBrush an Mari.
I must honestly say that I really like creatures, all of them in general; those that live in nature and those that live in the imagination of other artists.
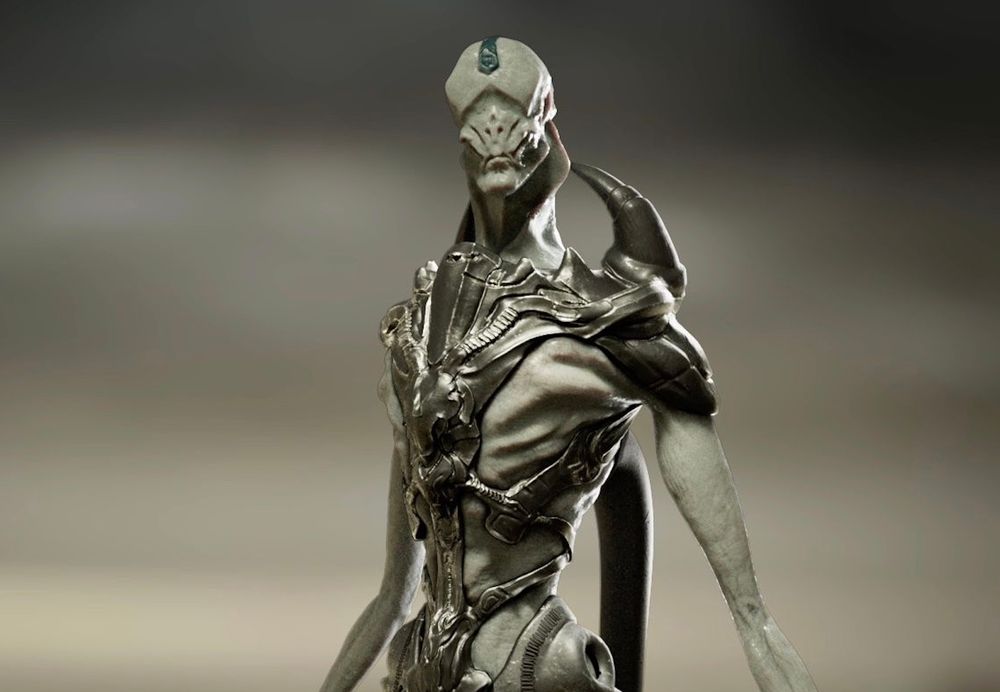
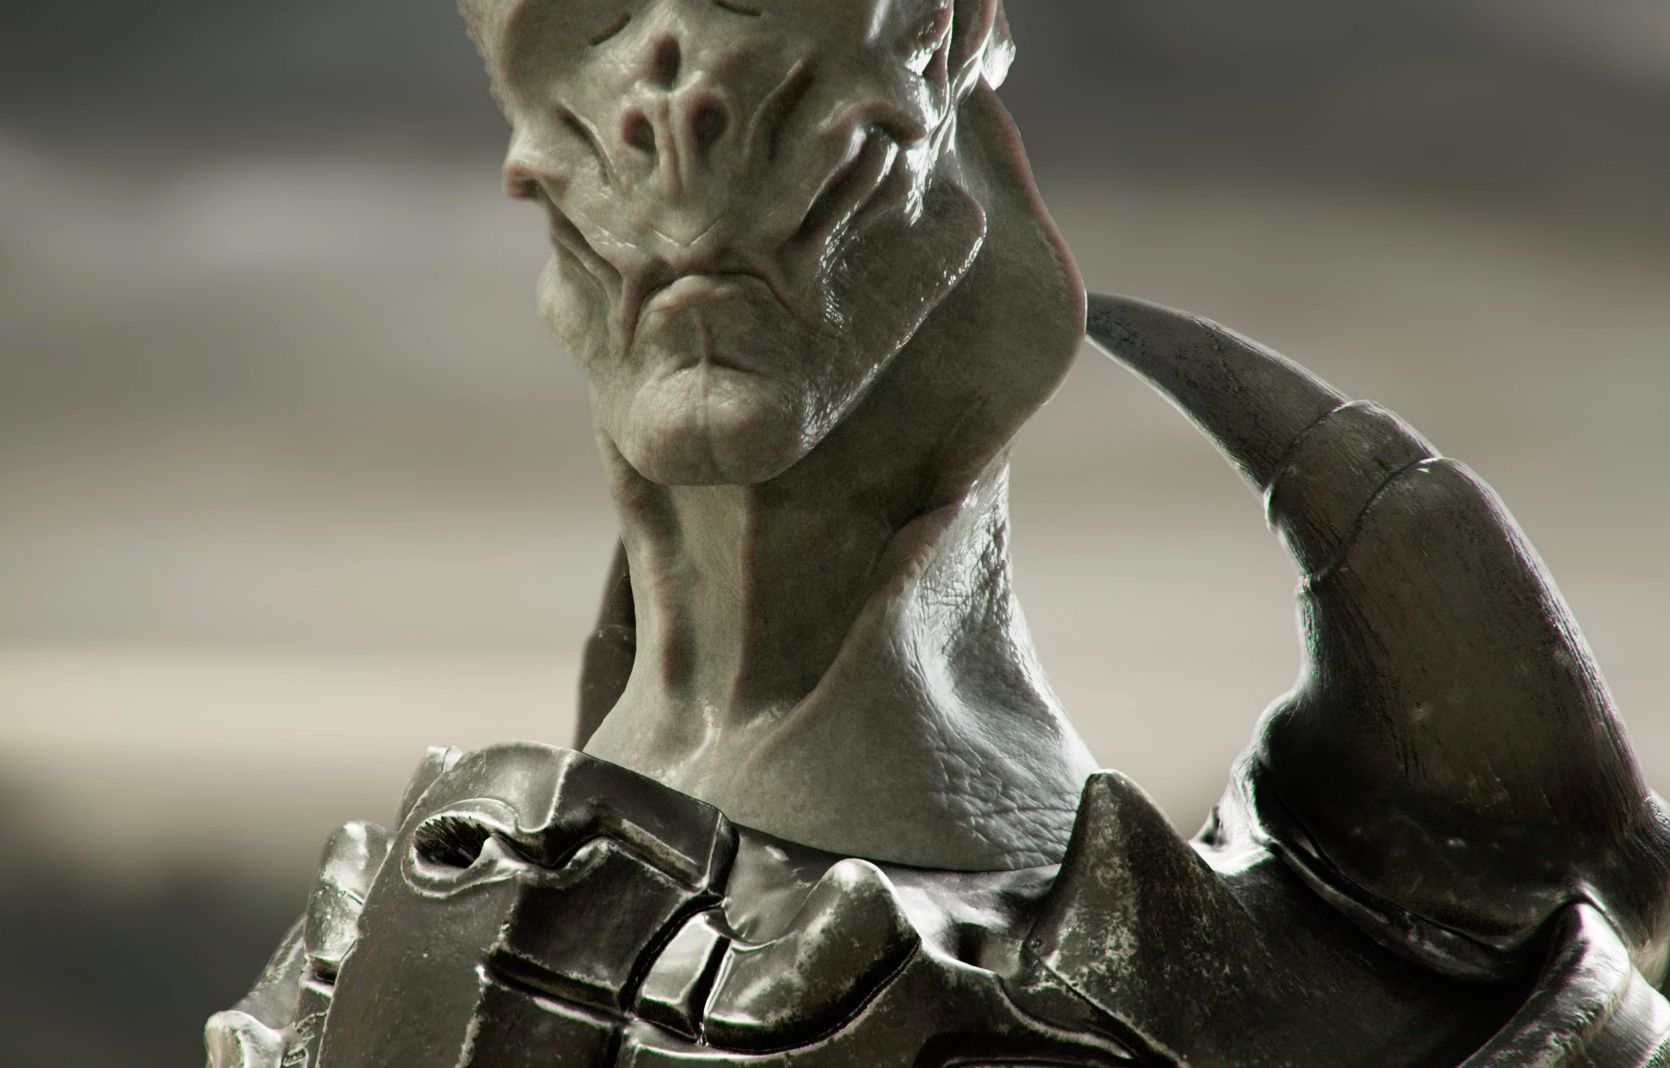
The Blind Monster was made on the basis of the art concept of J.S. Marantz. I chose this concept because I wanted to work on the anatomy of this particular creature, which was my main goal of the project.
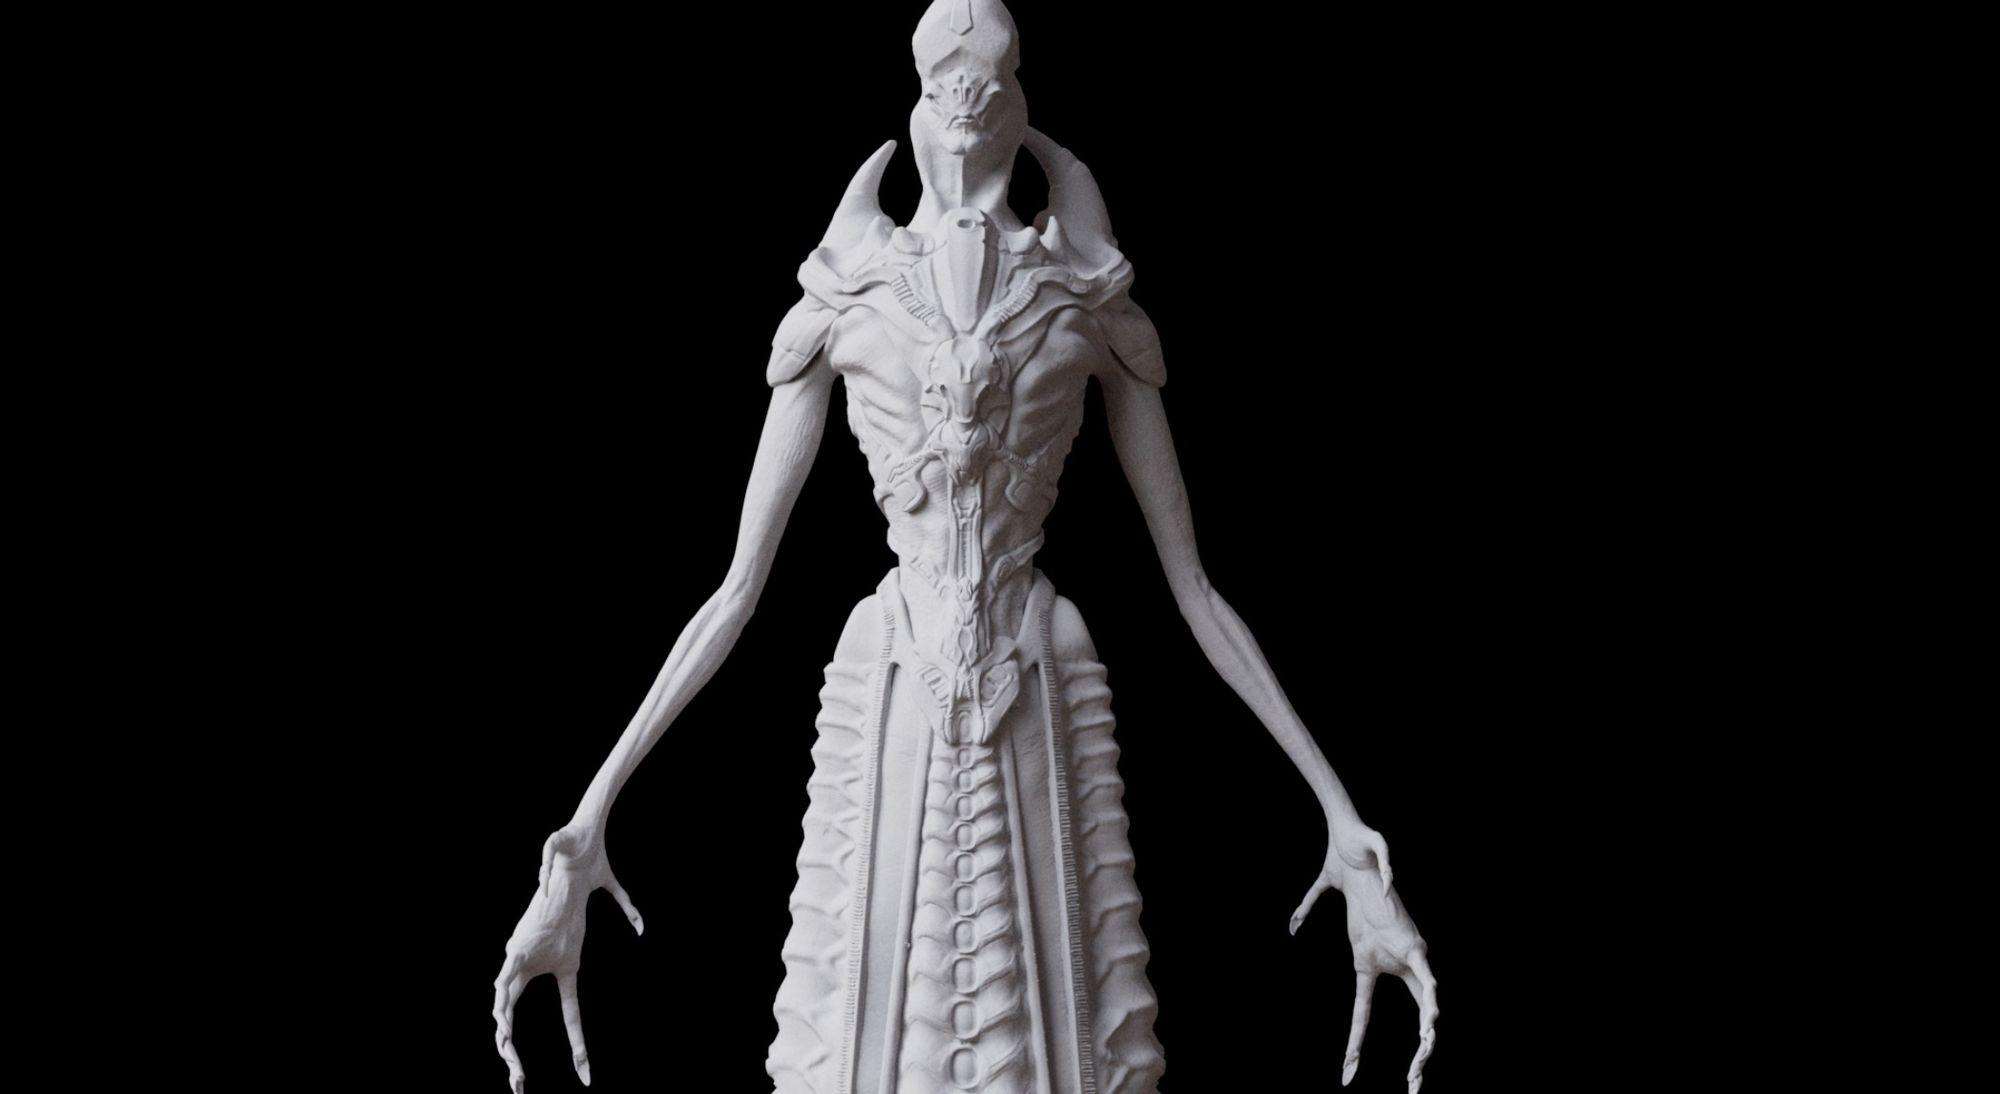
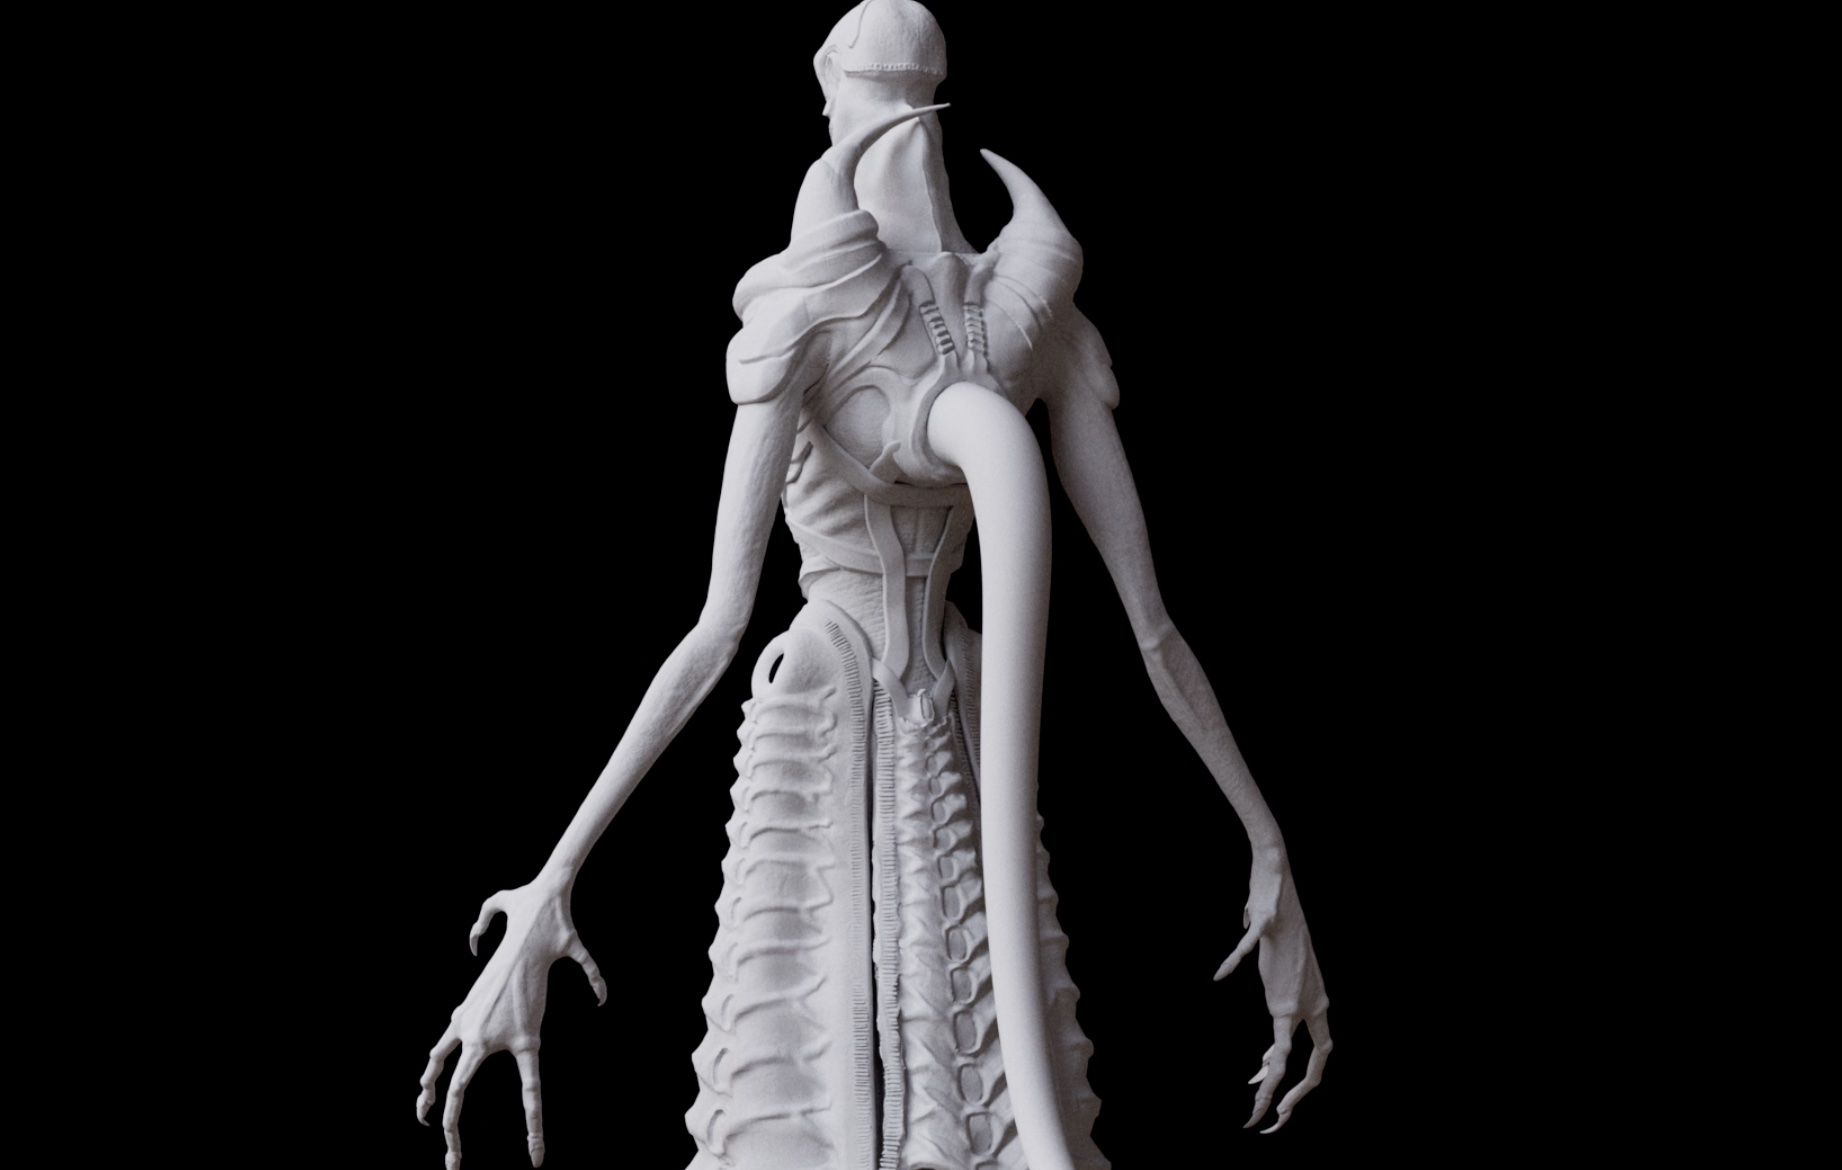
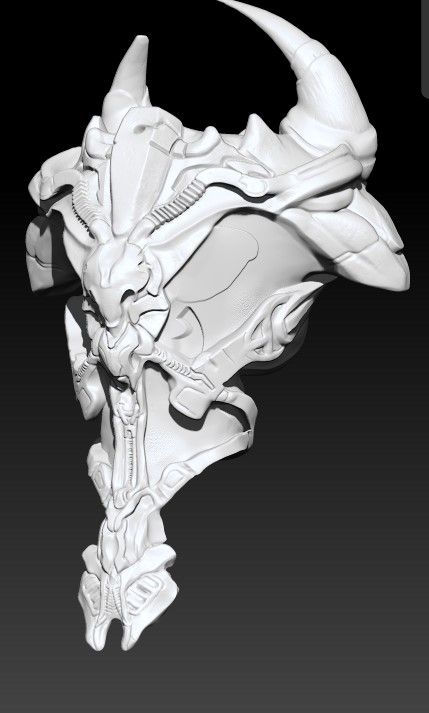
Starting with basic shapes and following the concept, I began to sculpt it. Since I only had the concept of the Blind Monster from an almost frontal perspective I had to look for many references photos of similar bodies of creatures and characters in different positions. Always taking care of the silhouette.
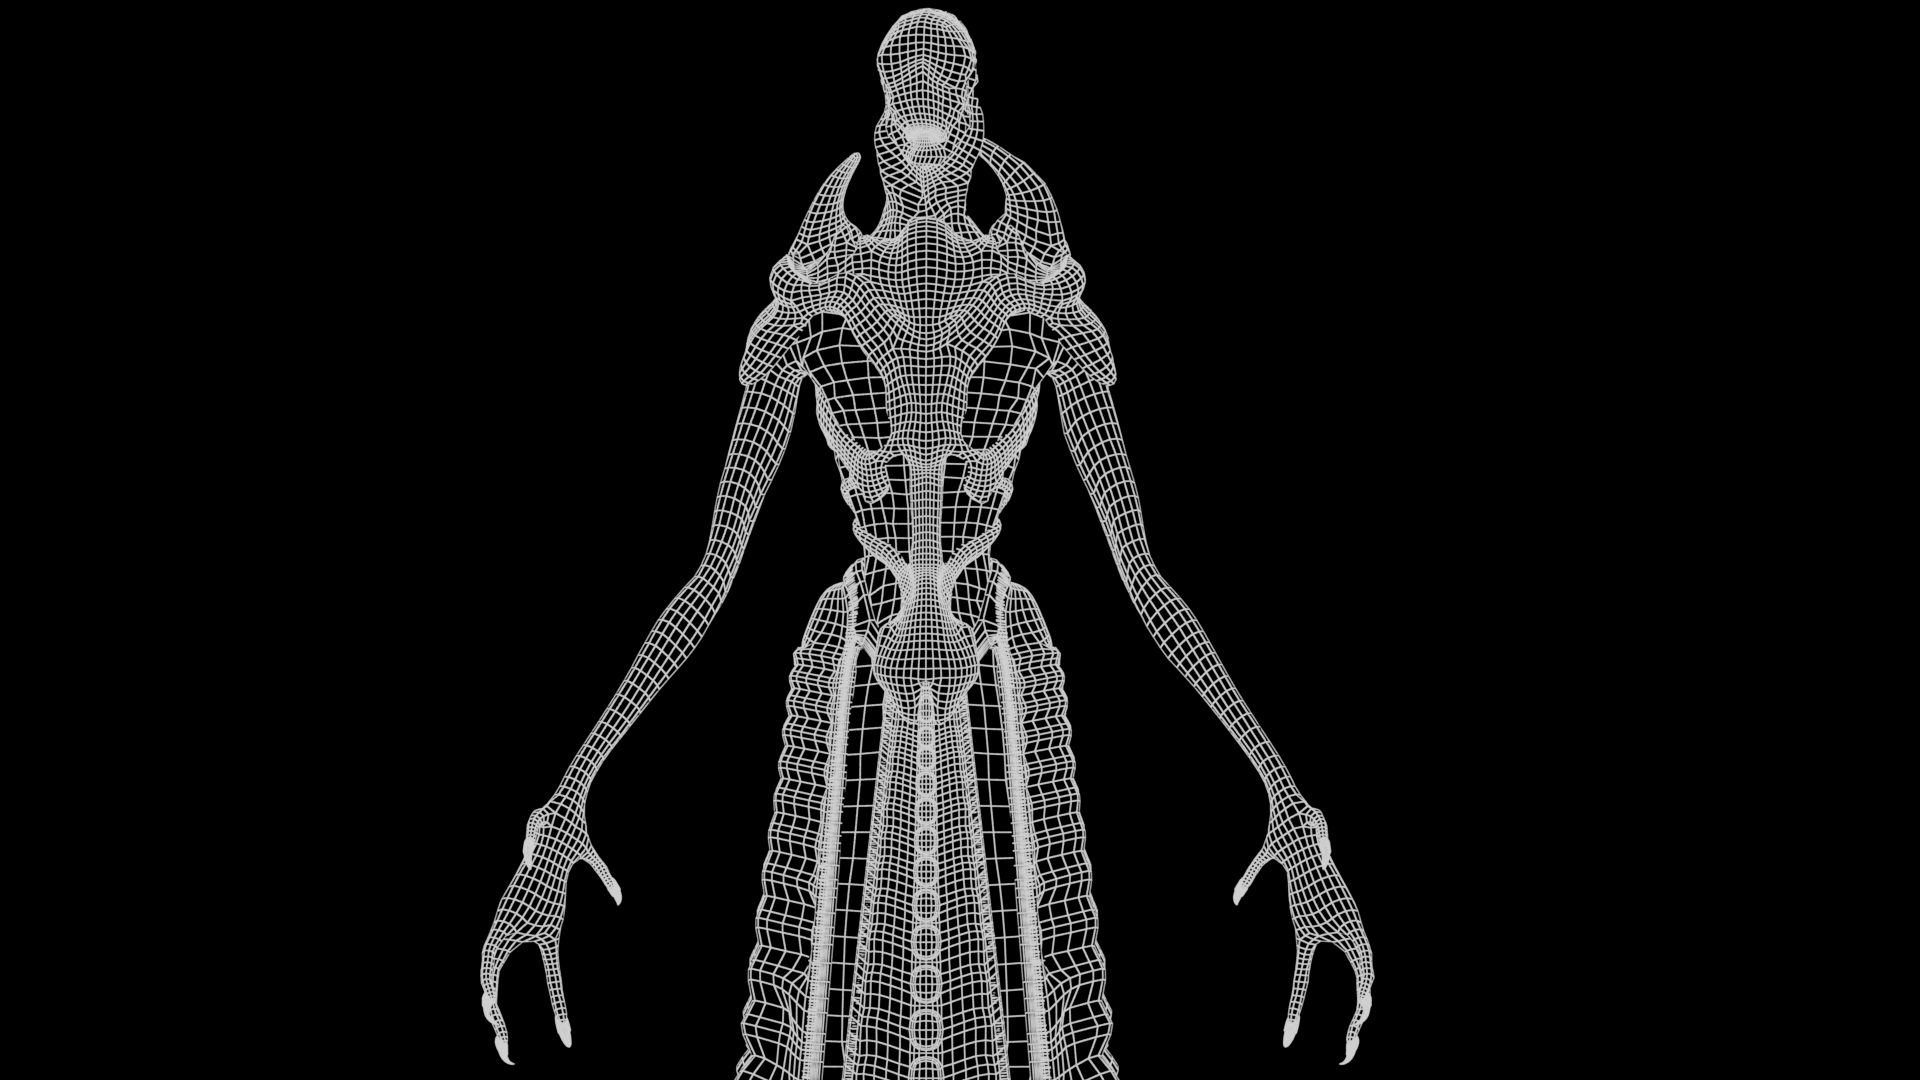
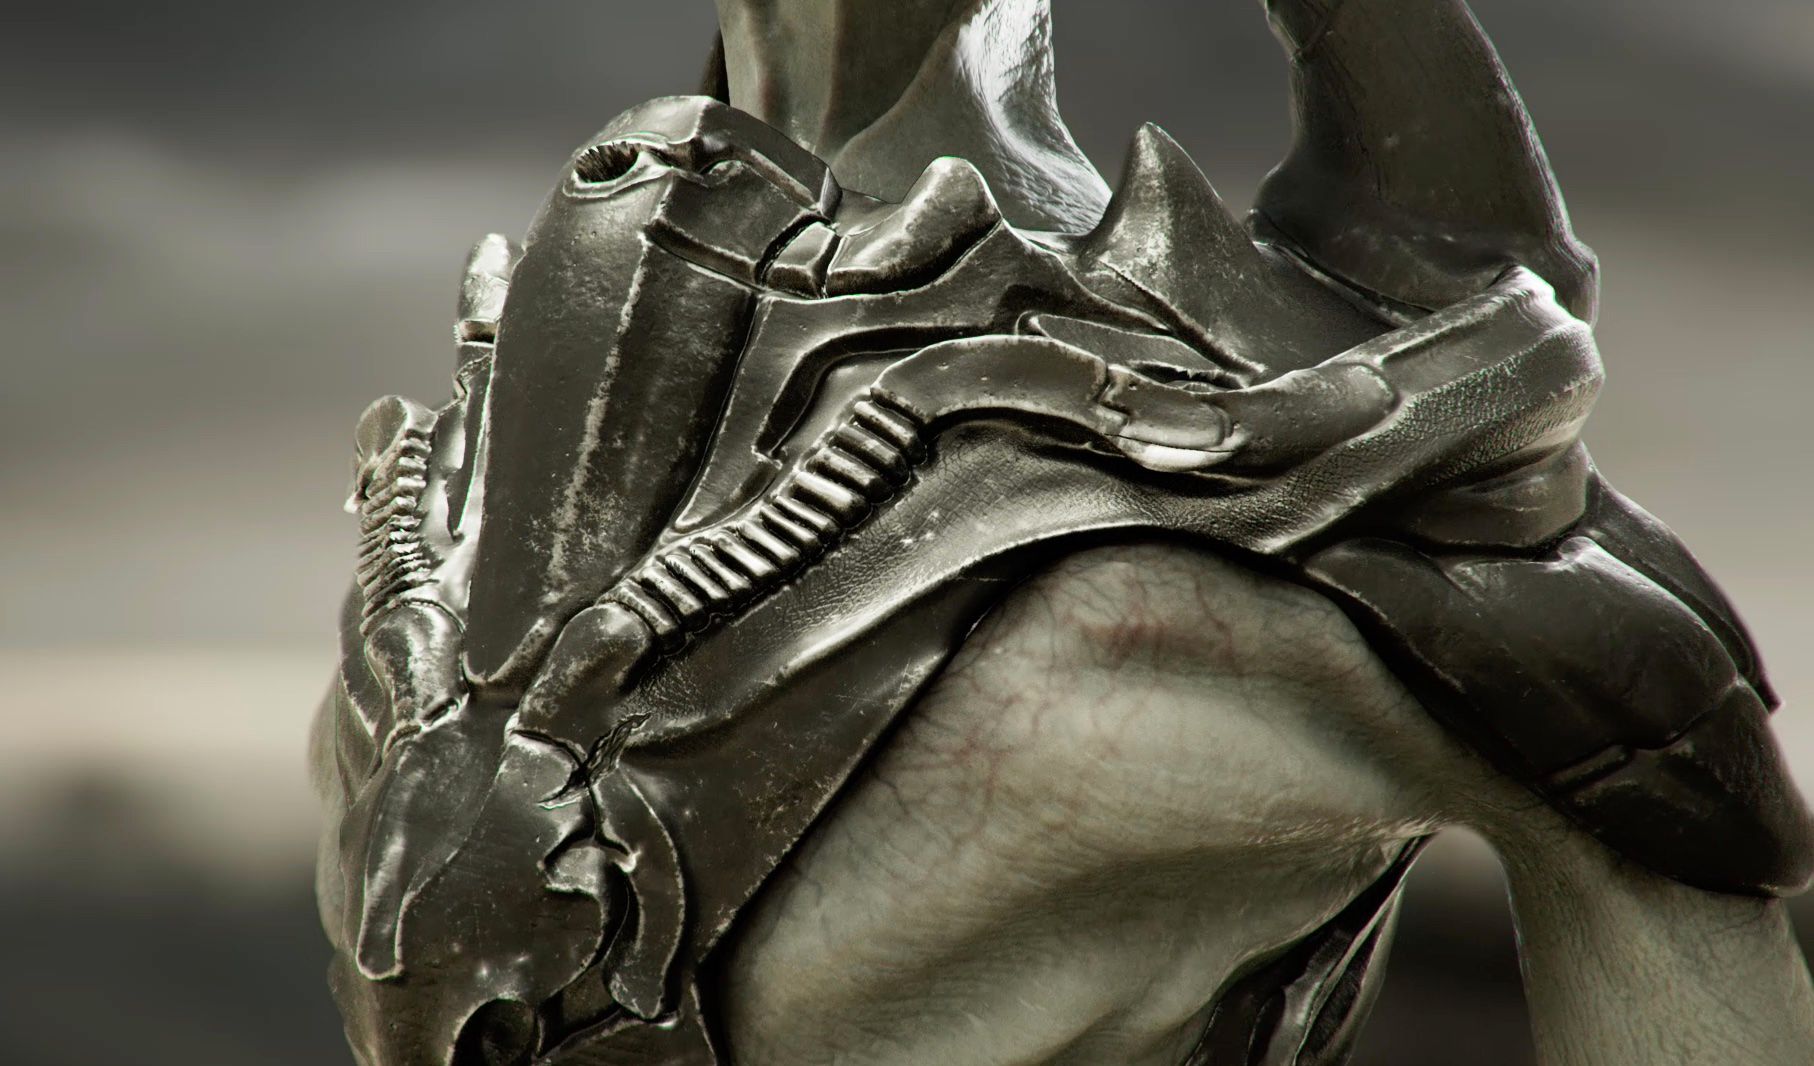
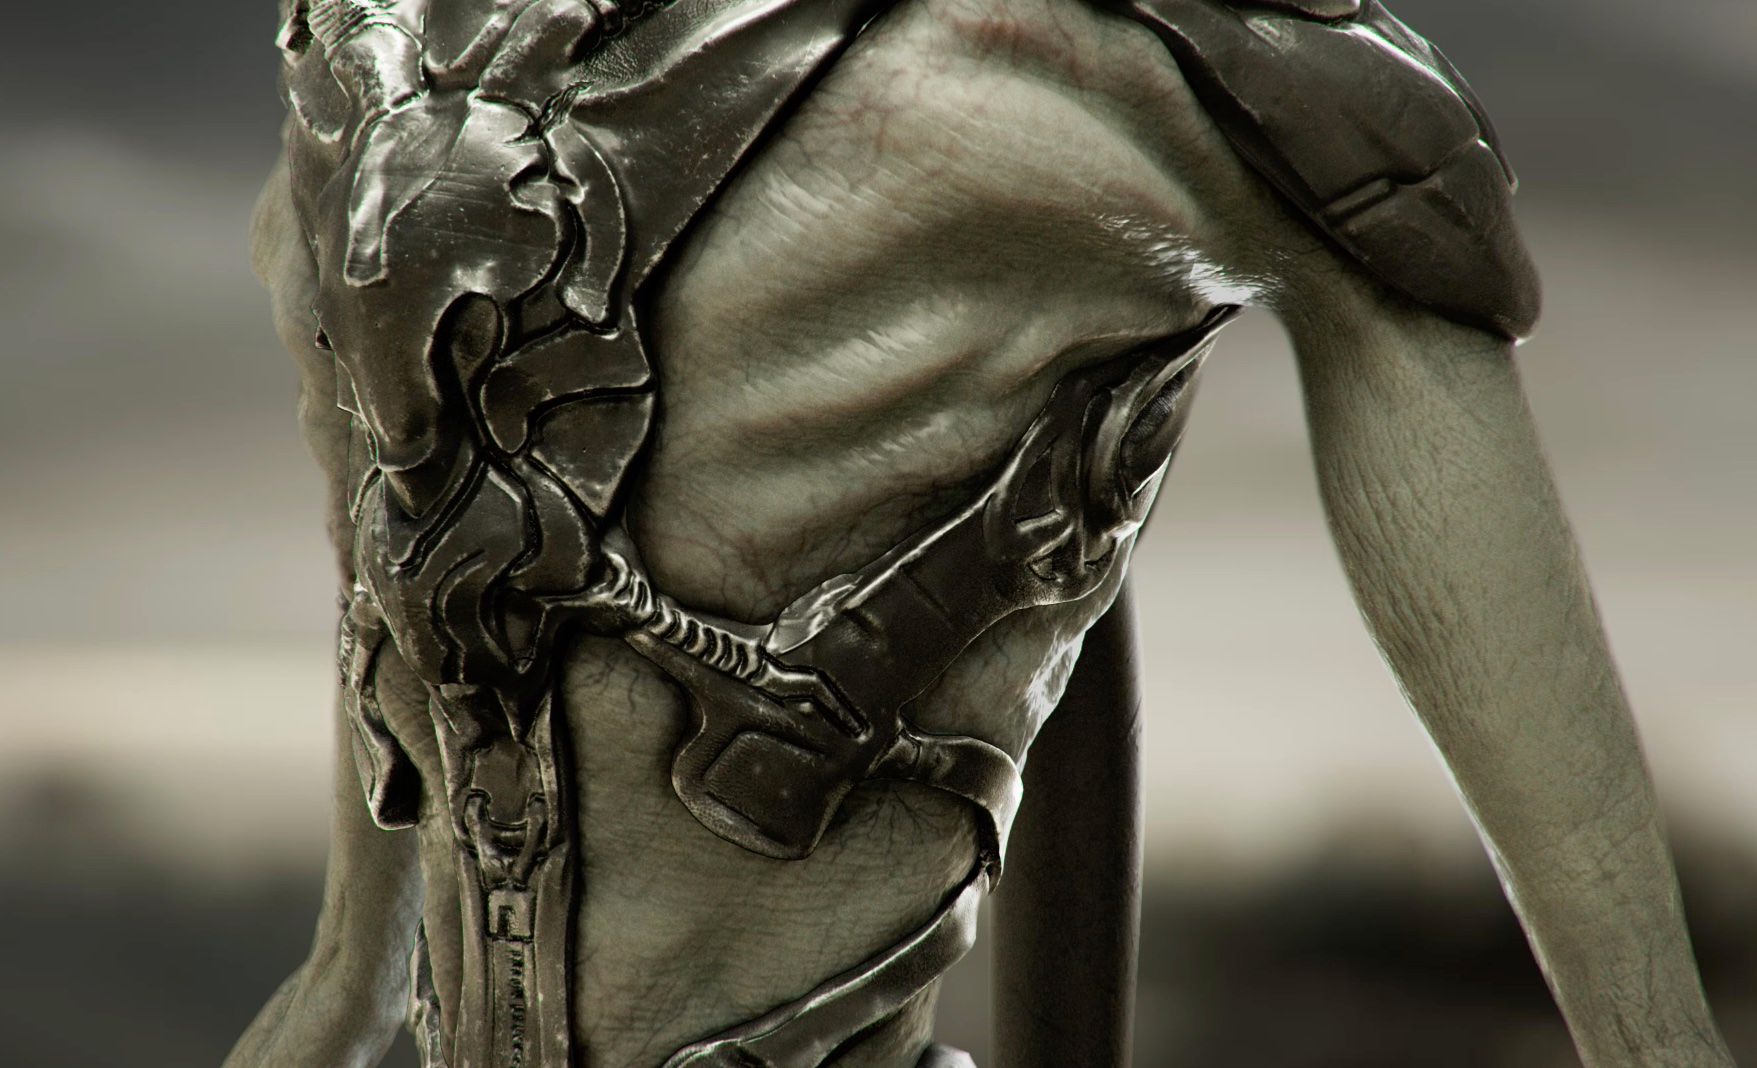
After the basic shape was finished I took the mesh to Maya to create an exact shape of the armour on the BM's chest.
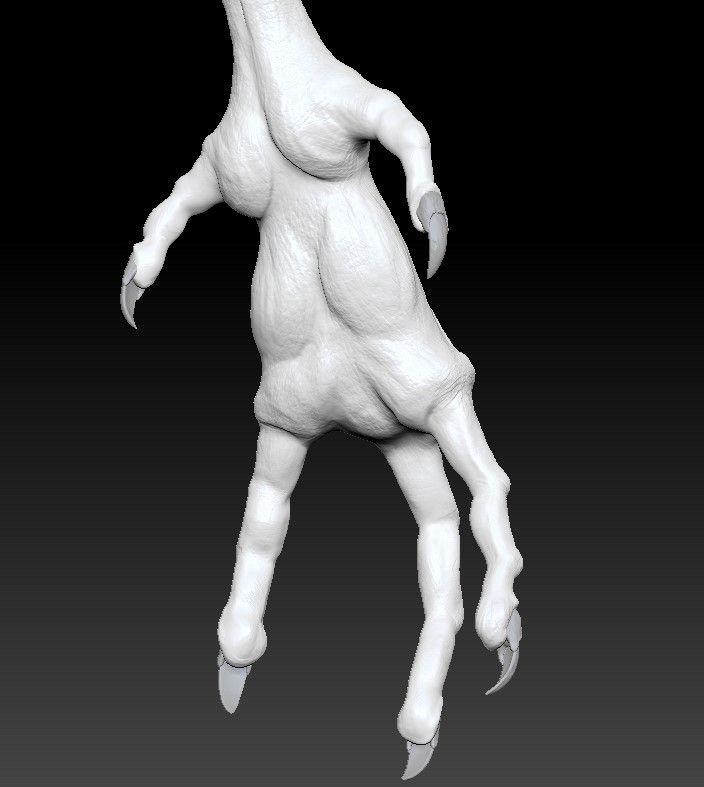
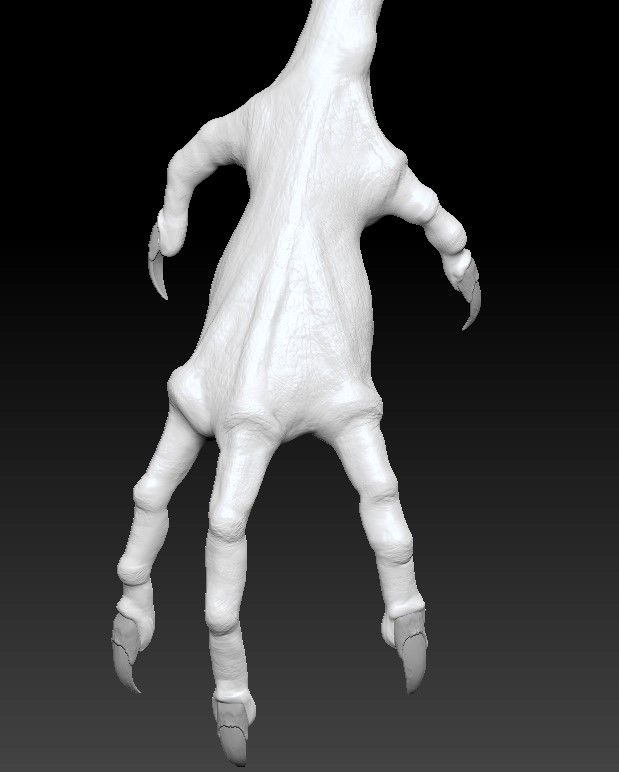
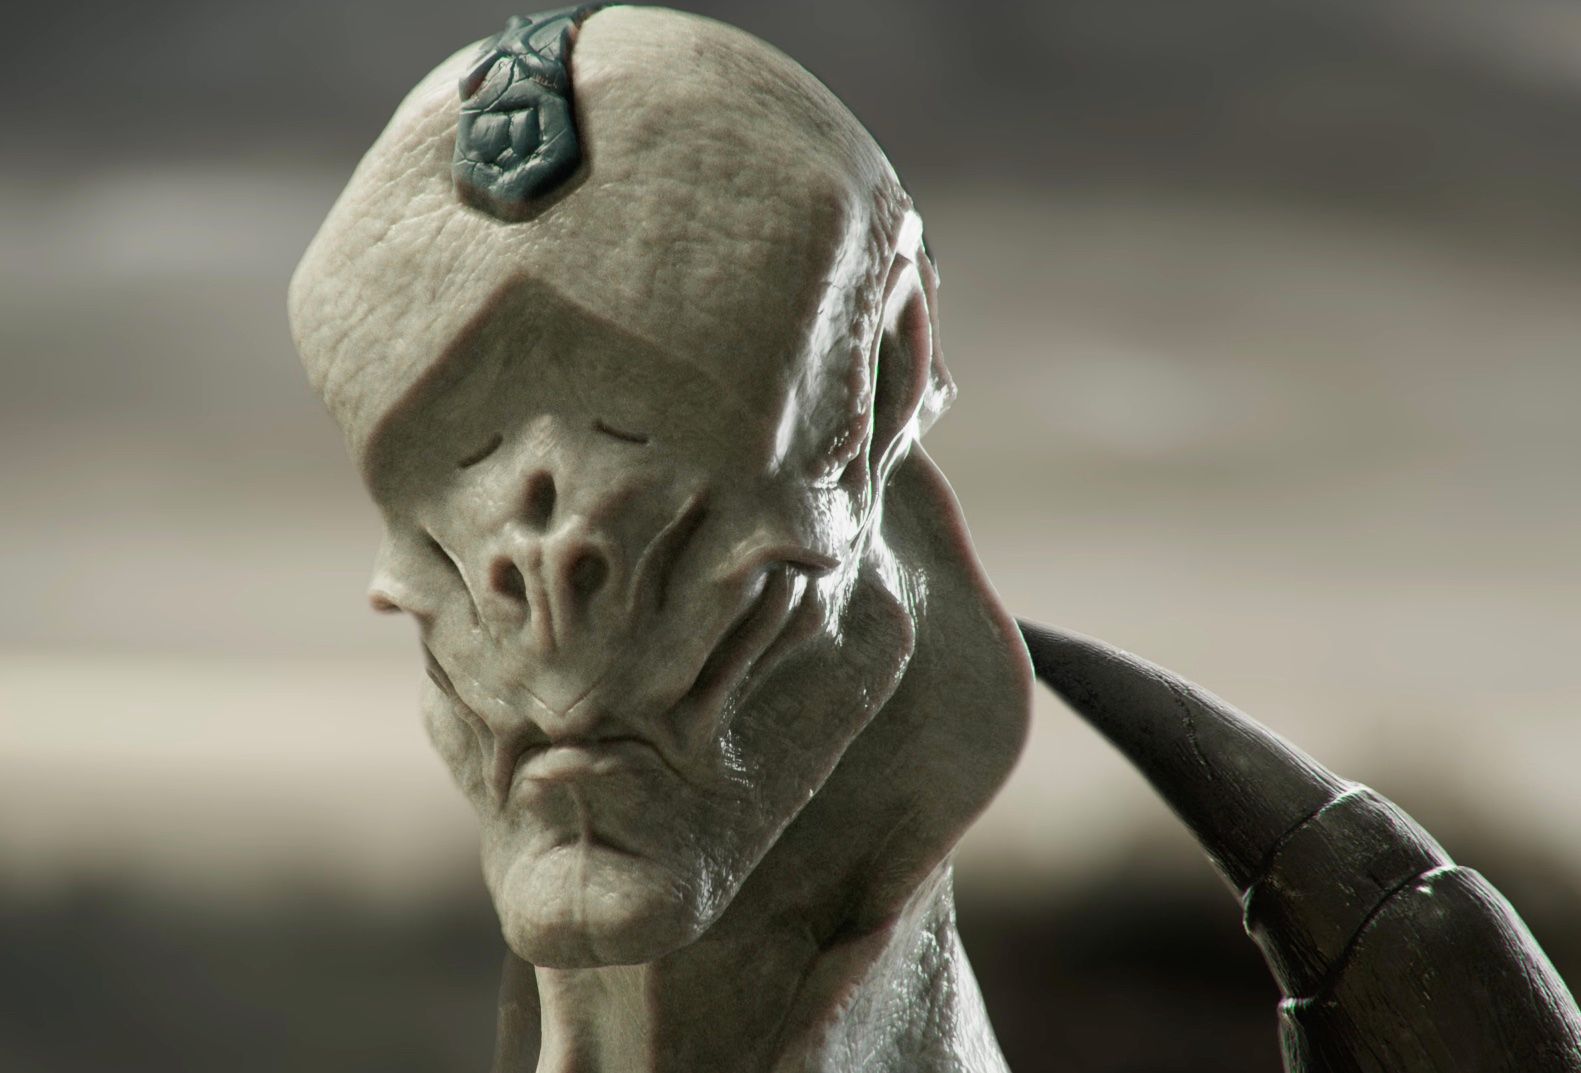
Back to ZBrush with correct meshes, I gave them the volume of the anatomy needed for the face and body.
Using different alphas and following the skin reference of different animals, I managed to recreate a monster skin on the face, chest arms and hands.
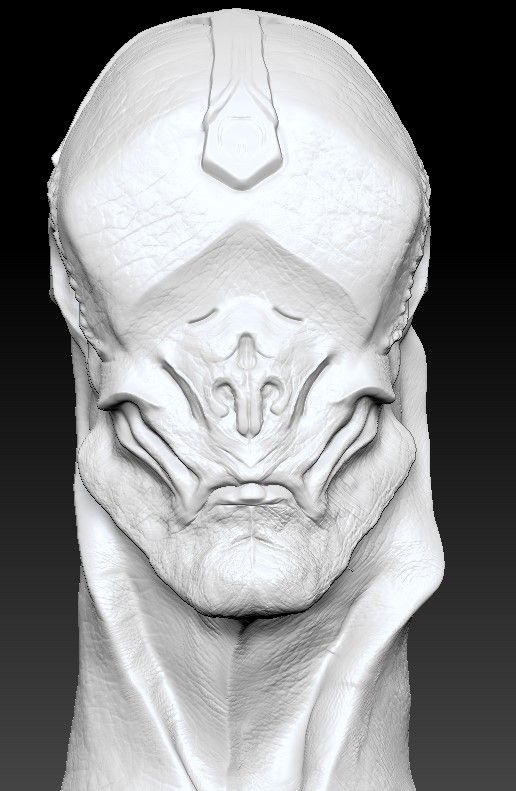
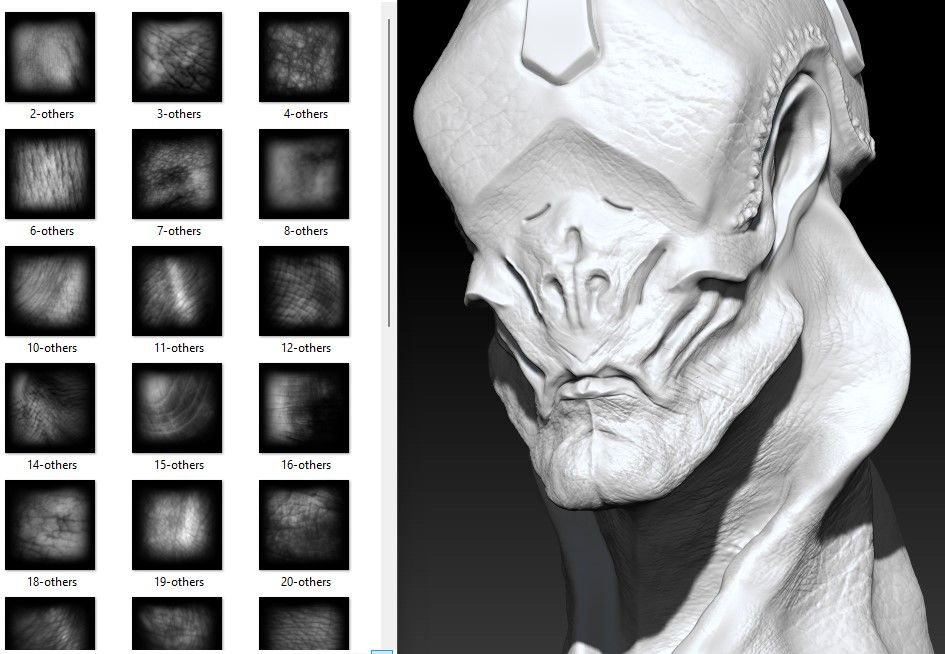
What I really have to pay attention to, is the direction the wrinkles will take on a real skin. Following references and with the right brush I applied the alphas for the wrinkles, specially those on the neck.
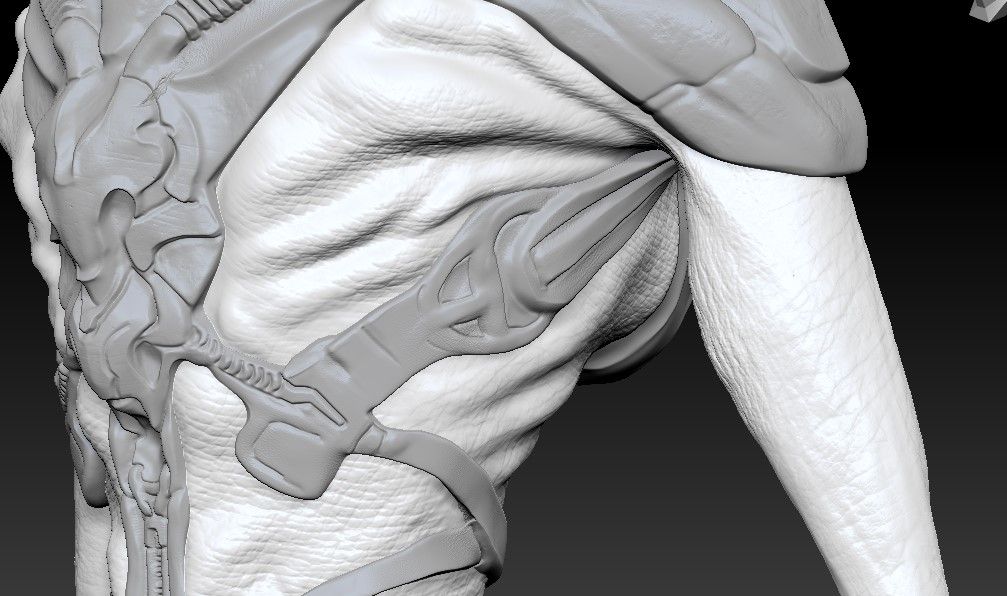
After completing the sculpting of the anatomy, I started working on the armour. I went through many attempts until I found the best method to finish it. I also applied imperfection to the armour using different metal brushes.

When the model was finished I went back to Maya to make a proper mesh and work with the uv’s. Back to ZBrush I had to import the low poly mesh to make the projections, get the displacement maps and again I went back to Maya to give displacement nodes to the body.
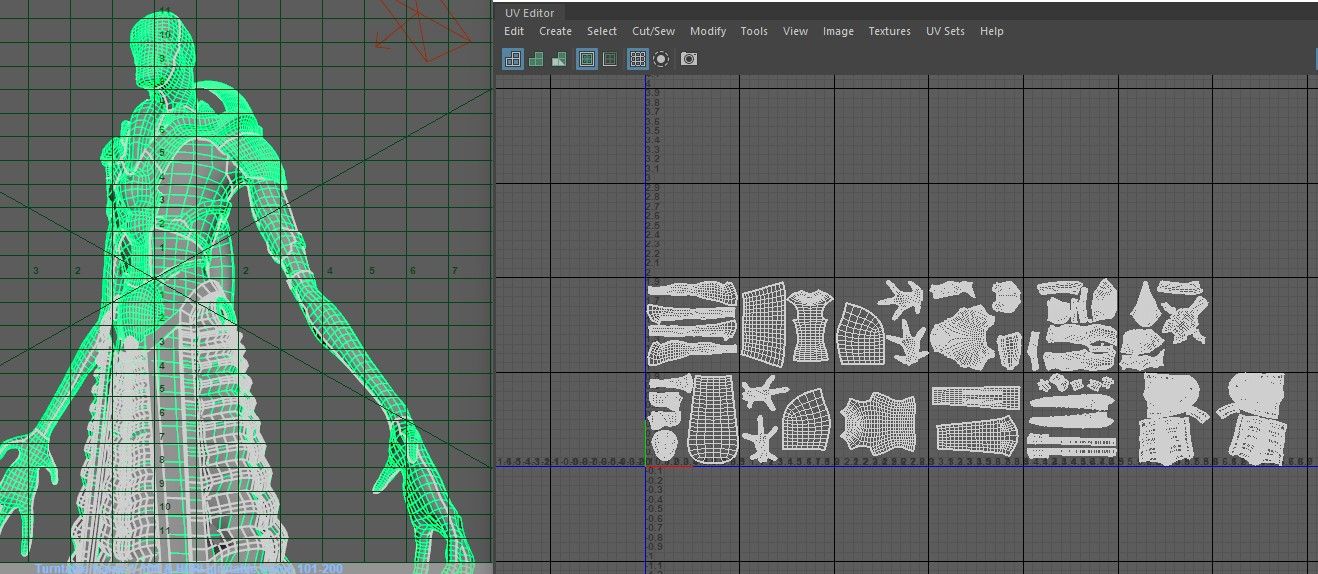
When all this worked properly, it was time to take the hi and low poly mesh to substance to create AO, curves and thickness maps. Then I went to Mari to set the environment for painting.
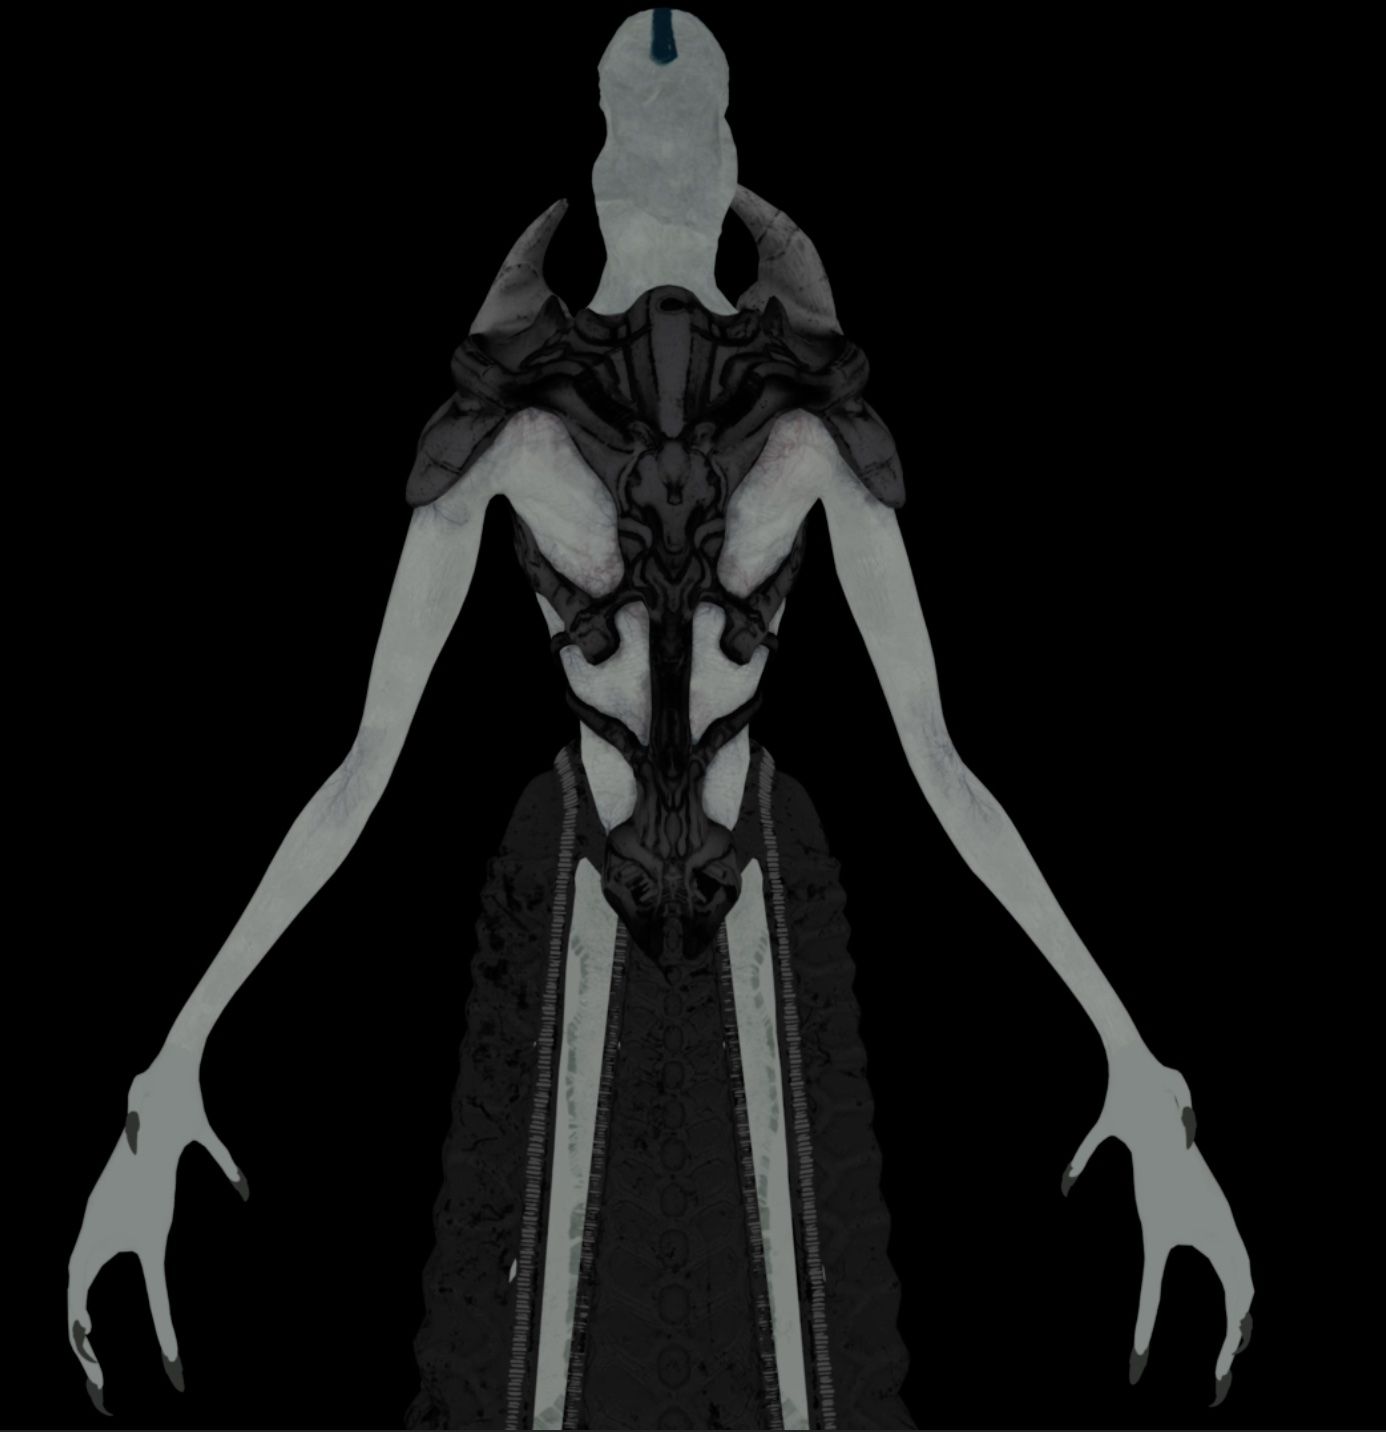
Finally I decided to use V-Ray as a render engine. I had really to be careful when placing the lights so I keep the wrincles visible. With a special HDRI I gave dramatic light. The last and very important step for me was to take the Renderings to nuke and control colour, lights and background.
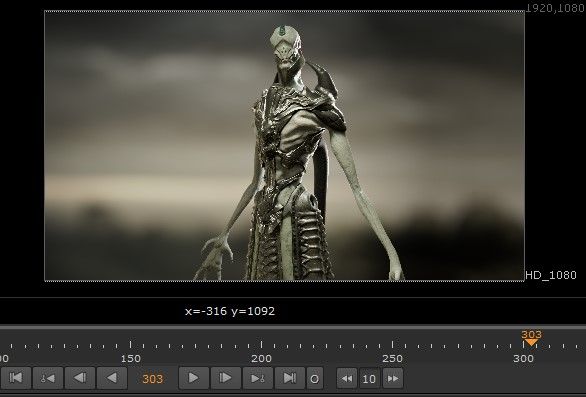
This project was very important for me. Not only the fact of modeling a creature and providing it with all the possible details and the desired personality, it was also the fact of using colours, lights and shadows in ways to enhance my character.
Thanks to the Rookies for this great opportunity!
You can reach out to Kristel via her Rookies profile here.