Troll and Bass: The Stages of Creating a 3D Model From a Concept
Maxime Surget, a 2023 Film of the Year finalist and ESMA graduate, is a skilled 3D Artist working at Mikros Animation. In this article, he walks us through the process of creating a 3D character and prop, from concept to final render.
A finalist in the Film of the Year, 3D Animation Category in 2023, Maxime Surget, is one talented 3D Artist. Also a recent graduate of ESMA, Maxime is now a 3D Generalist working at Mikros Animation. In this article he takes one of his favourite projects and shares how he tackles creating a 3D character and prop from concept to final render.
Introduction
My name is Maxime and I'm a 3D Generalist. I'm French but I moved to Montreal a year ago for work. I studied at ESMA Nantes between 2017 and 2022, where I learned all aspects of 3D animation.
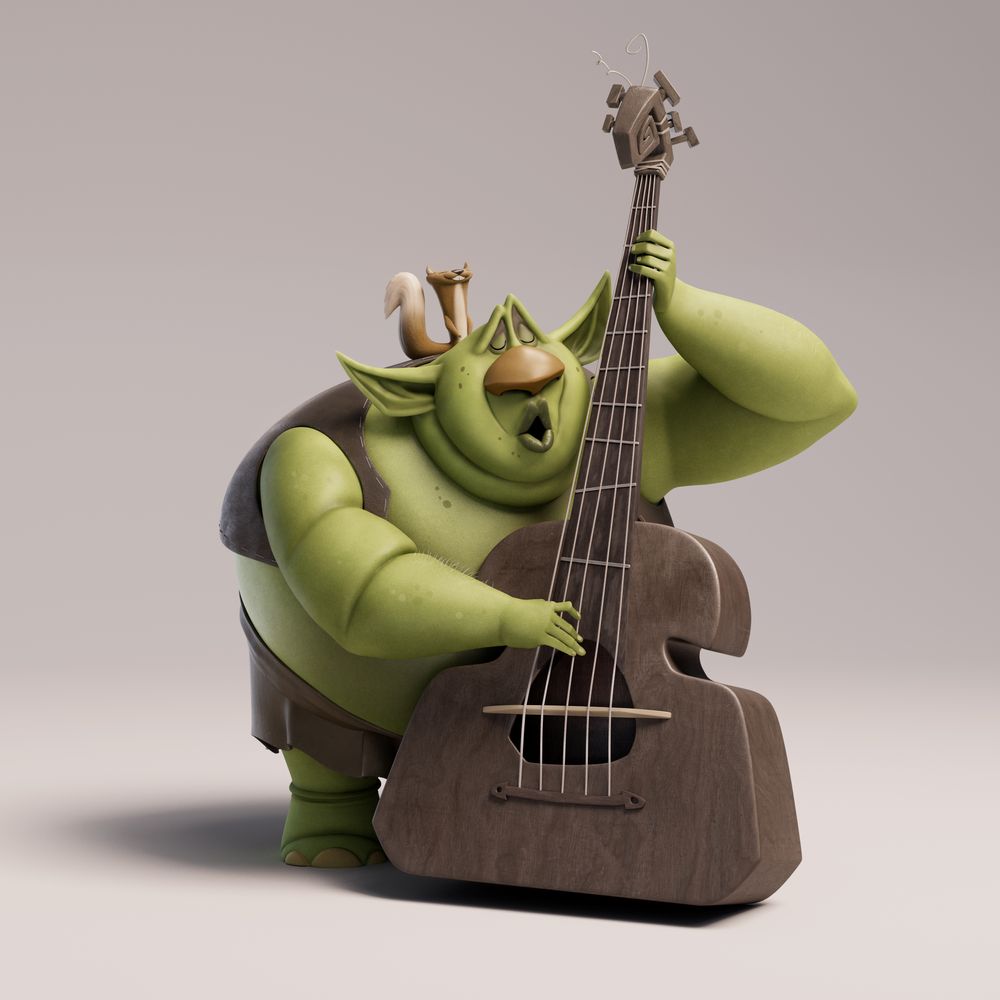
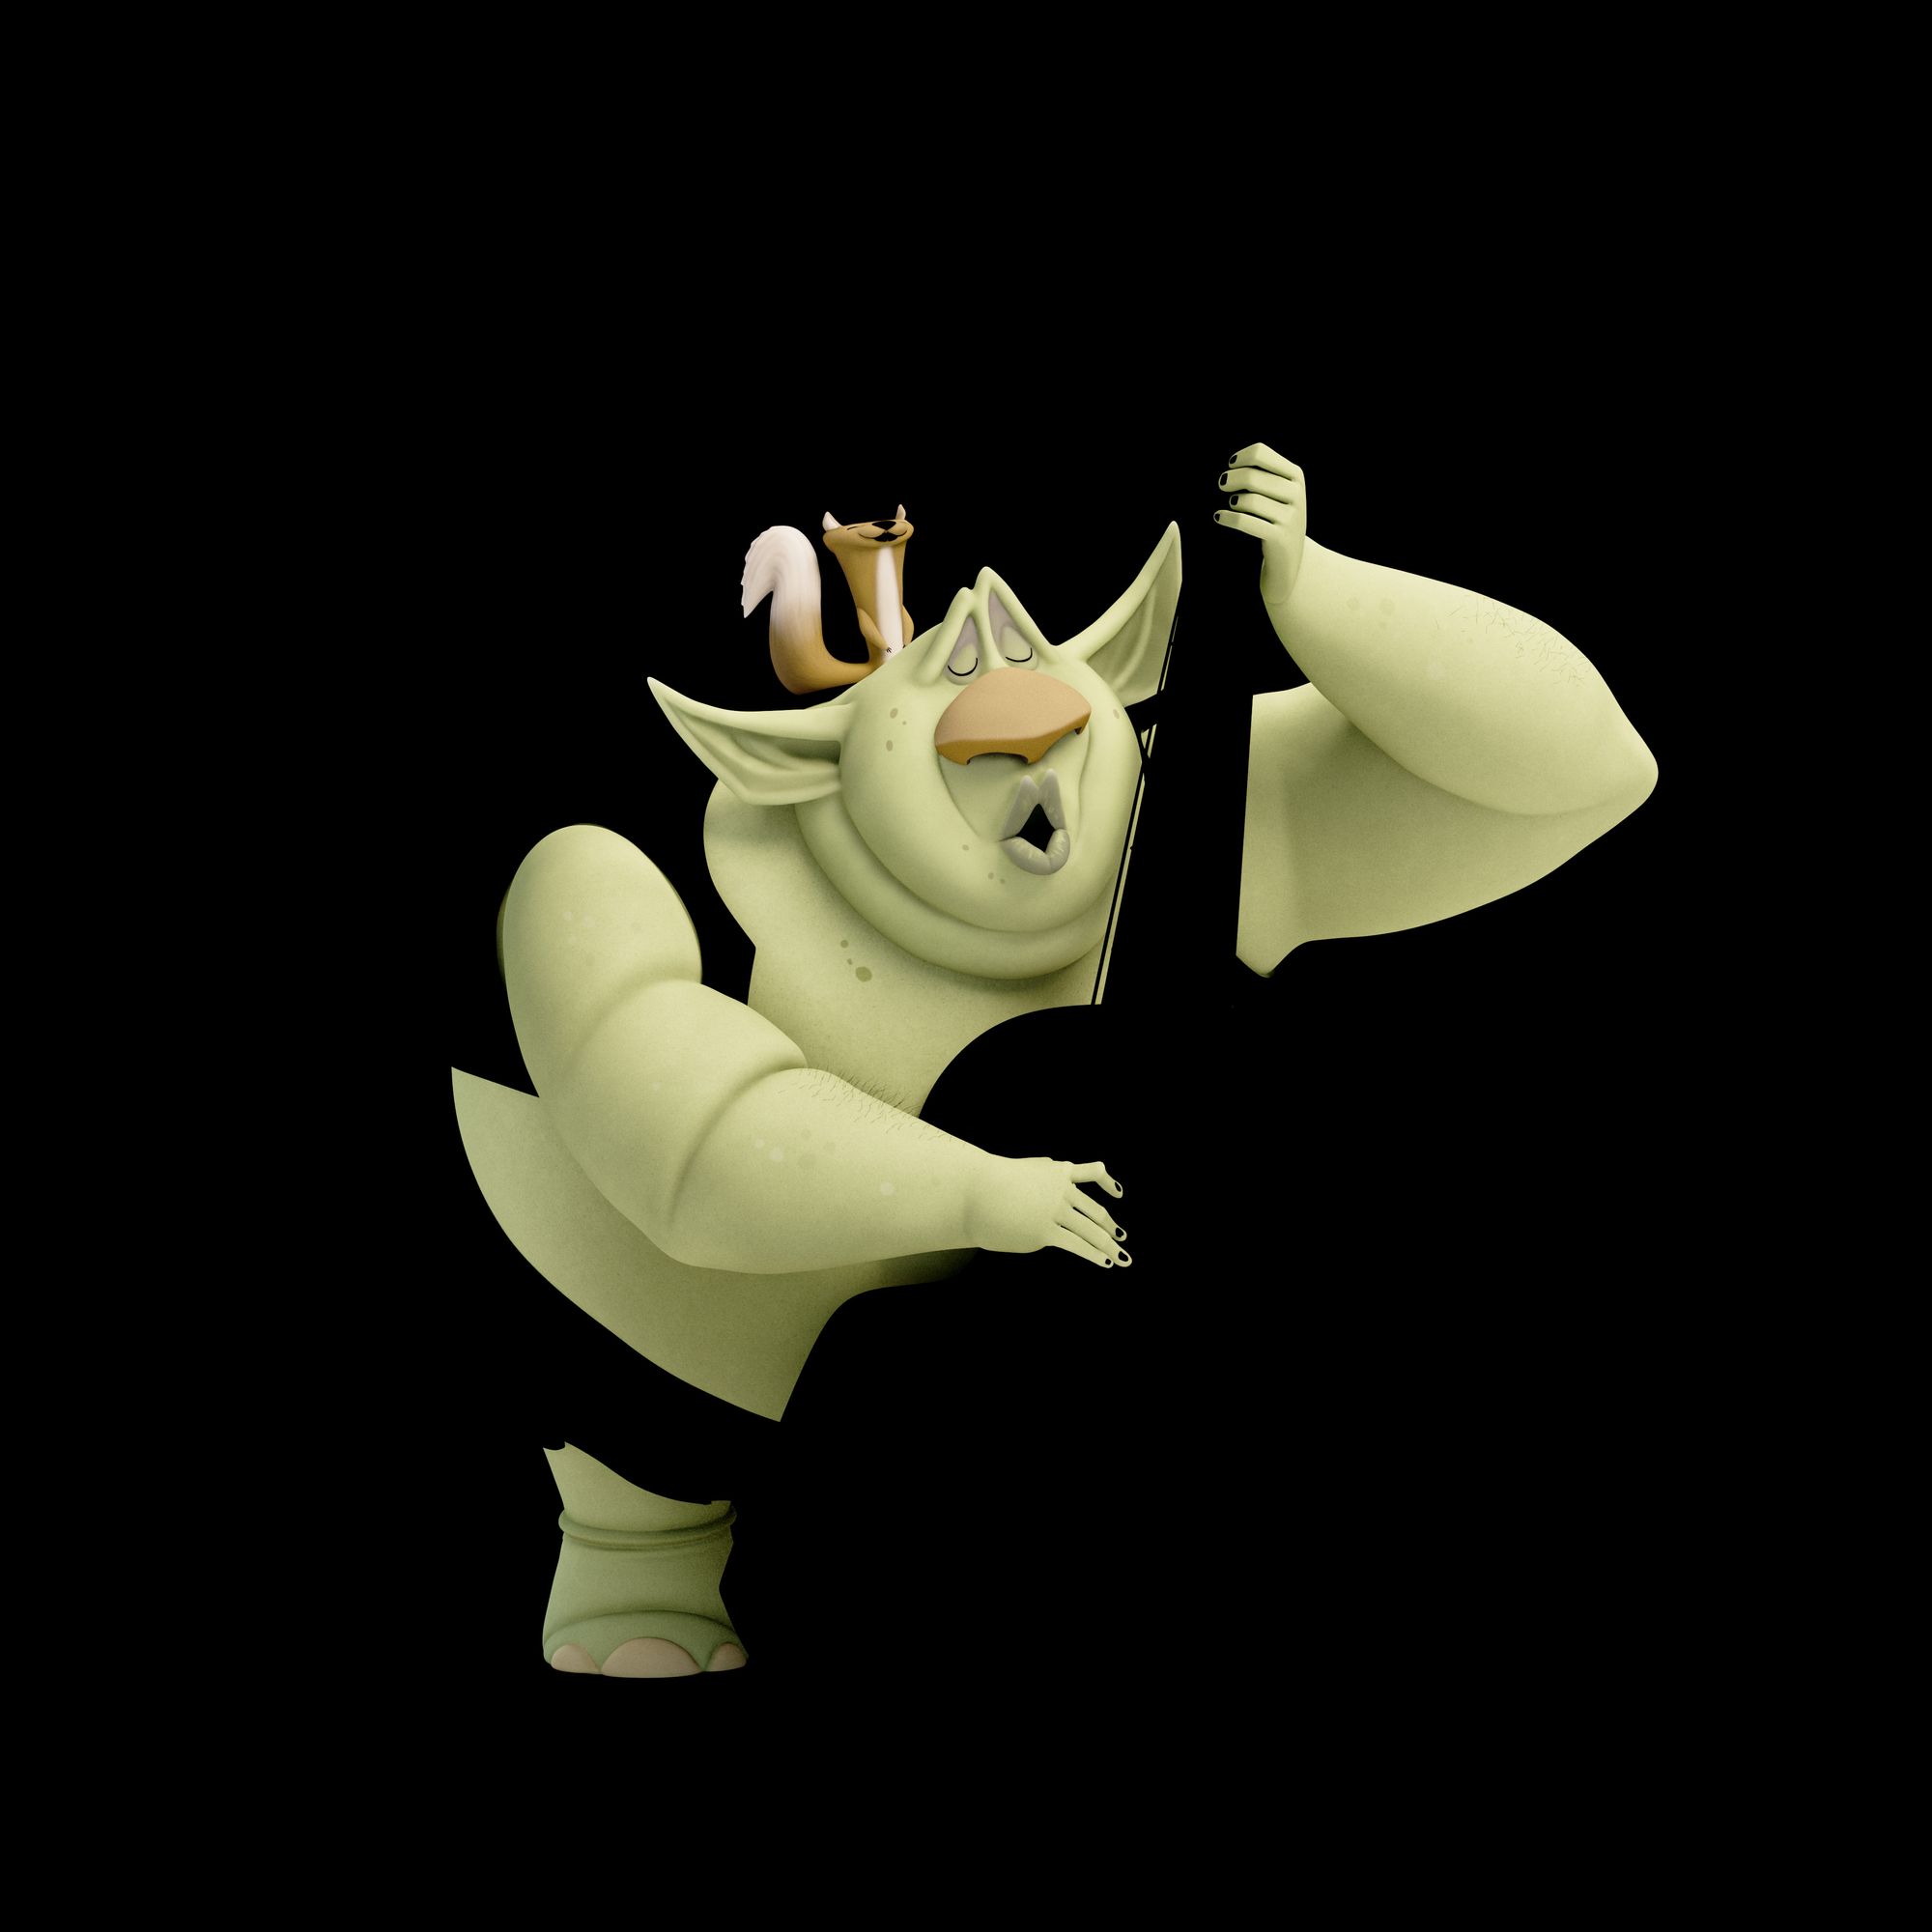
Troll and Bass Project
My image is based on the work of Eran Alboher. I've been a fan of his for a very long time. I love his work because he creates such good shapes to explore and good character. It was a real pleasure to work on his concept.
Working on this project really increases my knowledge in stylised and cartoon character creation. The project required the usage of various software such as ZBrush, Maya, Substance 3D Painter, Arnold, and Photoshop.
One of the most important things, for me, when you are about to start a personal project, is to make sure you love the original concept because when you start you have all this energy and motivation but over time that starts to fade. So you have to love what you are working on.
Another important factor for me is that I always make sure the character or the illustration tells a story or delivers a strong message.
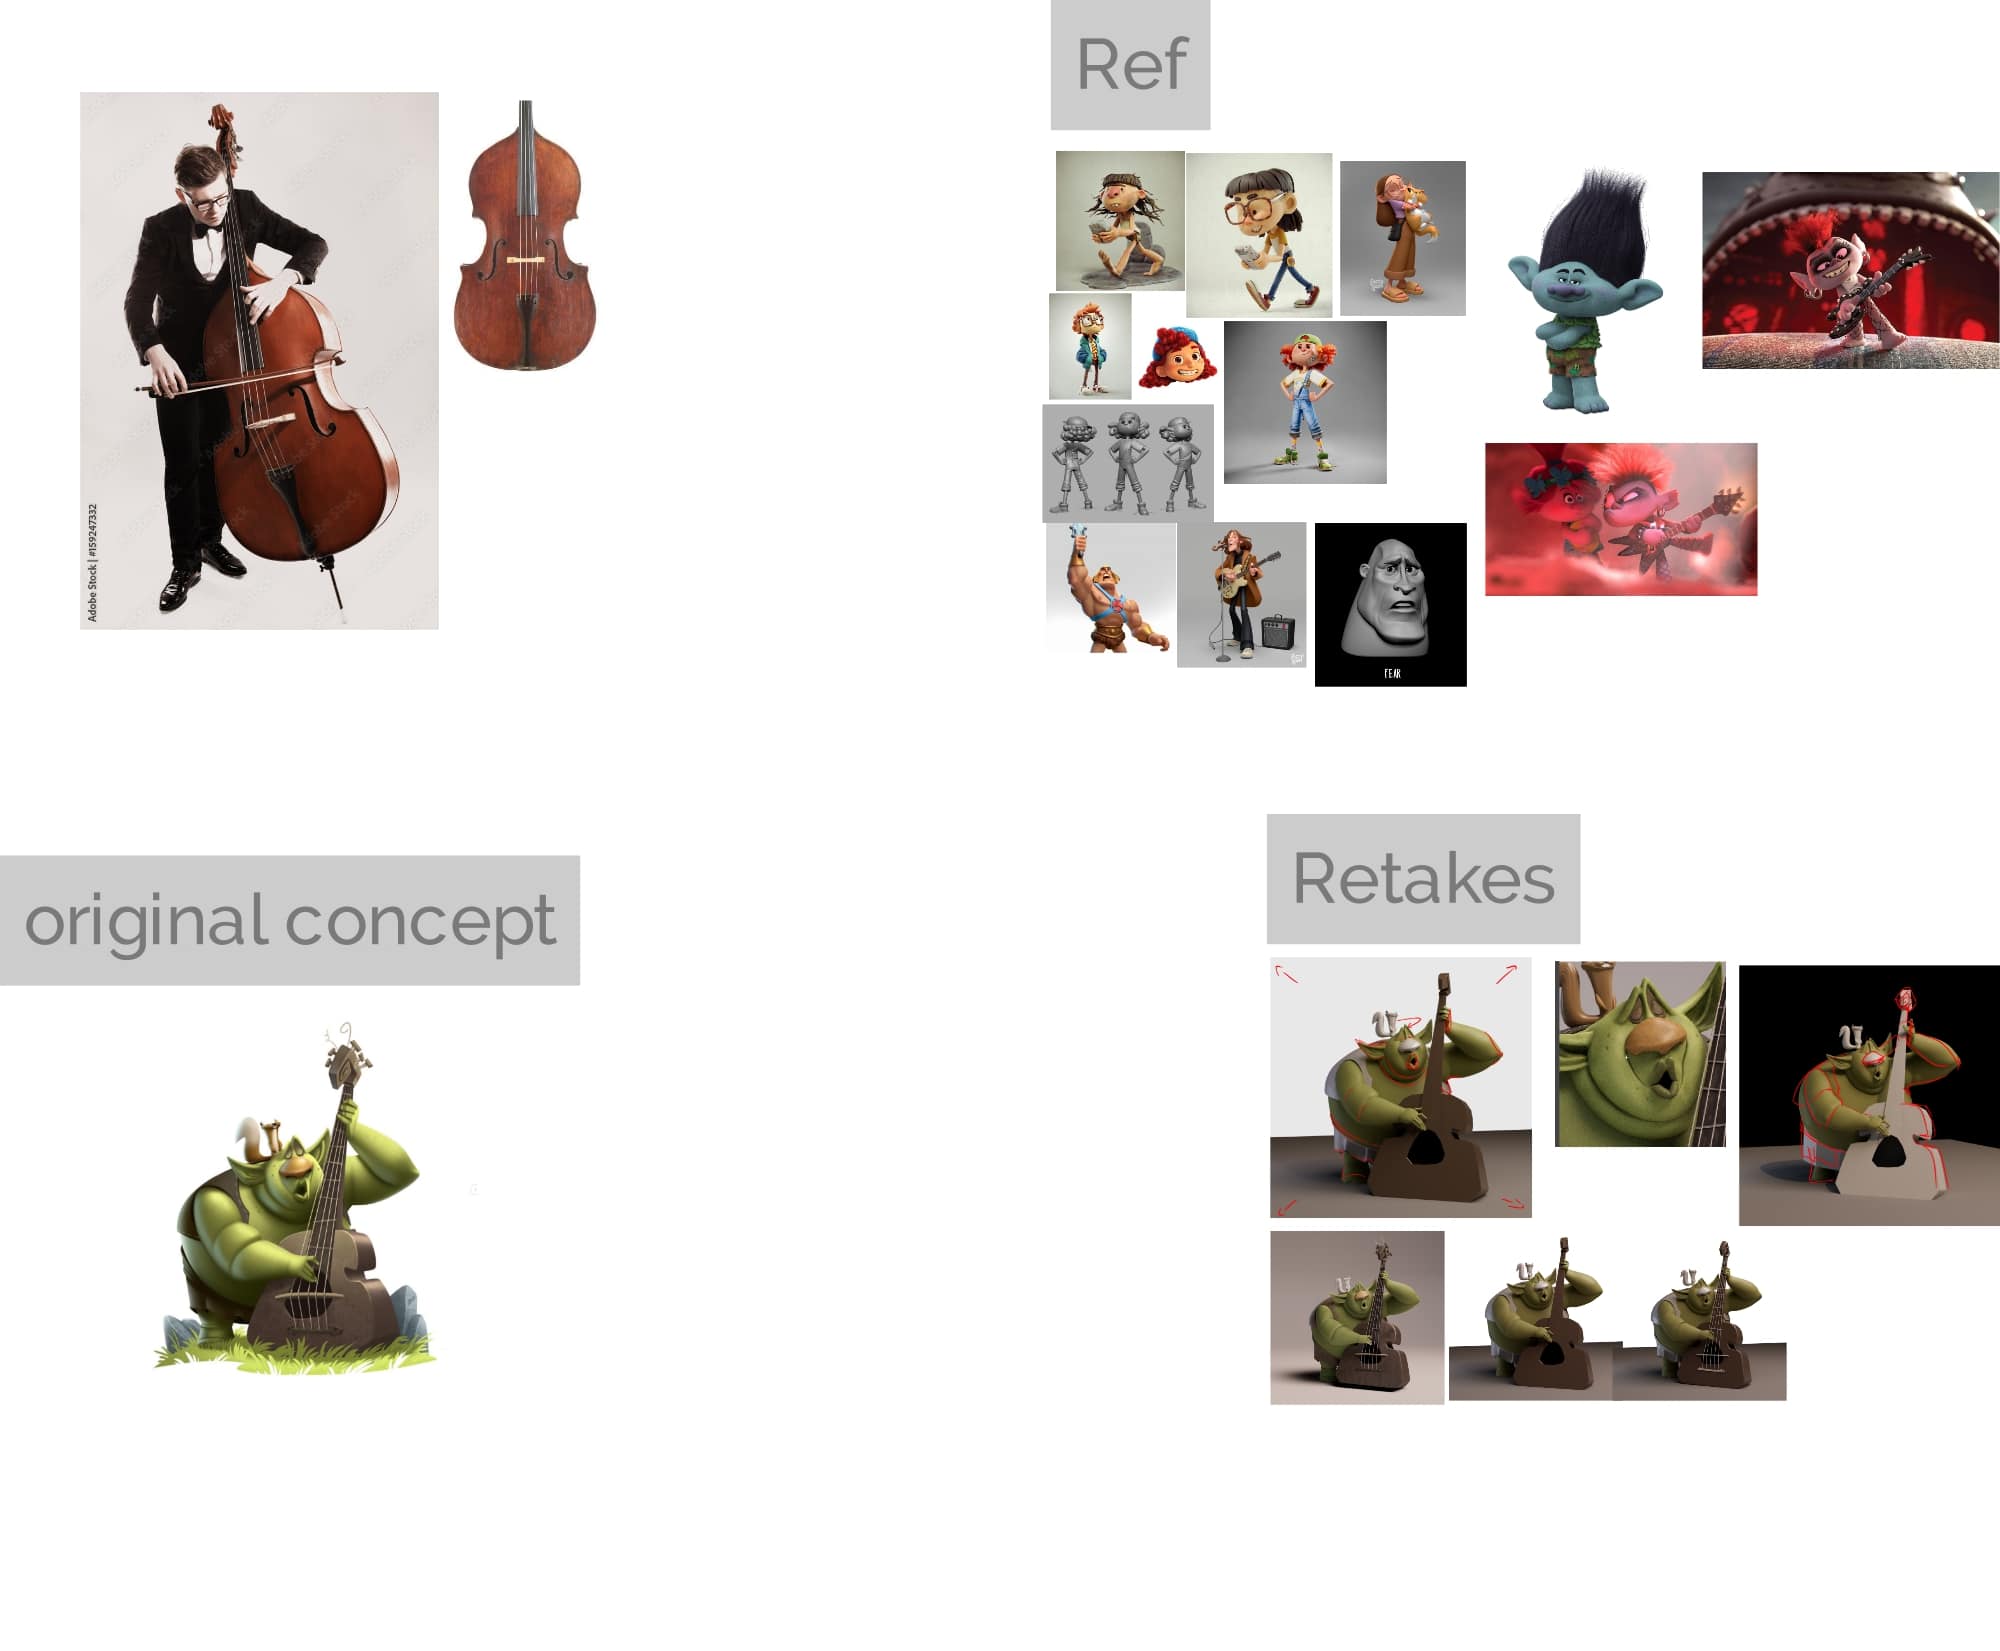
Stage One: References
Where to start? First step, don’t jump too fast into a 3D modeling software, start by gathering references or pictures to drive you. As the project continues I always expand my moodboard by grabbing a few things here and there. I recommend PureRef for that.
After that I open the original concept and start to draw over the main shapes to help me understand where the curves and angles are. This step is really important, especially in a cartoon character. You really need to understand how the character is built.
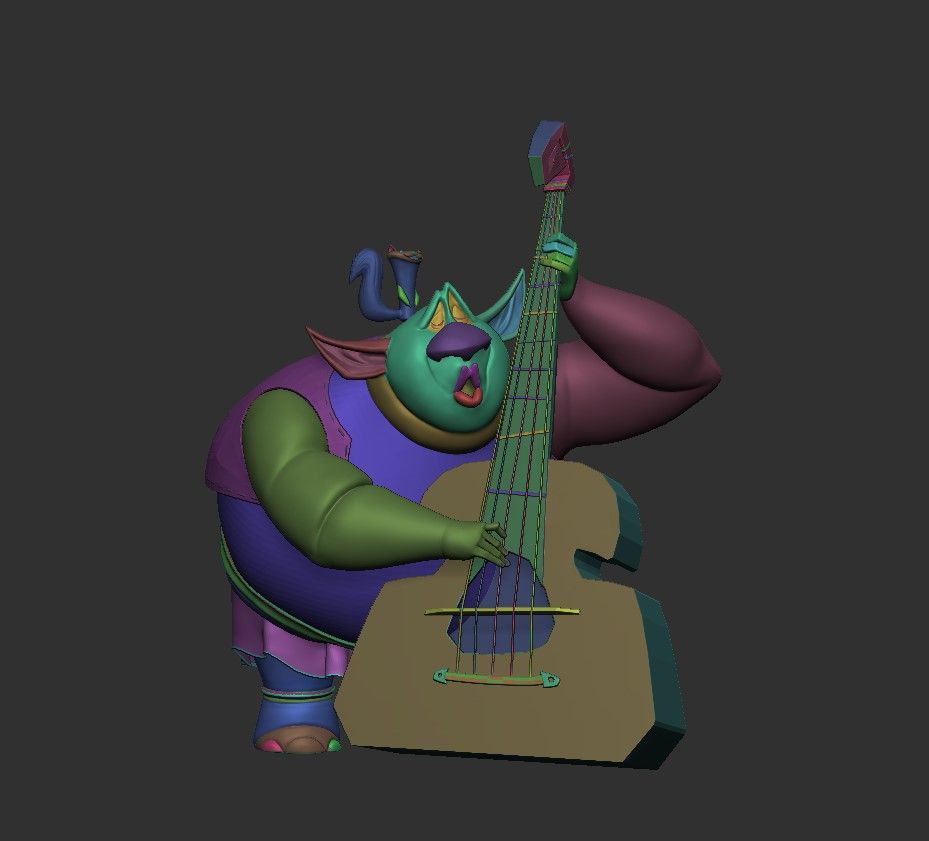
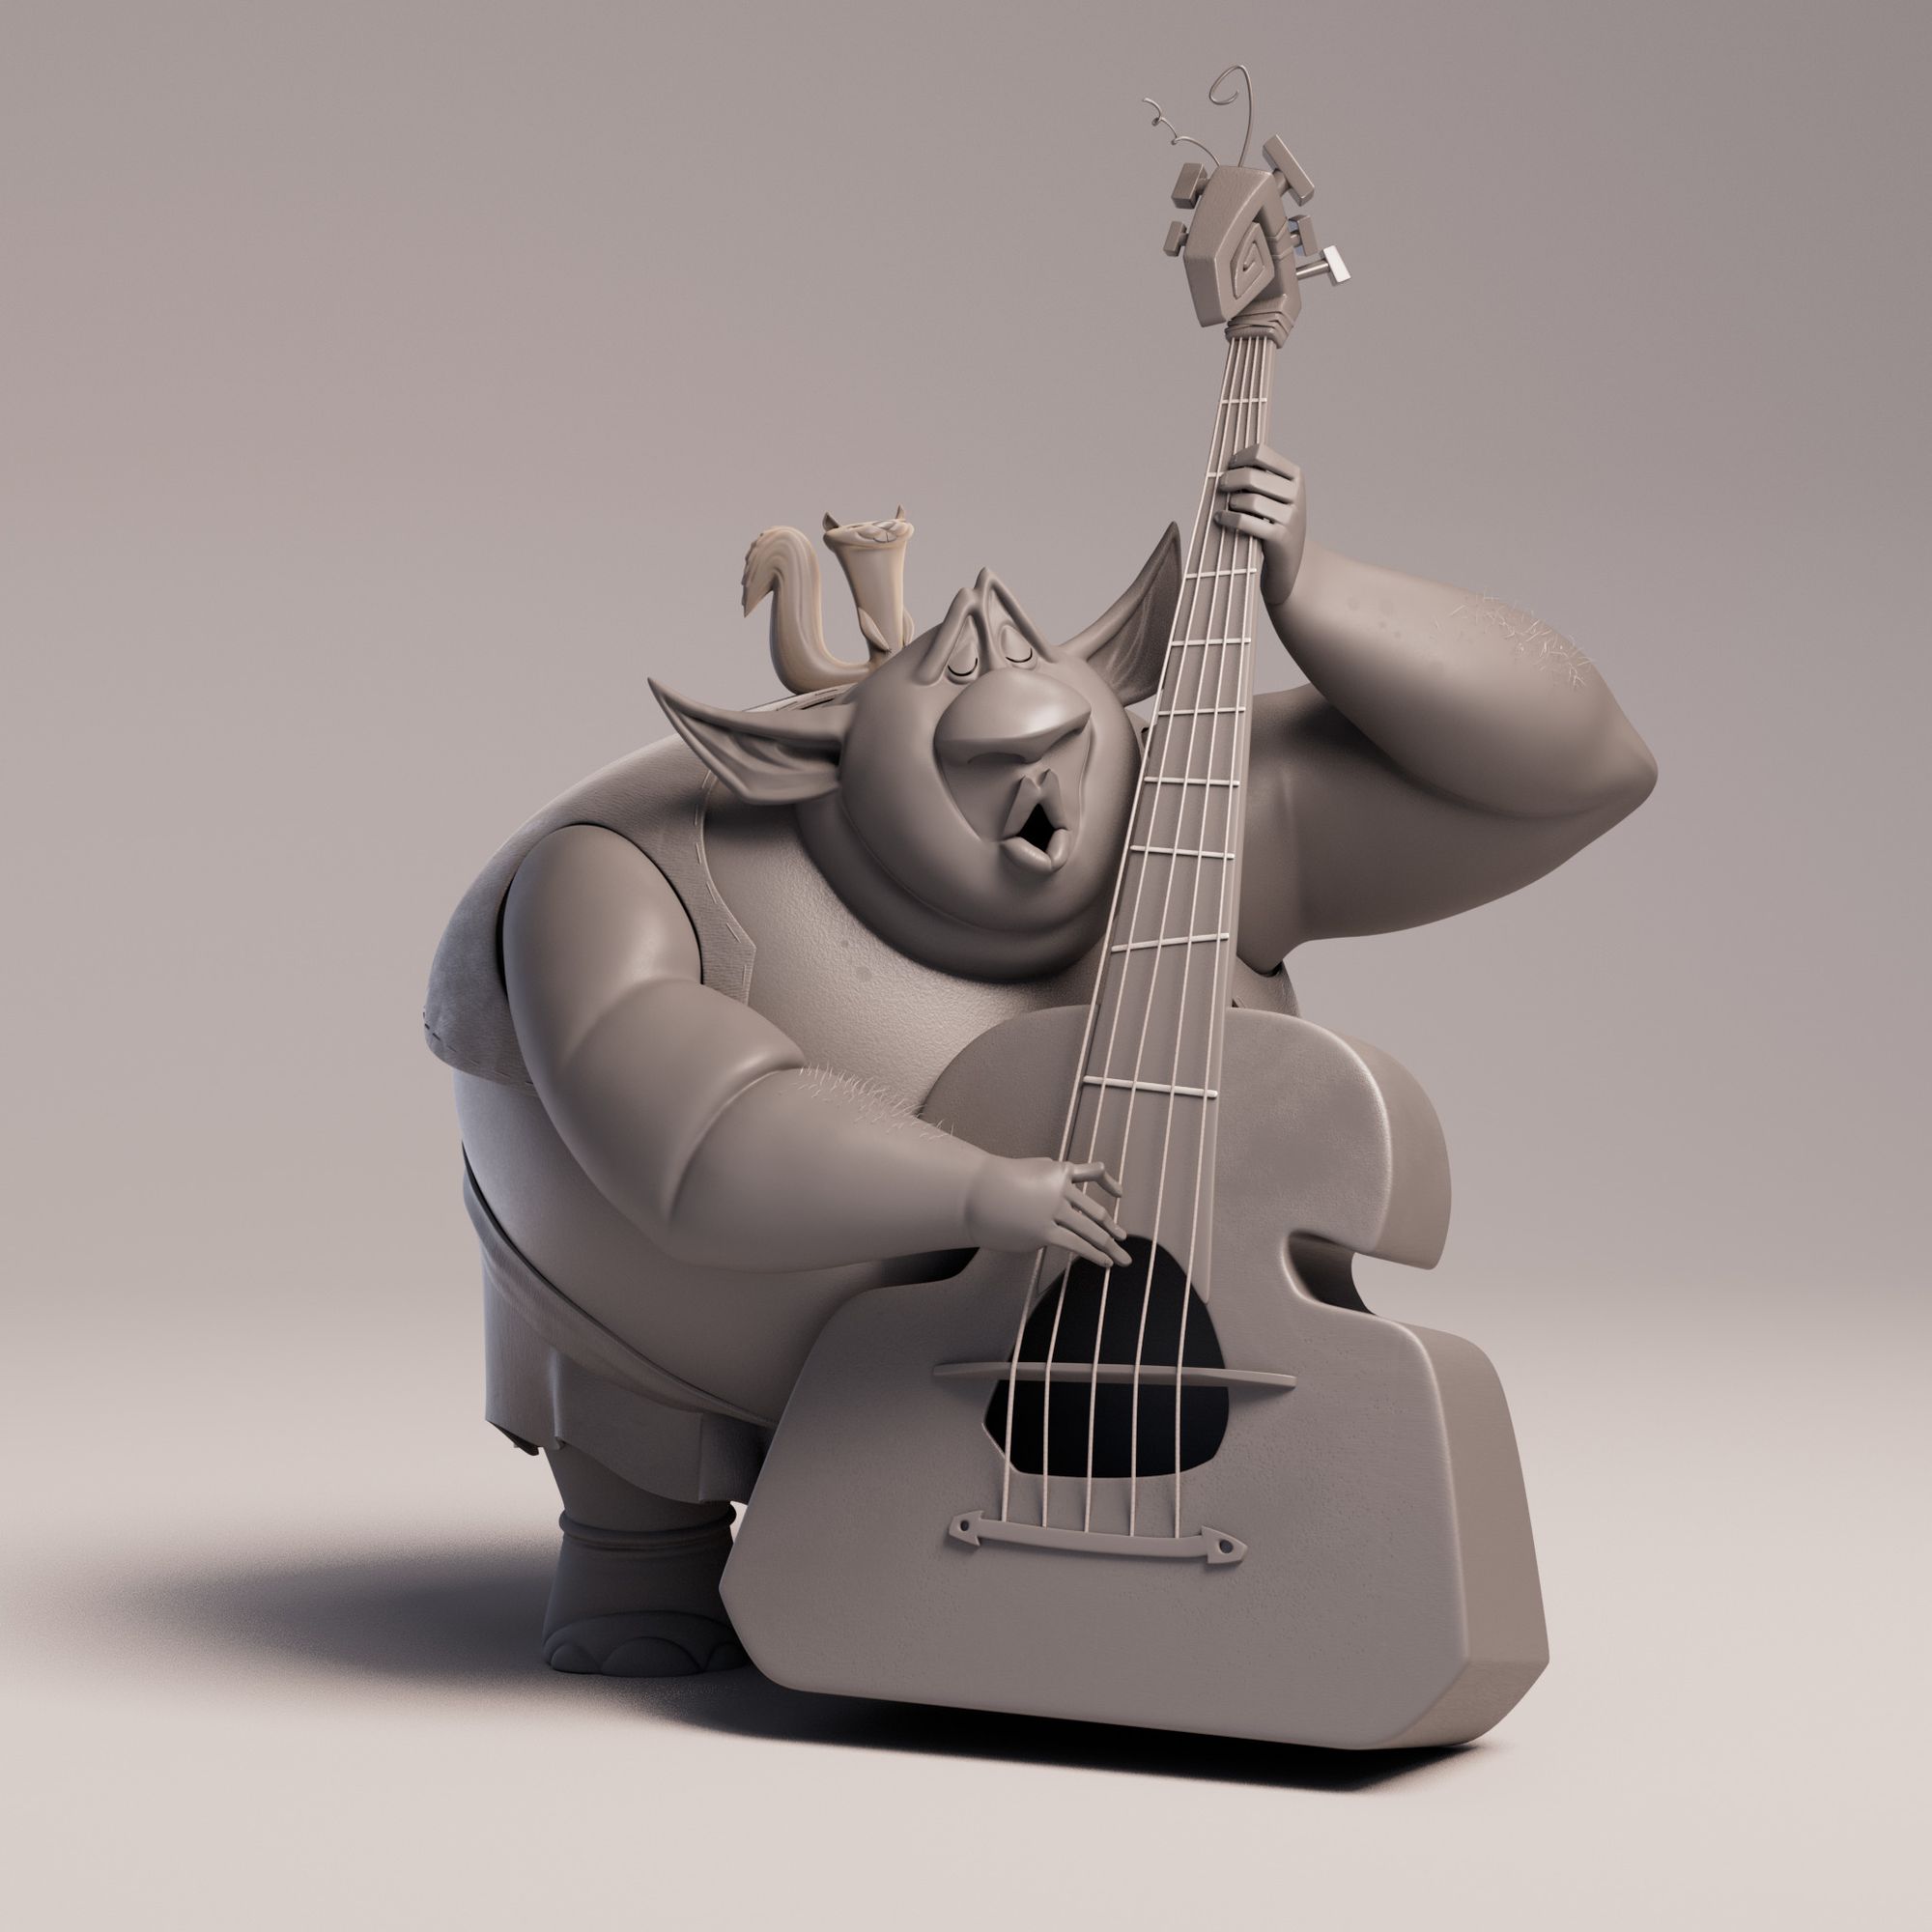
Stage Two: Modeling
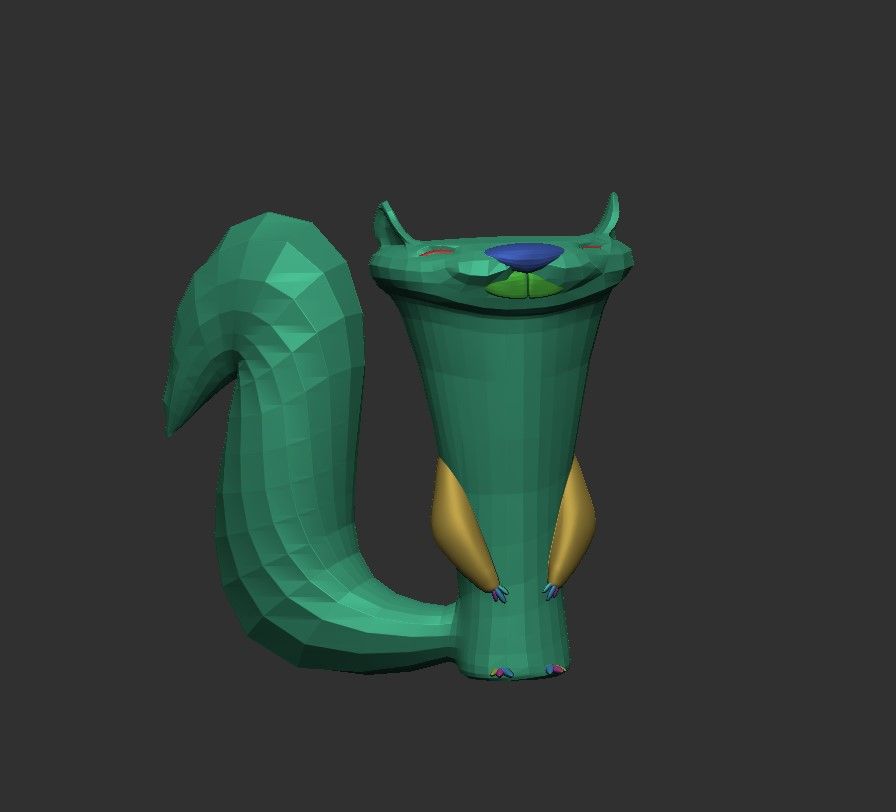
For this project, I challenged myself a bit. All the modeling was done with ZBrush, I almost always block out in-pose, for me it’s a bit more natural but you can start with a t-pose, then later put it in pose.
First blocking
Using ZBrush I grab basic shapes and push and pull them with the move brush. My main focus is making sure the silhouette is working from all angles. I recommend you spend a lot of time in this stage, make sure it matches the original concept. Ask for feedback if you can, it can be very helpful to have a fresh eye on your progress!
I did make a little exception for his face: I started symmetrical then adjusted it later after the retopology.
Speaking of retopology, I try to get a good topology in place as soon as possible. ZBrush has a very good feature: the dynamic subdiv ( by pressing ‘D’ on the subtool). It allows you to see a smooth mesh preview with thickness; really helpful for clothing or hard surface objects.
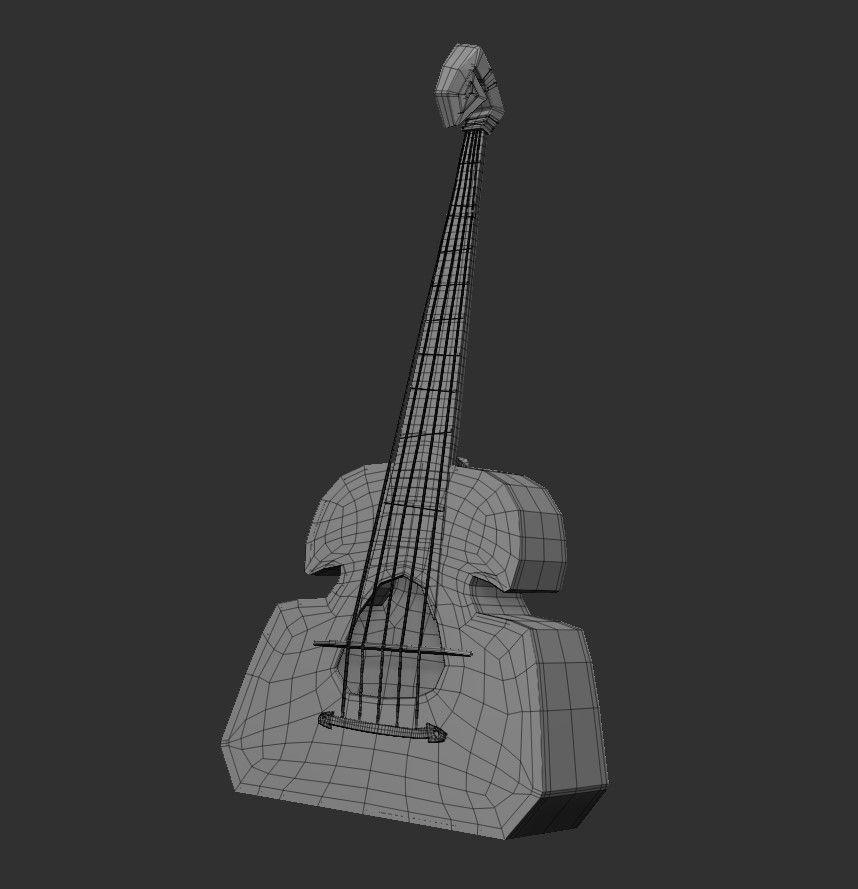
For the bass I used Zmodeler to create the whole object. Zmodeler is a wonderful tool. It can be a bit overwhelming if you are used to modeling in Maya, like me, but if you get into it it’s a very powerful tool (I recommend Michael Pavlovich YouTube channel to learn anything related to ZBrush).
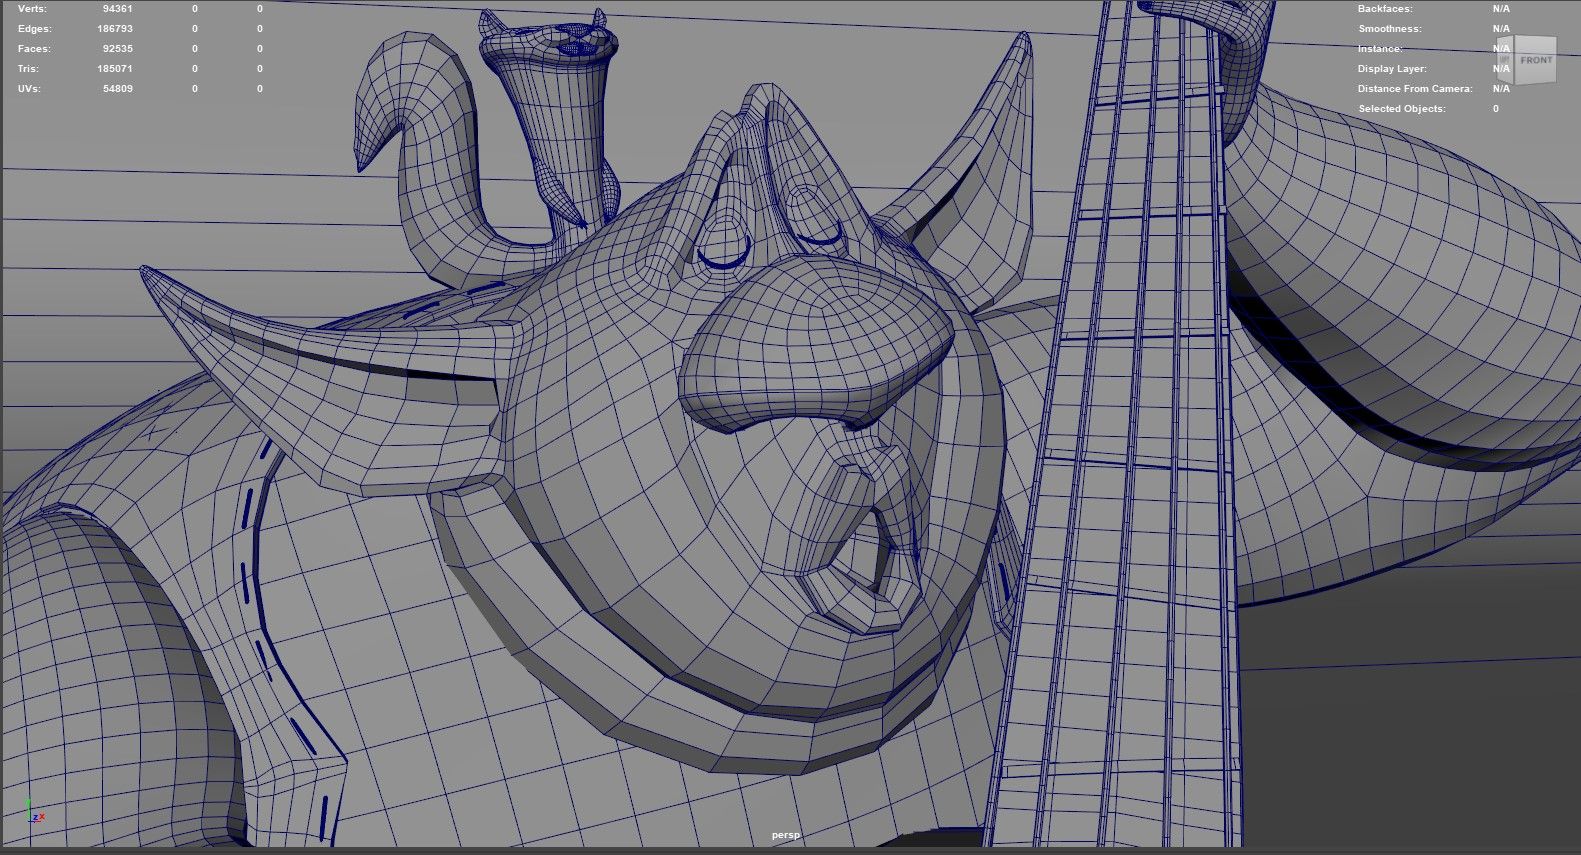
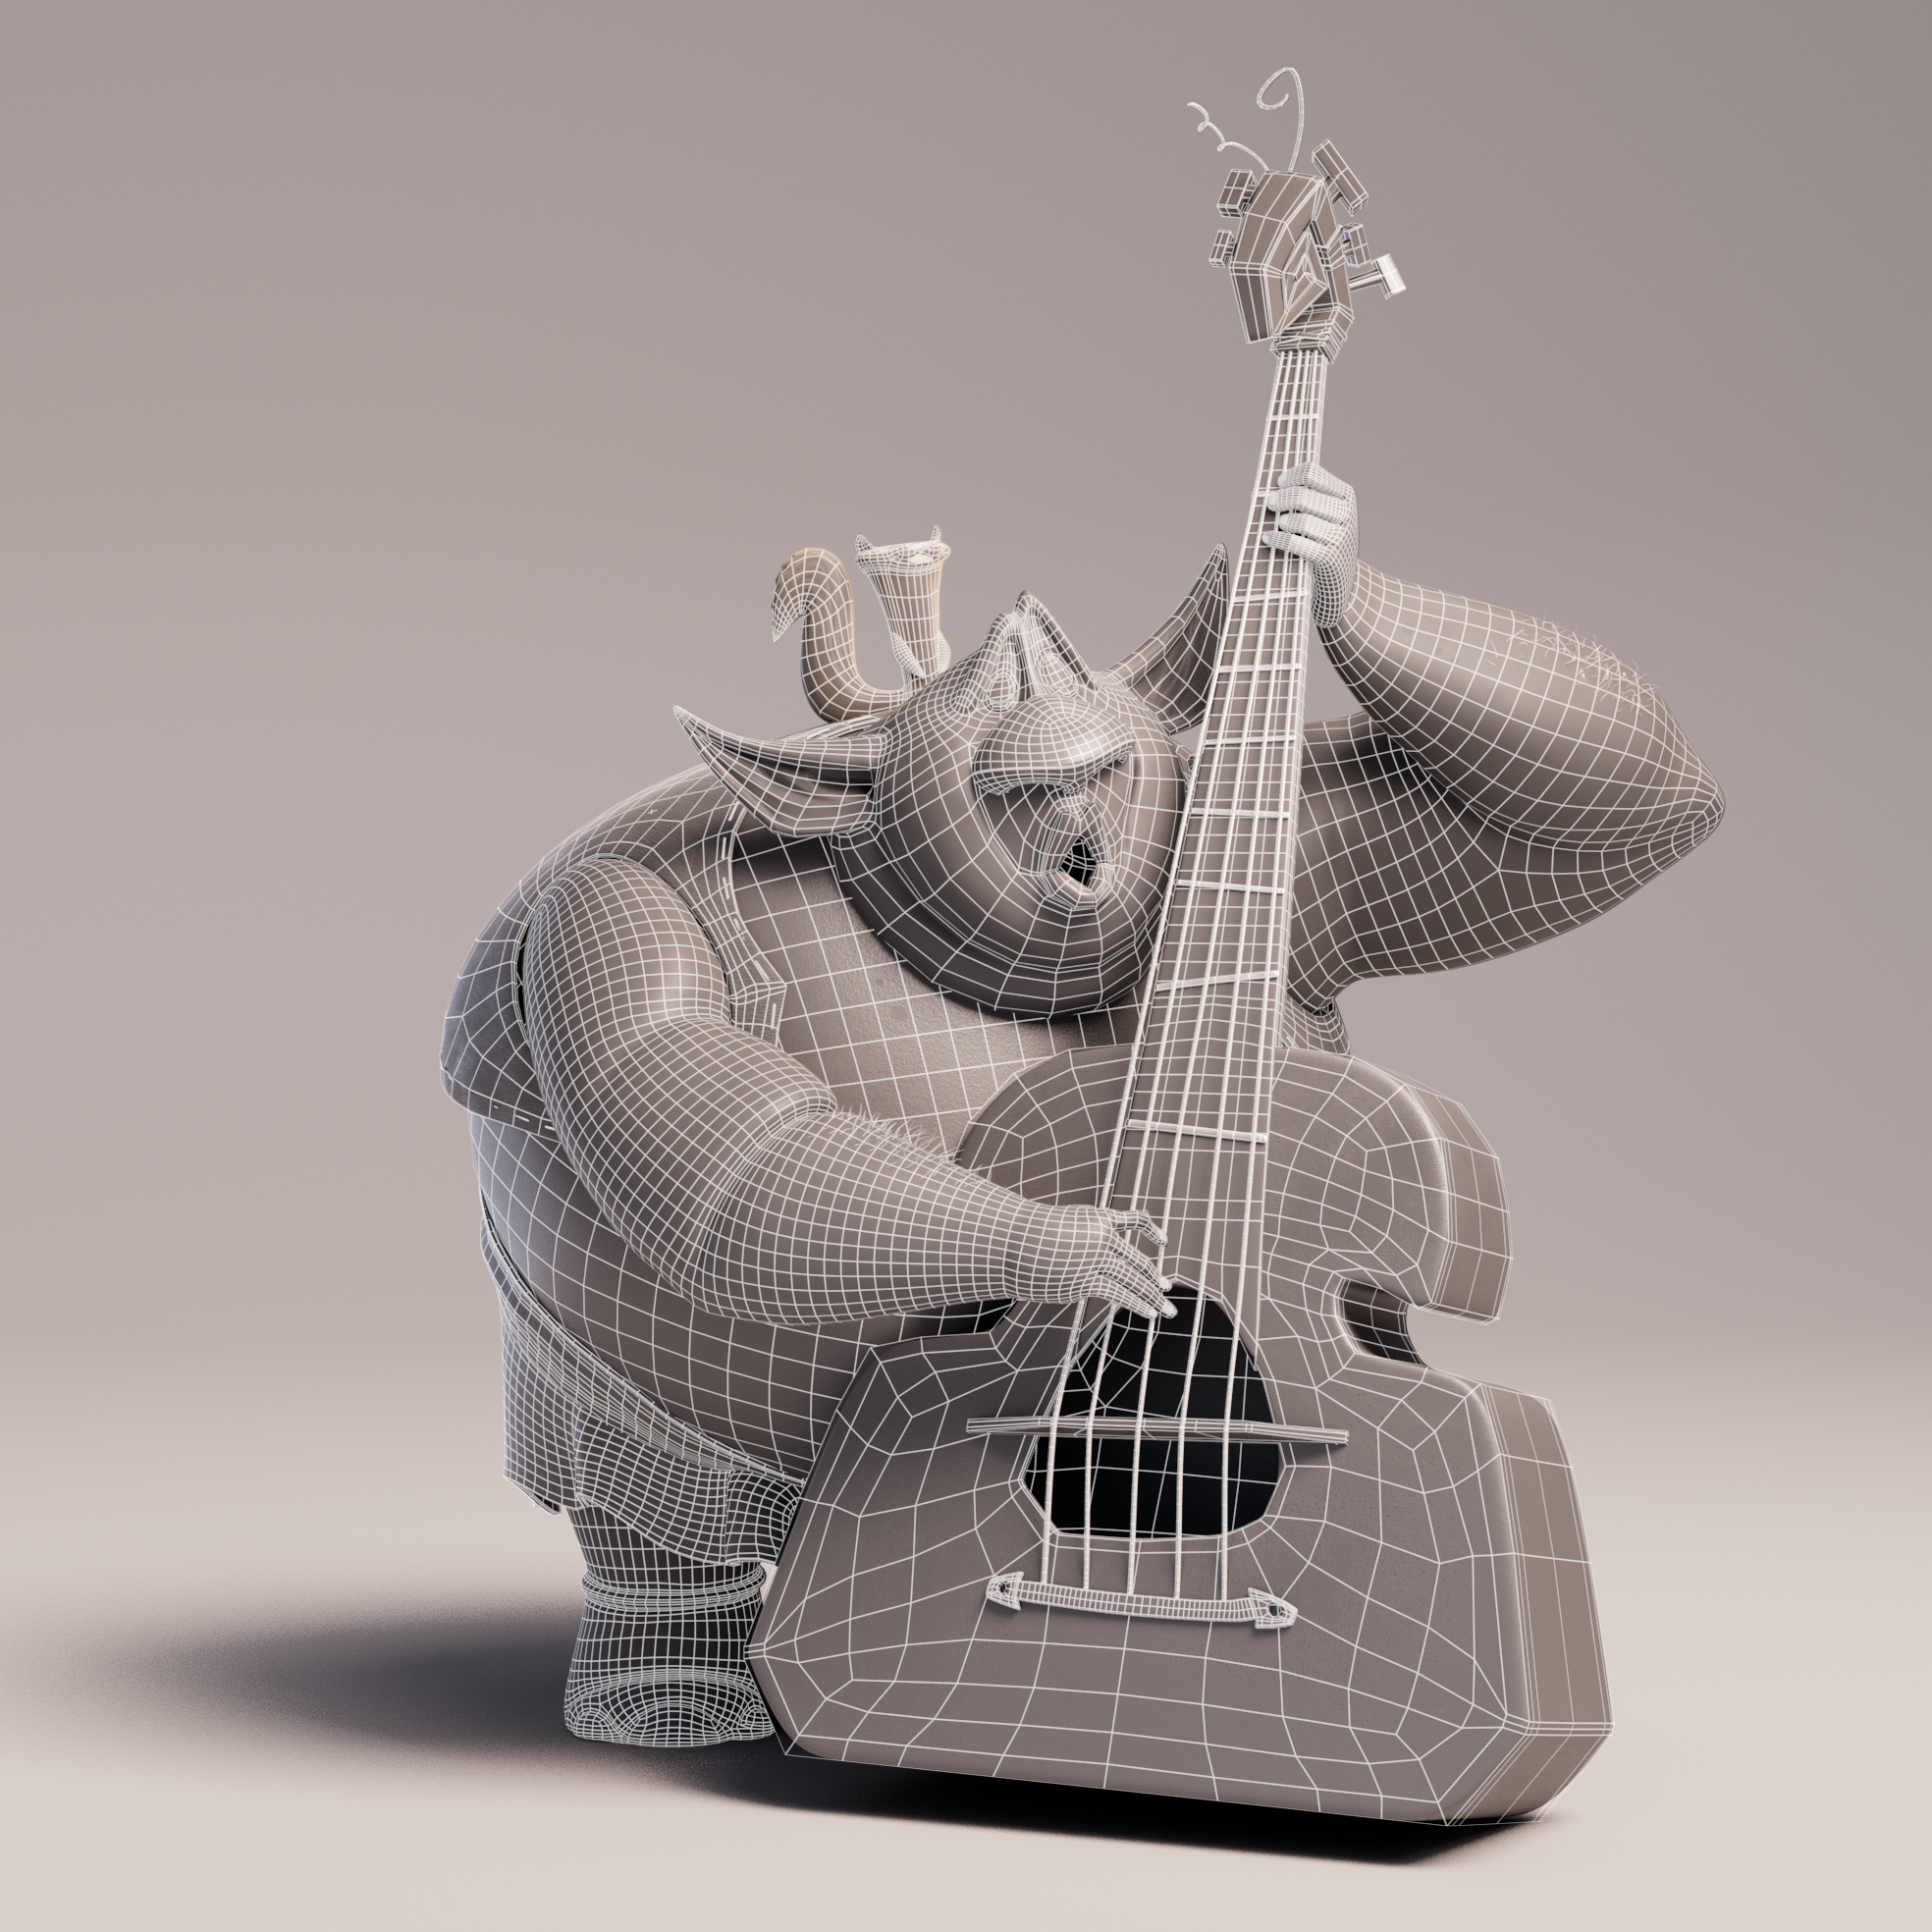
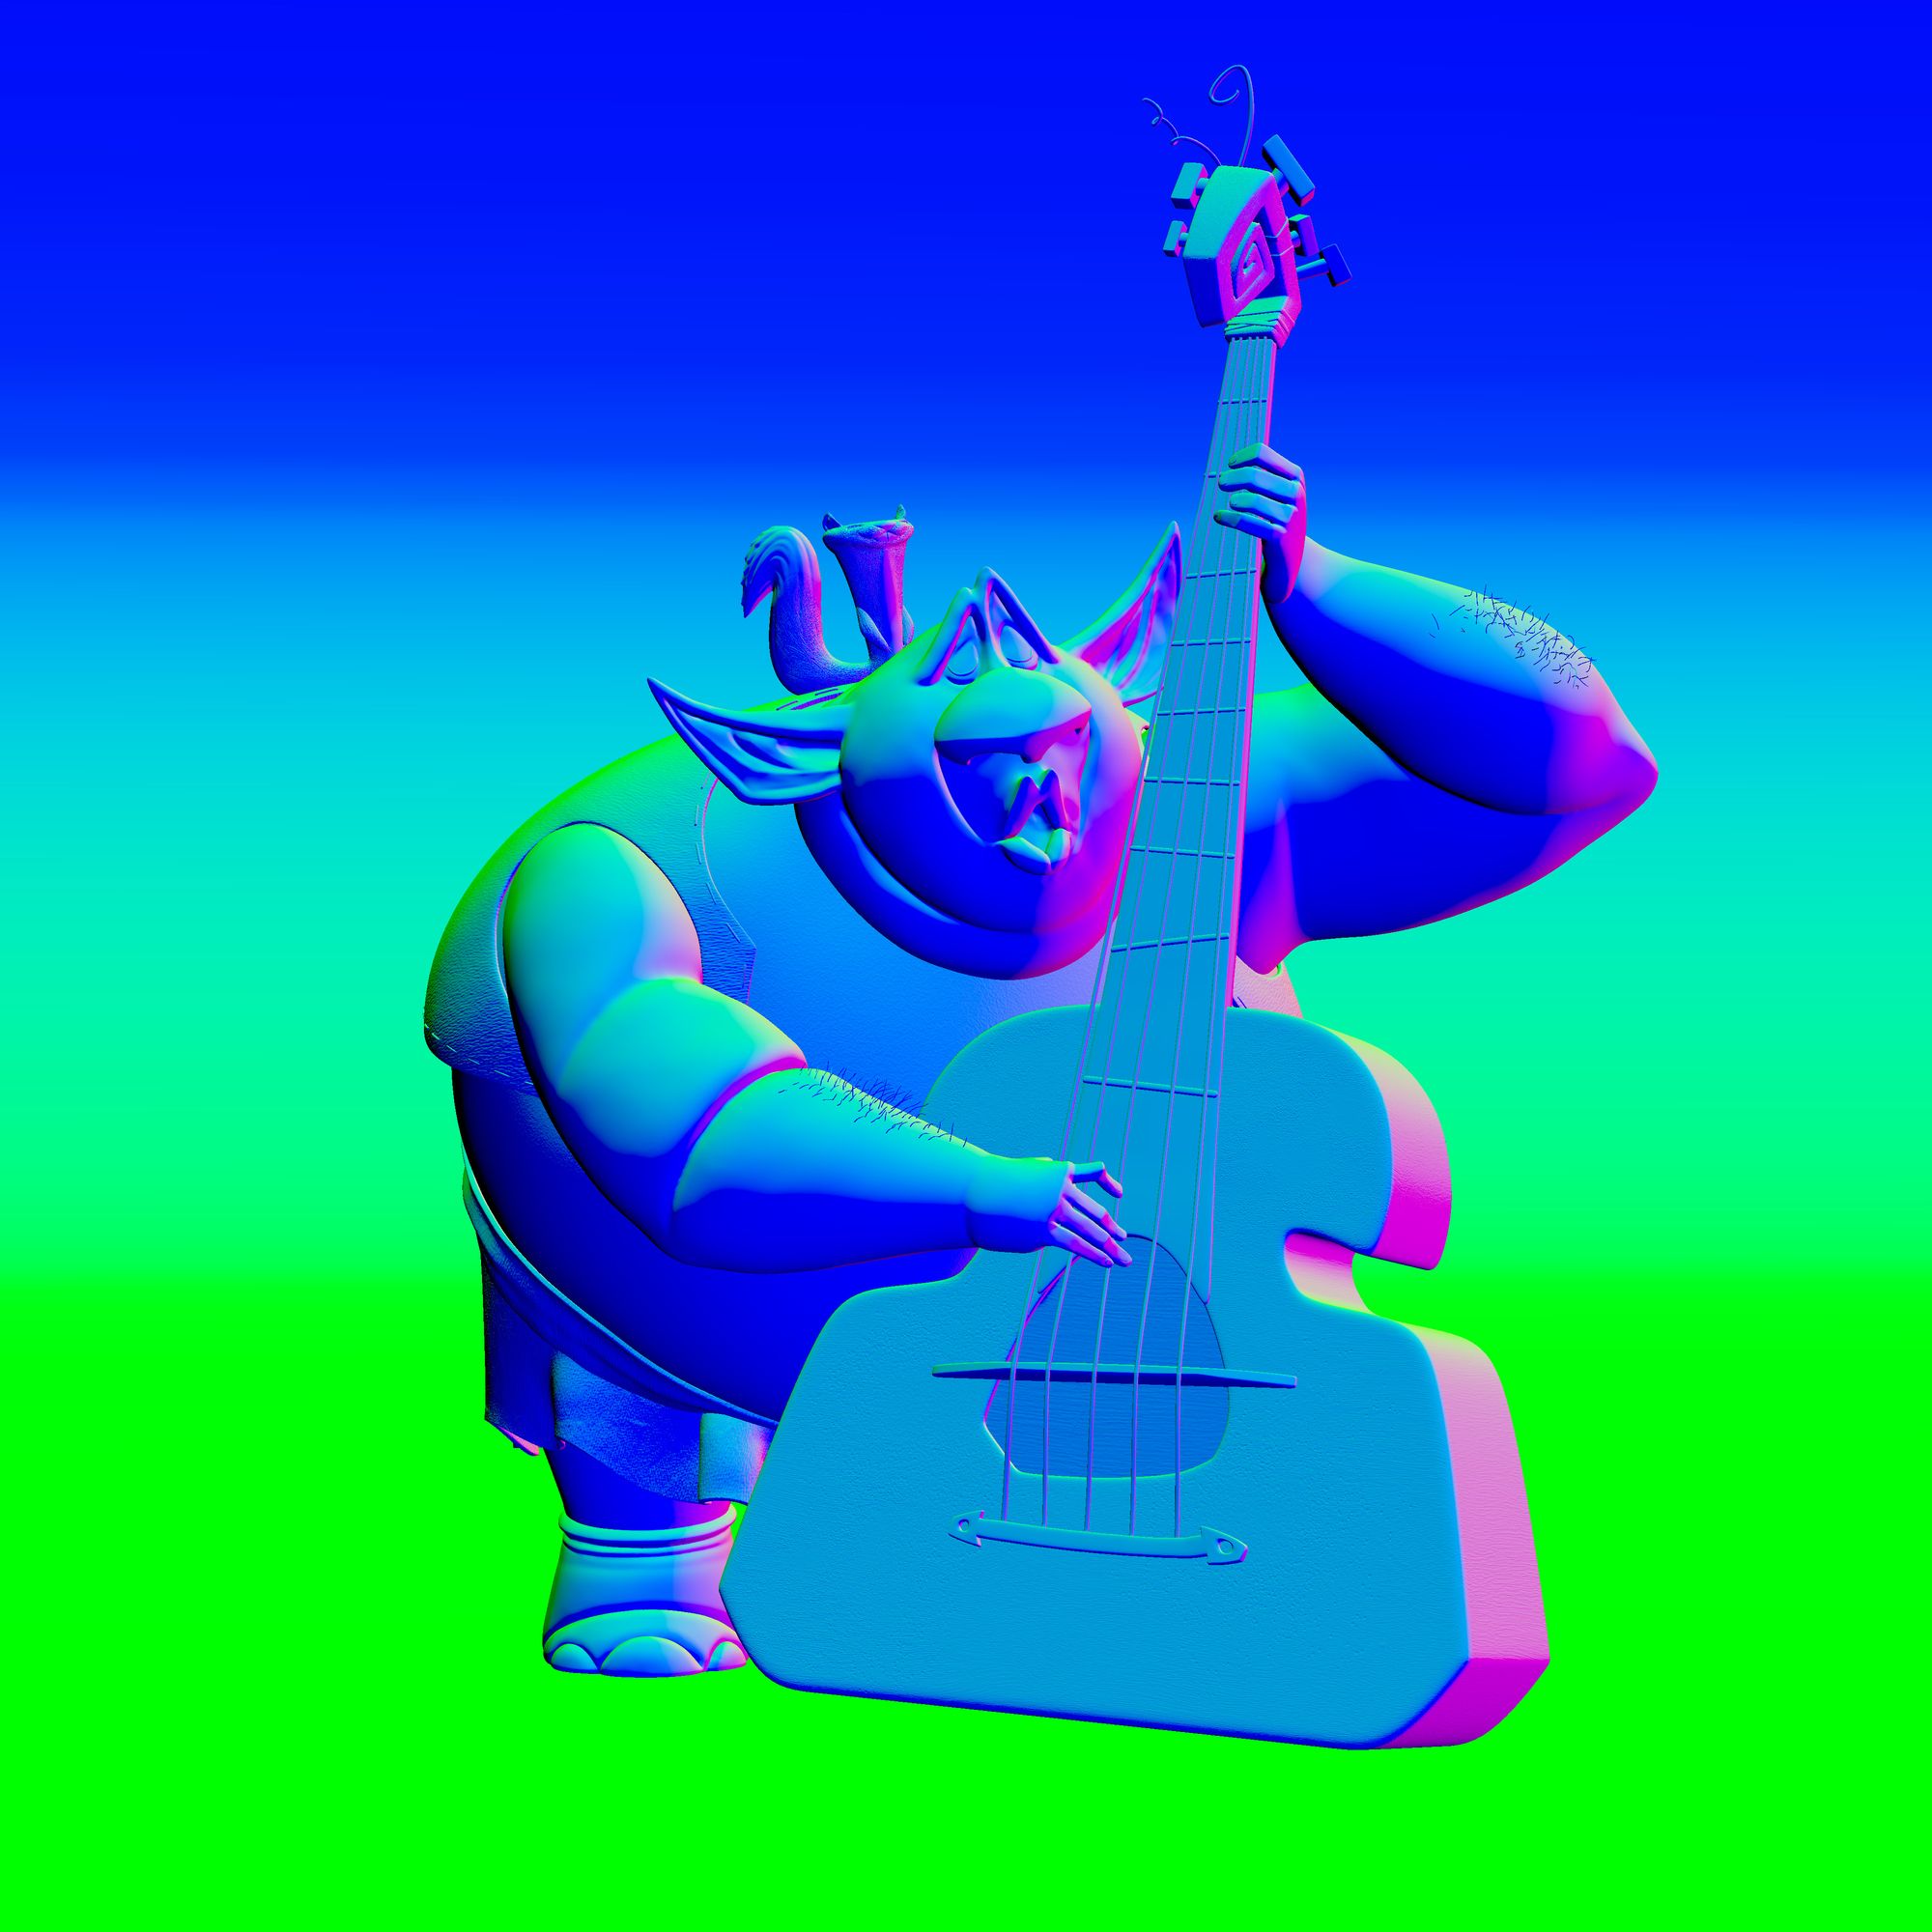
Stage Three: Retopology
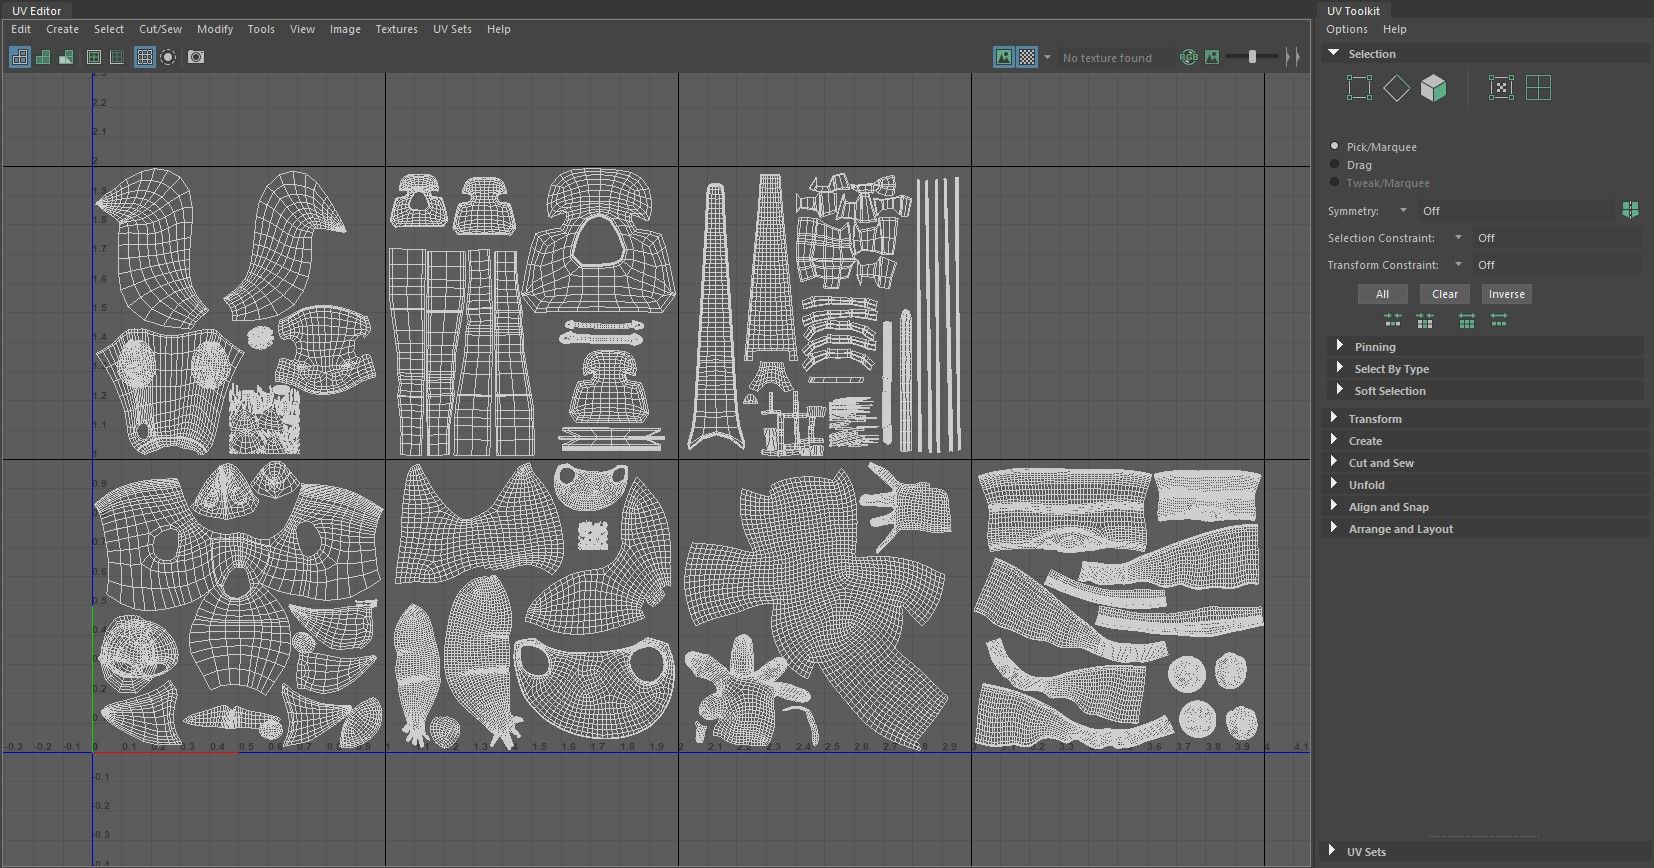
For retopology, I use Maya's Quad Draw tool and I also use Maya for all my UV unwrapping. I like to work with few UDIM, I split them by materials. I like to, and I am used to working like that because I like the Maya tool set. But honestly, every software is good as long as it suits you.
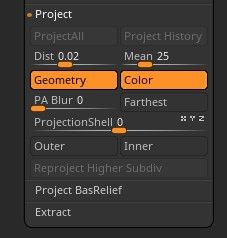
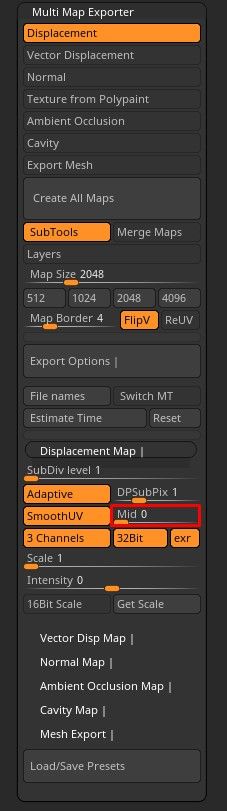
Once retopology is done I import the clean mesh then project all the details on it by using the ‘Project’ tool. After that I export all the map from subtools that need a displacement map in Maya. I use the settings below.
It is very important to keep the mid value to 0 if you render in Arnold because he is built for that and don’t forget to check 32bits exr so your map can have below zero values.
Stage Five: Texturing
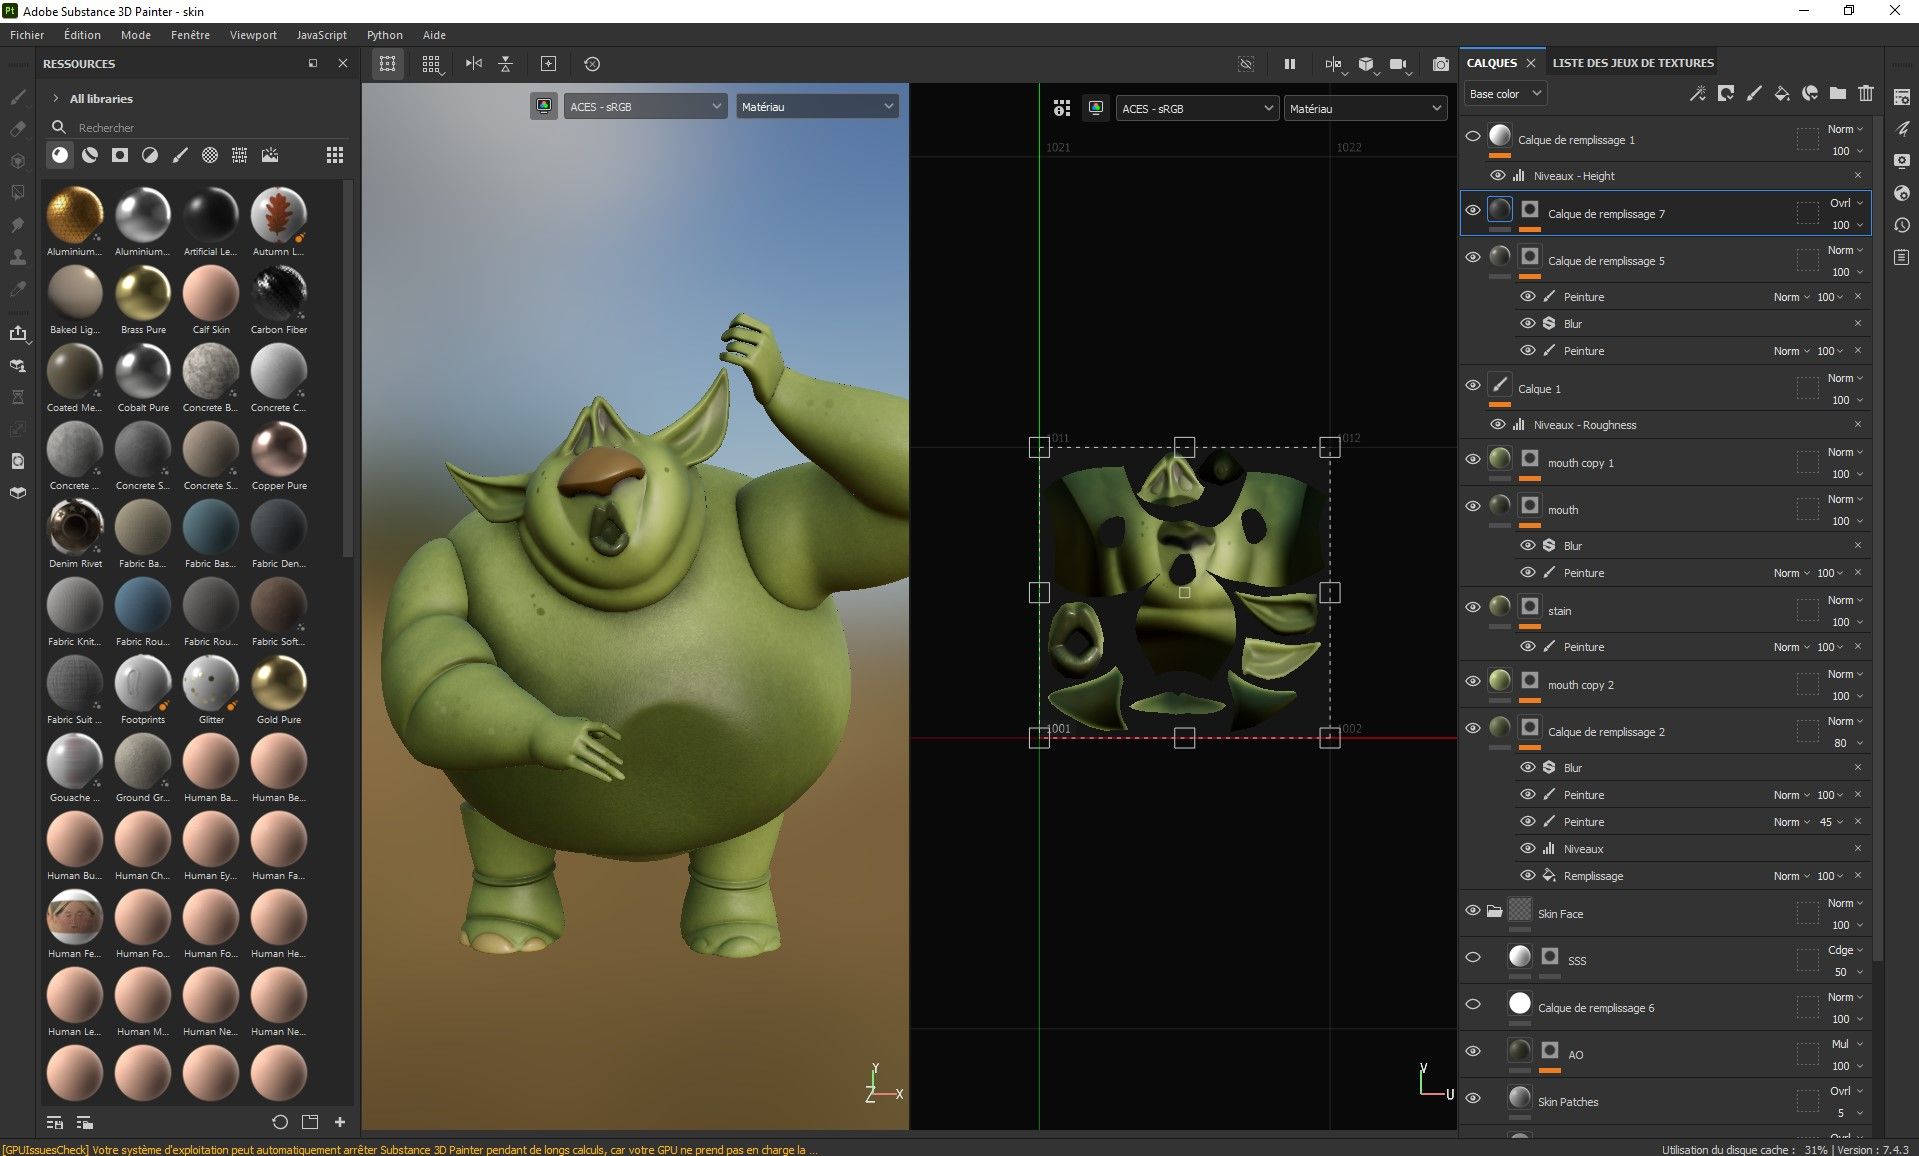
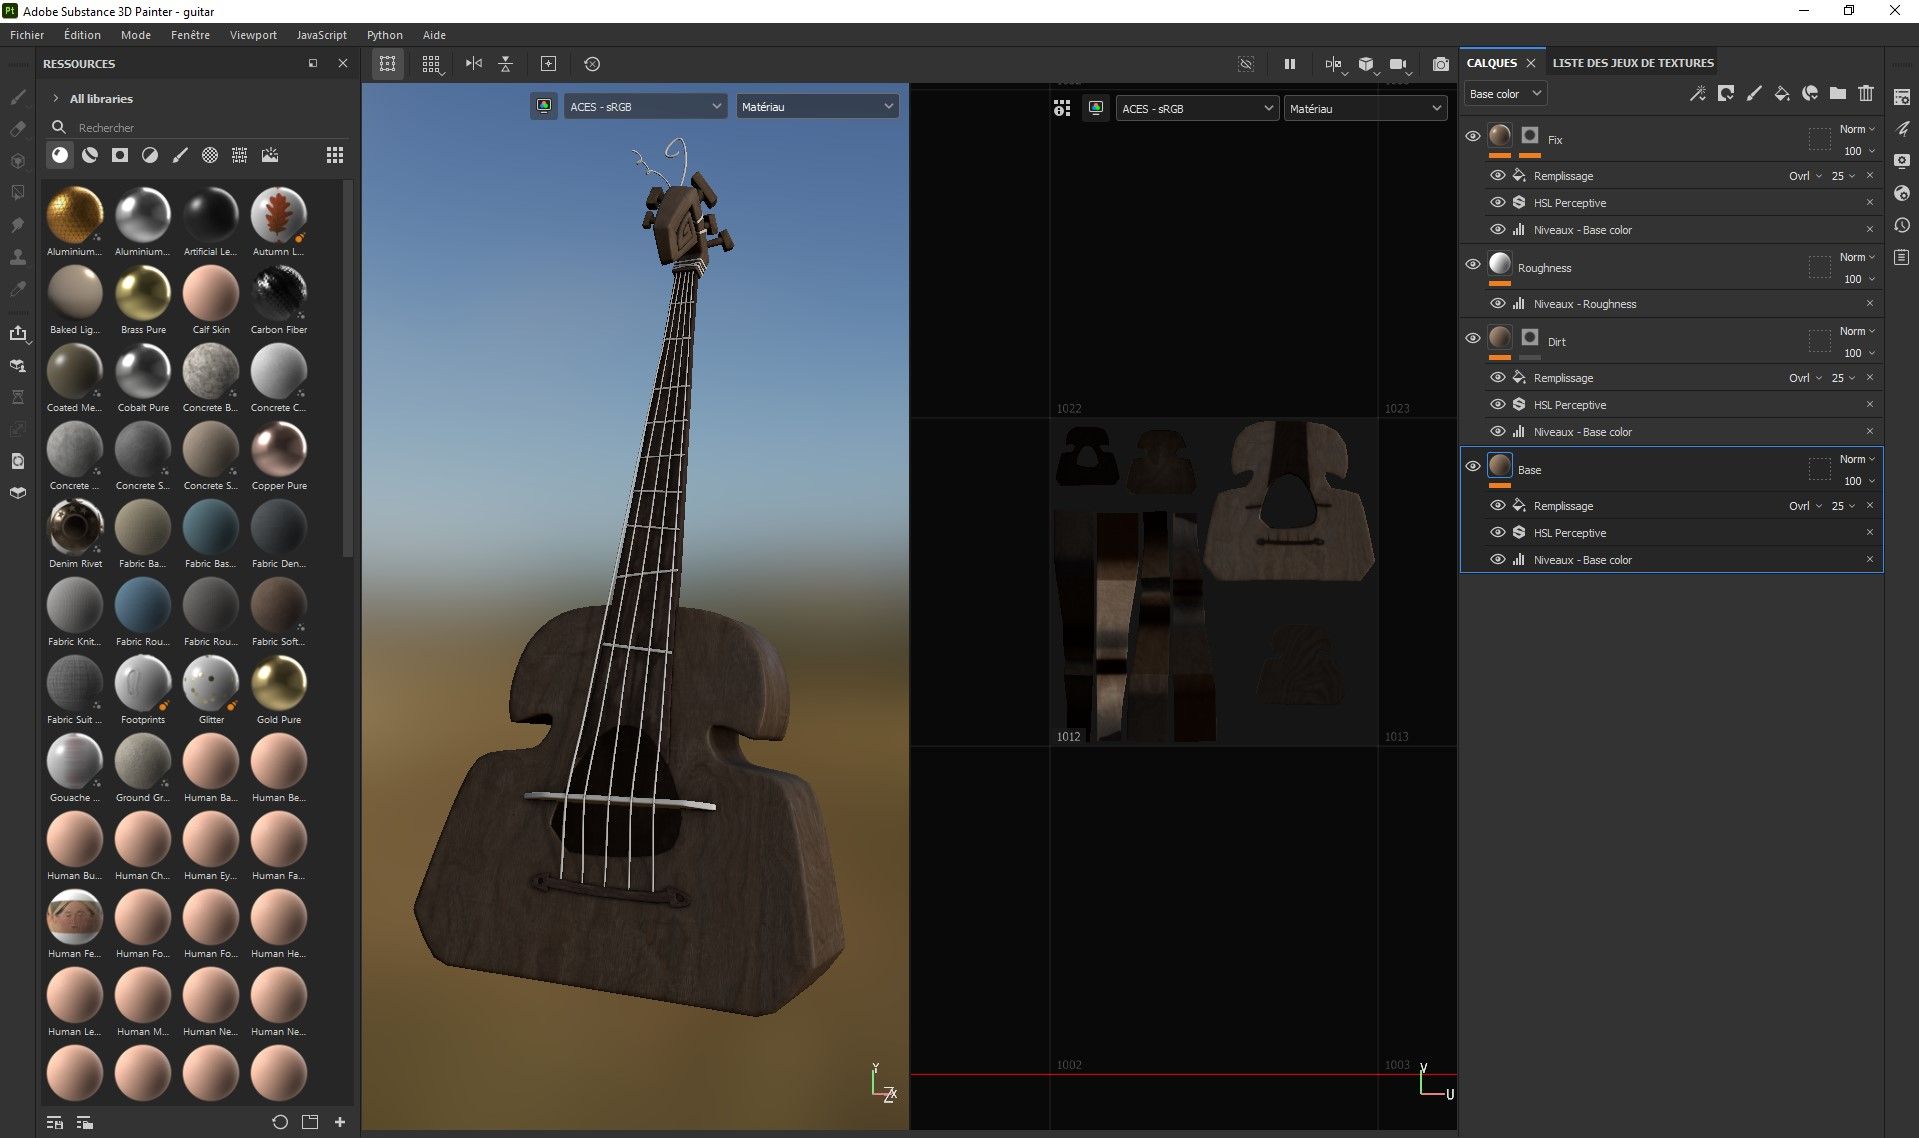
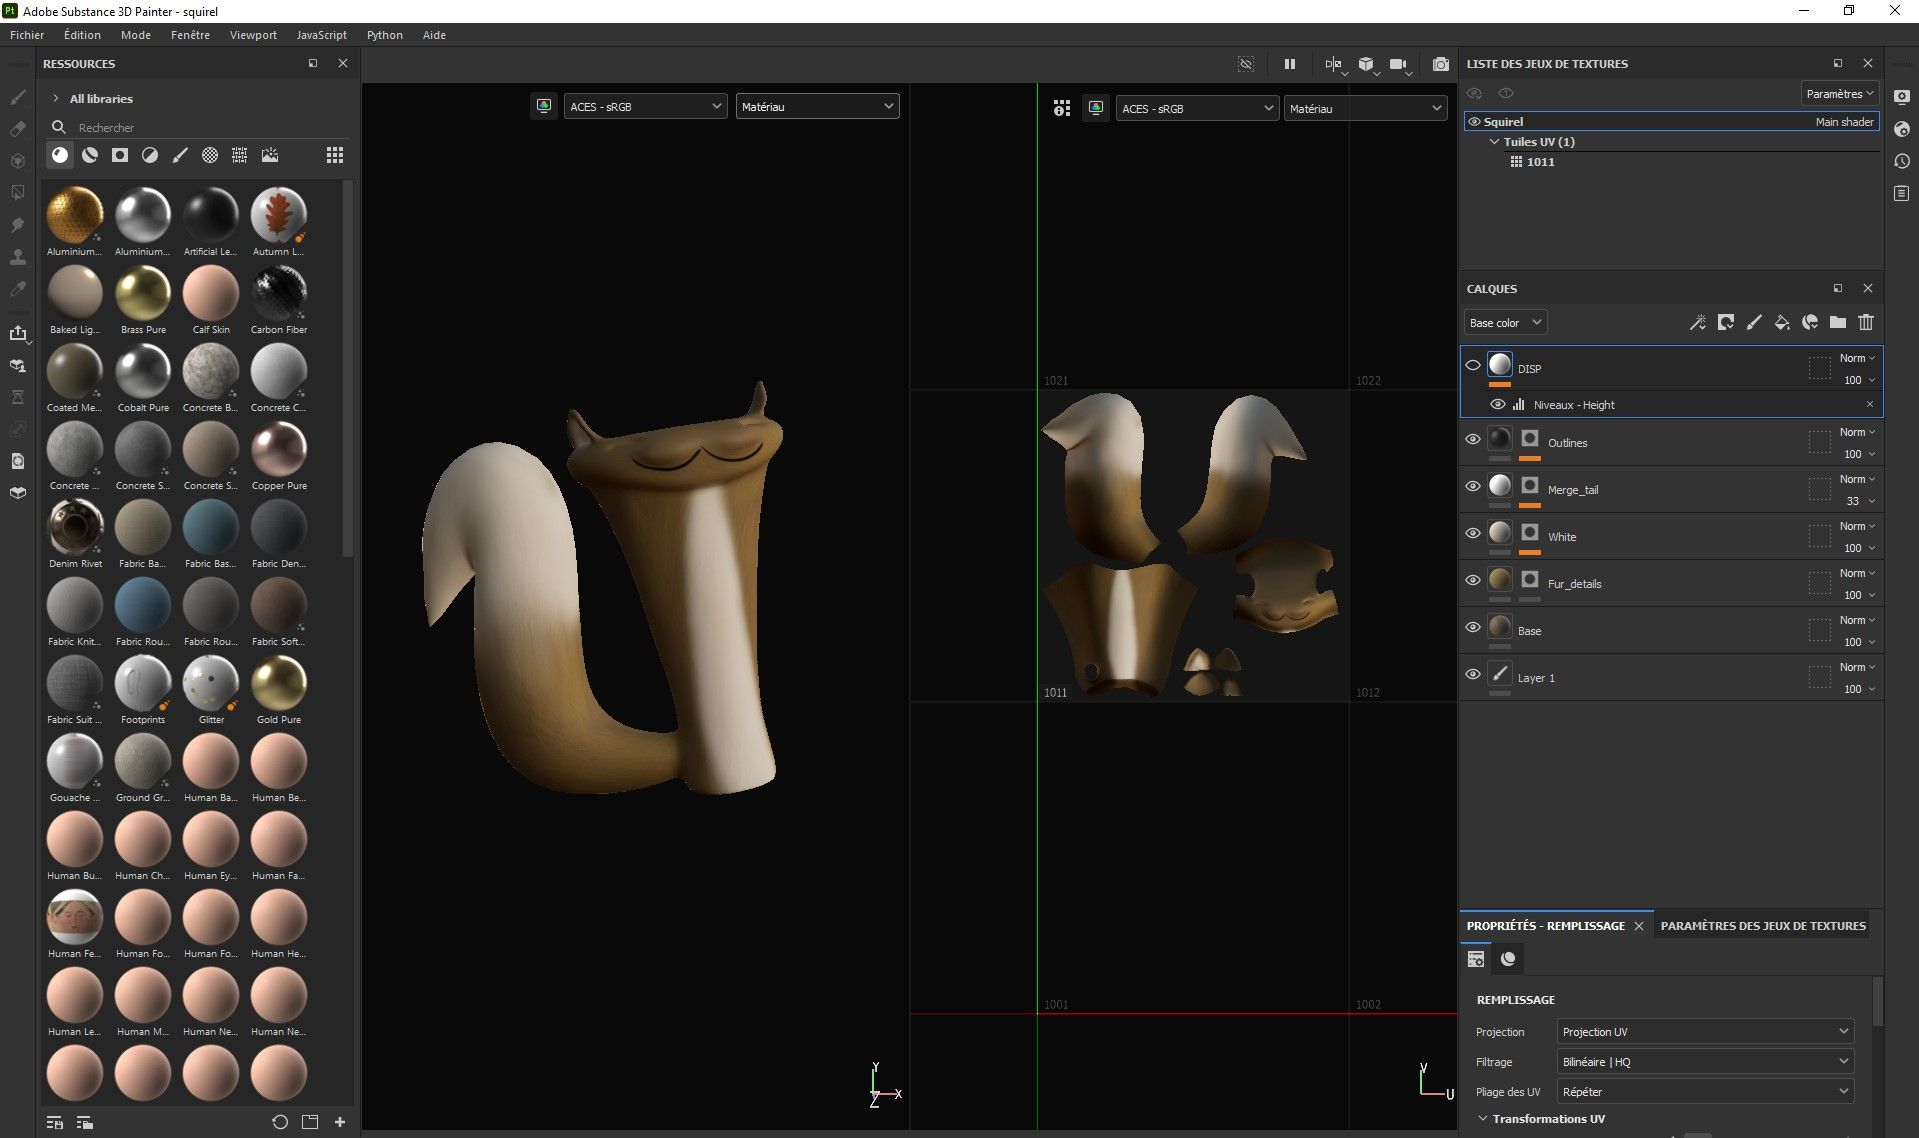
Texturing was all done inside Substance 3D Painter. I like to separate in different layers in Substance to have small files and work faster.
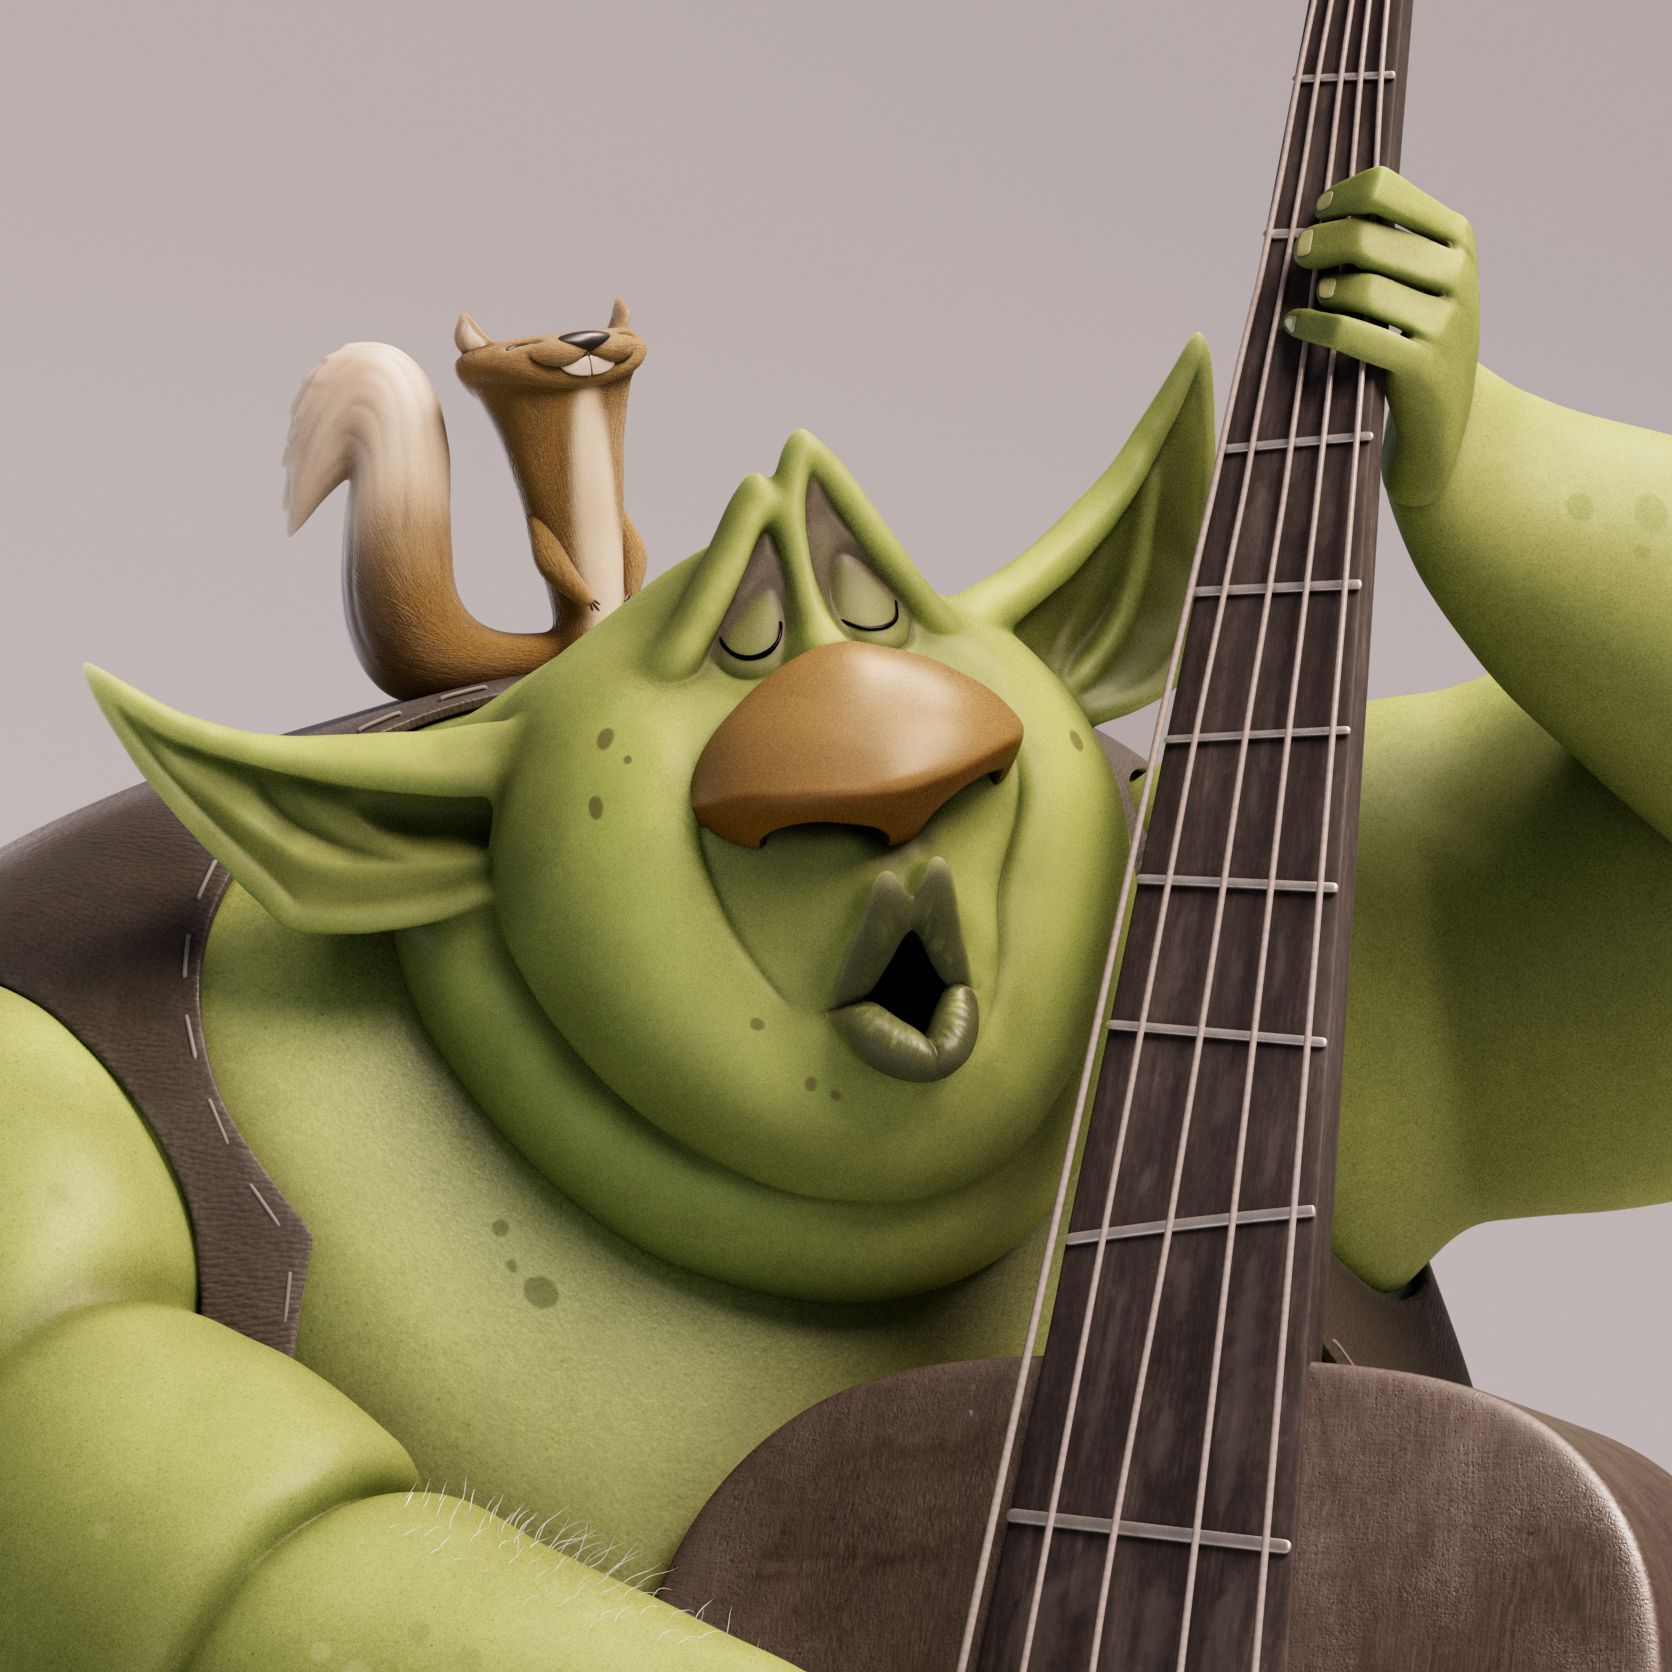
For the skin I generally don’t use a map or smart material, everything is hand painted with a brush from Substance. The challenge here was to make the skin appealing without going to much into the details. I try to think about where dirt might build up but also areas that are distorted because they have been more exposed to light. I like to use a cavity map or my displacement, from Zb]Brush, as a mask to create this kind of variation.
For the clothes and the bass, it’s almost the same process, but here I start with a texture from Substance or the internet as a base. Then build the dirt and colour variation above.
All those references you gathered at the beginning are very useful in this stage, try to use them as much as possible. And a very important thing to note, it’s a permanent back and forth between Maya and Substance because you want to try your maps in Maya to see how it reacts in the scene, with the lighting or with the subsurface for the skin.
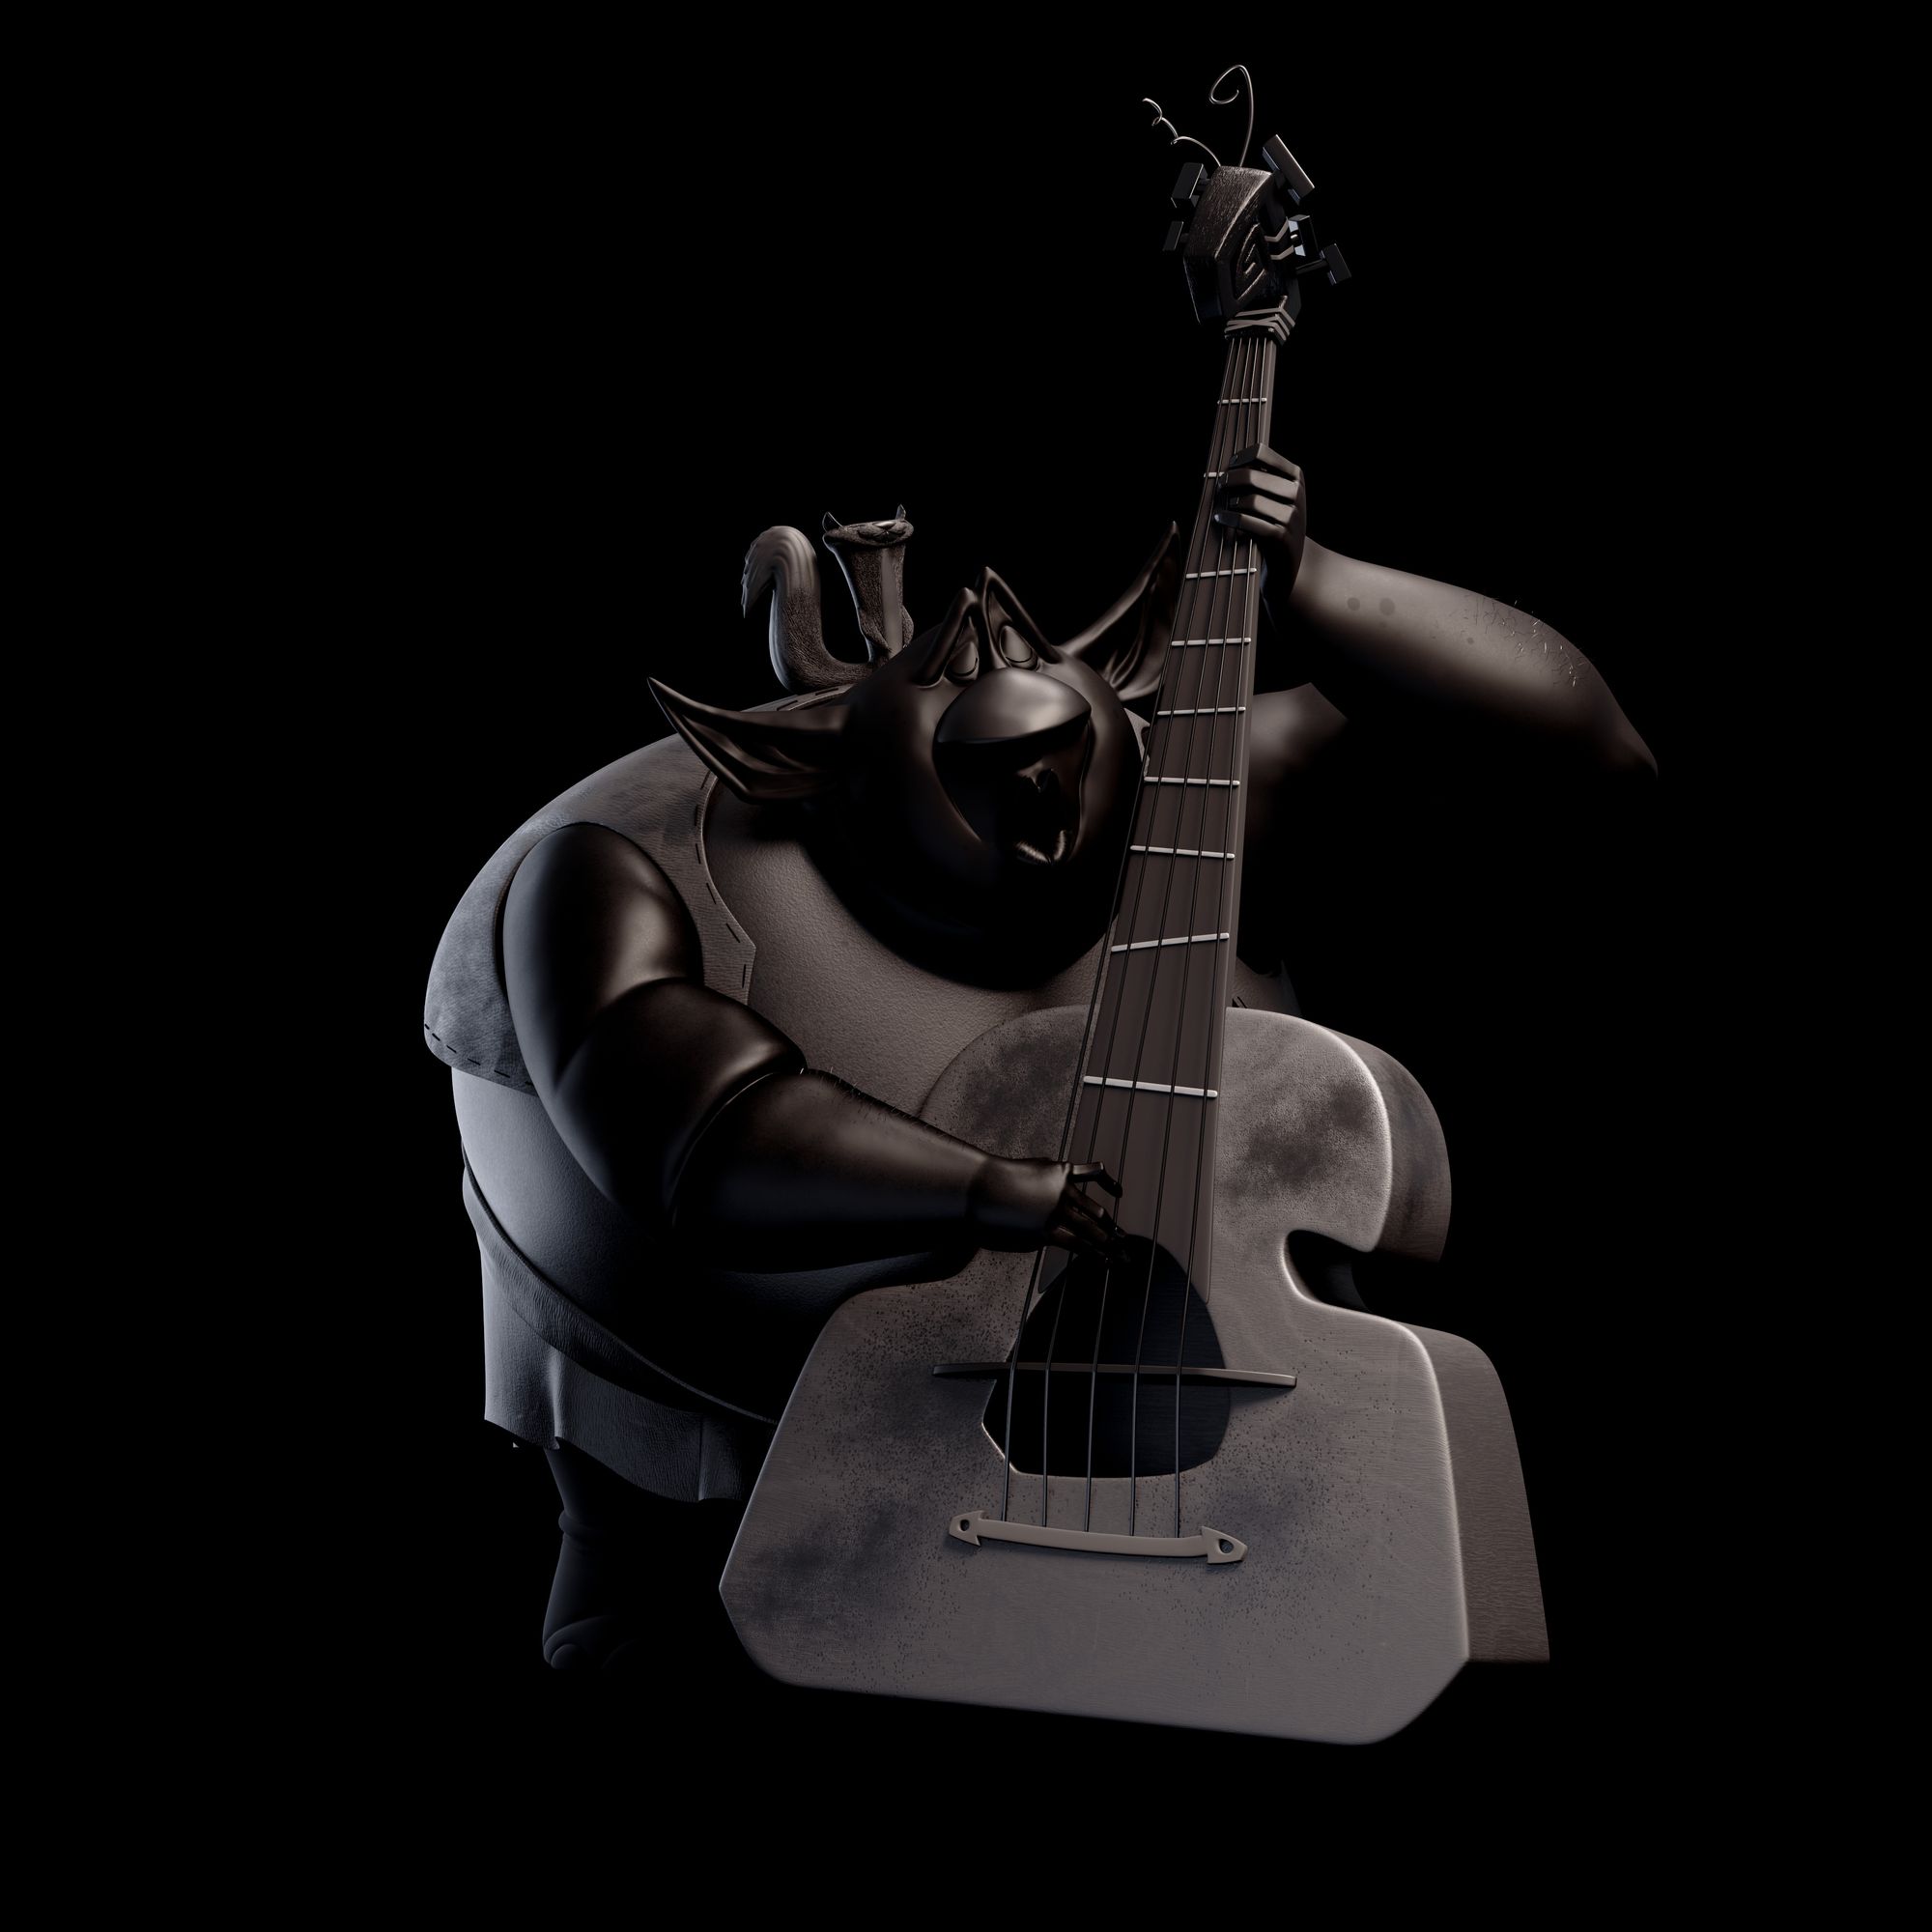
Stage Six: Rendering
For rendering I use Arnold. It doesn't really matter which software you use, it’s up to you!
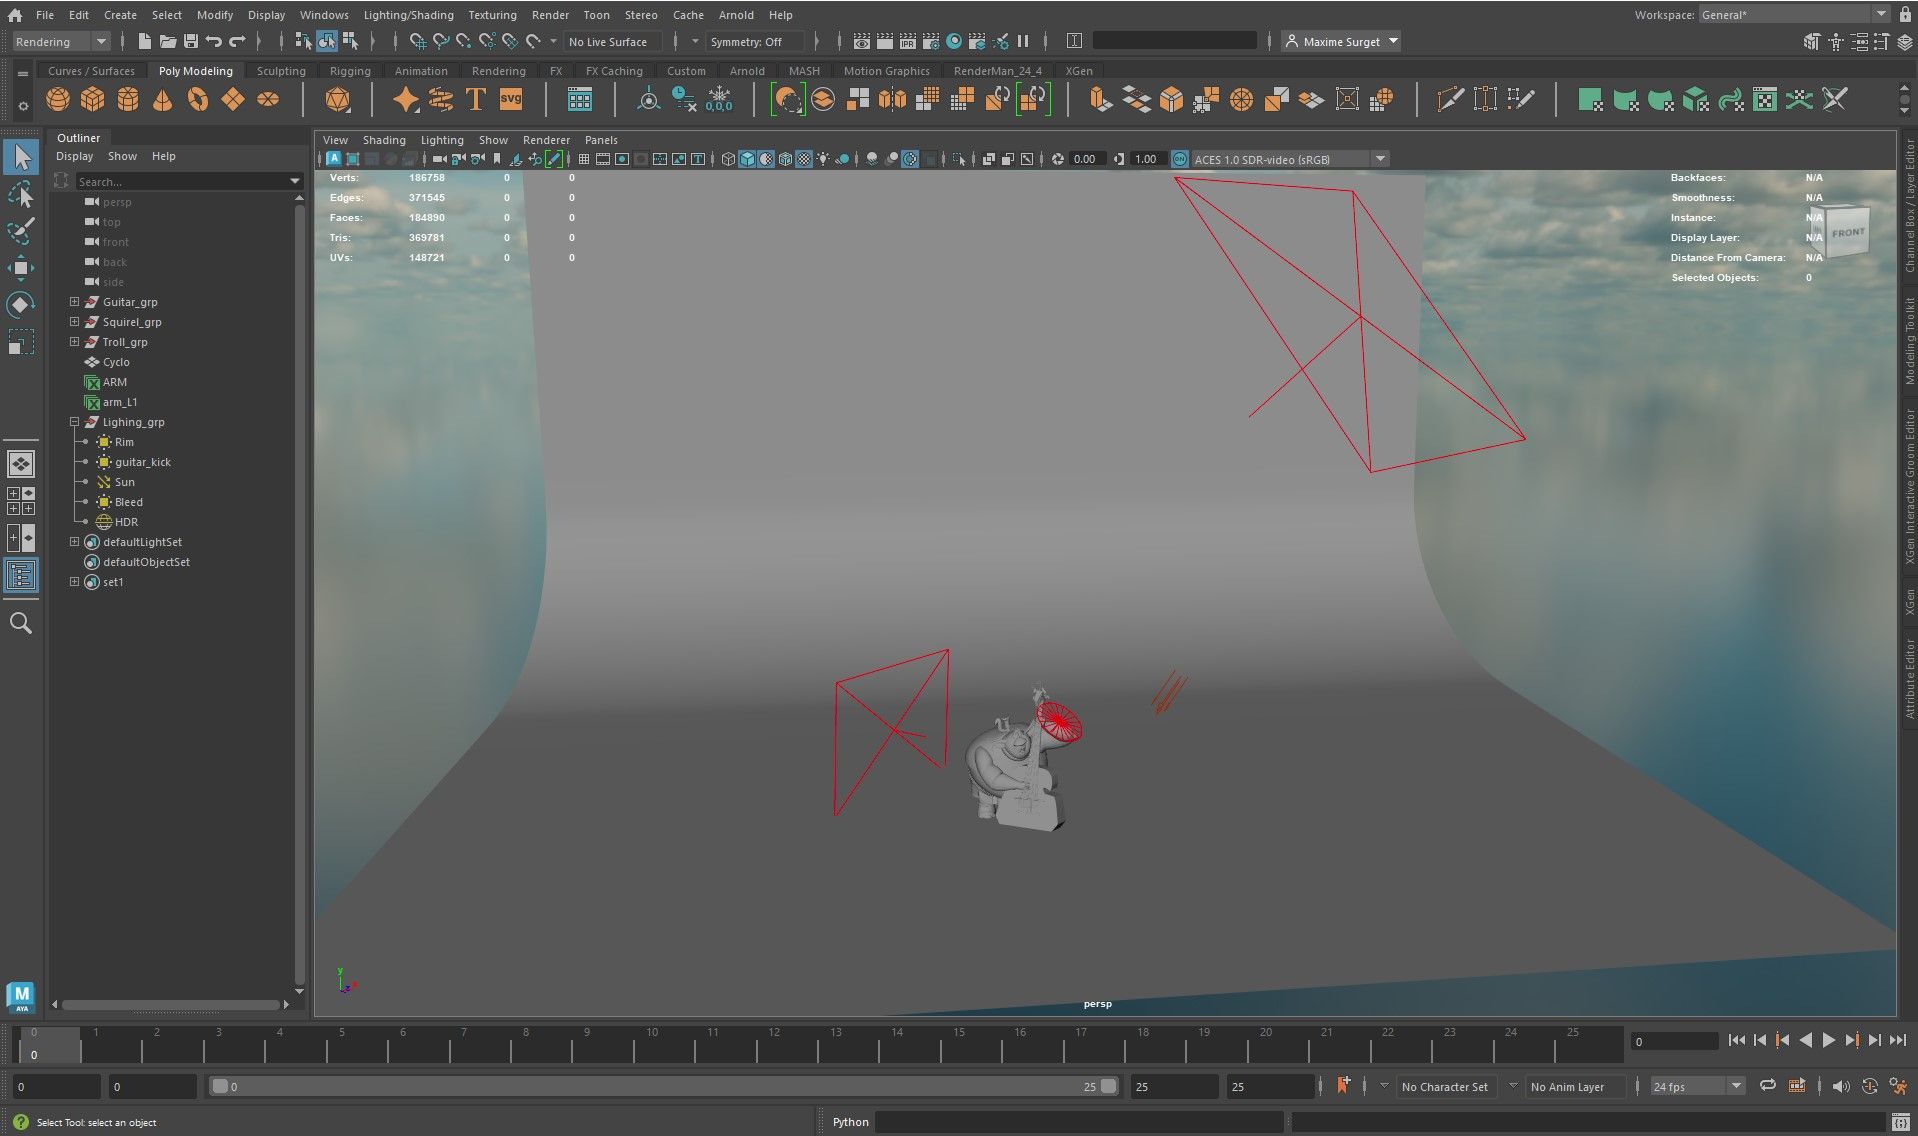
I adjusted the camera and Maya settings to achieve the desired composition. After testing different focal lengths, I found that a 50 mm lens gave the better match with the original concept.
I created a simple 3 point lighting with a cyclo and I add a small light to have a nice spec reflection on the bass. I have a neutral lookdev scene I made, so each time I start a project I import this scene then adapt it to the current project. For HDRI, I always pick them in Poly Haven, a website that has a tone of free HDRI exr. It's better to use less lights as possible, it helps to avoid weird double shadows or create an unrealistic lighting setup.
My render settings are pretty basic. I like to put a bit more sample in SSS and Spec to have more depth and a better looking render. One important feature in Arnold you can can check 'use autobump in SSS', it is very usefull especially for the skin. That increase and sharp your details without touching your displacement.
Stage Seven: Compositing
And finally I used those AOV in Photoshop to tweak the lighting a little, lift the black pixels and add a bit of glow. Basically, here you want to make your final image as appealing as you can!
Conclusion
That’s it for my personal breakdown. Once finished I like to come back days or weeks later with a fresh eye and see where I can improve myself or where I can speed up the process.
I always try to learn something from my projects so next time I tackle a similar problem, I can solve it faster and better.
Try to always have a look at what other artists make and stop comparing yourself. Everyone is at a different learning stage, don’t be afraid of failing it’s a part of the process.
Thank you very much for reading and I hope you enjoyed it!
You can reach out to Maxime via his Rookies profile here.