Recreating an Urbex Scene in Unreal Engine 5 and Substance 3D Painter: Abandoned 19th-Century Castle
Bellecour Ecole student Louis Bellaton, a Rookie of the Year 2023 Finalist, transitioned from studying Architecture to diving into the world of 3D. In this article, he shares his workflow for recreating an Urbex scene in Unreal Engine 5.
Rookie of the Year 2023 Finalist and Bellecour Ecole student, Louis Bellaton, originally began his journey studying Architecture but eventually discovered 3D and decided to dive in. In this article, Louis presents his workflow to recreate an Urbex scene in Unreal Engine 5.
Context
The goal here was to create a complete environment over several months, showcasing as many skills as possible. As I aspire to become an Environment Artist, I need to demonstrate my ability to produce beautiful props with realistic textures, all within a coherent and well-constructed space. I chose Urbex as the subject, which is one of my passions. I believe that abandoned places always have stories to tell, and that's what I wanted to convey here.
Reference Gathering
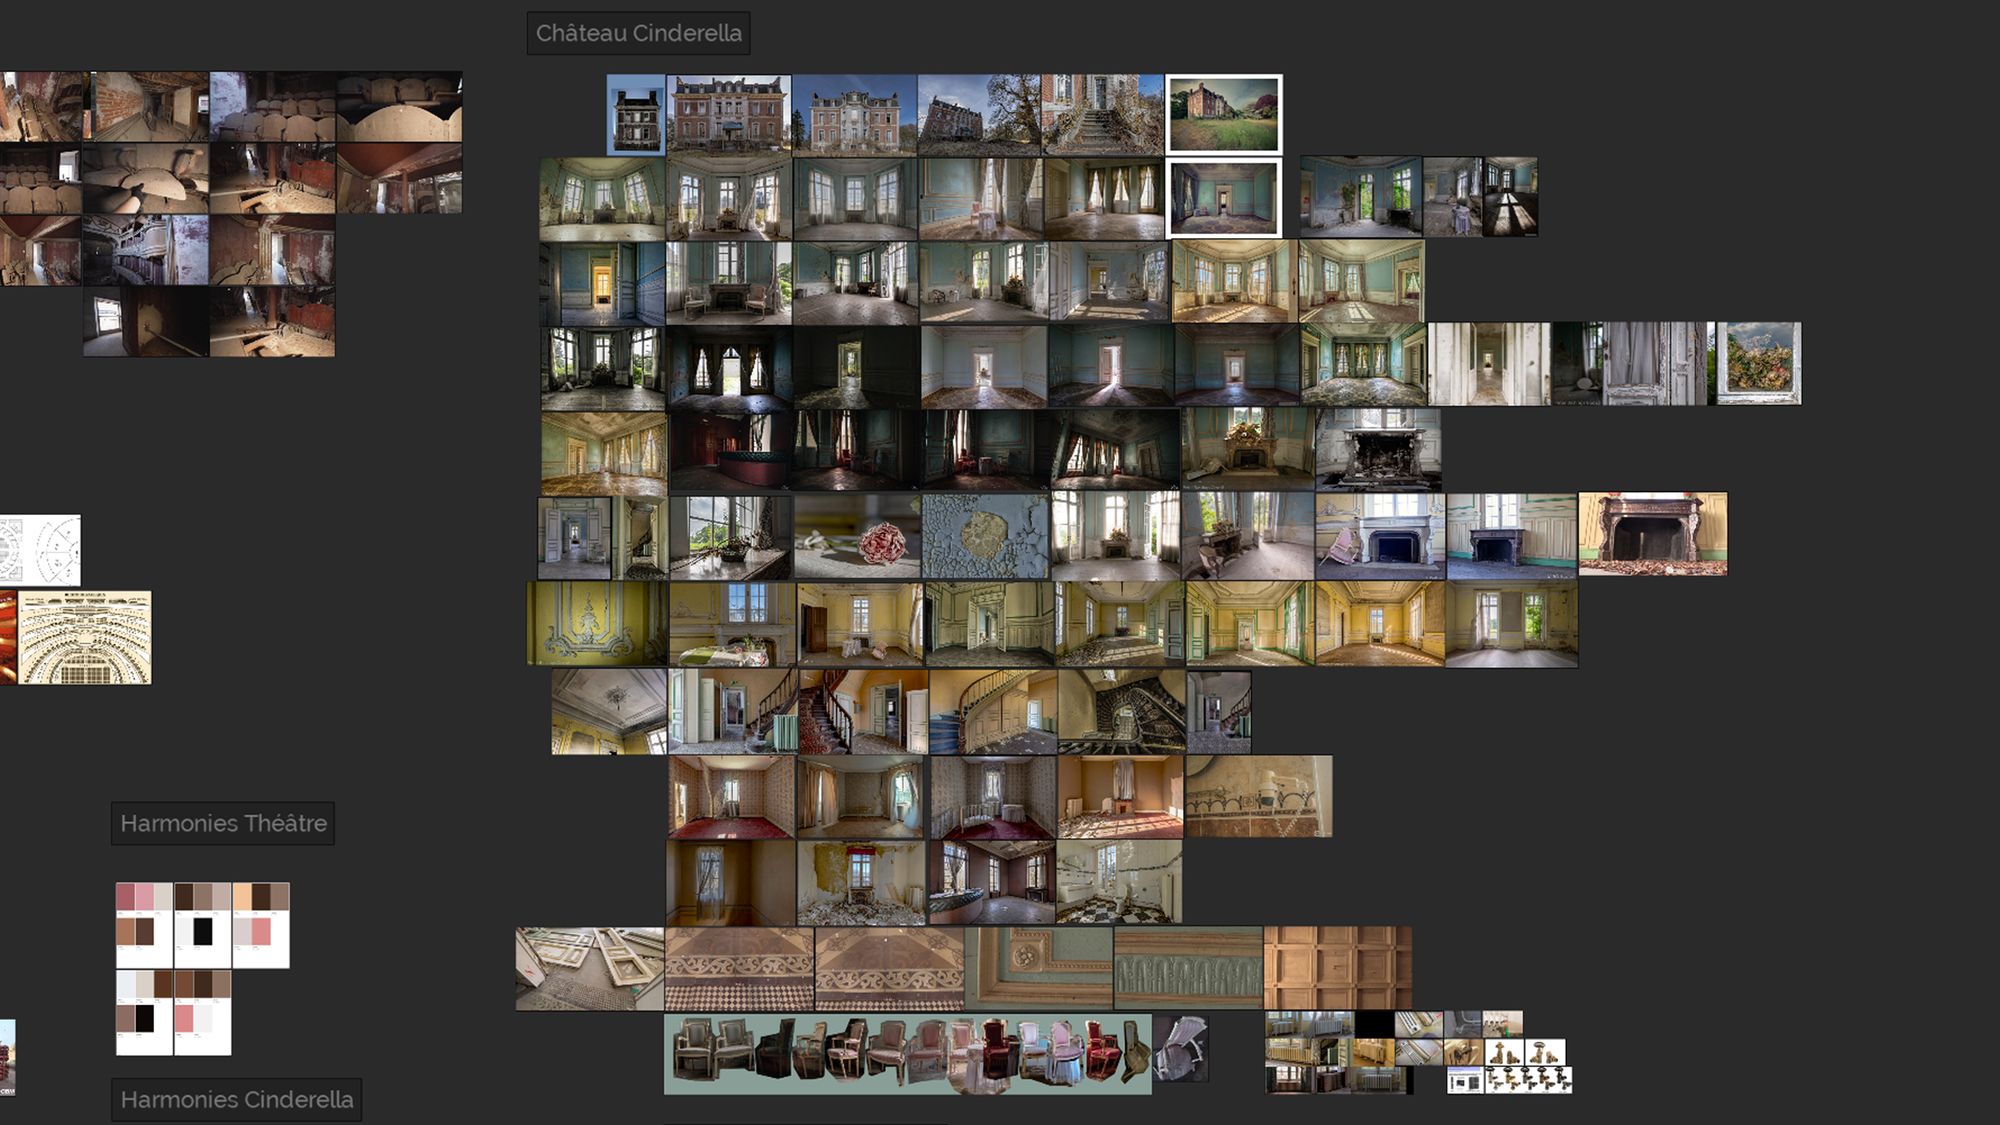
The first thing to do is to find as many references as possible and extract ideas from them. For my part, I had found a real-life location. After researching its name, it was easy to find photo albums or YouTube videos of Urbex explorations visiting the place.
For your information, this castle is located in Belgium, was built in the 19th century, and used to house a hotel with several rooms, a bar, and a restaurant.
Once these images were gathered in a PureRef file, I made a list of the elements I would reproduce in 3D. The bulk of the work would be on the texturing: having walls of different colors with details of dirt, peeled wallpaper, and a dusty wooden floor. I also made a list of props to create, with a constraint that they should be as reusable as possible. Therefore, I created modules of baseboards to be attached to different walls. The chairs, doors, frames, supports, dishes, and fireplaces are used in multiple places. Set dressing is an important part as it allows creating a rich scene with few elements.
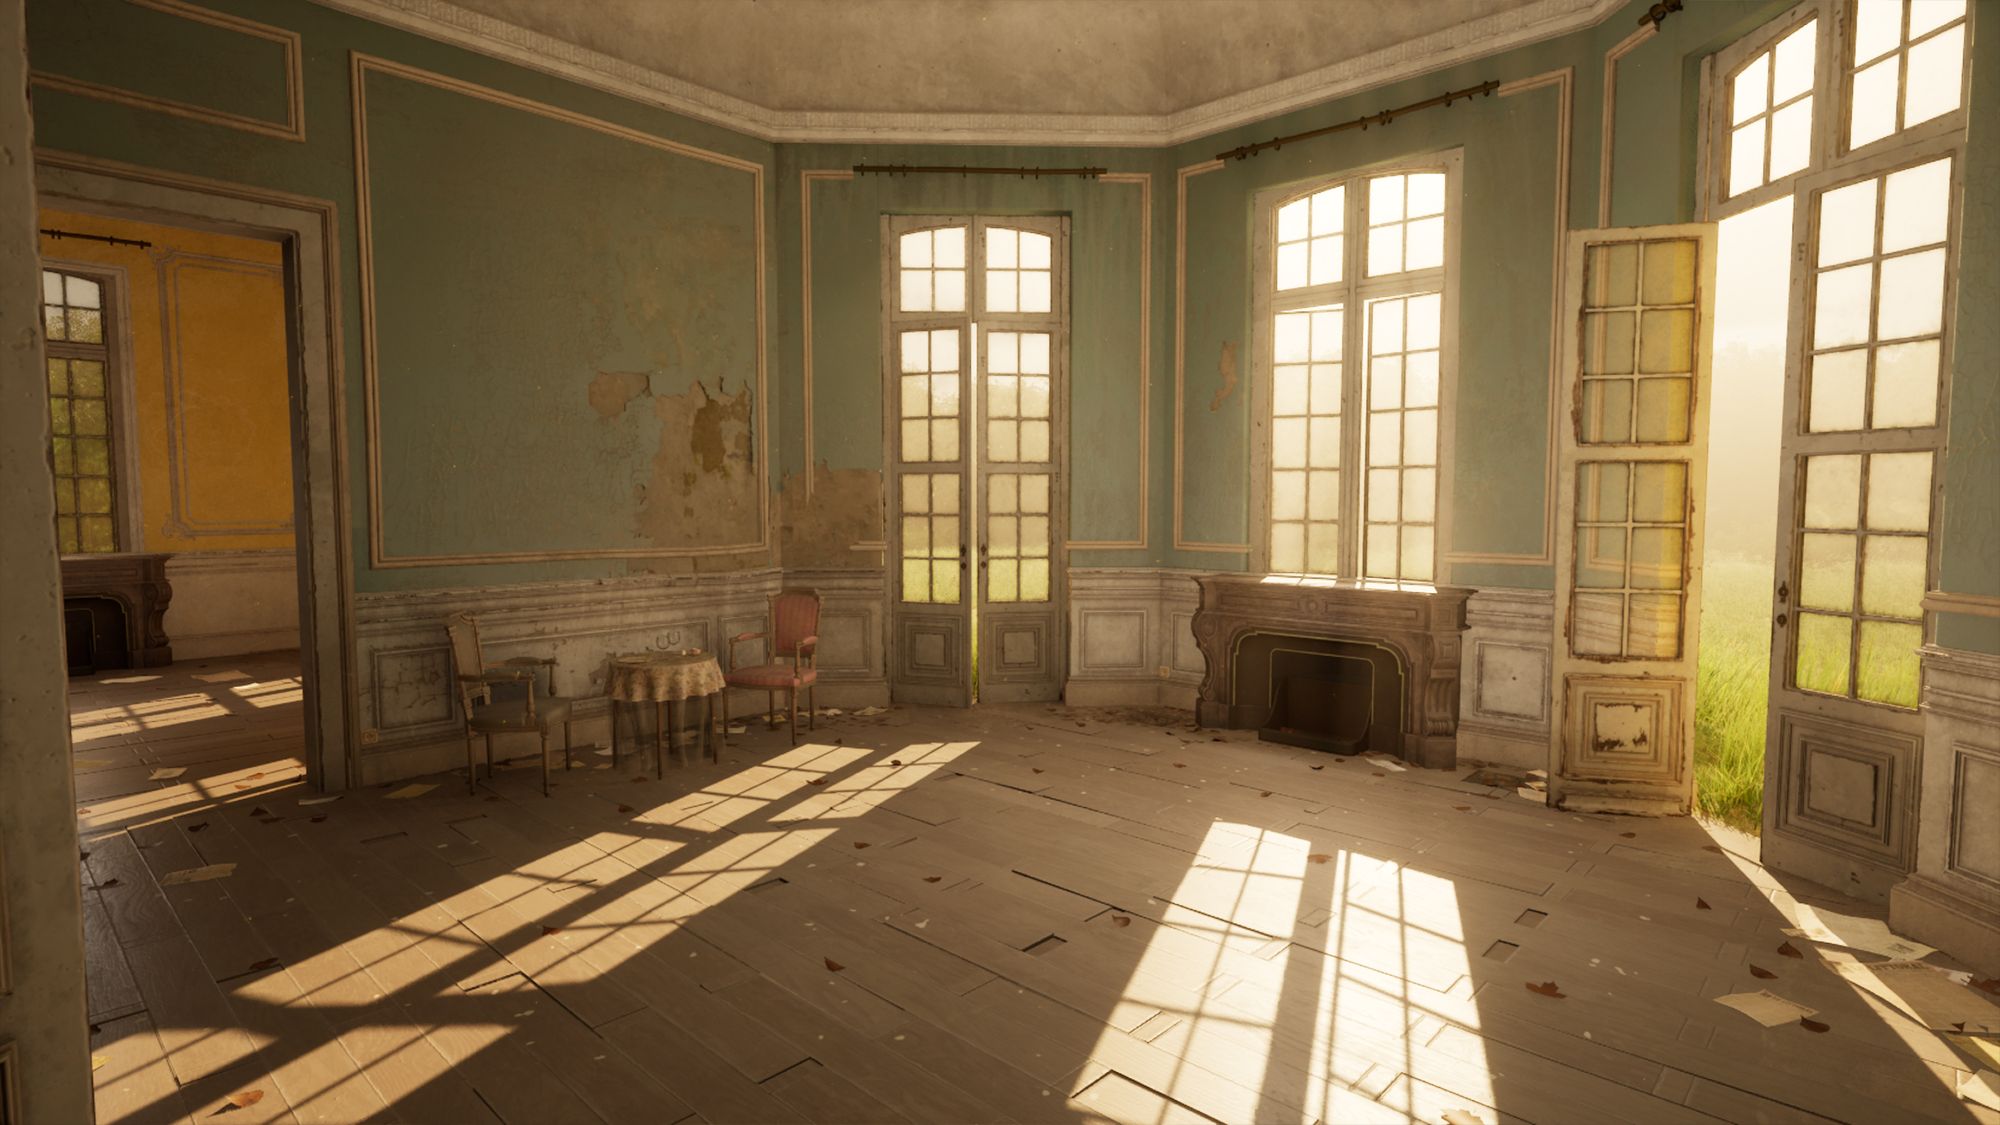
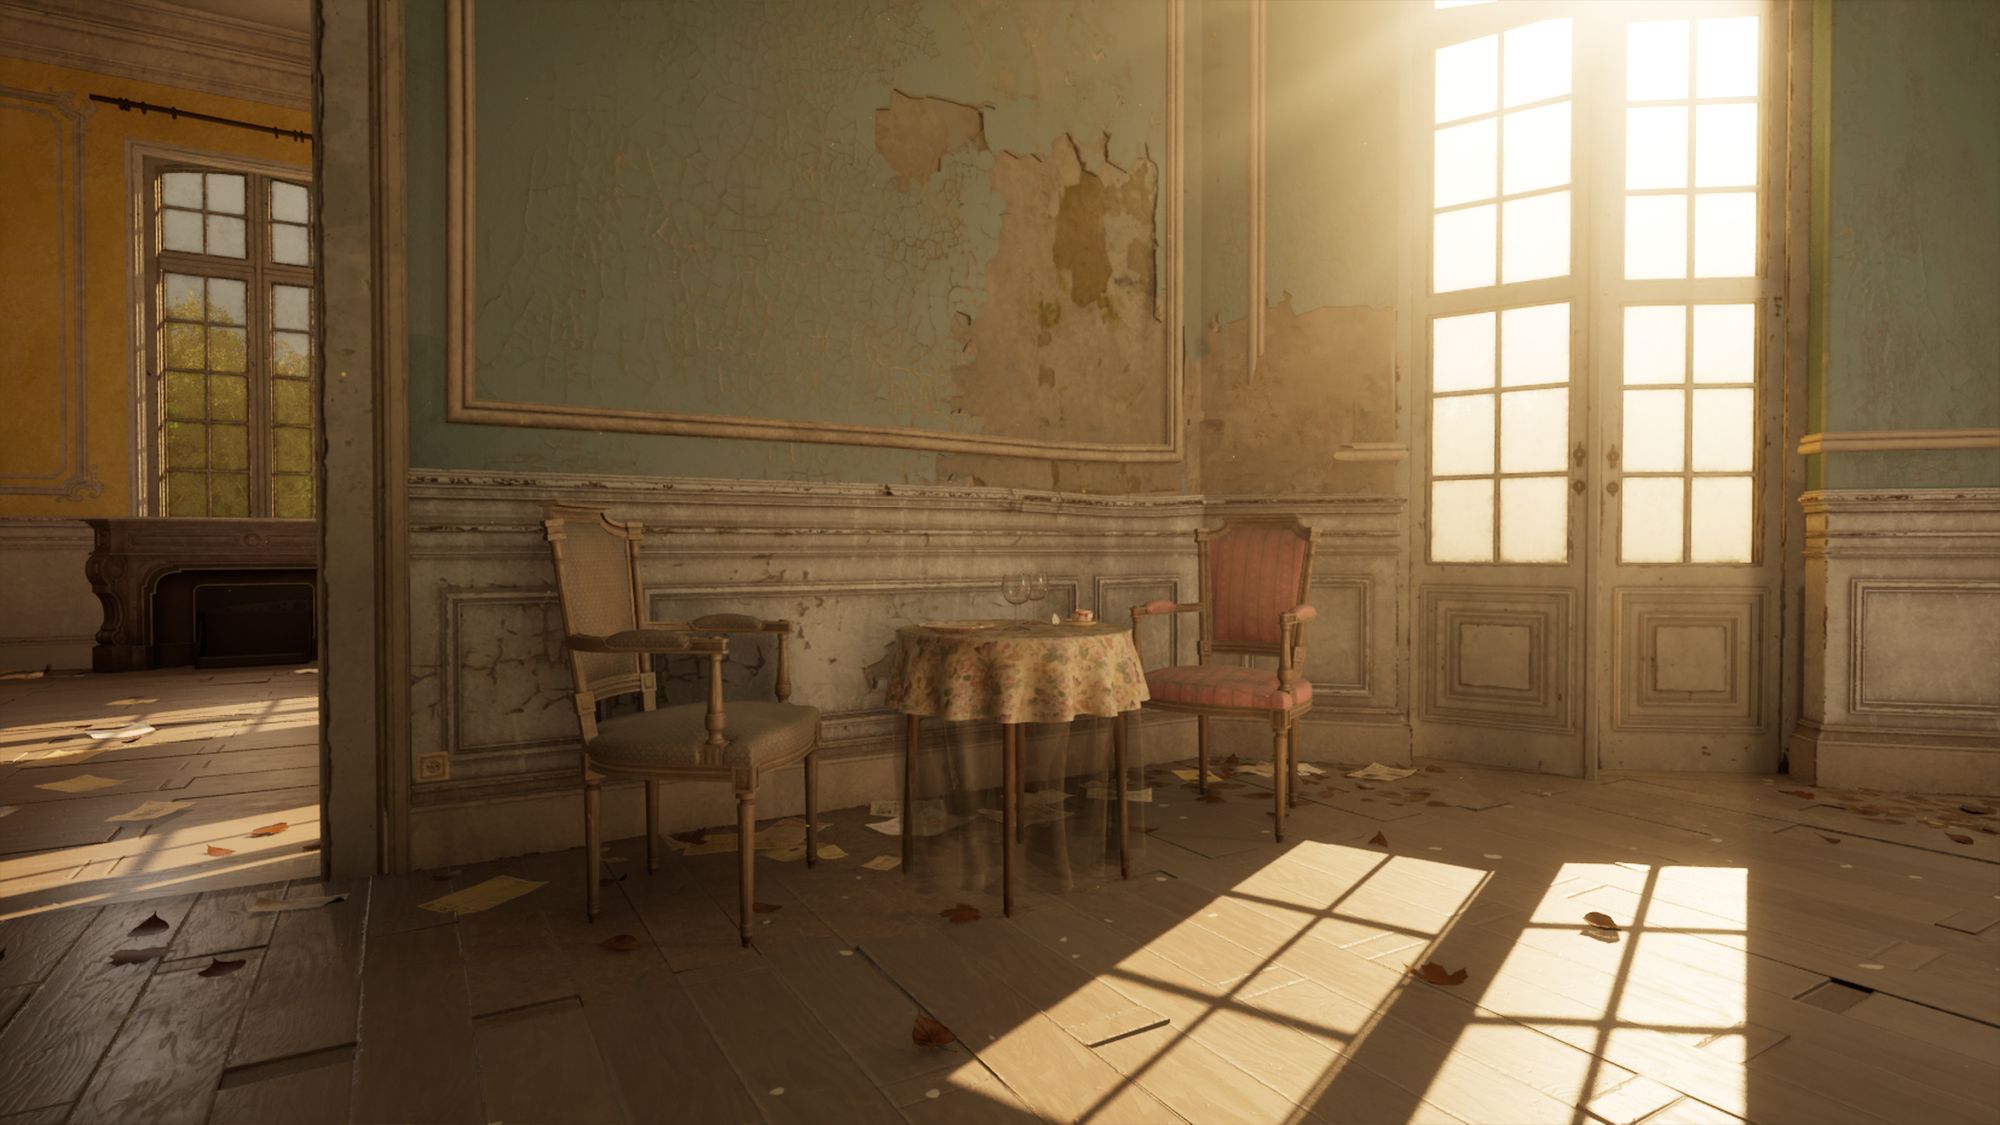
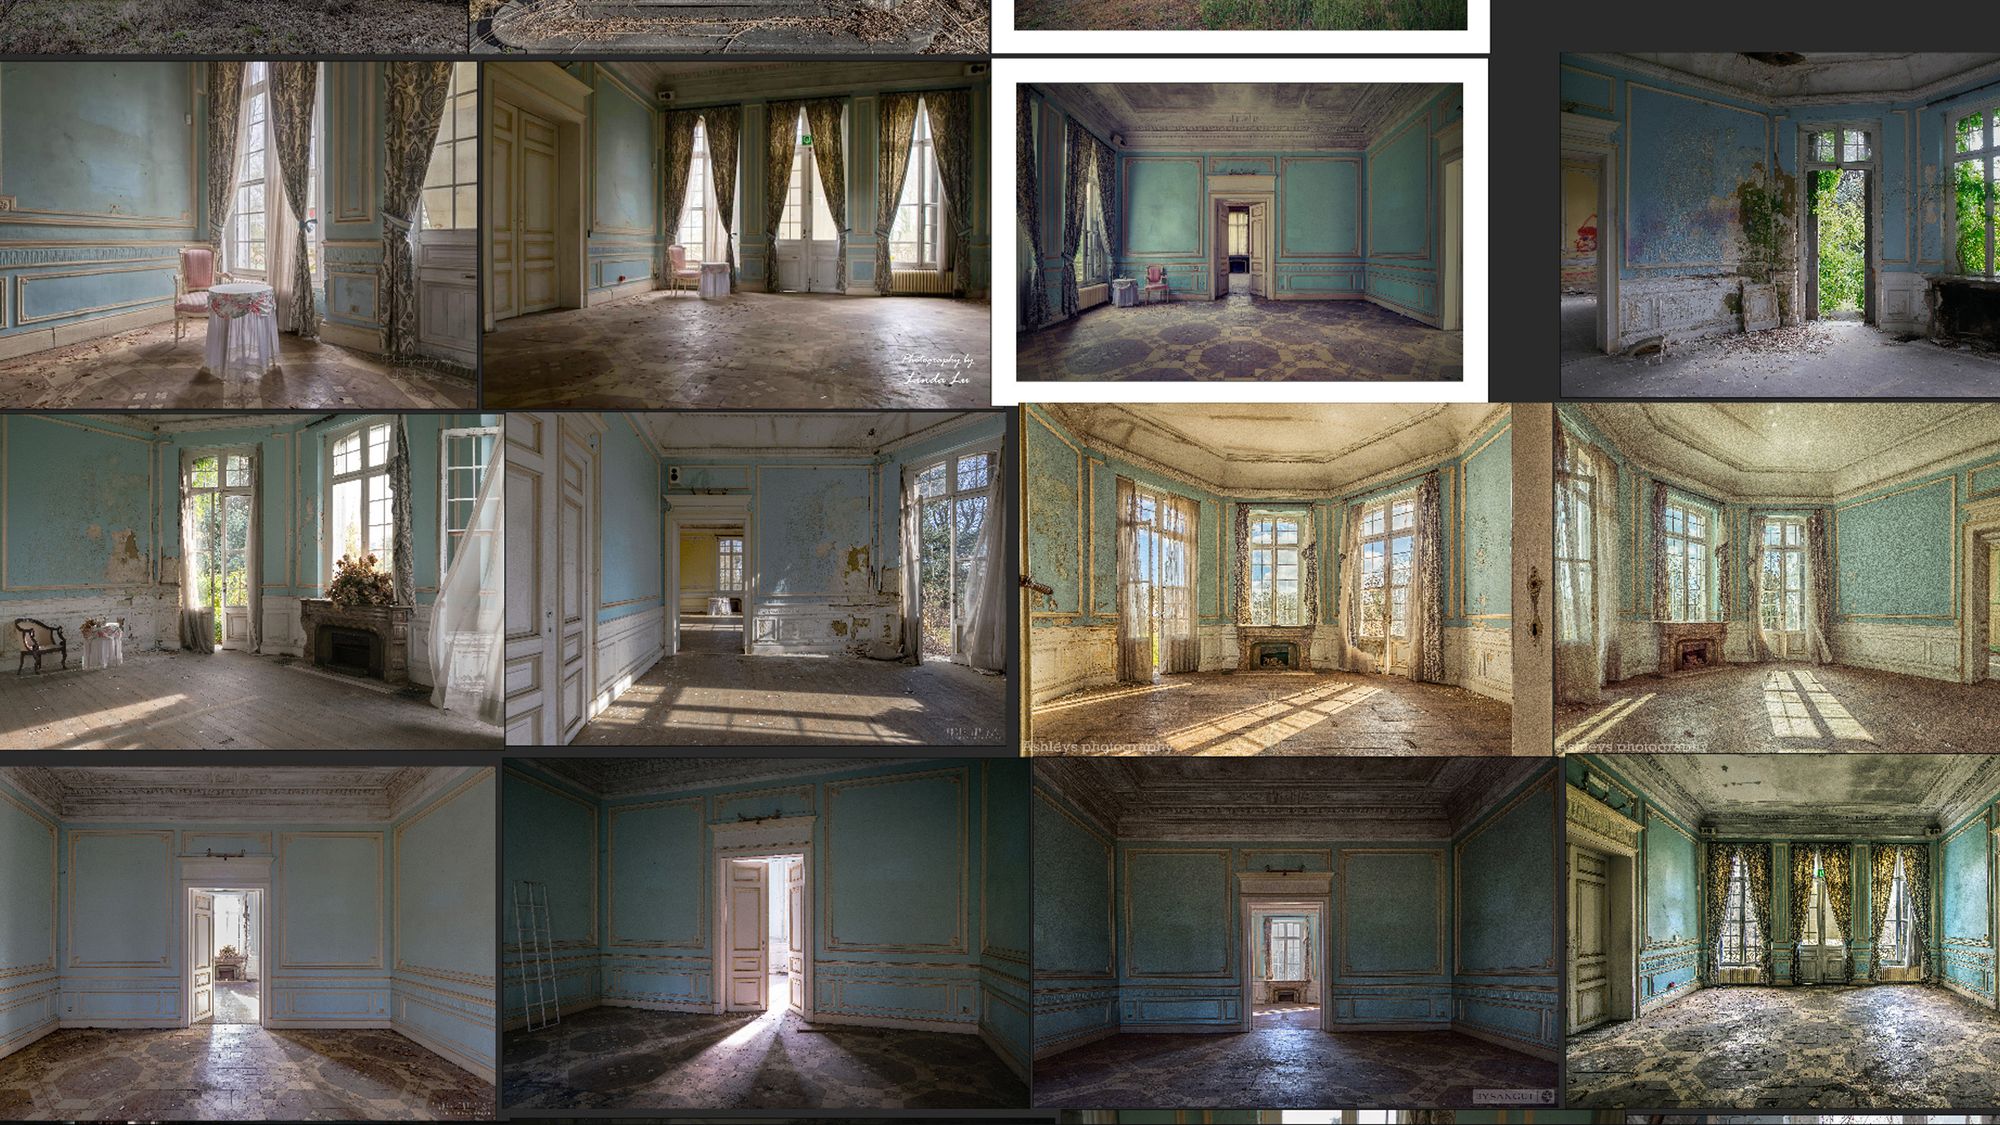
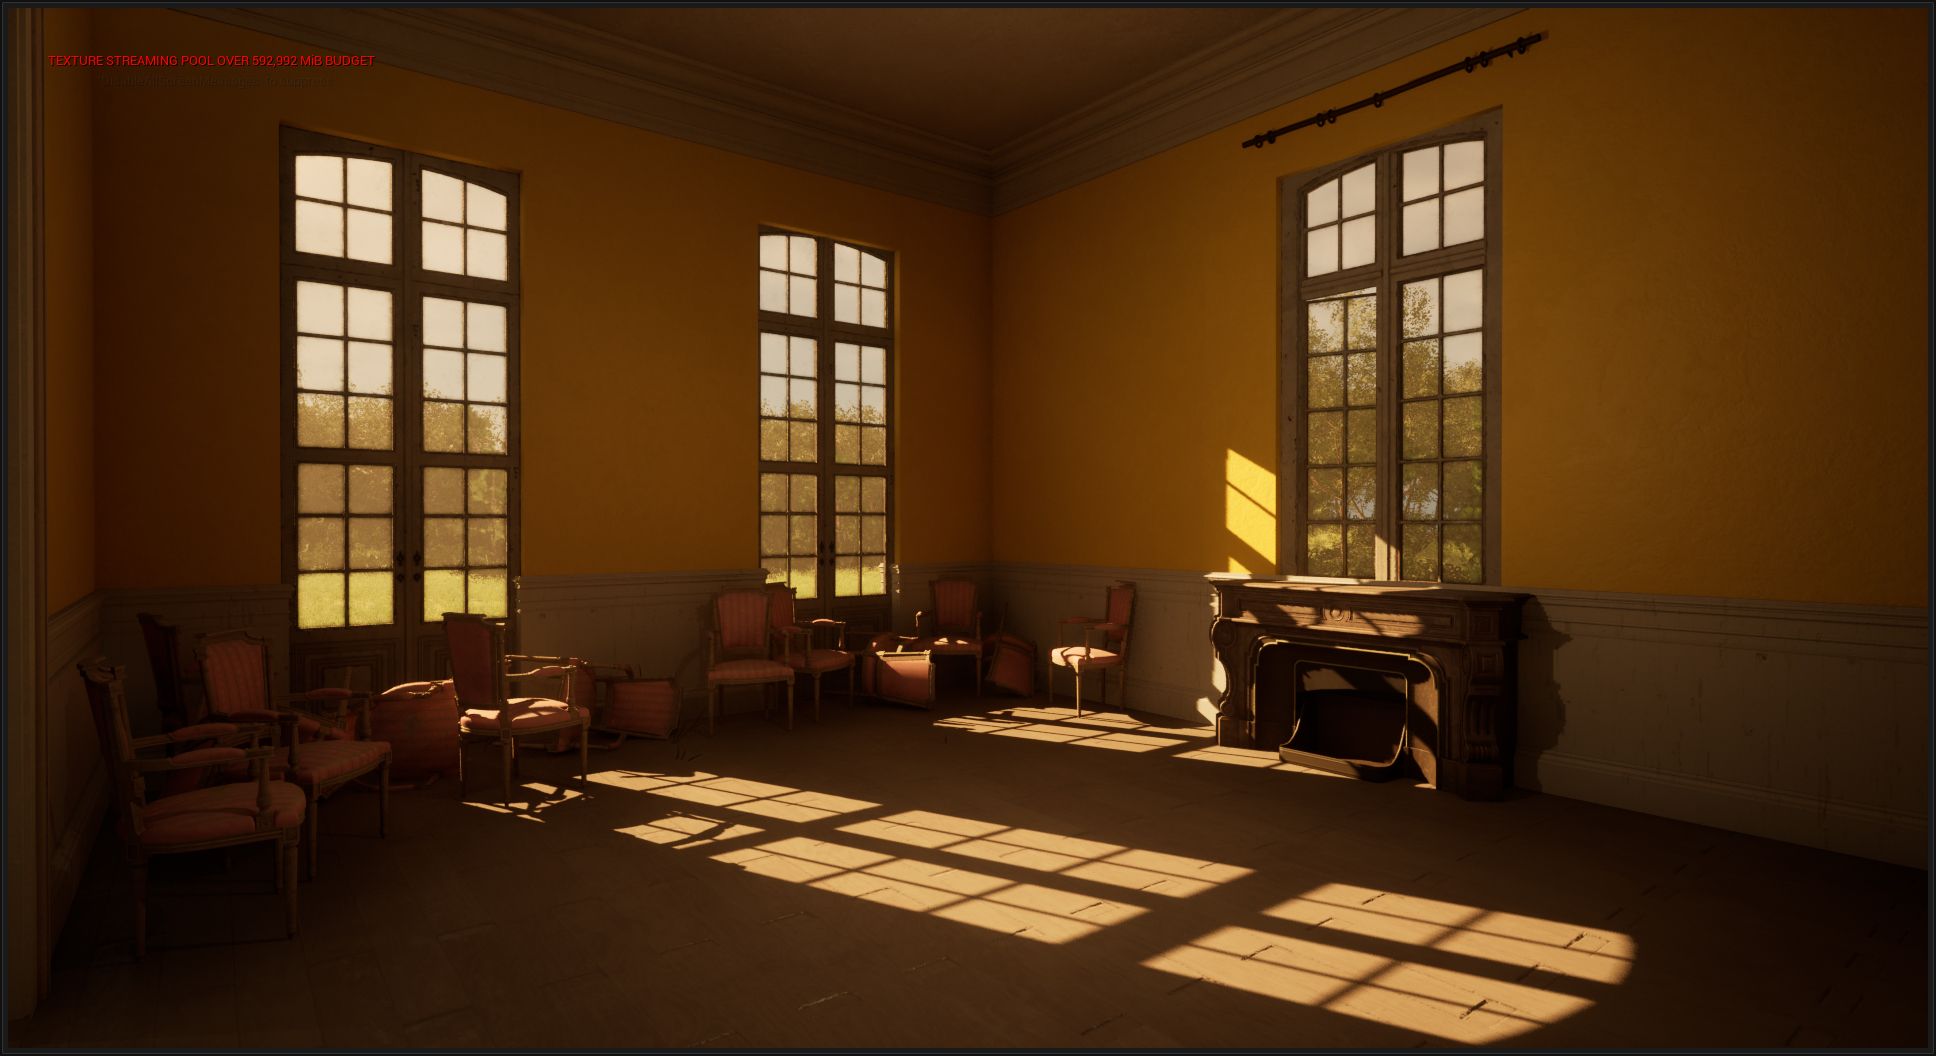
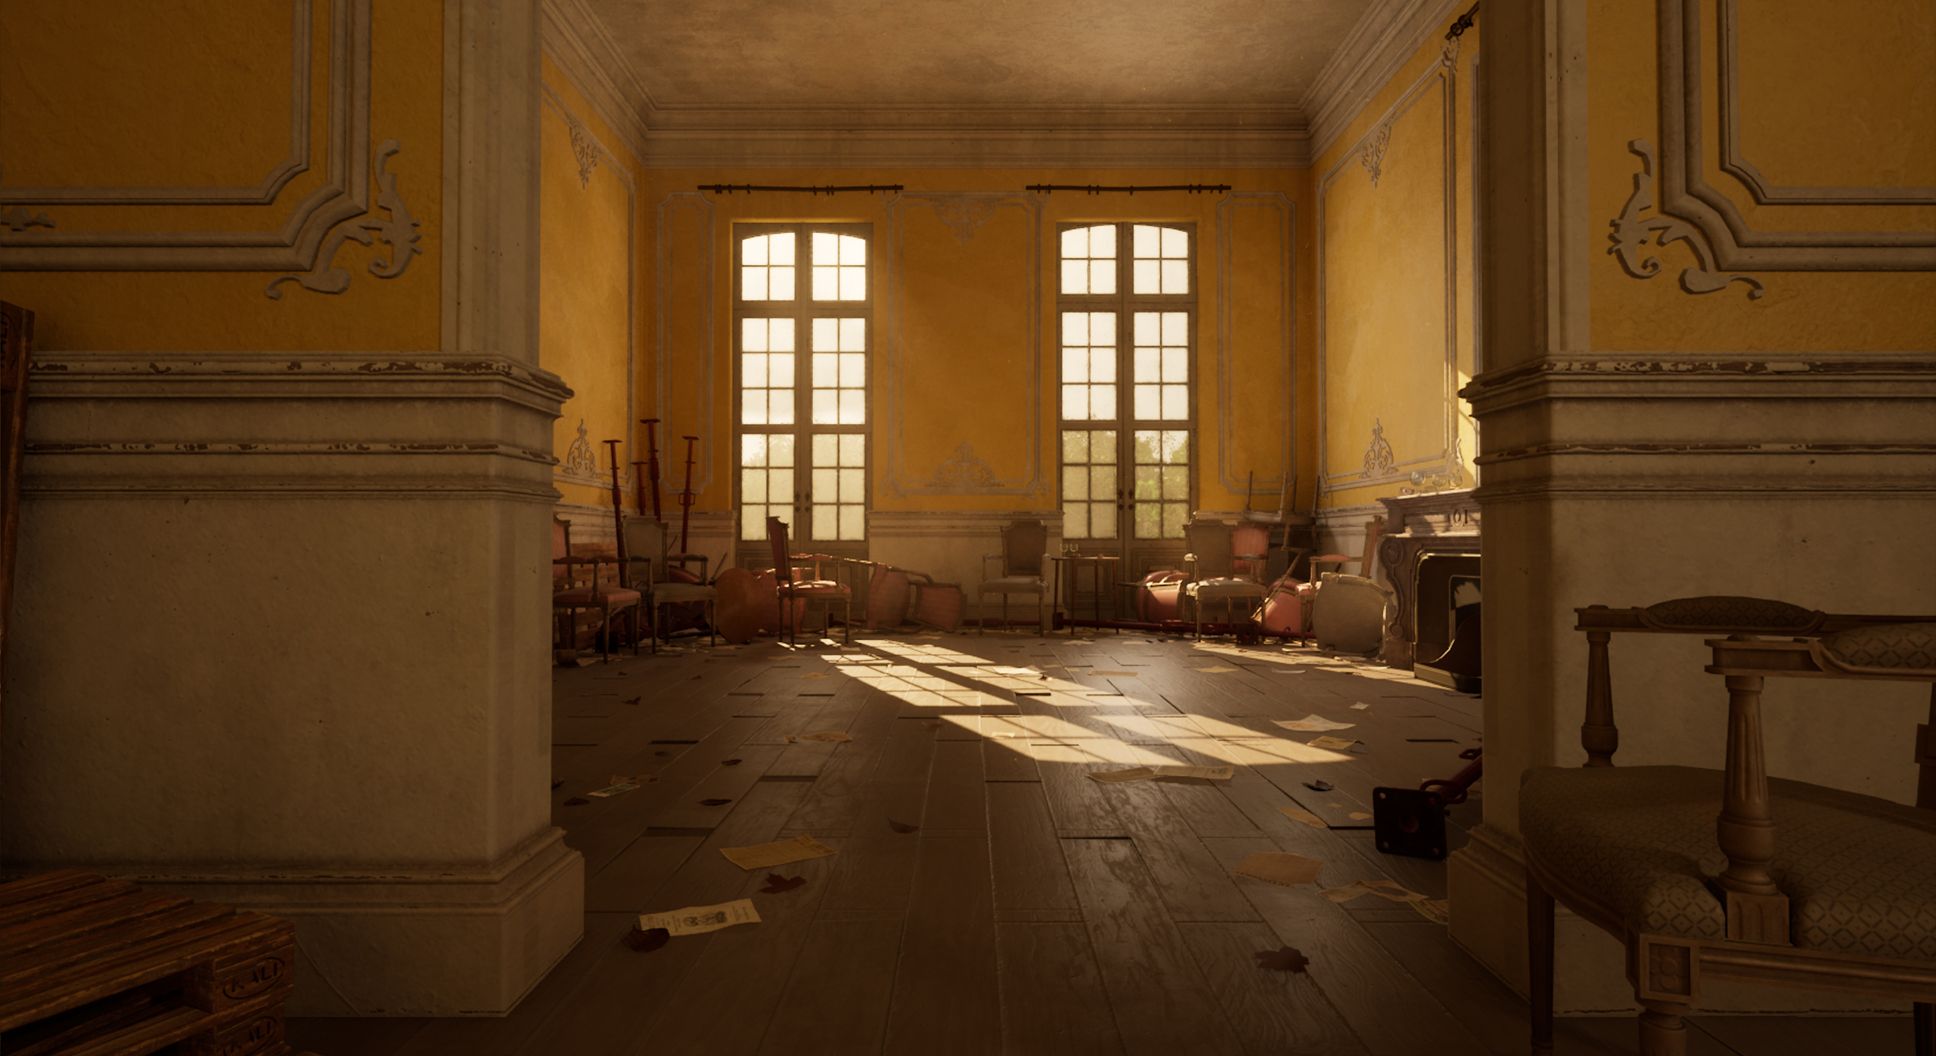
Here, one can visualise the importance of having good references; it notably helps a lot with the lighting and the ambiance I want to achieve. We can see that the same location can have many different atmospheres. I could have given a mysterious ambiance to my scene by using minimal lighting, but I chose to have a fairly bright space, at least in this blue room, to create an atmosphere that highlights as many elements as possible.
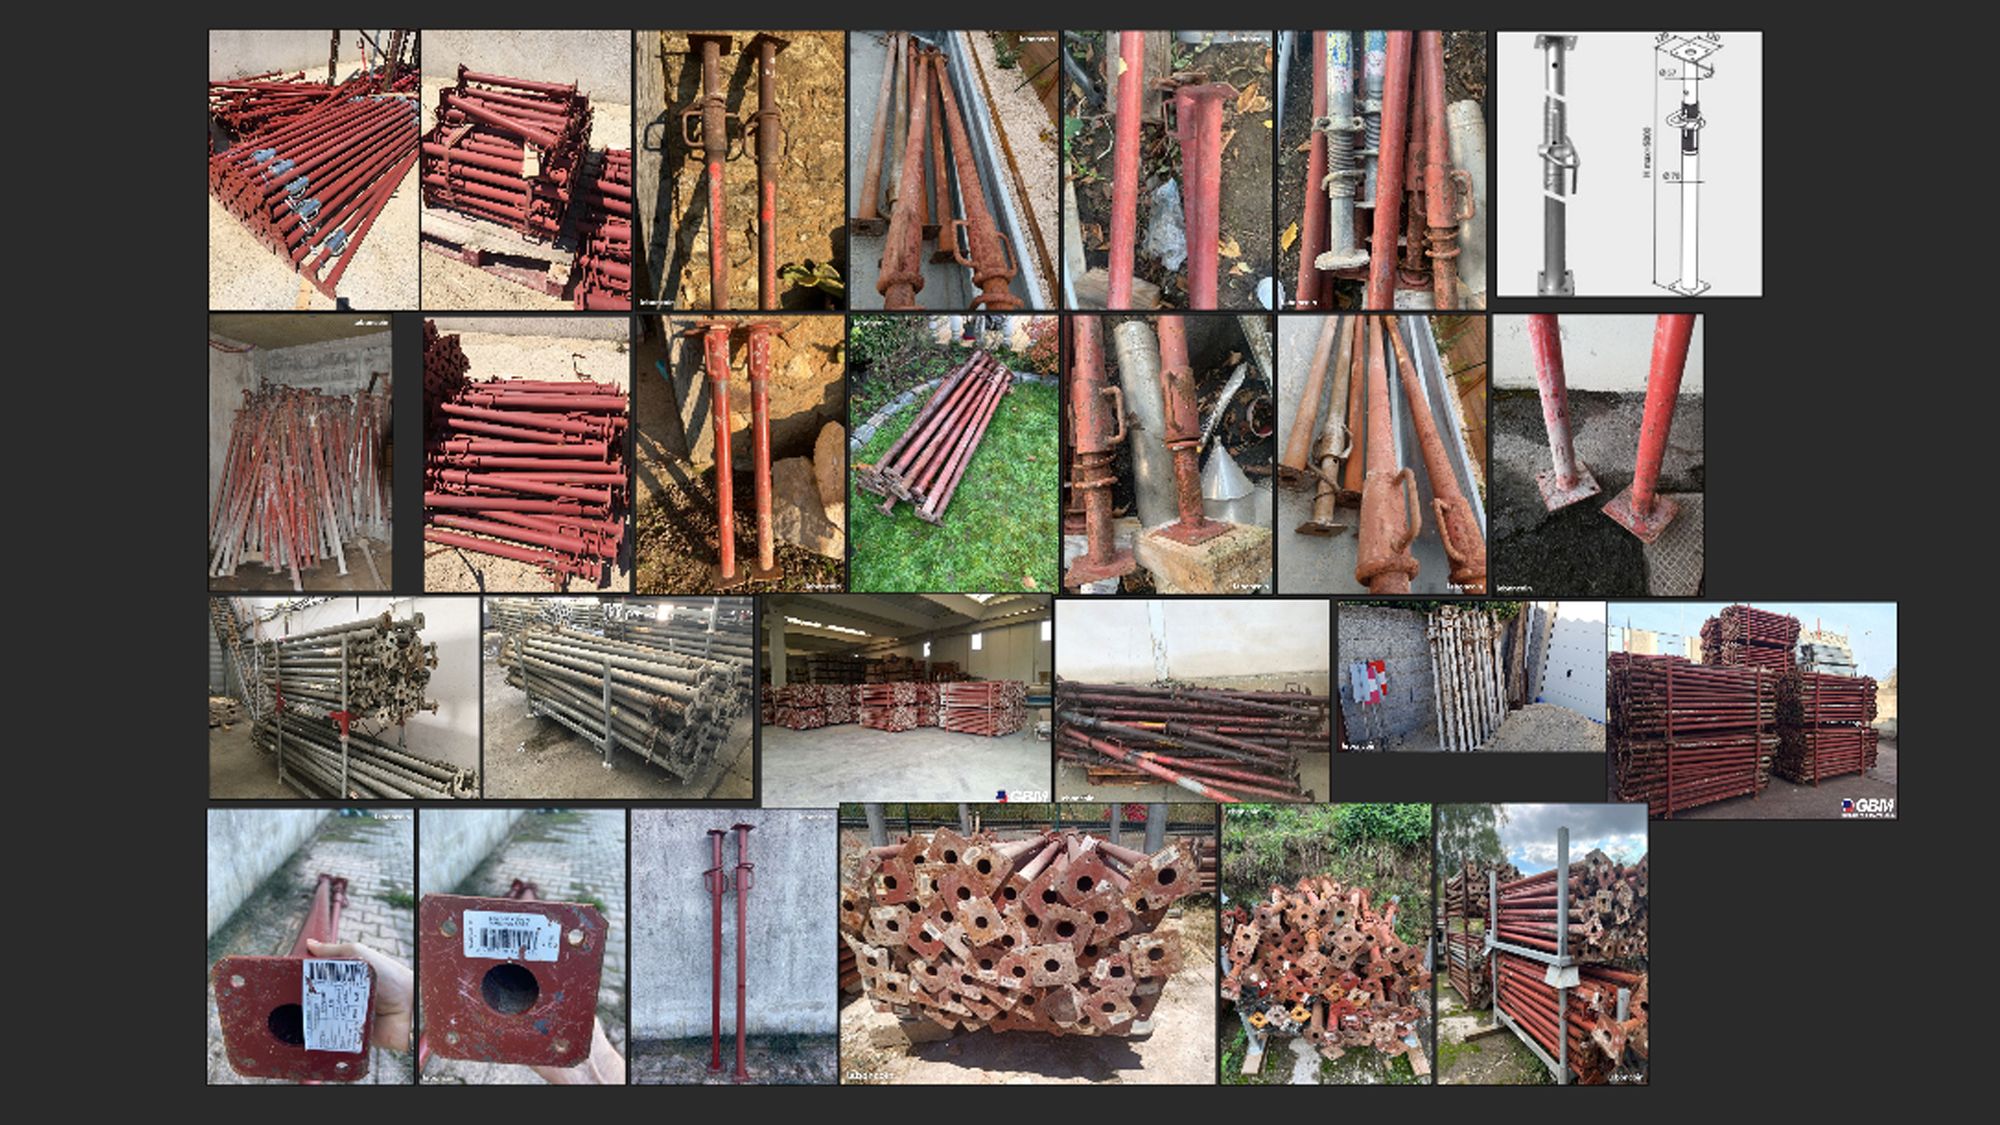
For each prop, I tried to find as many images and viewpoints as possible to faithfully reproduce my objects. Here we have an example of a support that I used extensively to decorate my floor, adding something extra and creating the impression that renovations had taken place in the castle.
Smart Materials
This project was also an opportunity to create a few Smart Materials in Substance 3D Painter that I could reuse later. One of the best examples is this very simple dust material. With only 3 layers, I managed to achieve a generic dust that can be applied to my future props.
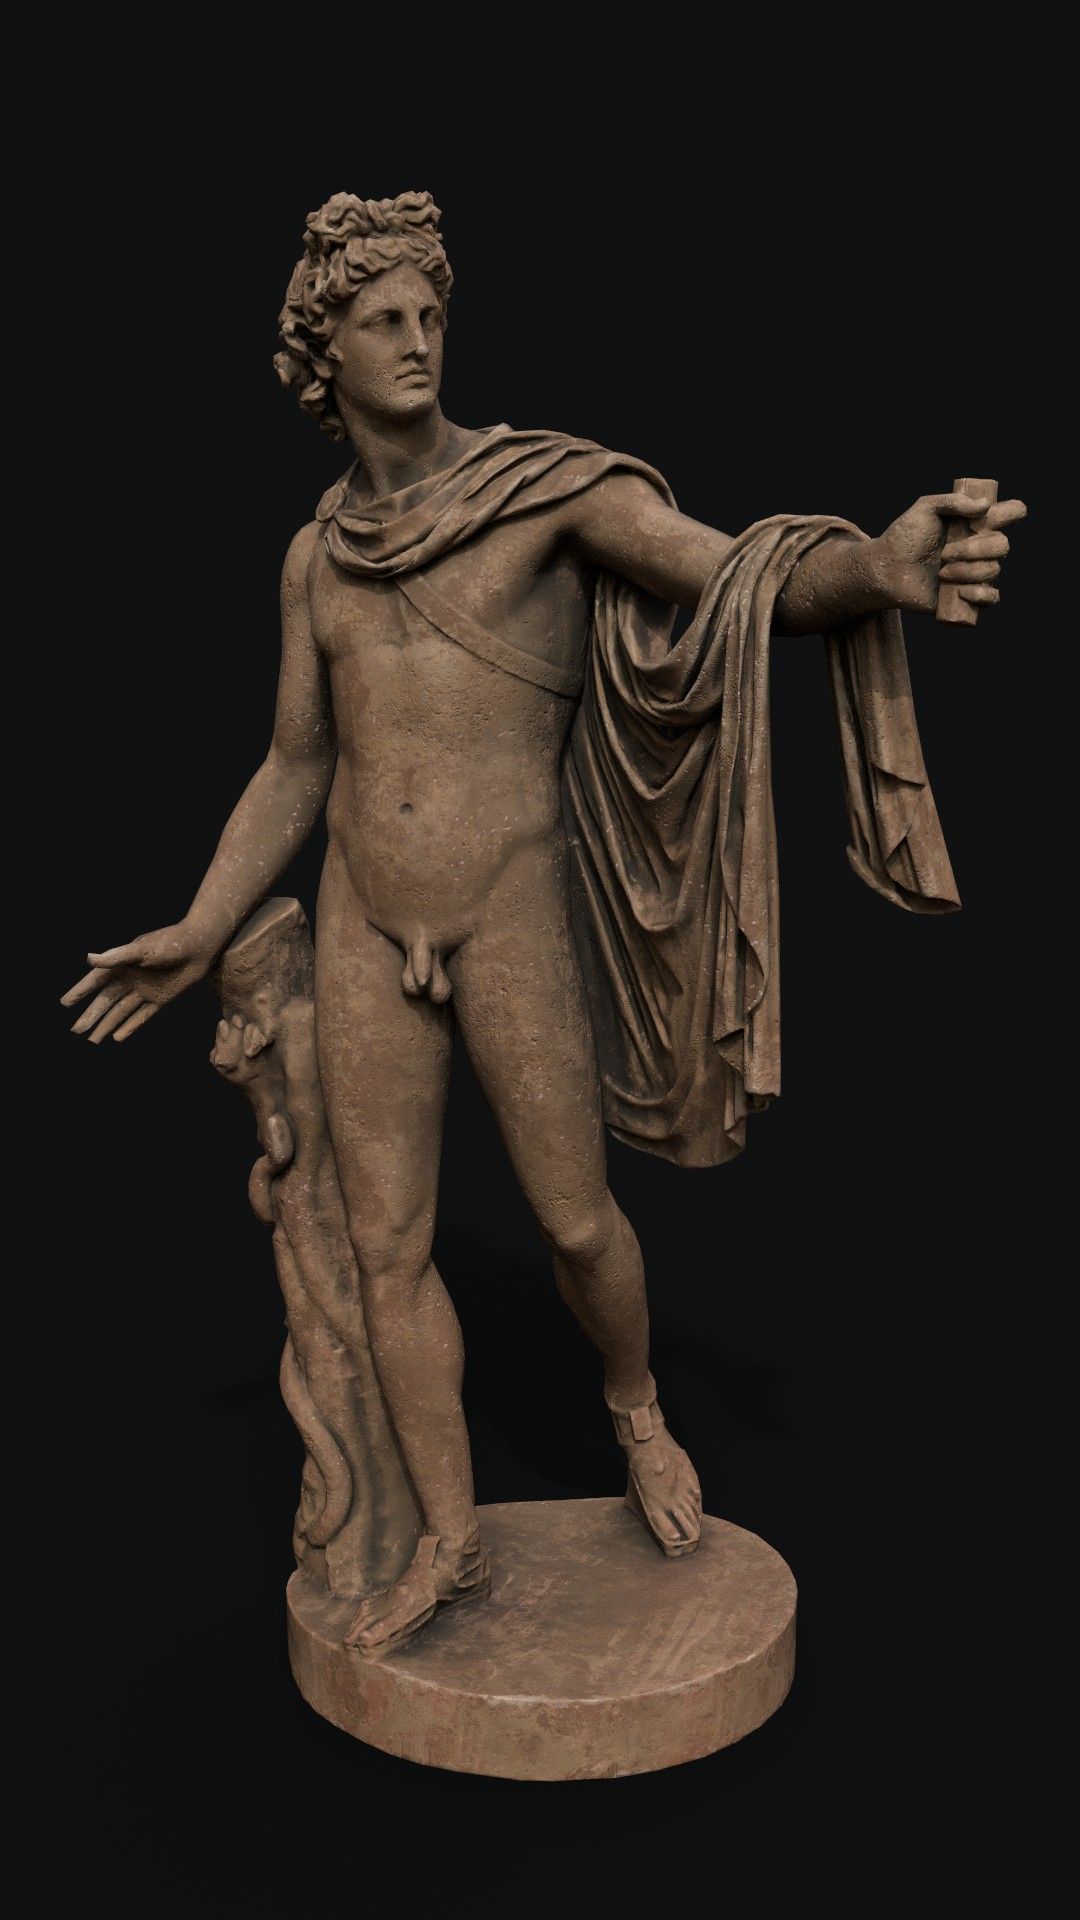
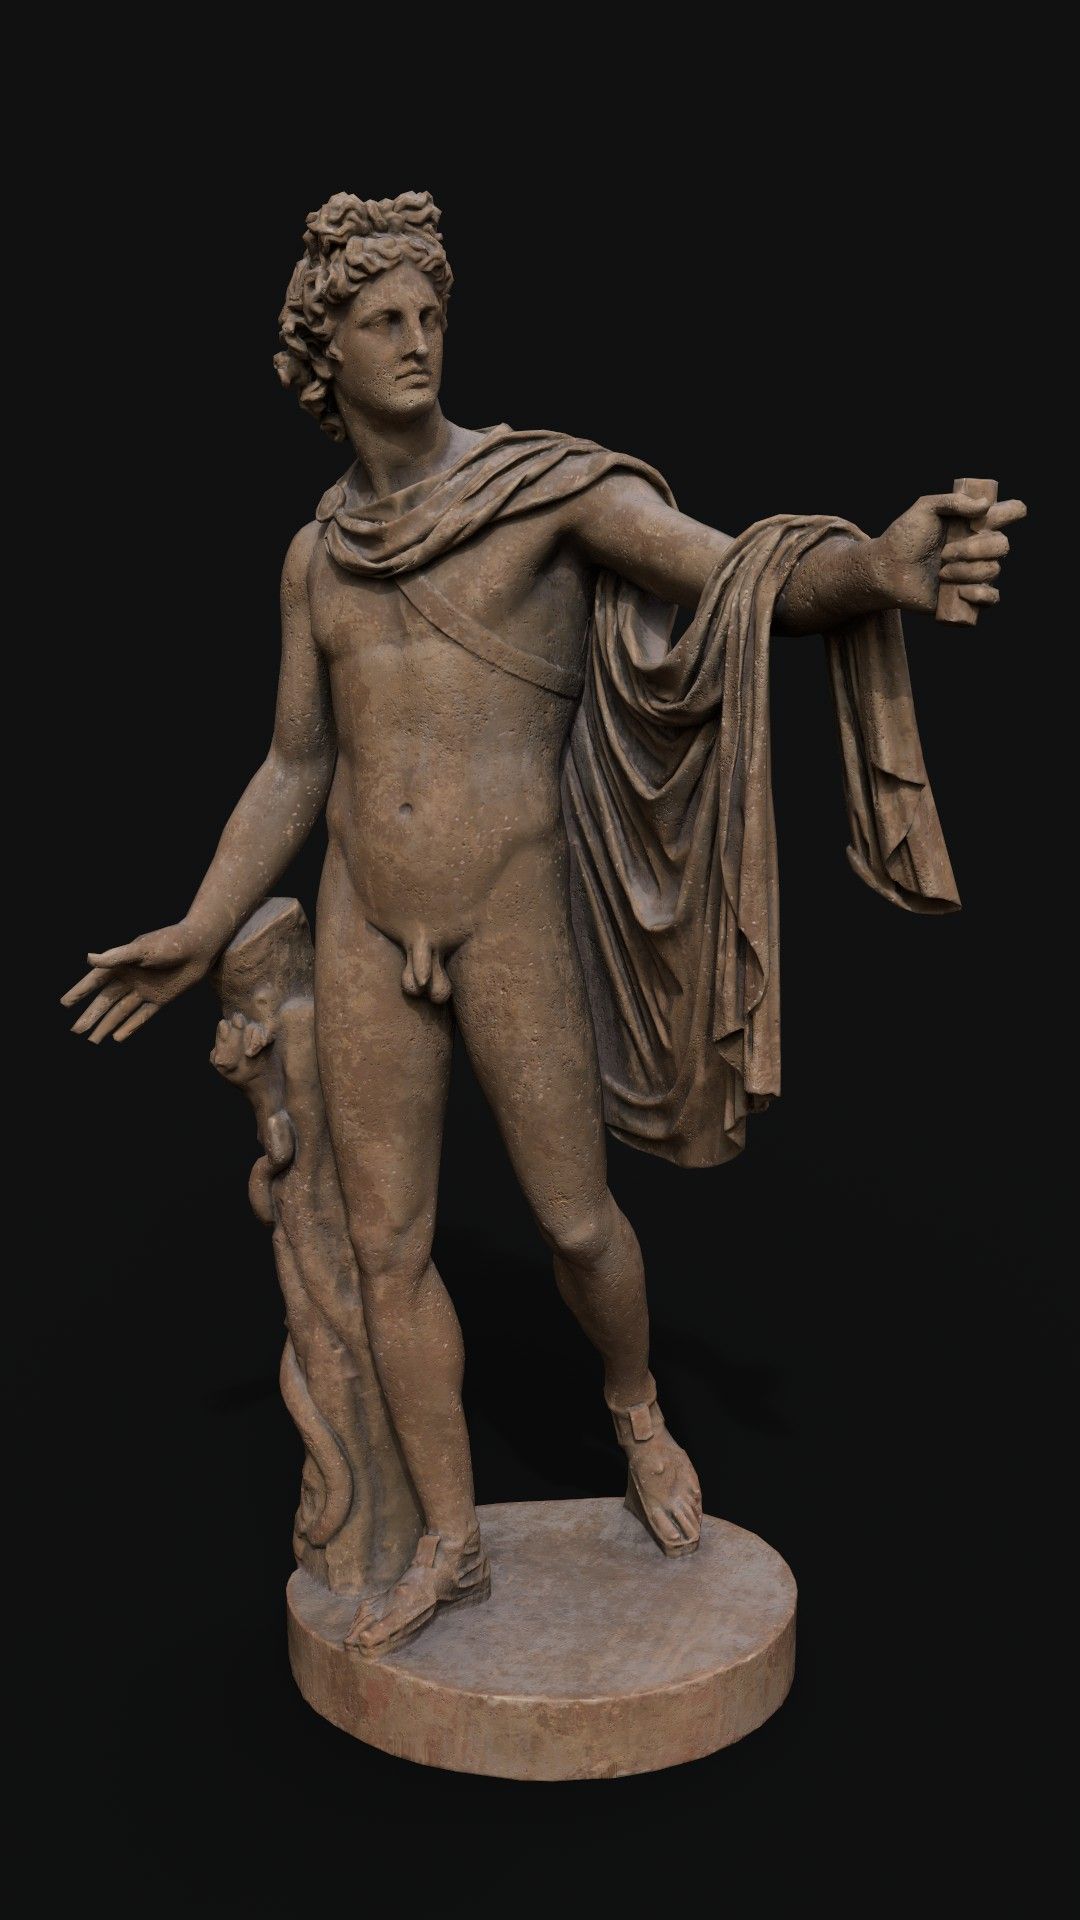
To go into a little detail, I noticed from the picture just above that the dust first settles on top, forming a sort of slope. Then another layer of dust adds up, creating leaks. Finally, a third, darker layer is placed in the cavities, adding contrast. There are plenty of examples of Smart Materials that I've created, but this one is one of the simplest and most reusable. This kind of material adds a touch of realism, as can be seen with the statue below.
Substance 3D Painter
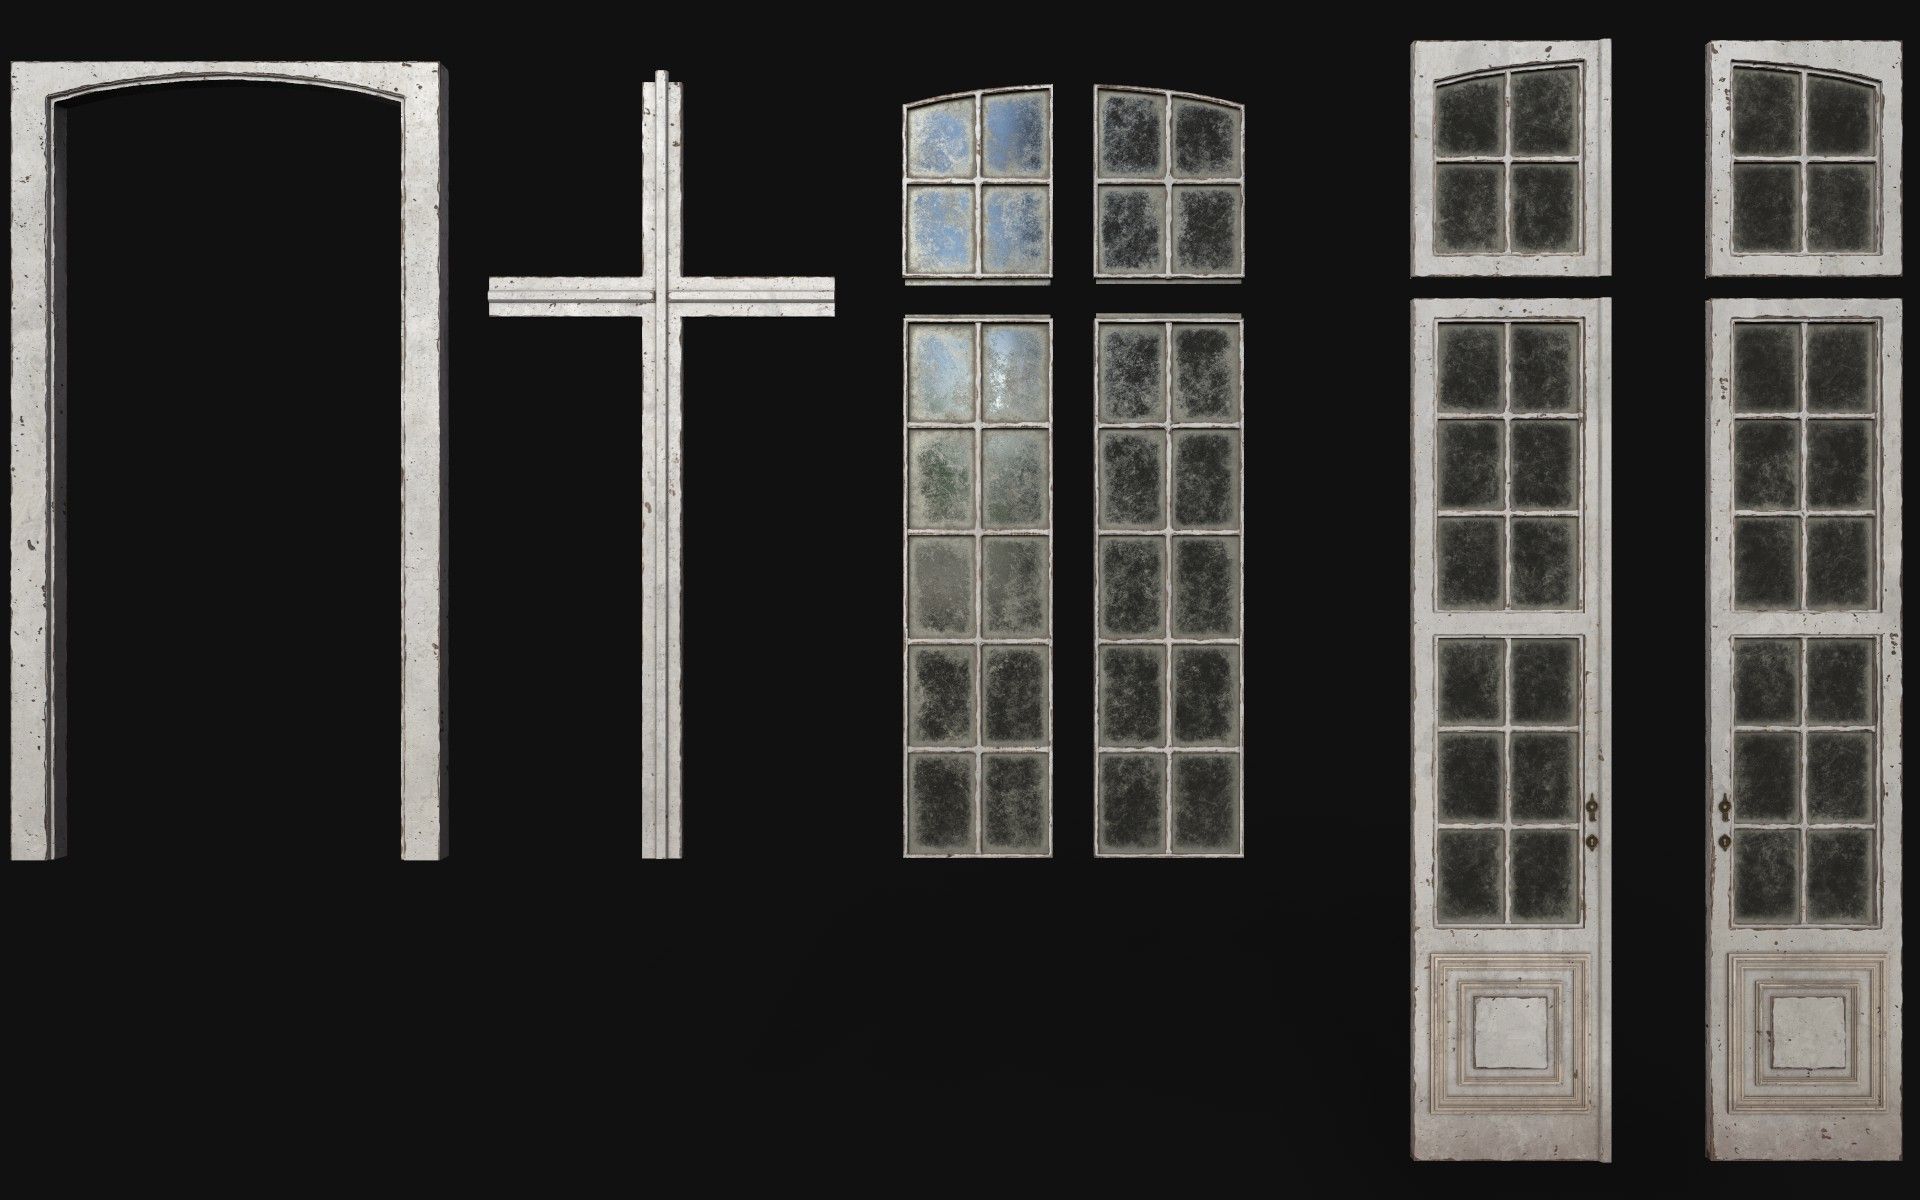
Here is an example of how I texture my props. Here we have a module of a French Door and a window. I import it into Painter as separate pieces, which allows me not only to have a good AO (ambient occlusion) but also to texture each part separately, going into detail.
One of the things I've been advised to do is to add gradients in the base colour, which naturally adds some interest to the texture. Since it's a module, I must keep in mind that the texture should remain simple because these windows will be duplicated many times, and any details that stand out should not be noticeable. The rest of the texture is very simple. I have a layer of wood covered with white paint, which contains the gradient. I manage this mask with an Anchor Point system.
To texture the fireplace, I first went into Designer to create a marble base. Then, I imported it into Painter and followed my usual workflow. Adding dirt, patina, and various grunges. I made sure to emphasise the edges to show that the object is worn. Finally, I didn't forget to drag and dnd adjust my dust material to add a final touch.
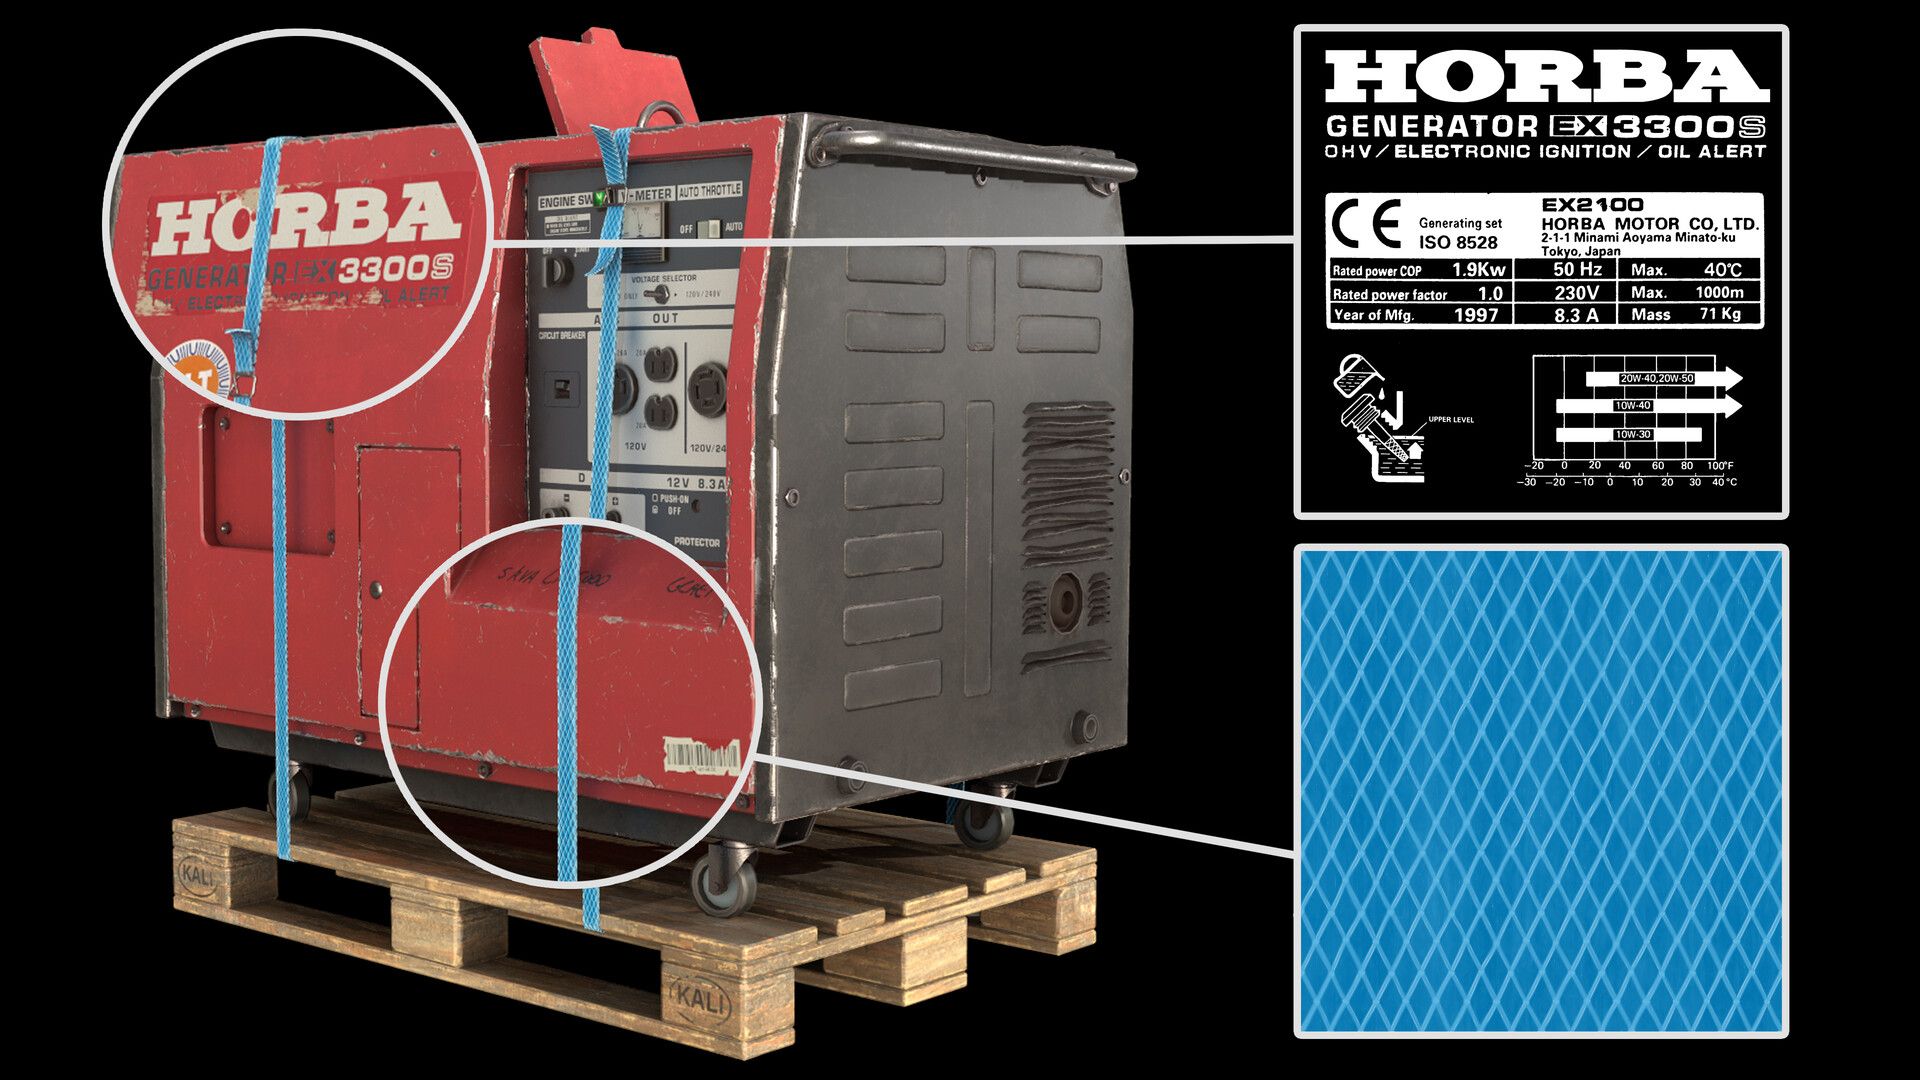
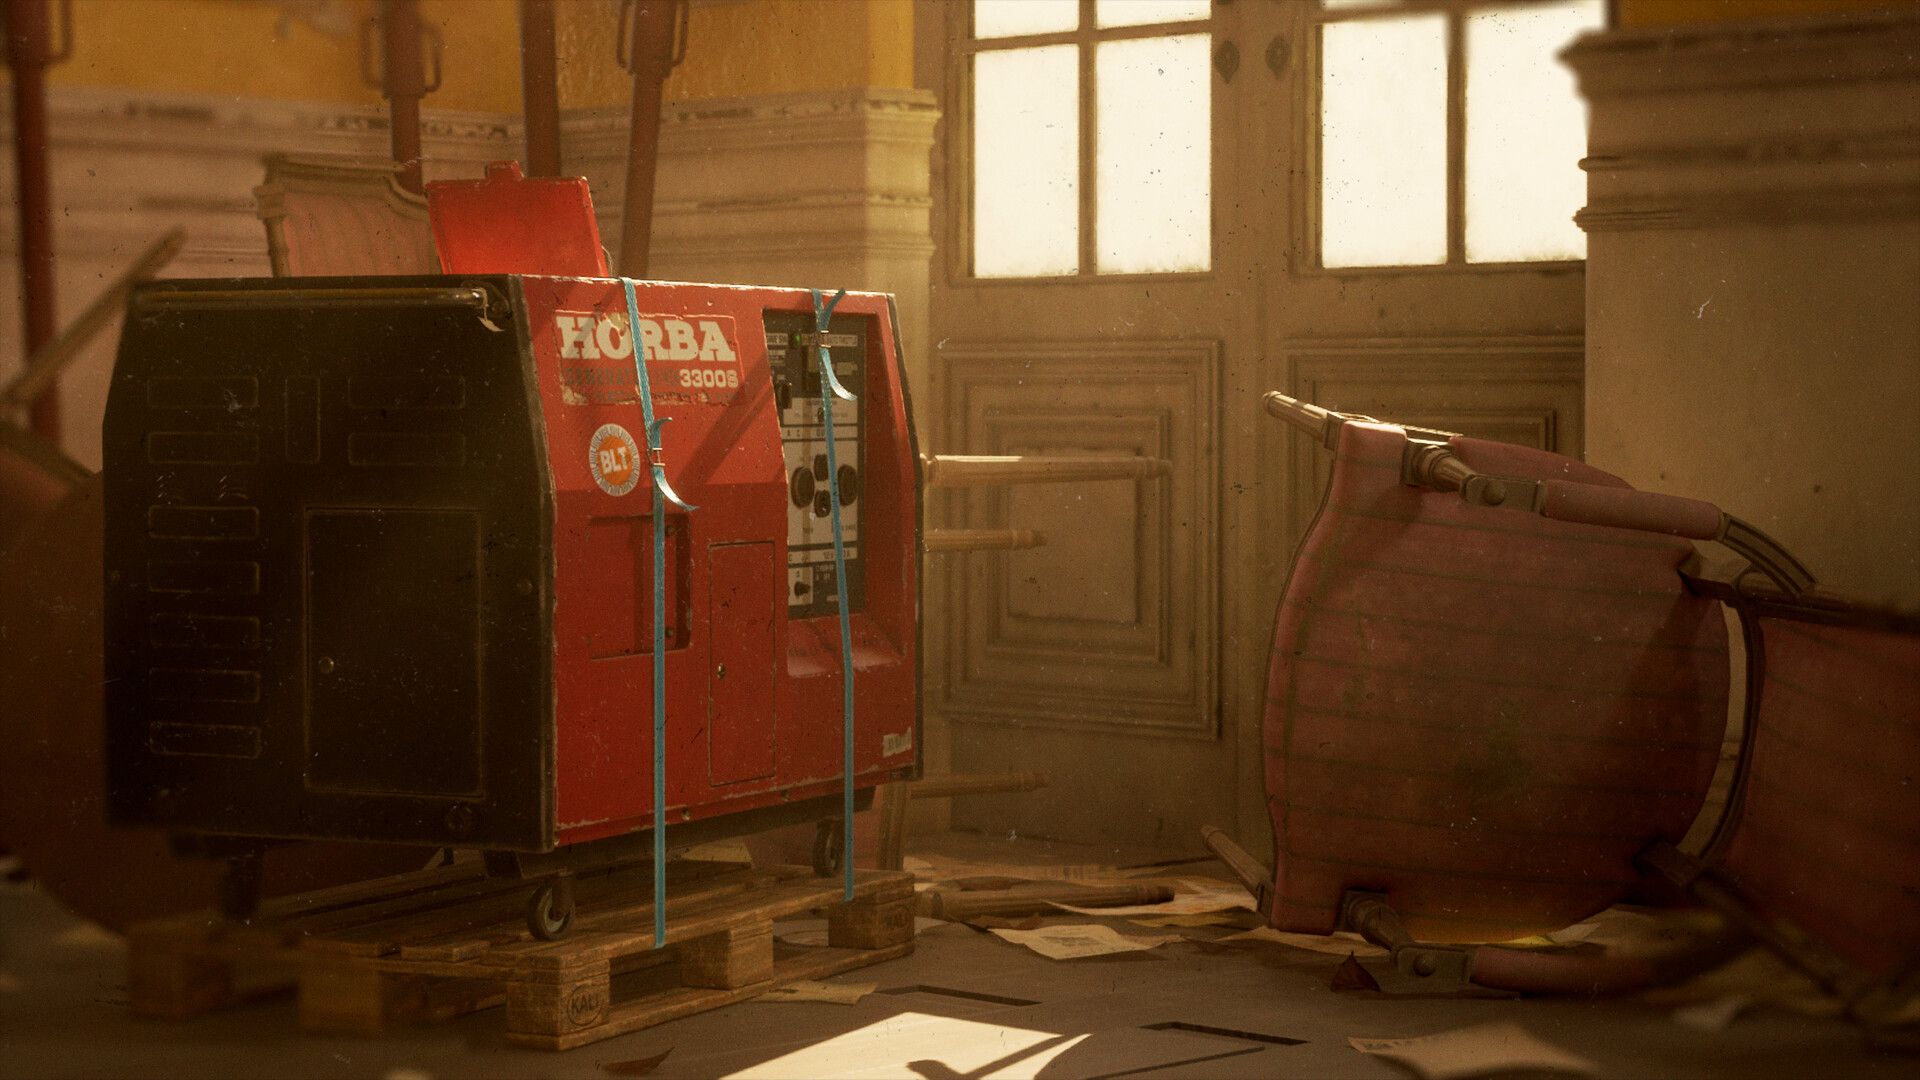
When I texture a prop with inscriptions on it, I like to create a black and white alpha sheet that I use in Painter. Typically, I gather photos or icons found on the internet or from my personal references. I open Photoshop, remove perspective distortions, and compile these images onto a square sheet. I export this image into Painter onto my various masks using the Projection tool. In this case, I've slightly modified the logo of a well-known brand to 'Horba’. This part is fun because it allows me to add my personal touch to the prop by writing whatever I want.
Set Dressing
Once in Unreal, I chose the 'Games - 1st person' preset, which allows me, if I wish, to move freely within my castle. Then, just like an architect would, I imported and placed my floor and walls. I gradually added detail.
Next, I moved on to lighting, placing a sun that Unreal allows me to control the angle of, providing natural lighting. I also made extensive use of the Blueprint system, which, among other things, allows me to manipulate objects consisting of multiple parts. For example, when I click on a window, I can move the entire assembly at once or adjust a specific part.
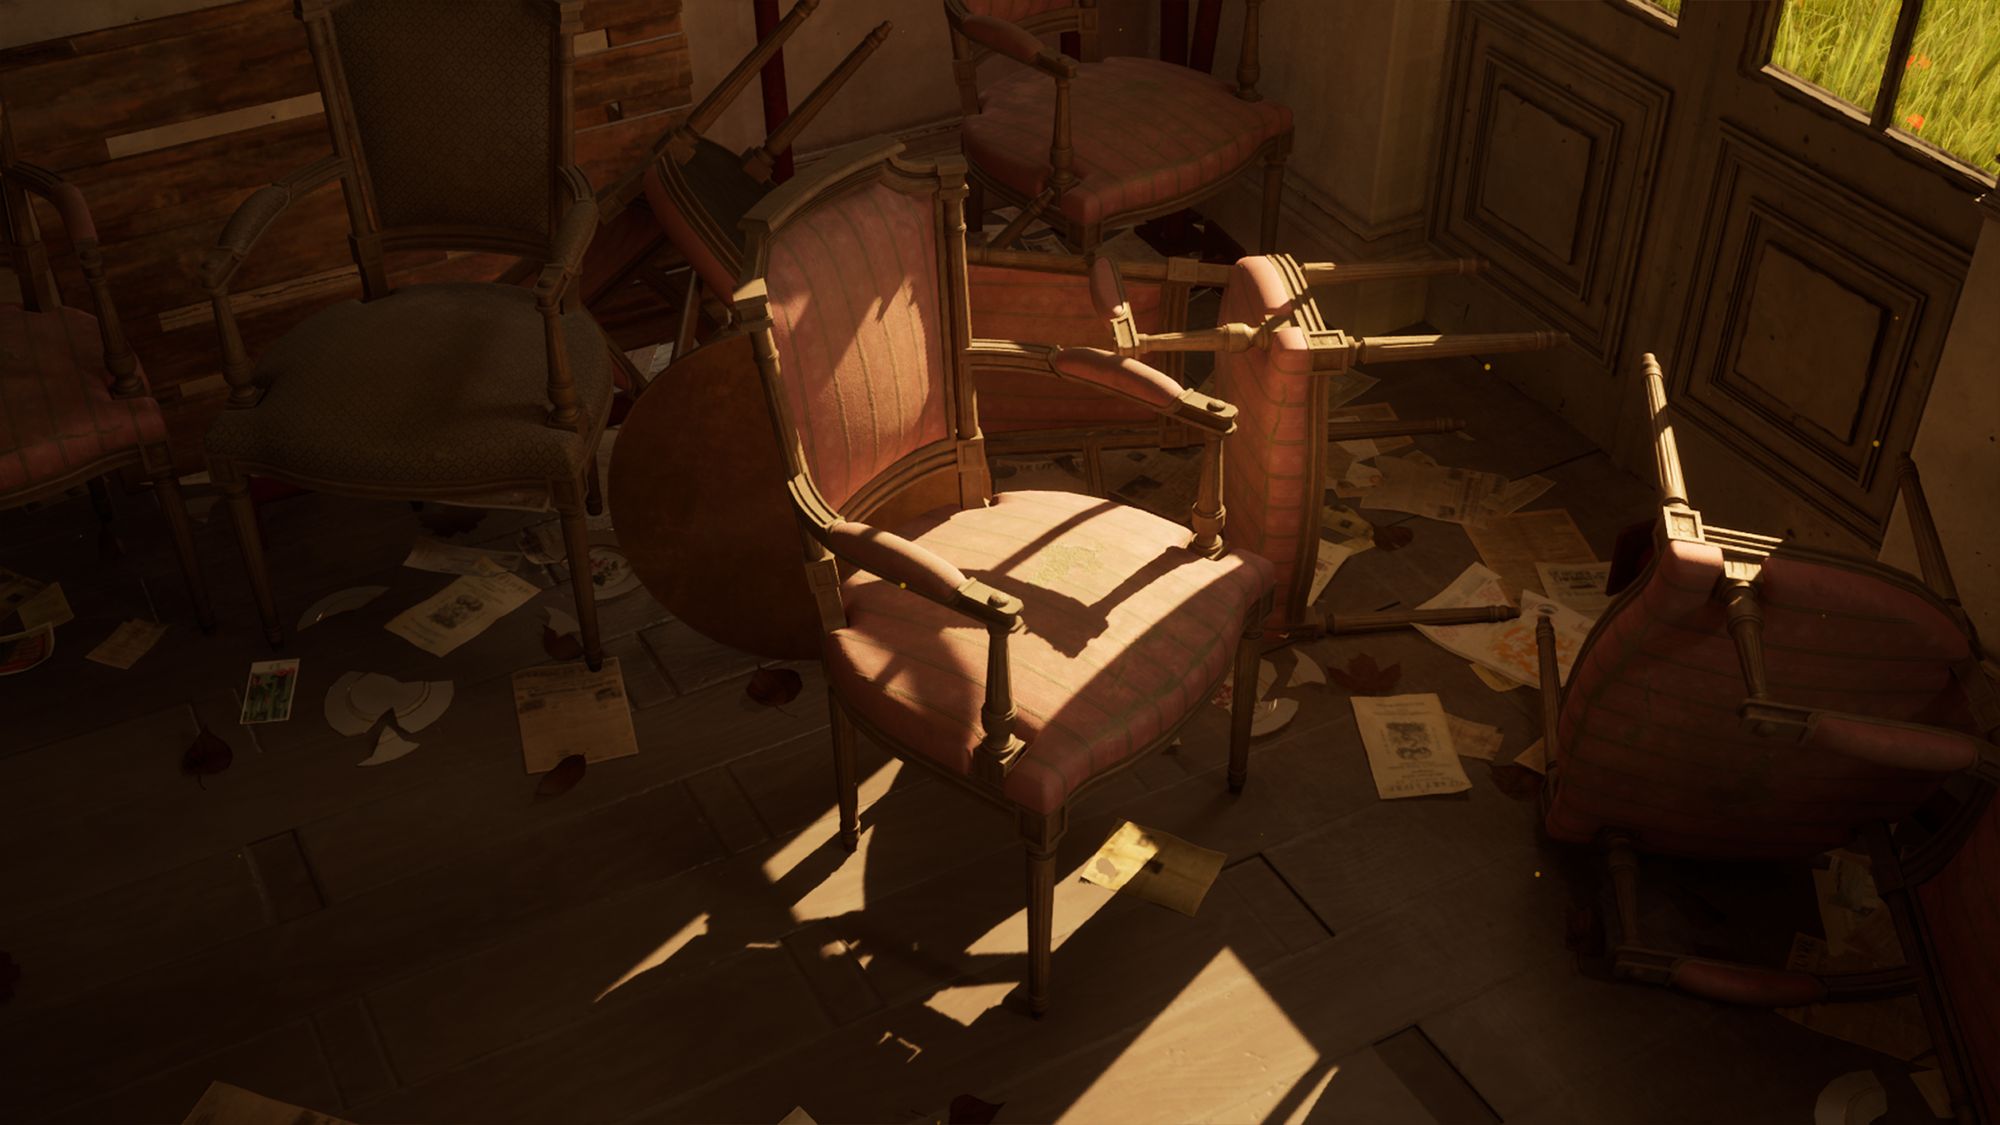
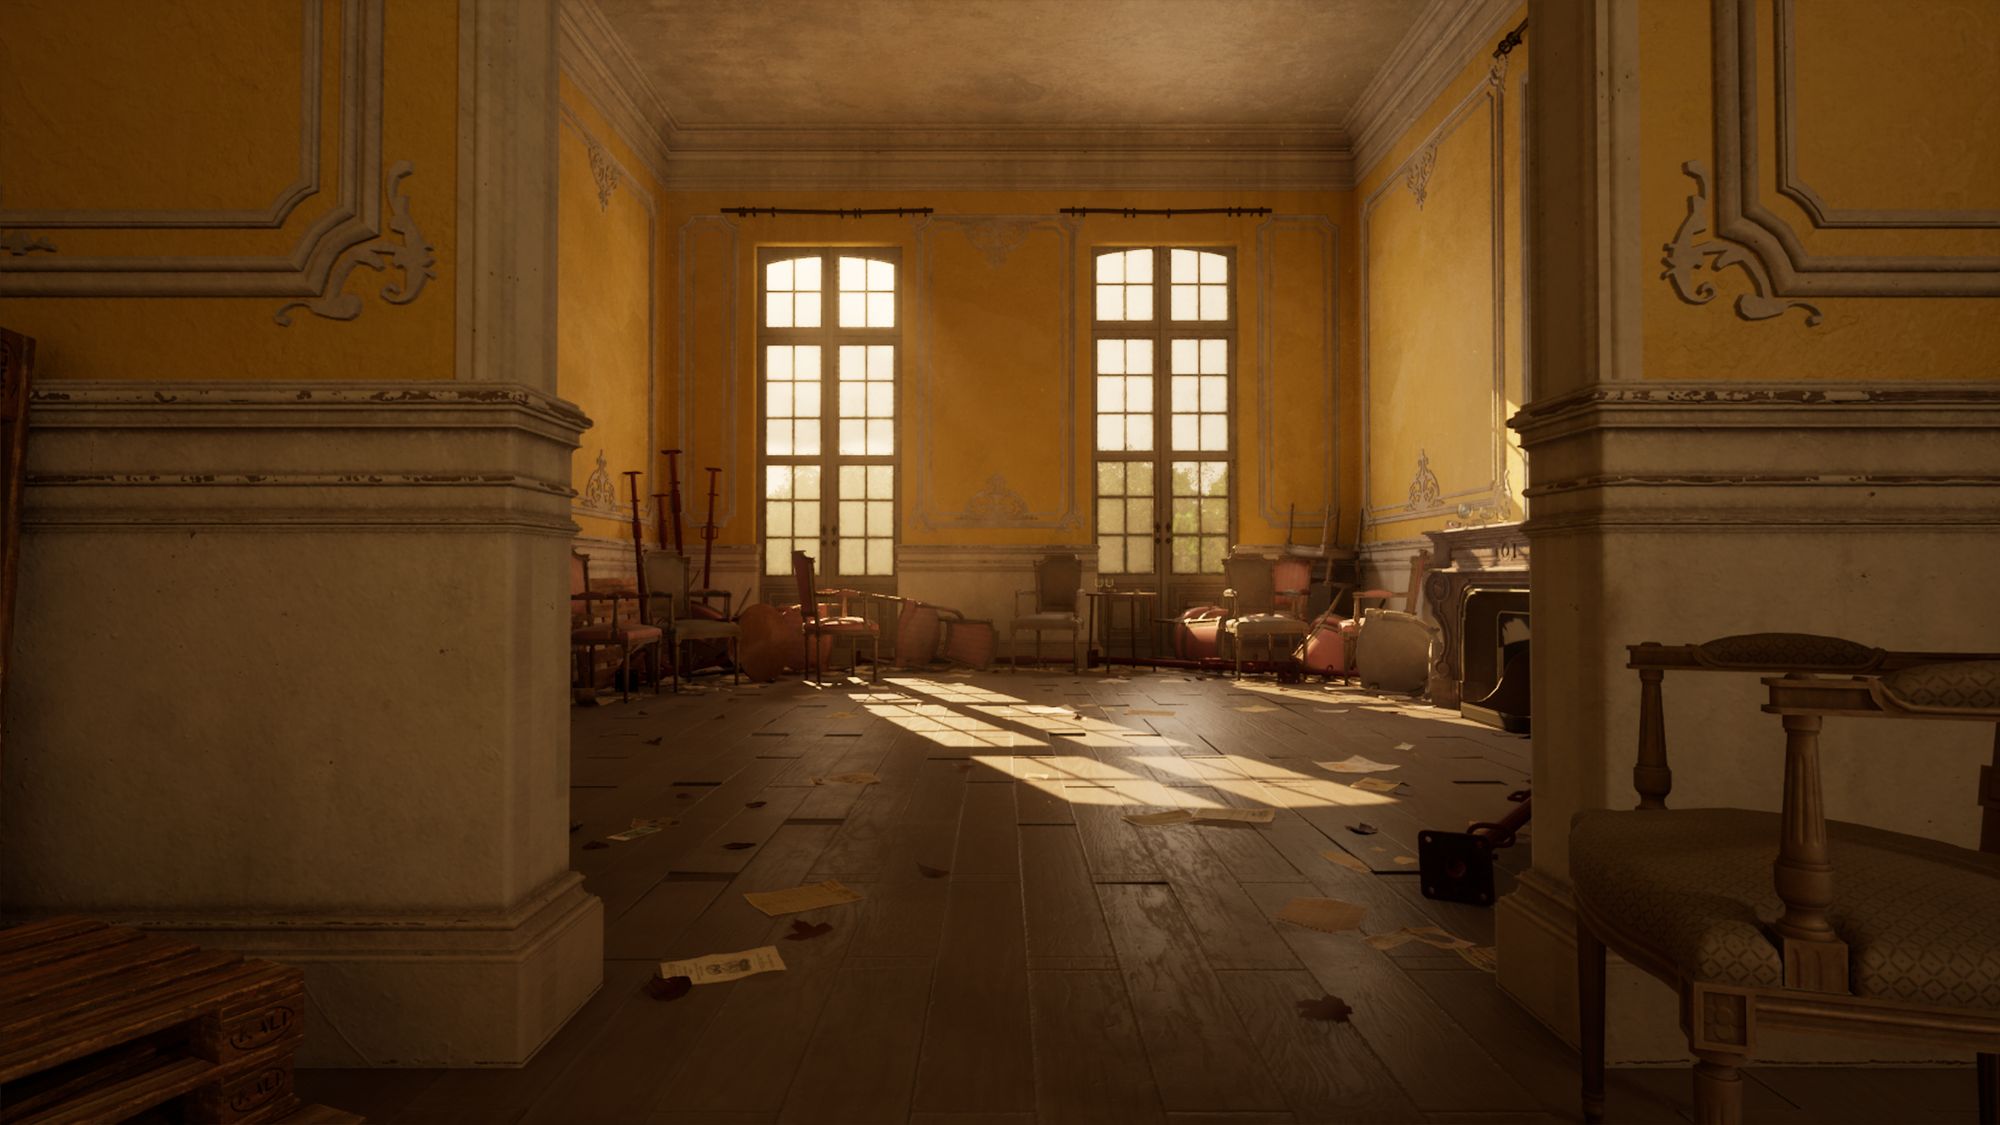
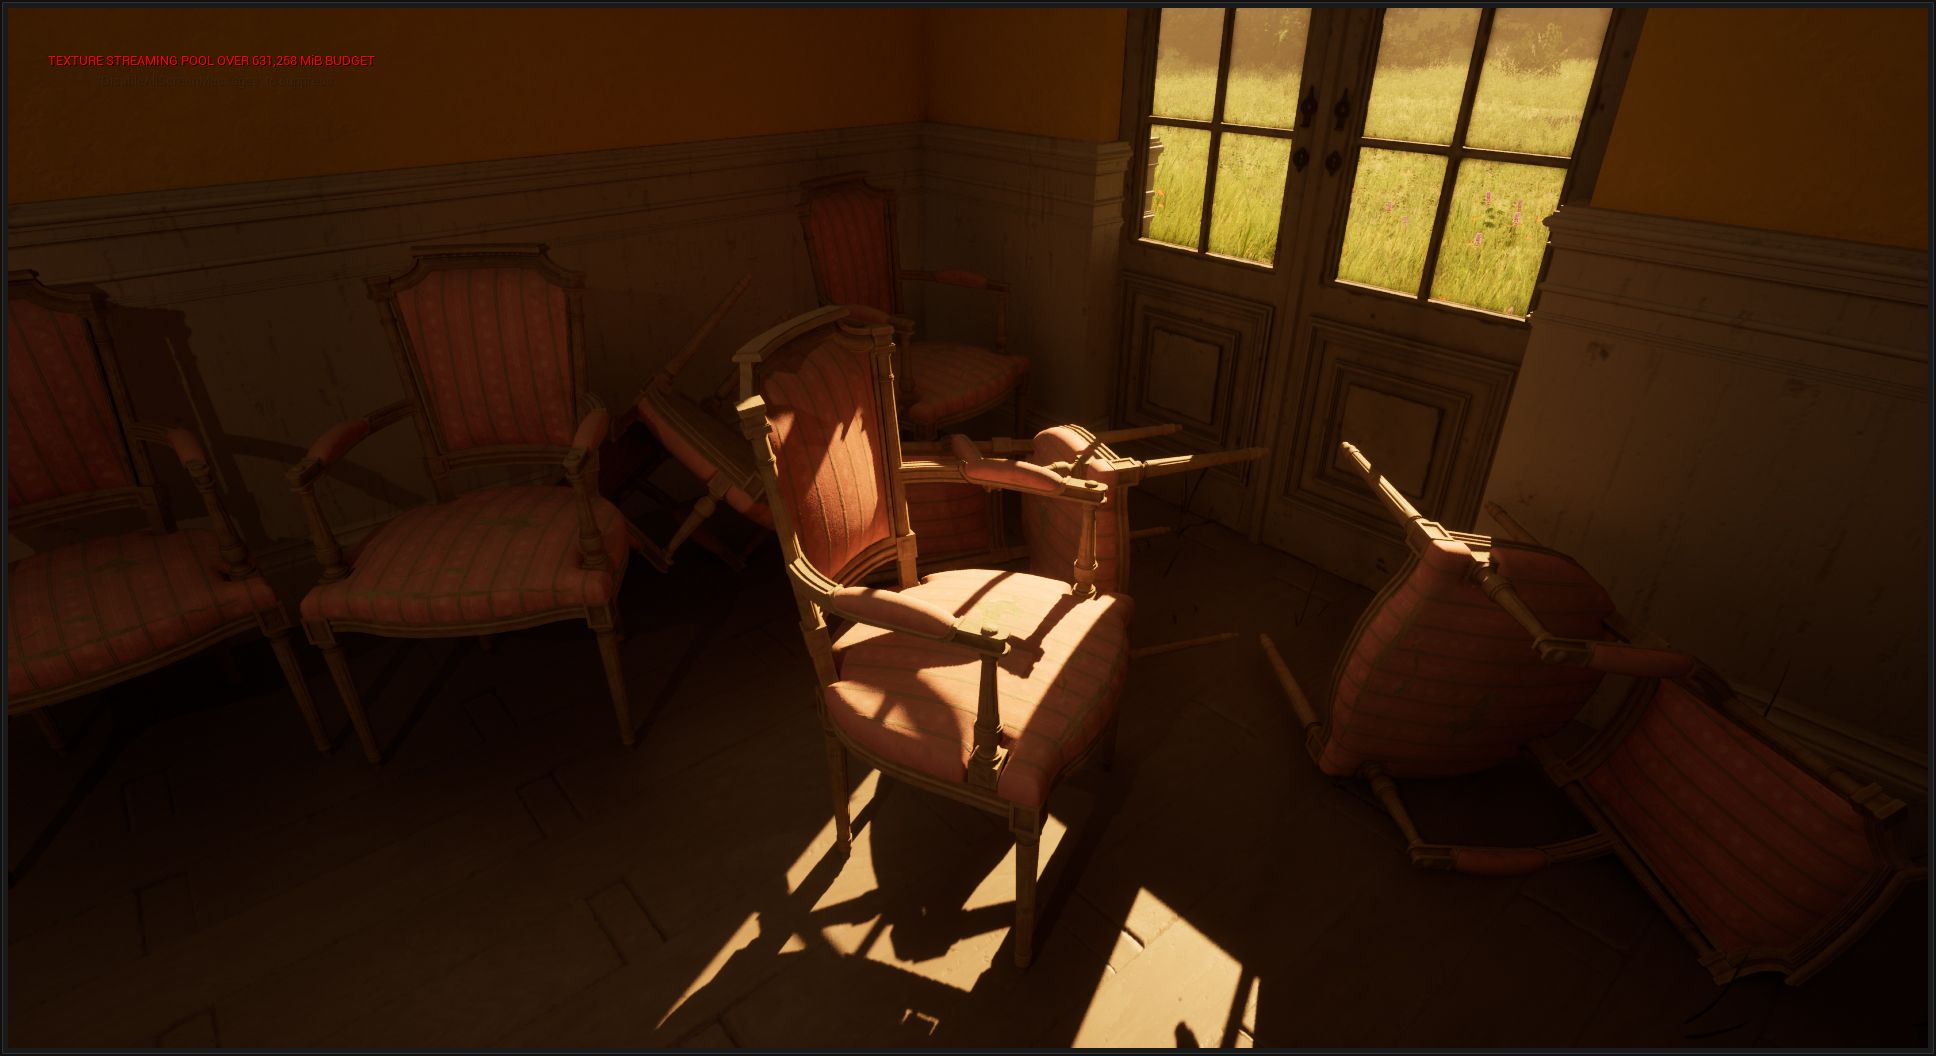
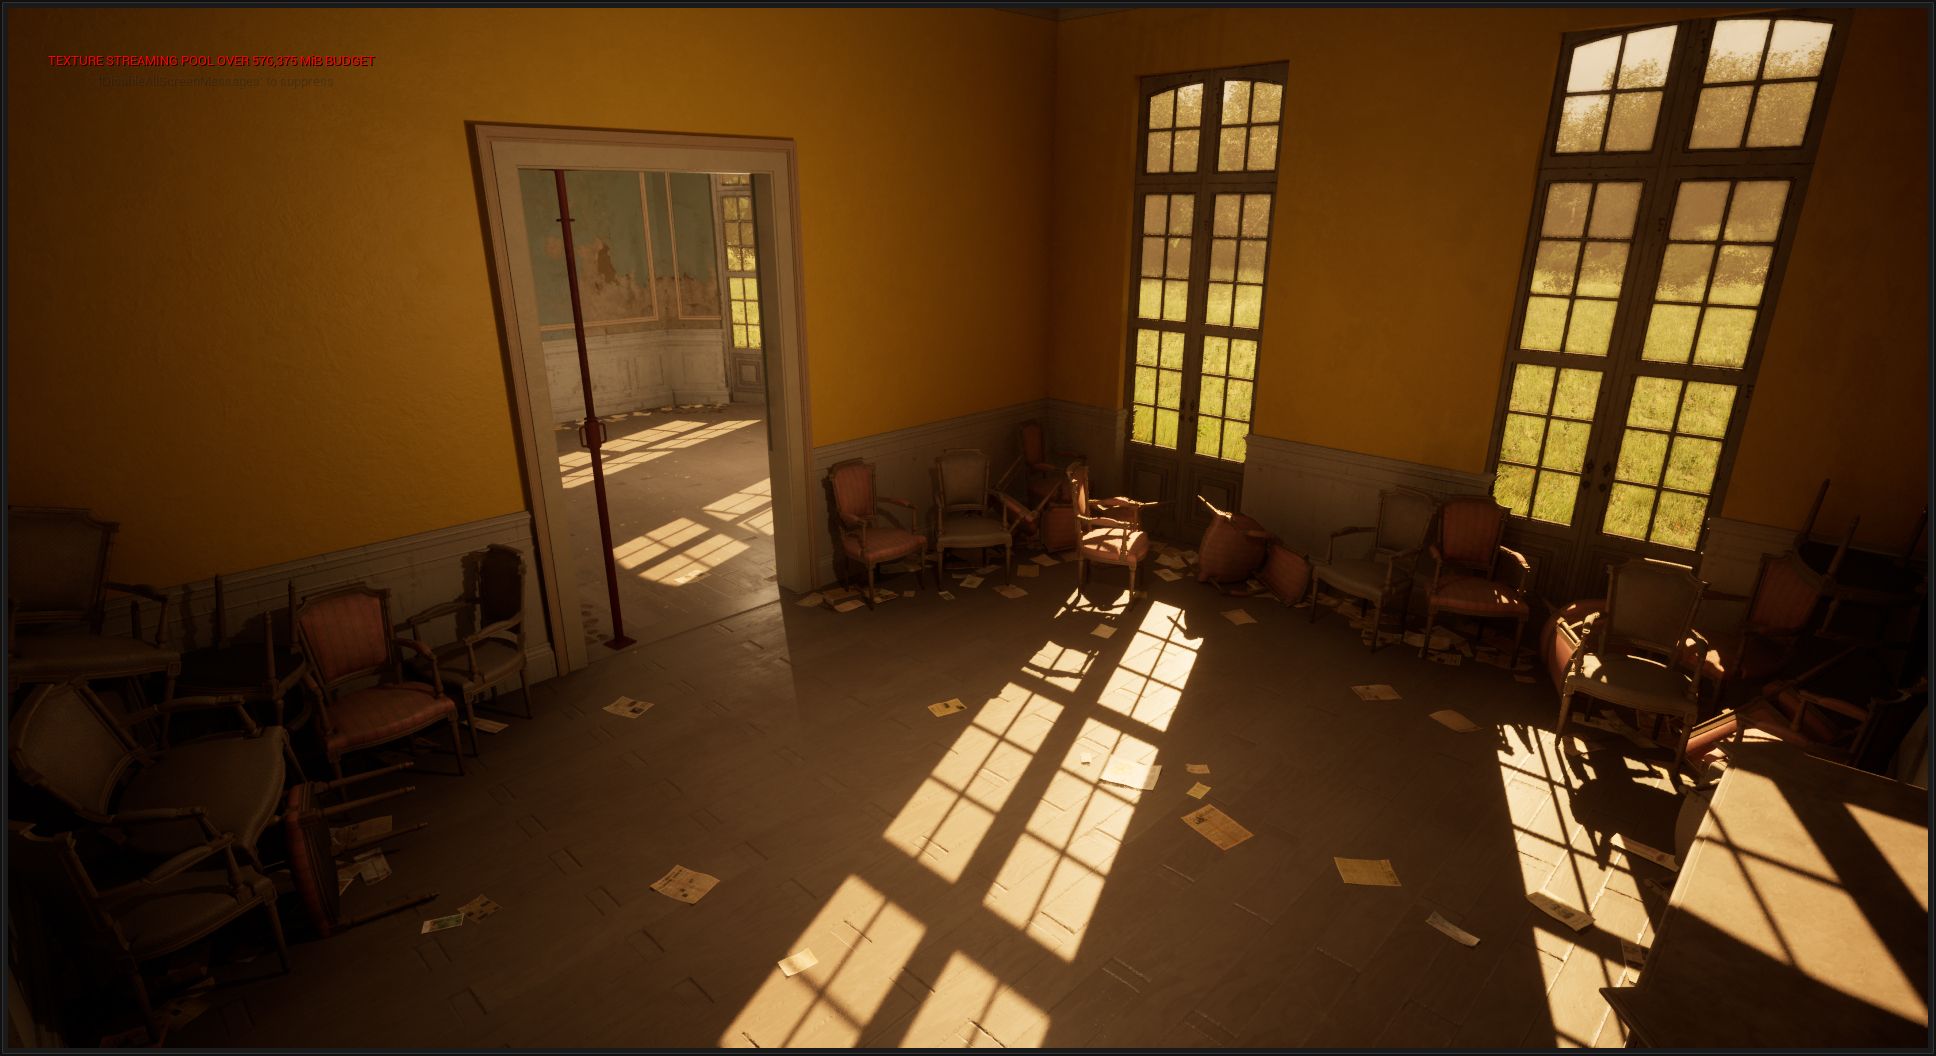
This was one of my favourite parts of the project. It's always a pleasure to be able to move around in the space and arrange the objects we just created as we wish. To furnish this room, I started by placing a few chairs, then I began stacking them by the dozens. I continued by adding even more elements: supports, old papers, dishes, and pallets. I tried not to overload the space too much to maintain a sense of balance.
Trimsheets and Tileables
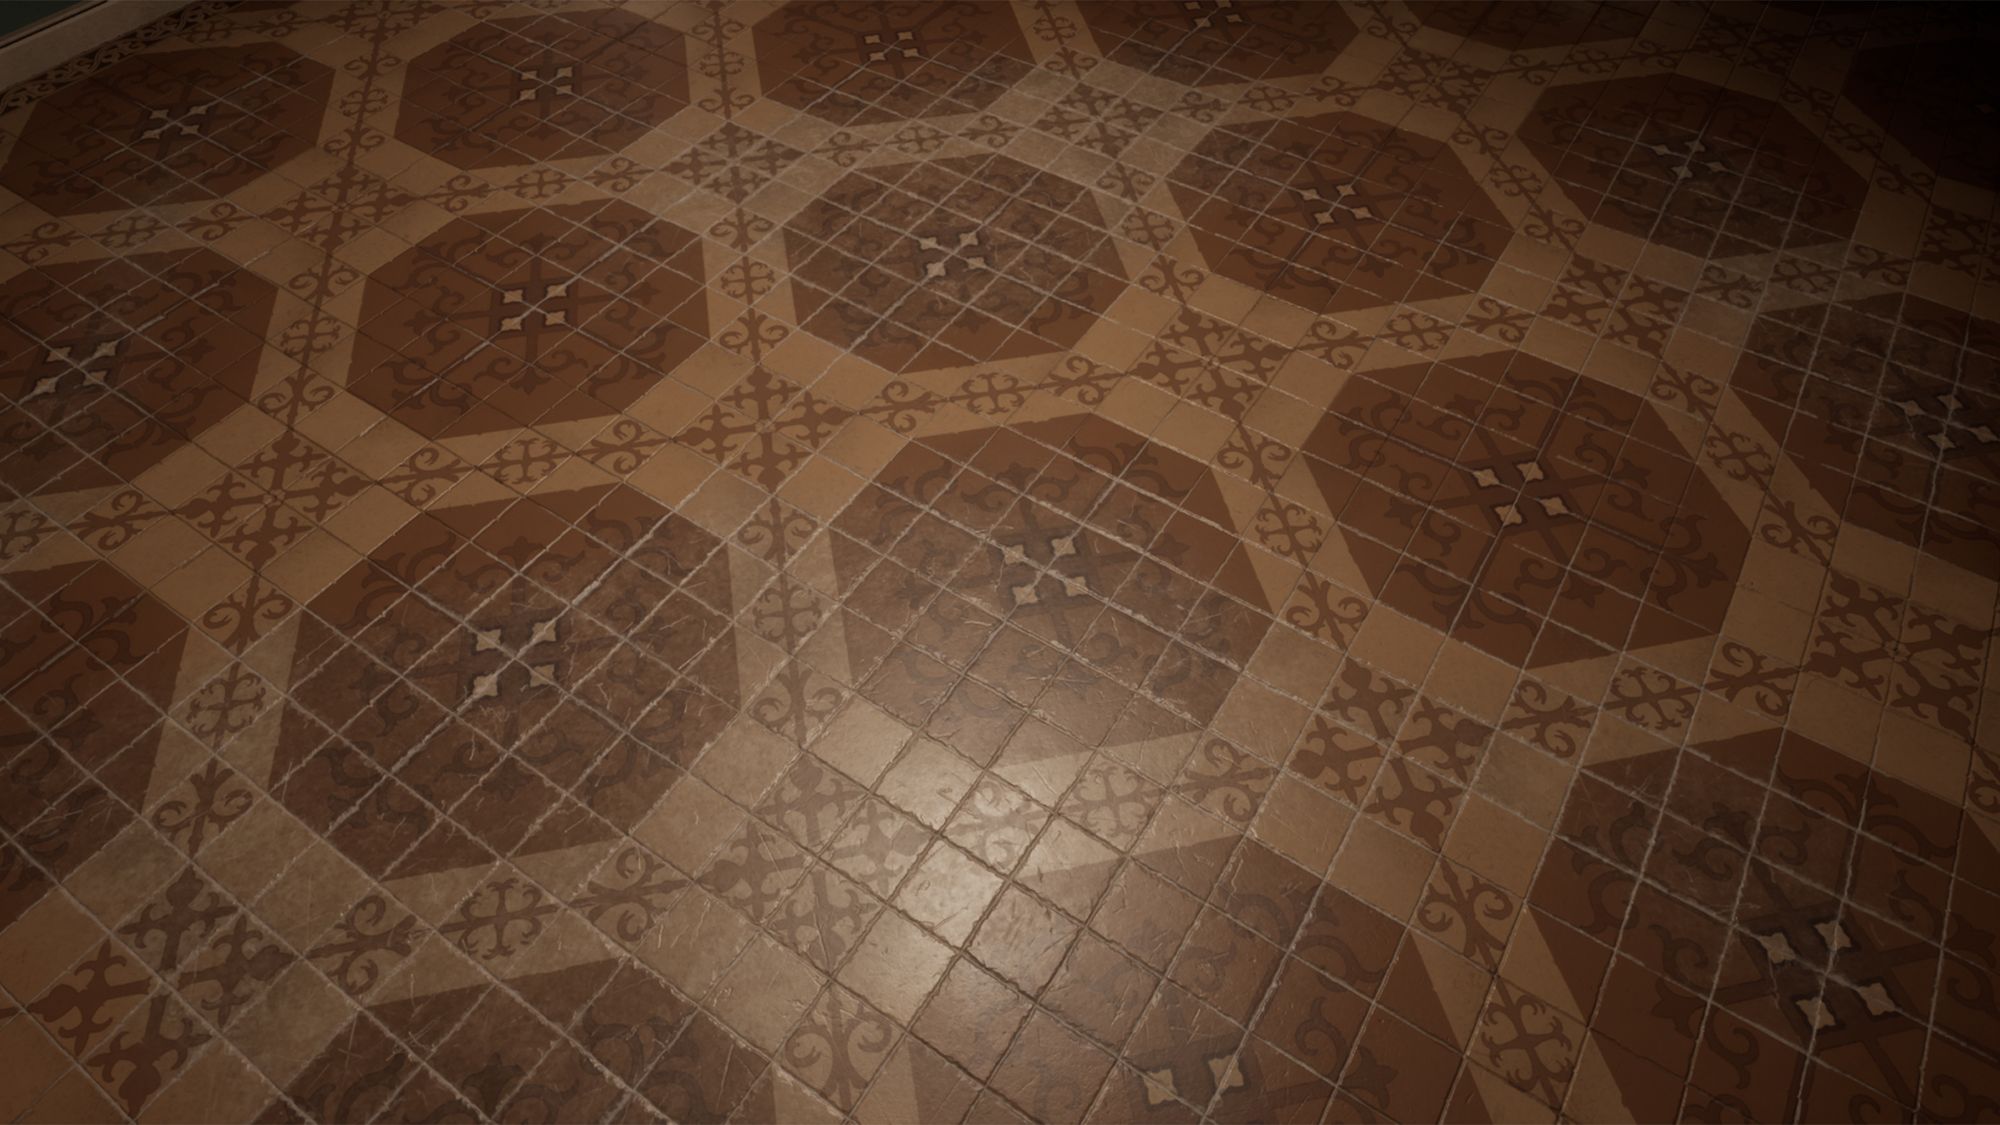
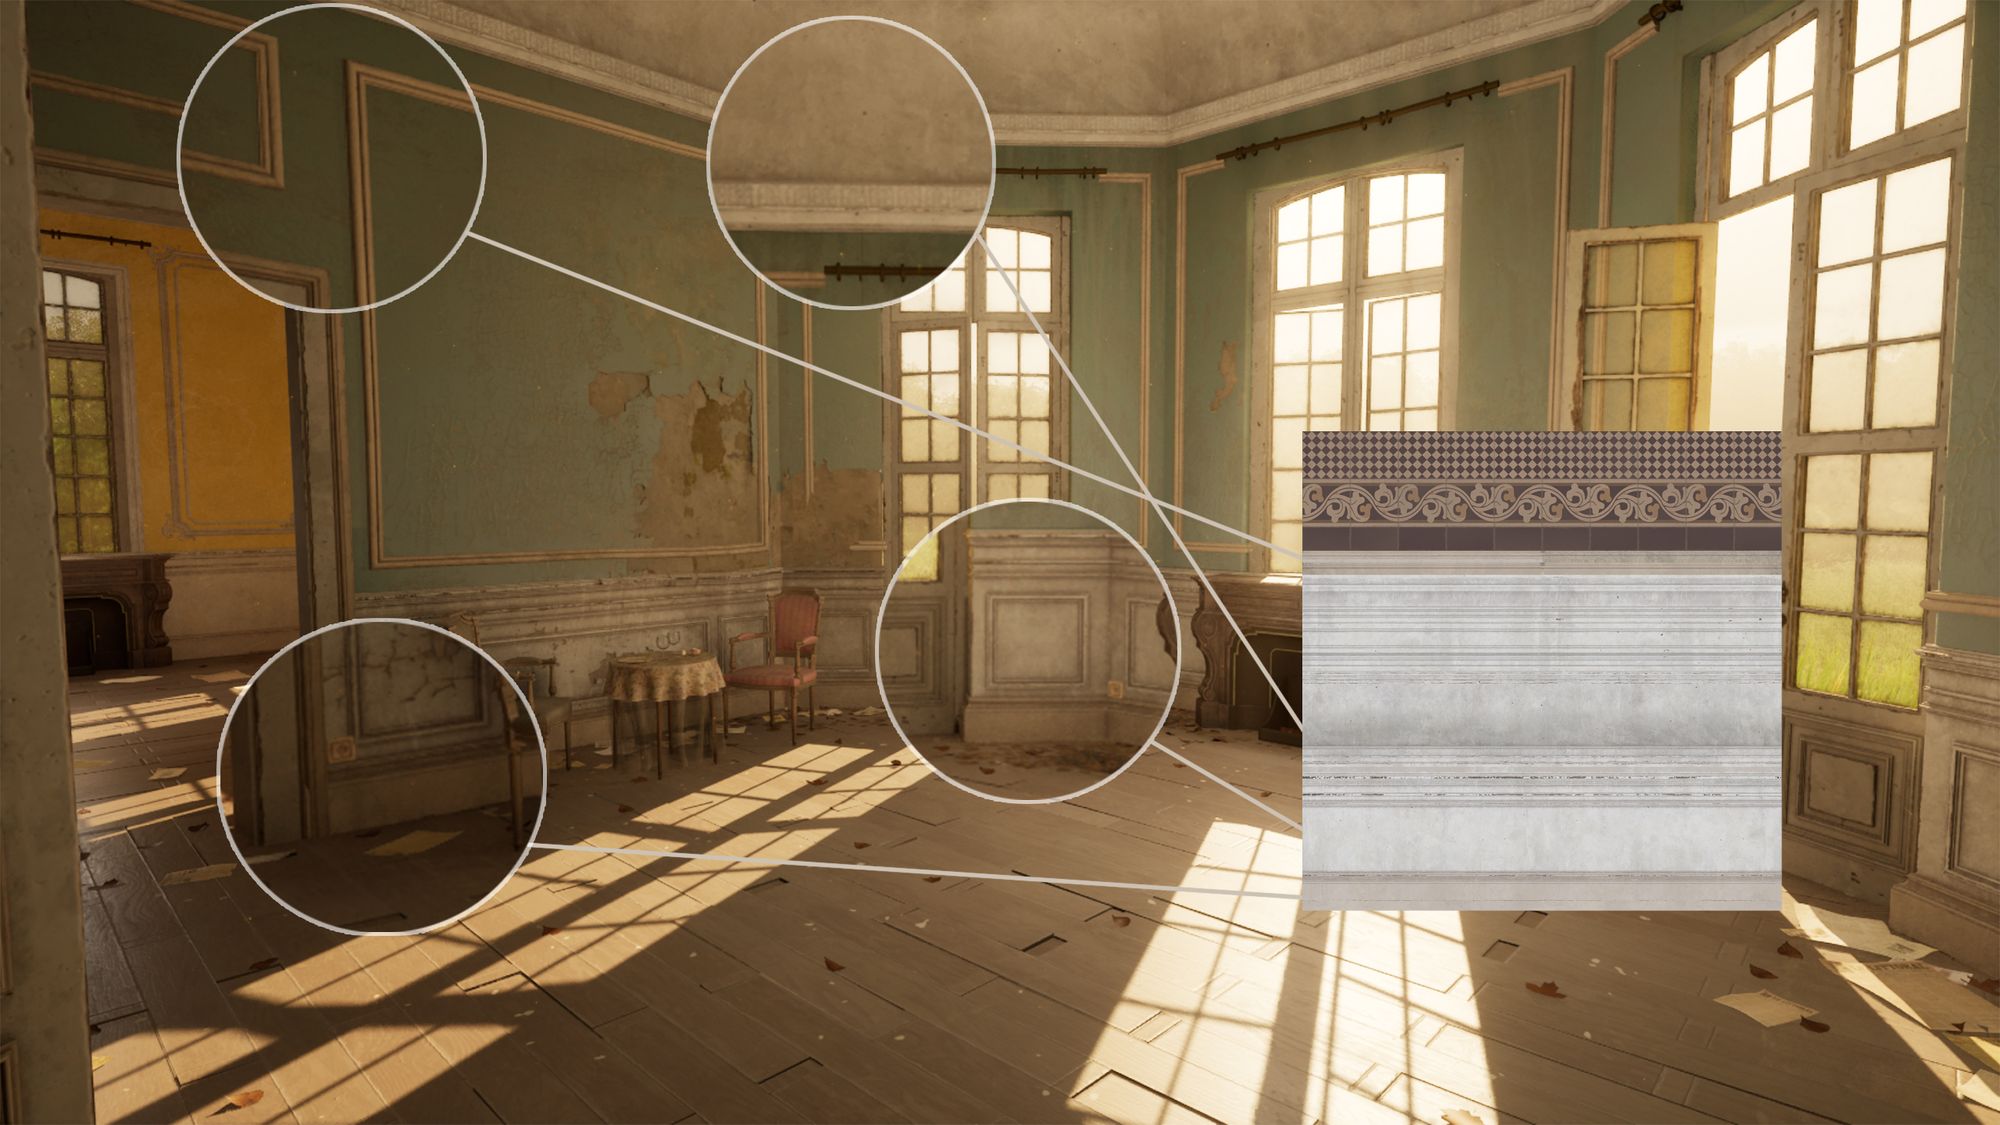
Trimsheets have been very useful to me in saving time and optimising performance and memory in this project. I started by listing my needs, directly naming the different parts of the Trim in my UV space (e.g., painted wood, beige, and white). This required quite a few adjustments as I realized that I could add quite a few elements to my Trim. For example, the tiling was not initially planned, but I added it during the process. I used both Designer and Painter in the process. For instance, for the white baseboards, I found it easier to work in Painter to achieve the details I wanted. Then, I merged all my parts into a Designer file.
A visual example will always be more expressive: I tried to utilise all available space on my texture. The bottom of the Trimsheet consists of baseboards for the floor and ceiling. Then, there is a section reserved for beige frames placed on the walls, with a unique aspect being that I divided the space into 4 parts to have 4 orientations. This allows me to add dust to the frames where I want. The top of my texture is reserved for tiling that surrounds another area.
To avoid repetition, I applied a decals pass to add cracks or colour variations. One of my secrets is to find or photograph very grungy surfaces with a lot of color variations and project them with low opacity to have subtle changes in my visuals.
Adding extra details
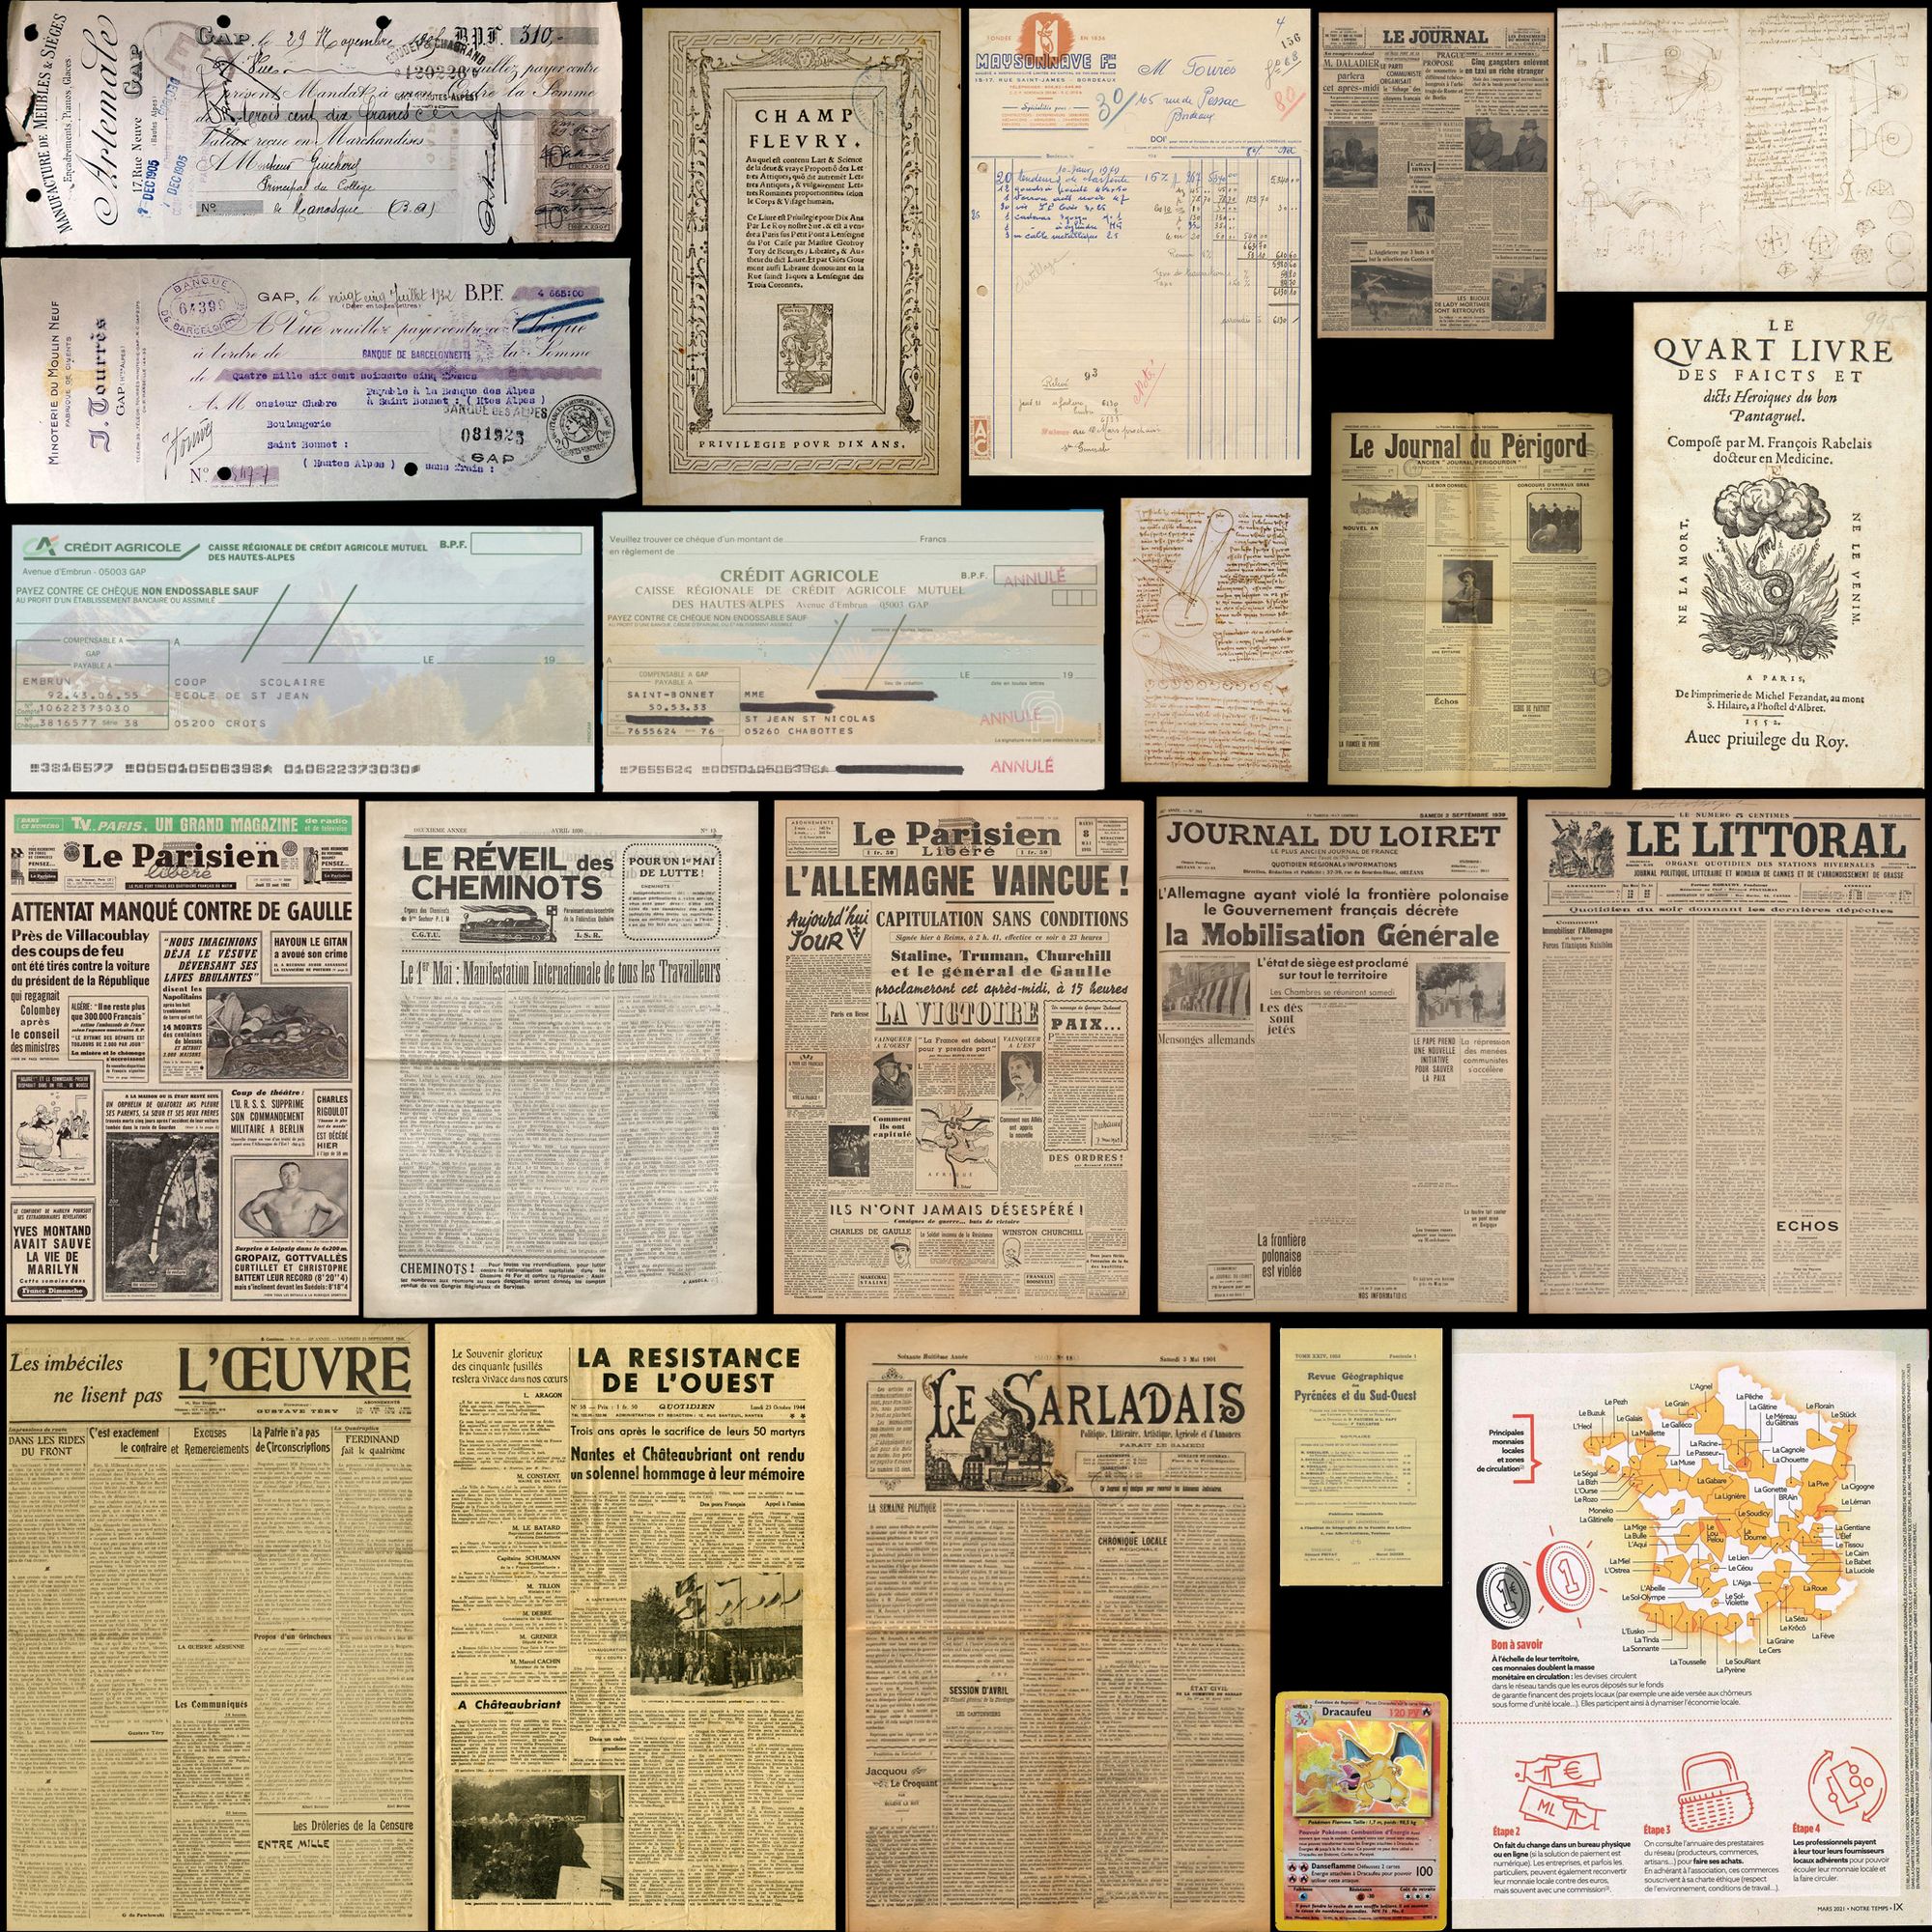
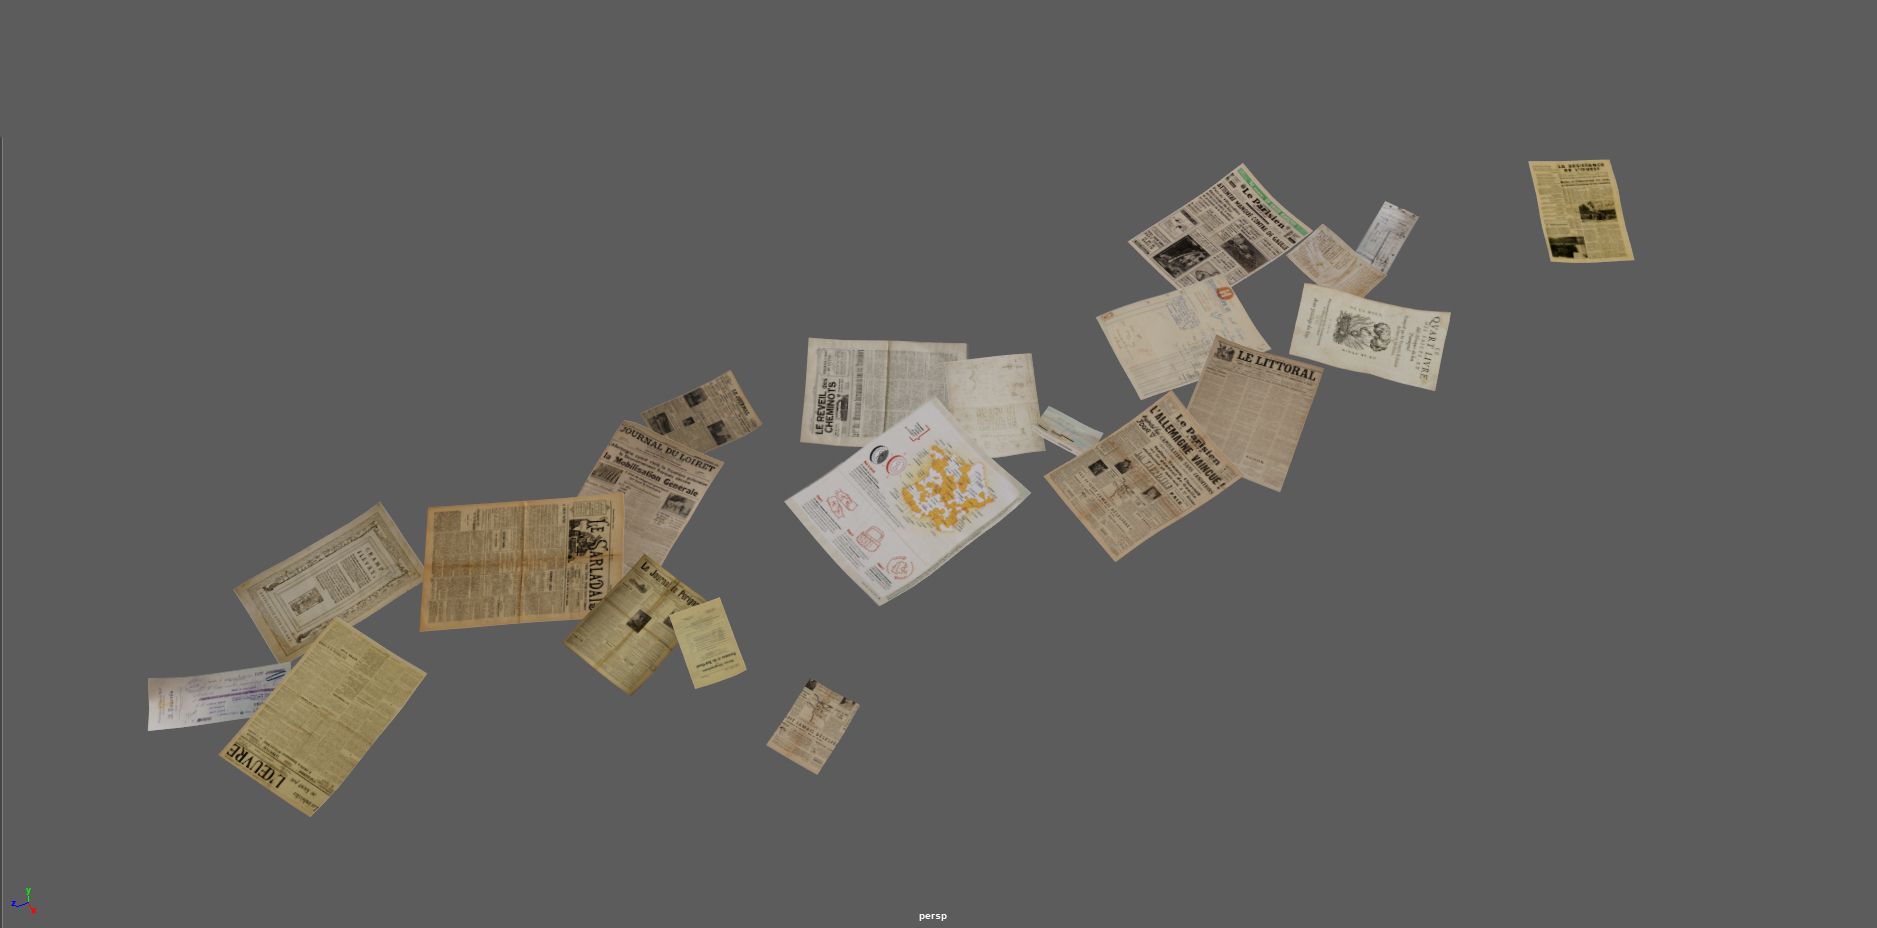
To add some life to my floor, I thought of adding some worn papers would be a good idea. I went to eBay and archive websites to find old newspapers, checks, and other vintage papers. They are not all from the same era, but the effect is there, and it's sufficient for the eye. Once all the images were gathered in Photoshop, I went into Maya and gave a different shape to each piece of paper. The goal is to have varied shapes to add visual noise.
I assembled these sheets of paper into several piles and exported them to FBX directly into Unreal. Once in the engine, I just had to place the pile and slightly move the sheets to create variations. To add realism to the paper, I imported my base color into Designer to quickly create a roughness and a simple normal map.
Thank you for reading this far; it was a pleasure writing this article. If you have any questions about me or want to know more, feel free to contact me via my Rookies profile here. I will continue to learn and improve; this project is just the beginning!