Texturing Workflow for Feature Film Quality Hard-Surfaced Sci-Fi Mecha
Min J. Lee is a student from Think Tank Training Centre in Vancouver, Canada. Her goal is to work on visual effects films, television or animated cartoons and hopefully inspire some people with her art along the way.
Min J. Lee is a student from Think Tank Training Centre in Vancouver, Canada. Her goal is to work on visual effects films, television or animated cartoons and hopefully inspire some people with her art along the way. Well, she has already inspired the team here at The Rookies and we are excited to share some insight into how she created her latest project - Neptune.
I focus mainly on texturing for film and in this article I will talk about the asset that I textured during my Advanced Semester. The texture work was done on a model made by David Letondor and I was taught by my teacher Paul H. Paulino.
Neptune is my Advanced Semester project at Think Tank Training Centre. The model was modeled by David Letondor and I was coached by Paul H. Paulino for this project. In this article, I will talk about my process when texturing the mecha.
Reference
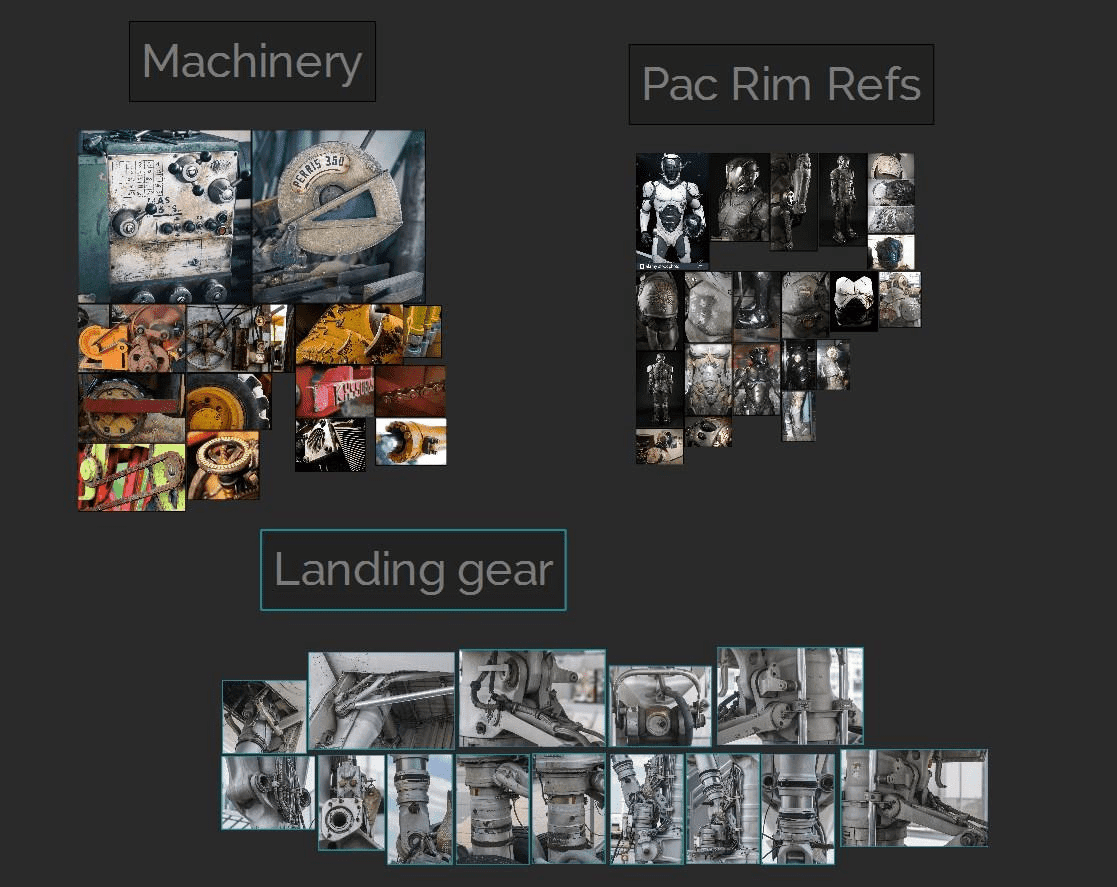
I started with gathering a bunch of references and thinking about what environment my asset would be in. Sometimes I would take references from things that aren’t necessarily the same subject. As long as I have in mind to use that material on my piece, it can be useful reference. It always helps to keep all the pictures that you’ve found at the start. You never know when you might have to use it at a later stage. I used pureref to compile my images together. It’s a great minimalist software that is easy on the eyes and quick for navigating.
Pureref references
Colour-blocking and Colour break-up
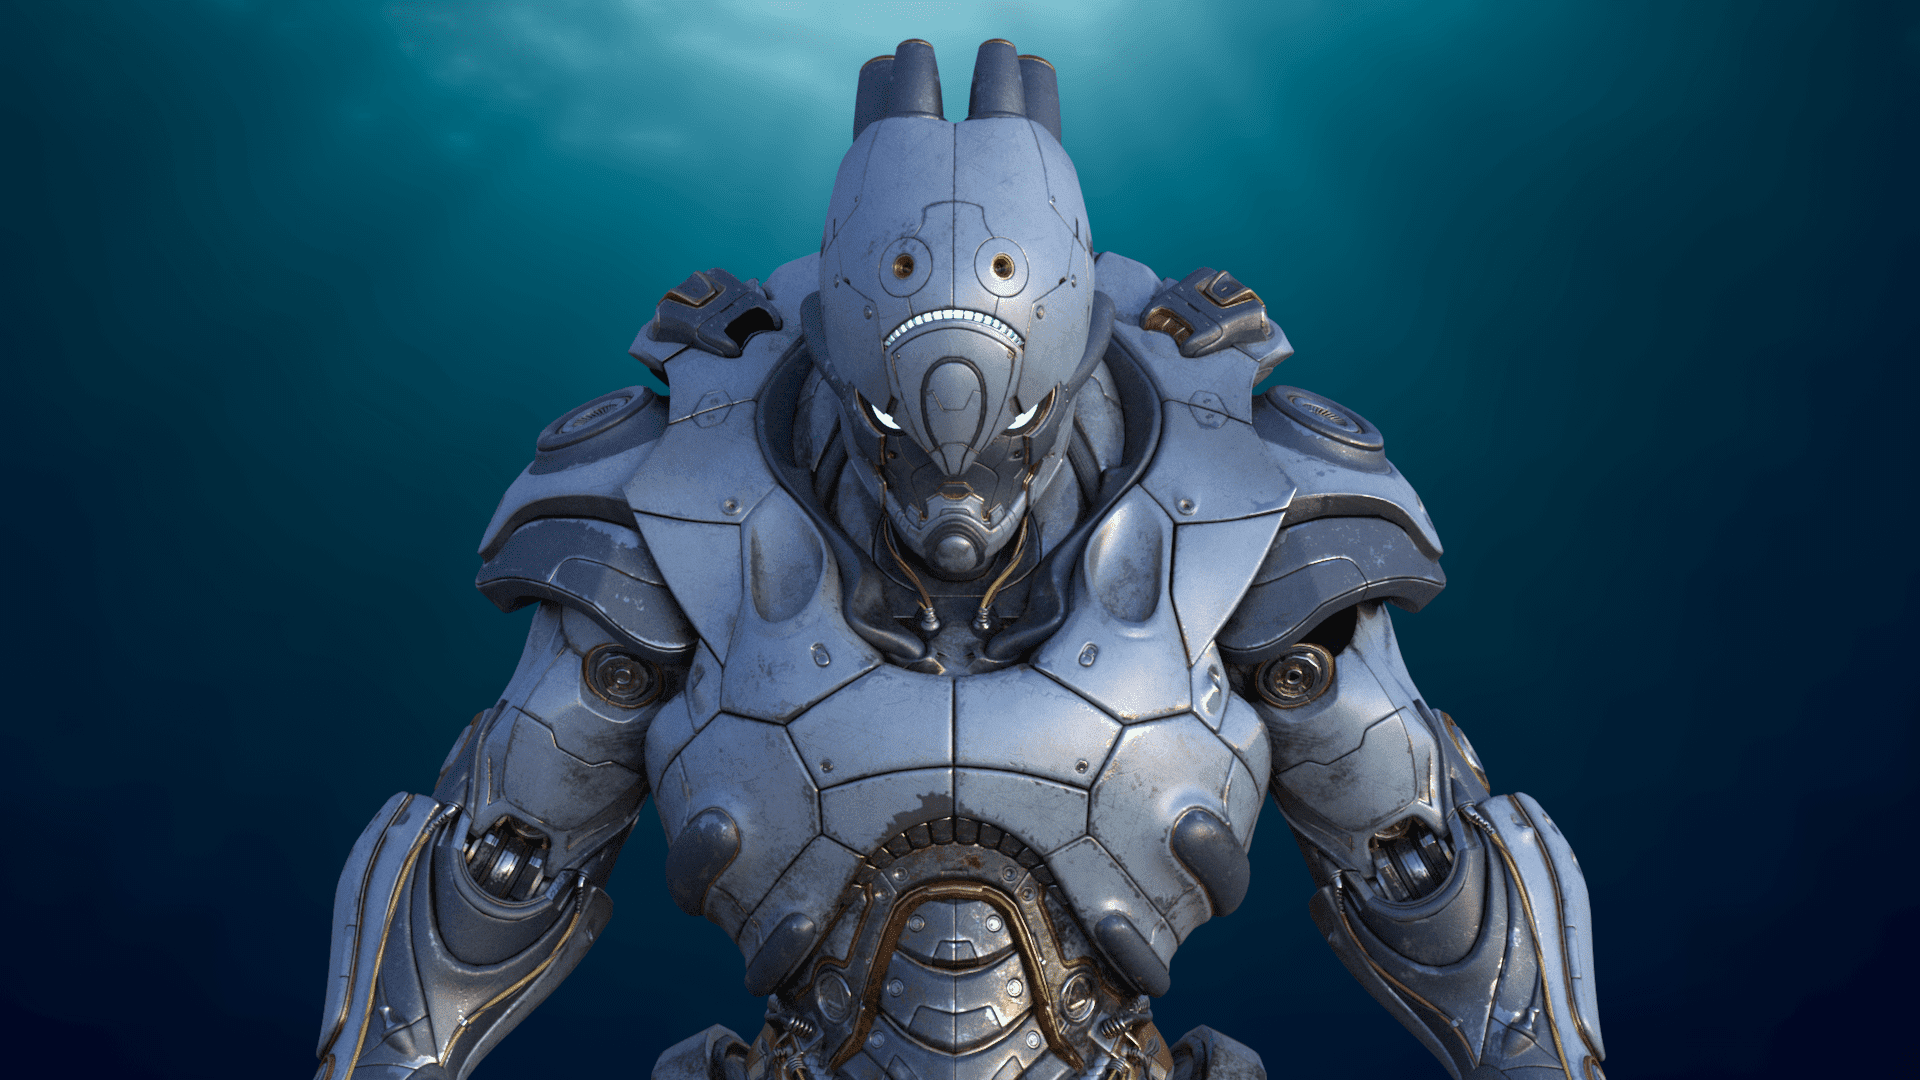
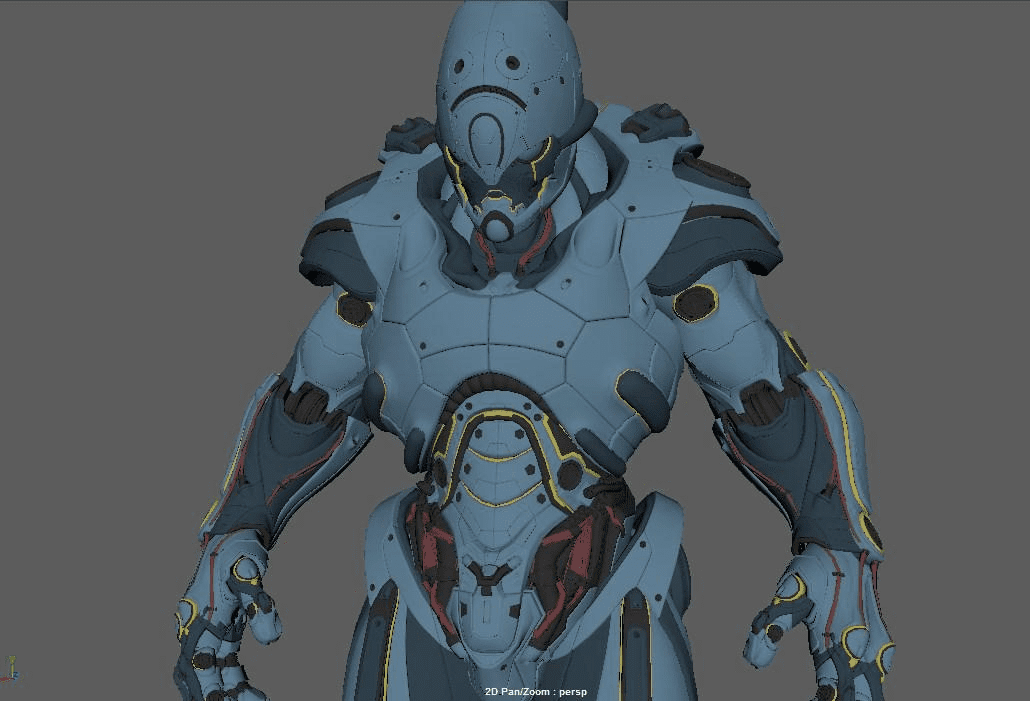
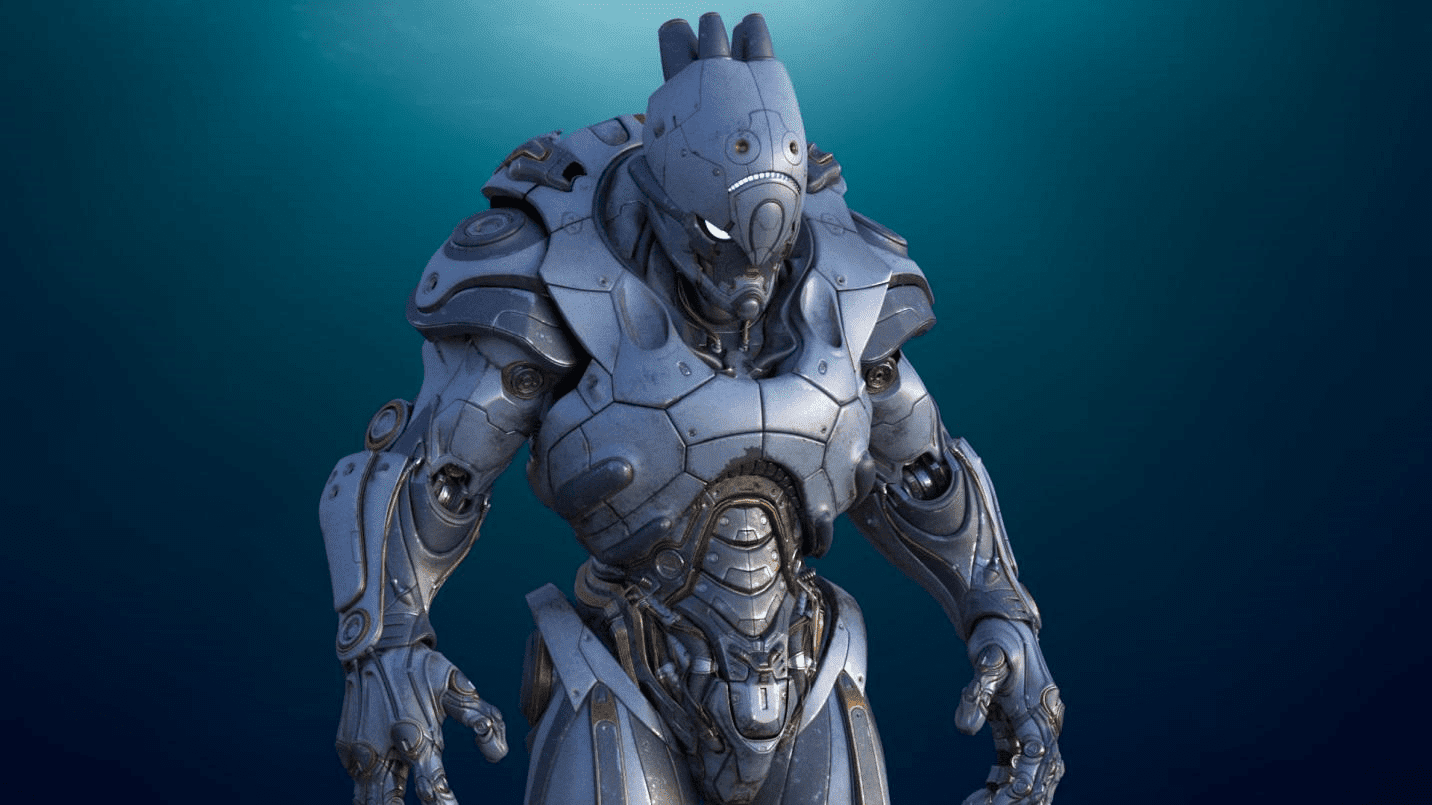
The next step would be to decide on the environment and to do your colour block-ins. I decided on an underwater theme pretty early on, and so decided that the main colour on my mecha is going to be blue. This helps you to get a rough idea on how the asset would look like before you get into the little details. It can start to get confusing when you’re managing so many different parts. This is when you choose the colours that would complement and balance each other out on your piece. They may change along the way once you start texturing, but think of this step as a draft for your base.
Colour blocking with basic lambert shaders
UVs
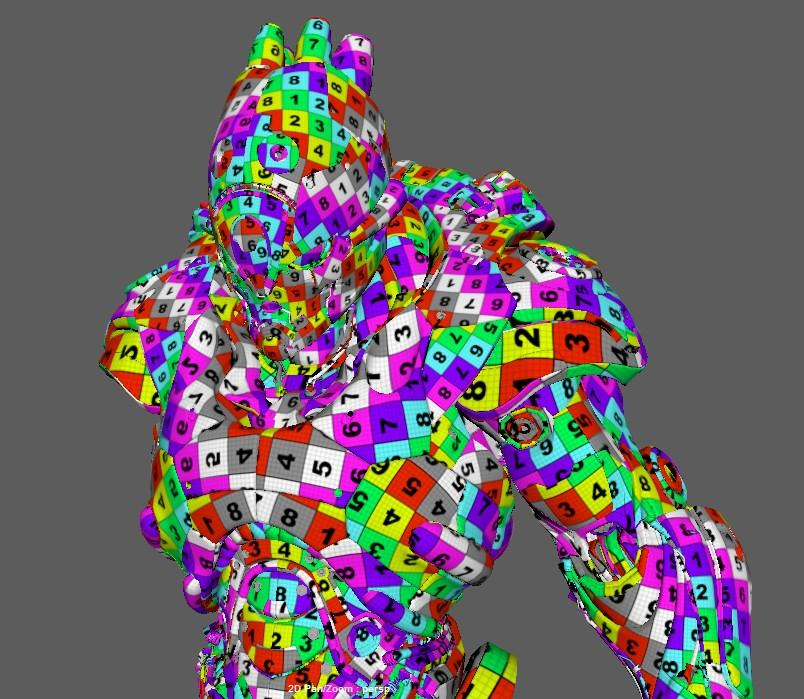
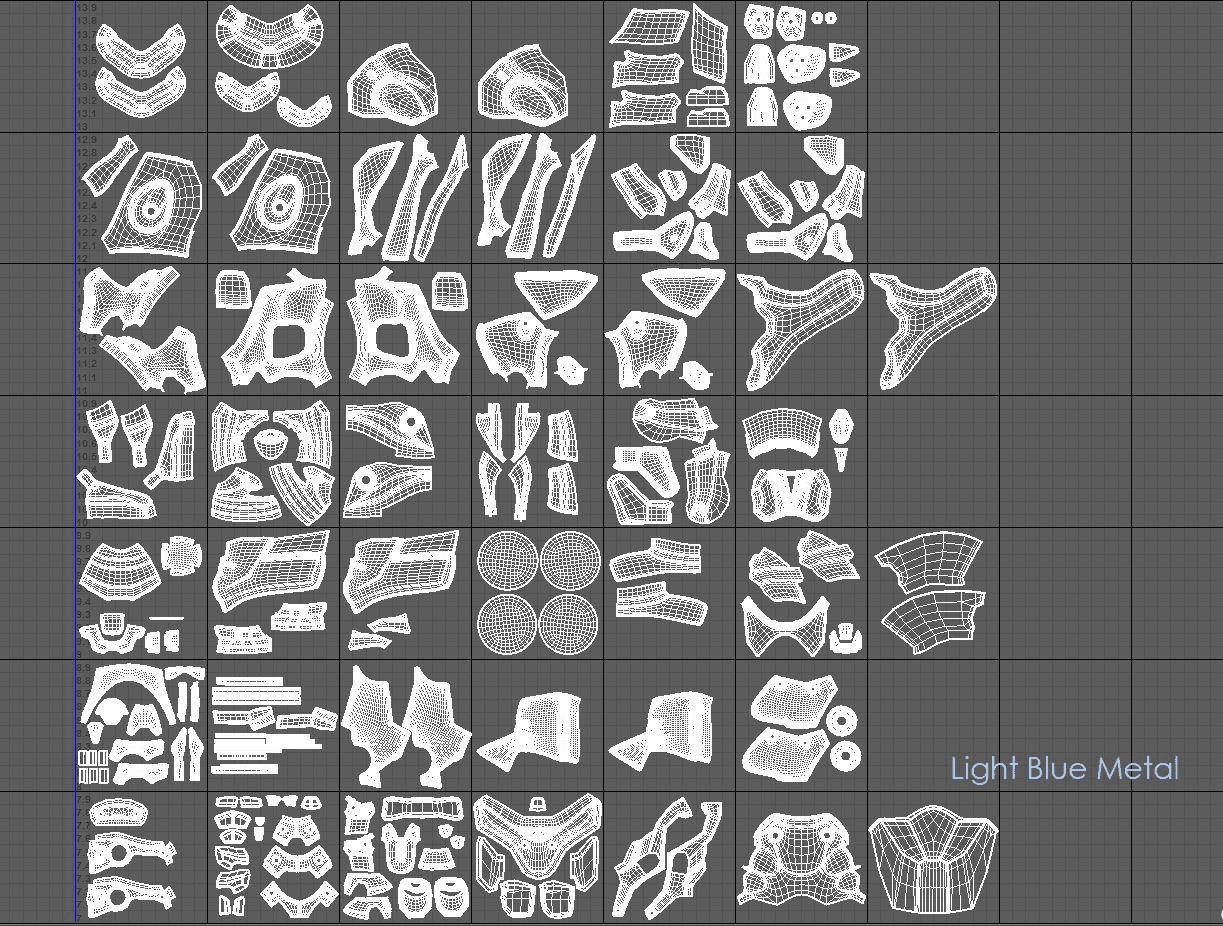
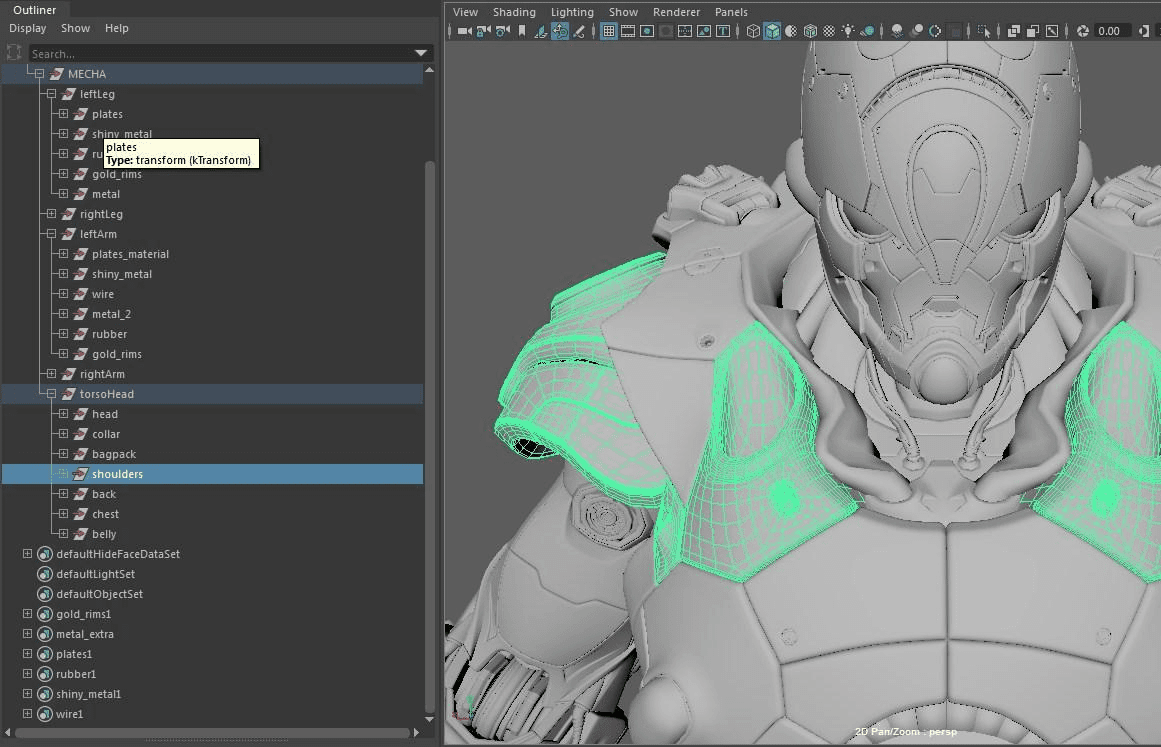
This is the part that I spent quite a lot of time on as the asset had so many parts to it. It is now time to UV unwrap your model! As the model is symmetrical, I simply had to create the UVs on one side and then mirror it onto the other side.
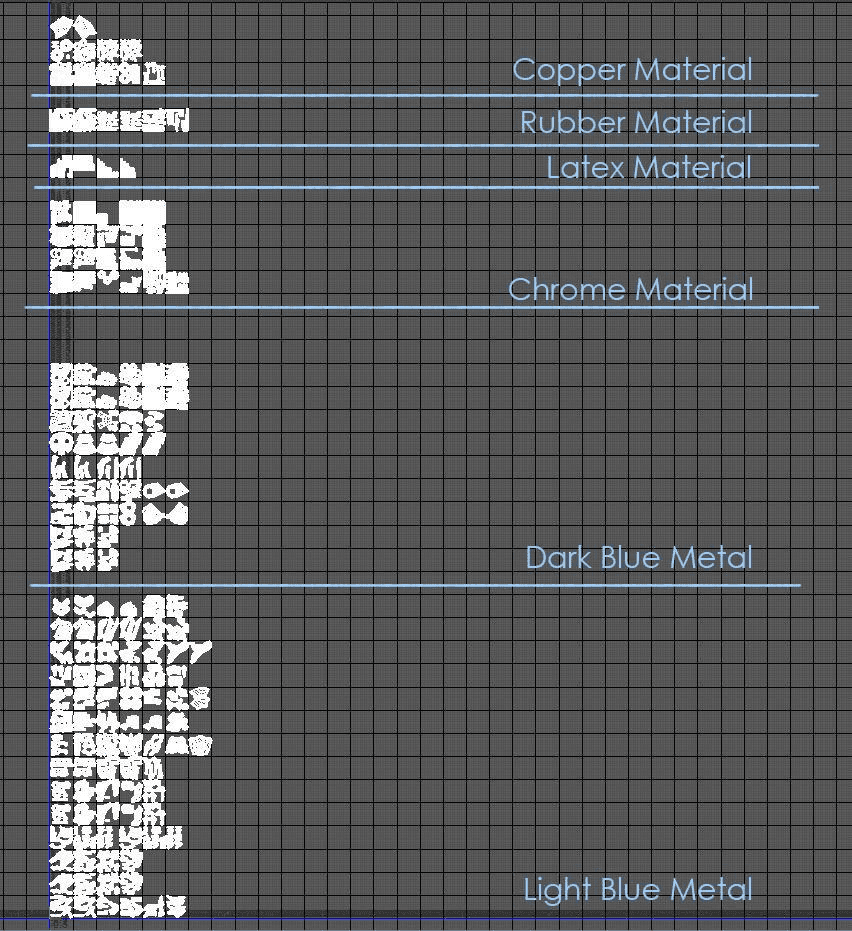
For the alignment of the UDIMs, I grouped them according to the material that they belonged to. I would sort my materials in a vertical alignment instead of horizontally. It also helps to create groups within Maya that group parts of that same material. This makes the texturing and lookdev process a lot easier once you get to it. For single objects that share materials with each other, I would use face-selection mode to select the different materials and then create sets for the selections.
Creating UVs for the modelSeparating UDIMs based on materialsClose up of the UVs for one material
Texturing
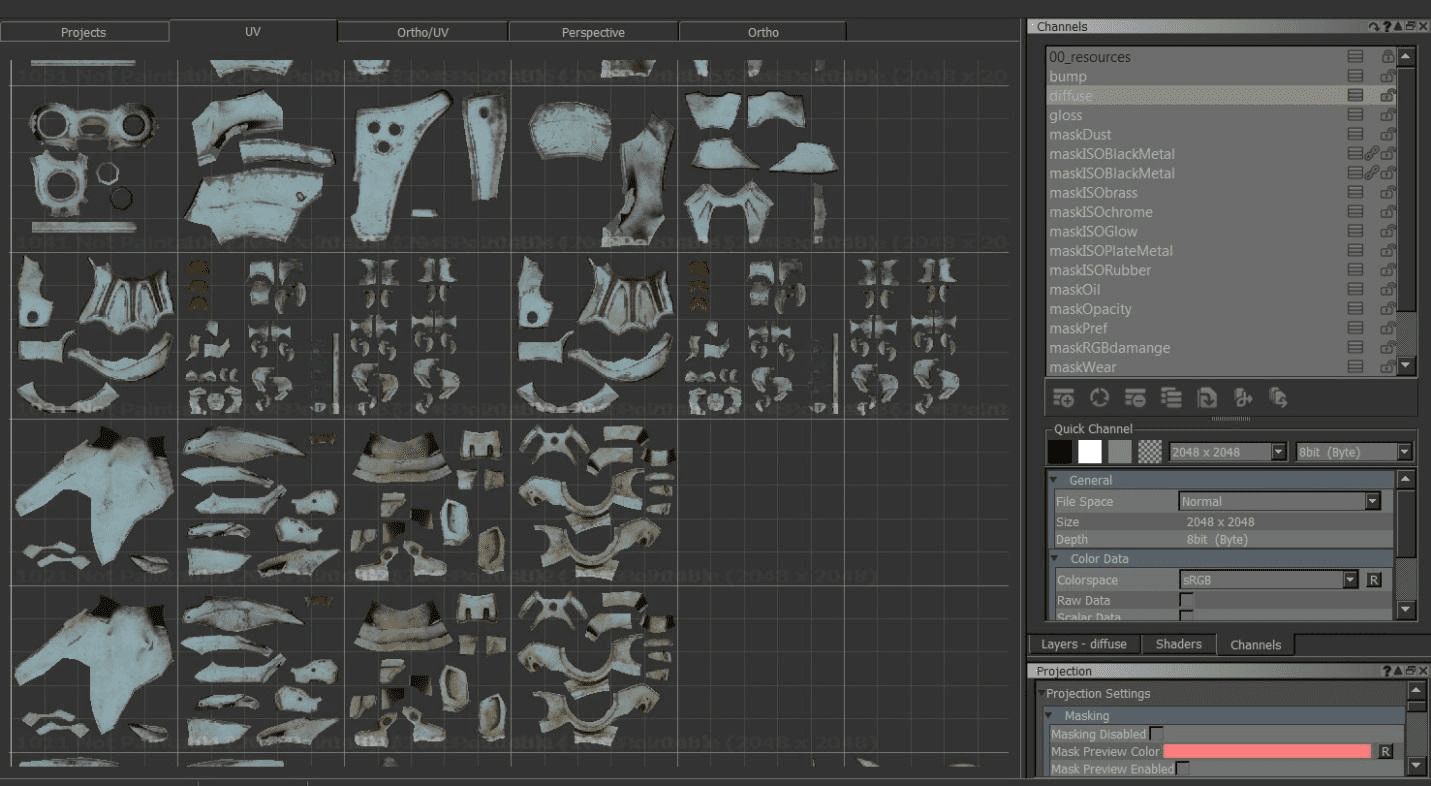
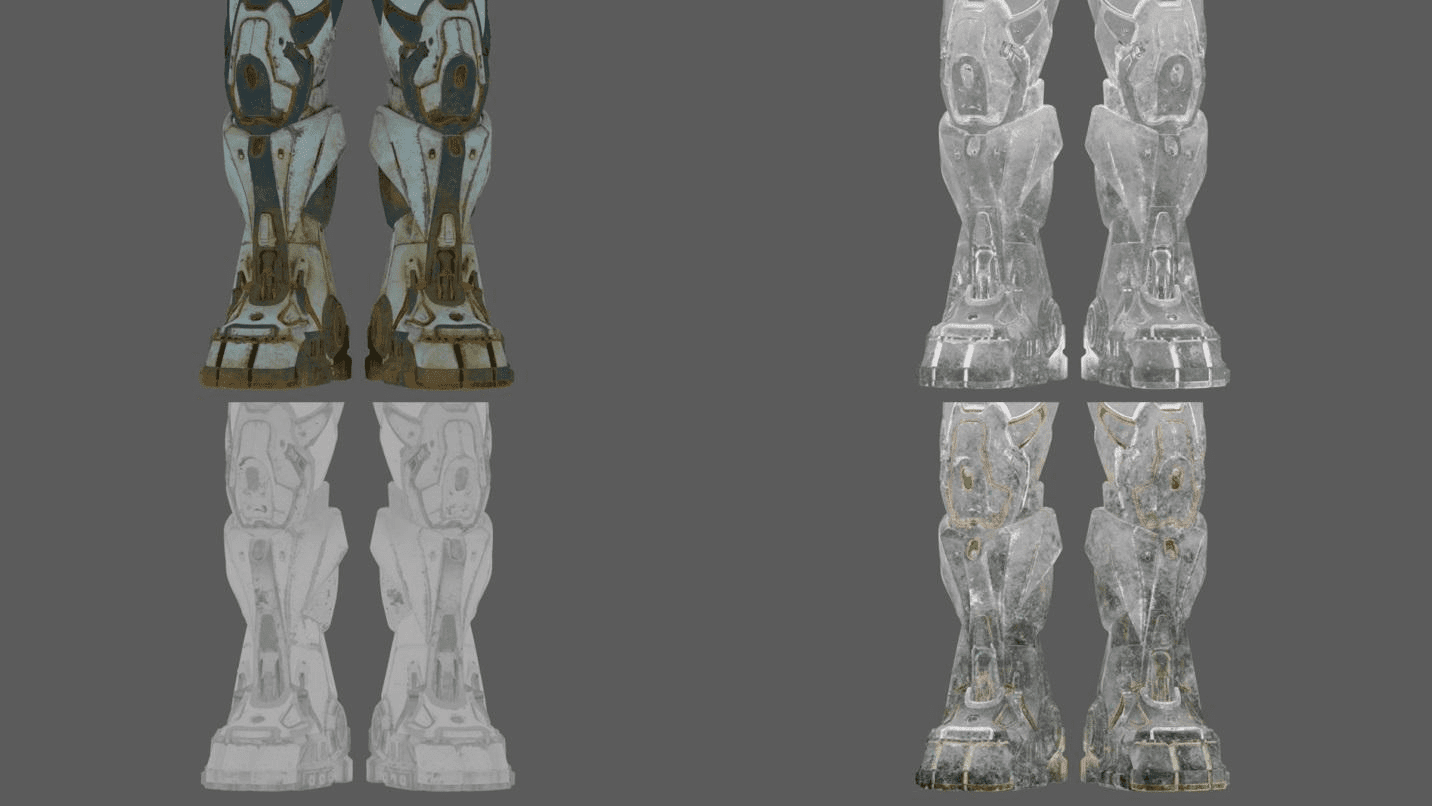
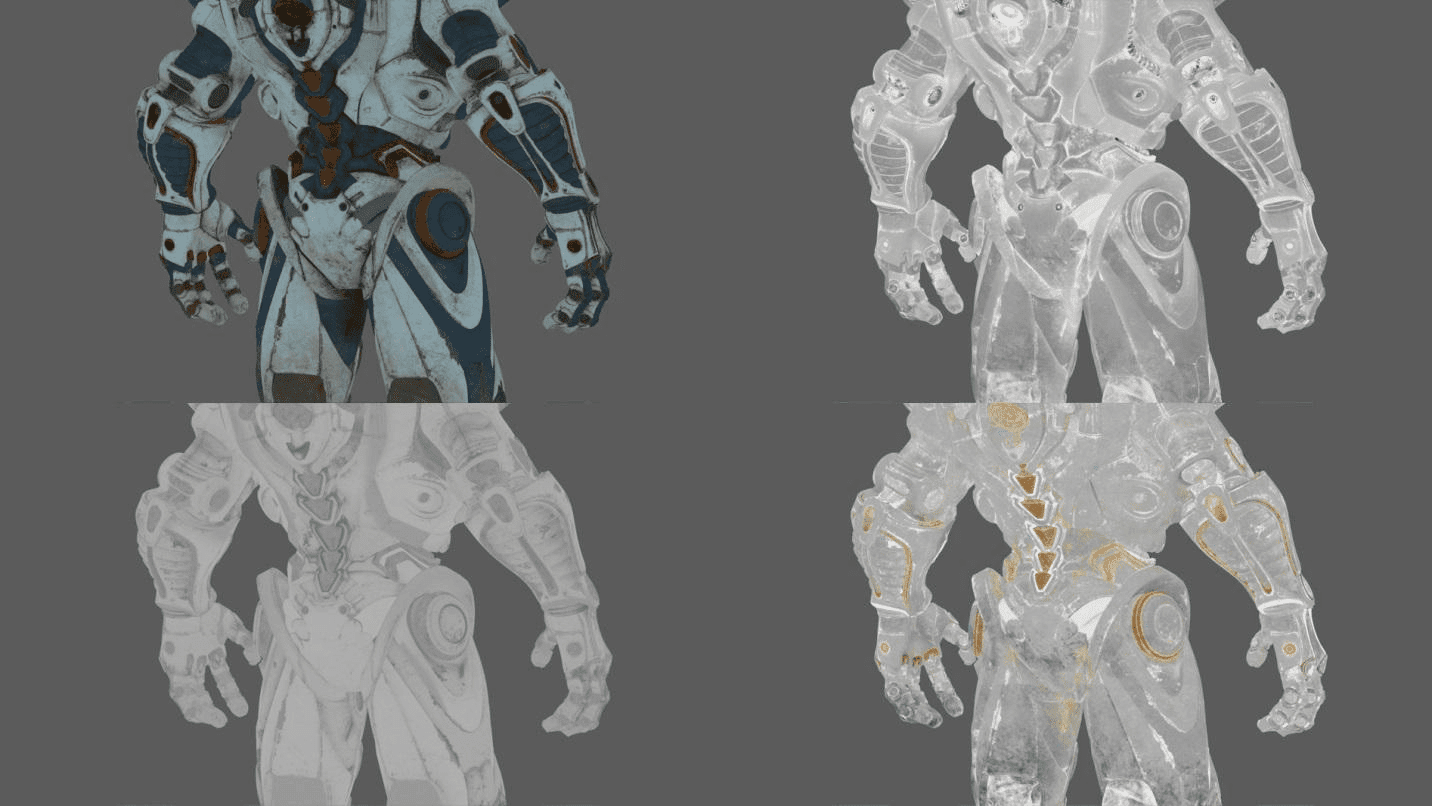
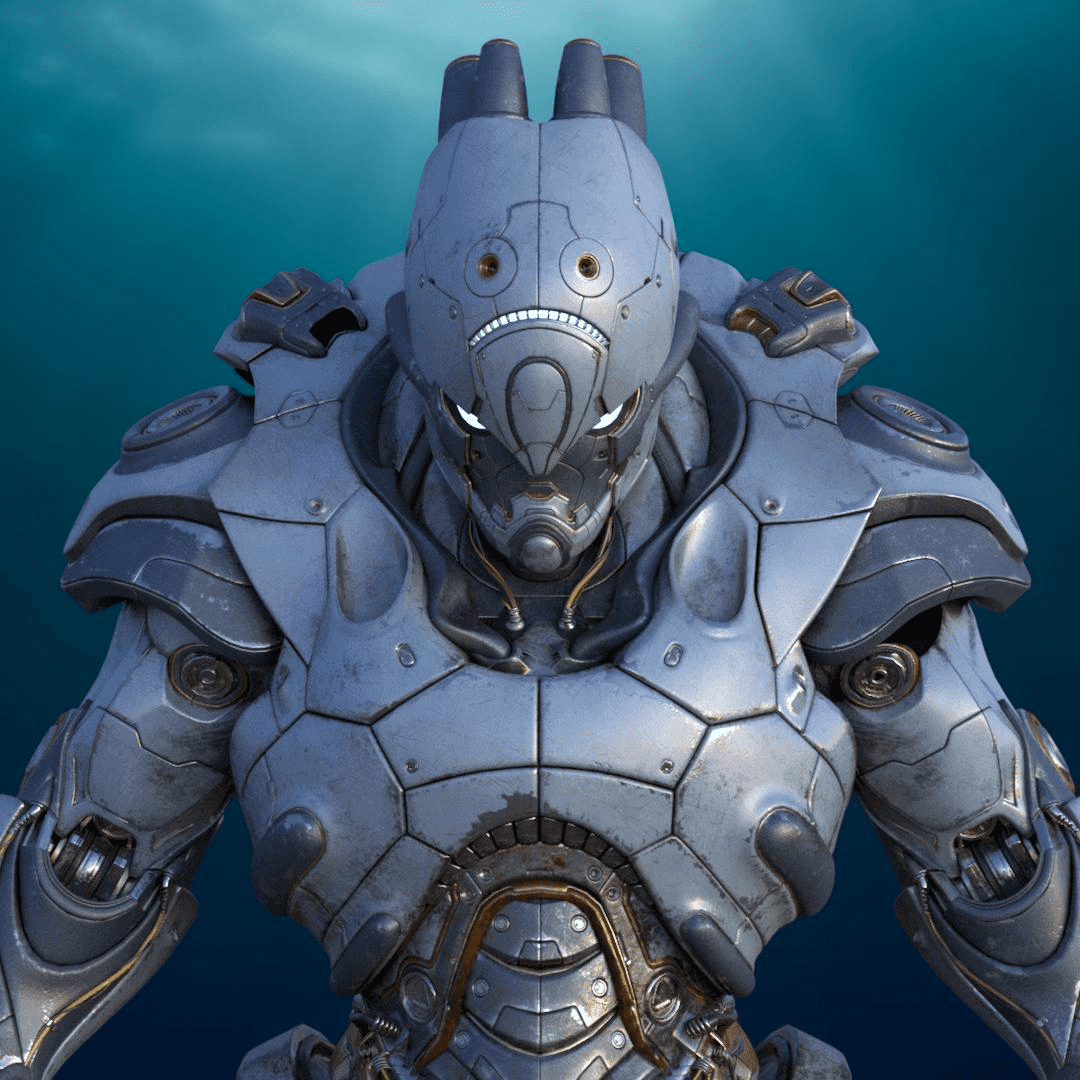
For texturing, I used Mari for all of my maps. Always start first with the diffuse map. The other maps can have copied information from the diffuse map with value/colour changes. I focused on the parts of the model that would have the most wear and tear as well as accumulation of dirt and dust. Do not forget about the oil too, as most mechanical parts have grease in screws and hinges.
Here are some tips when texturing your model:
Wear and tear occurs on the edges
Areas of friction
Areas wherein dust and dirt would gather around
Areas that are constantly in contact with the ground
Areas that have the most contact with other objects
Hidden areas would have more grime/dirt
Location, size and shape of scratches
Masking when you texture
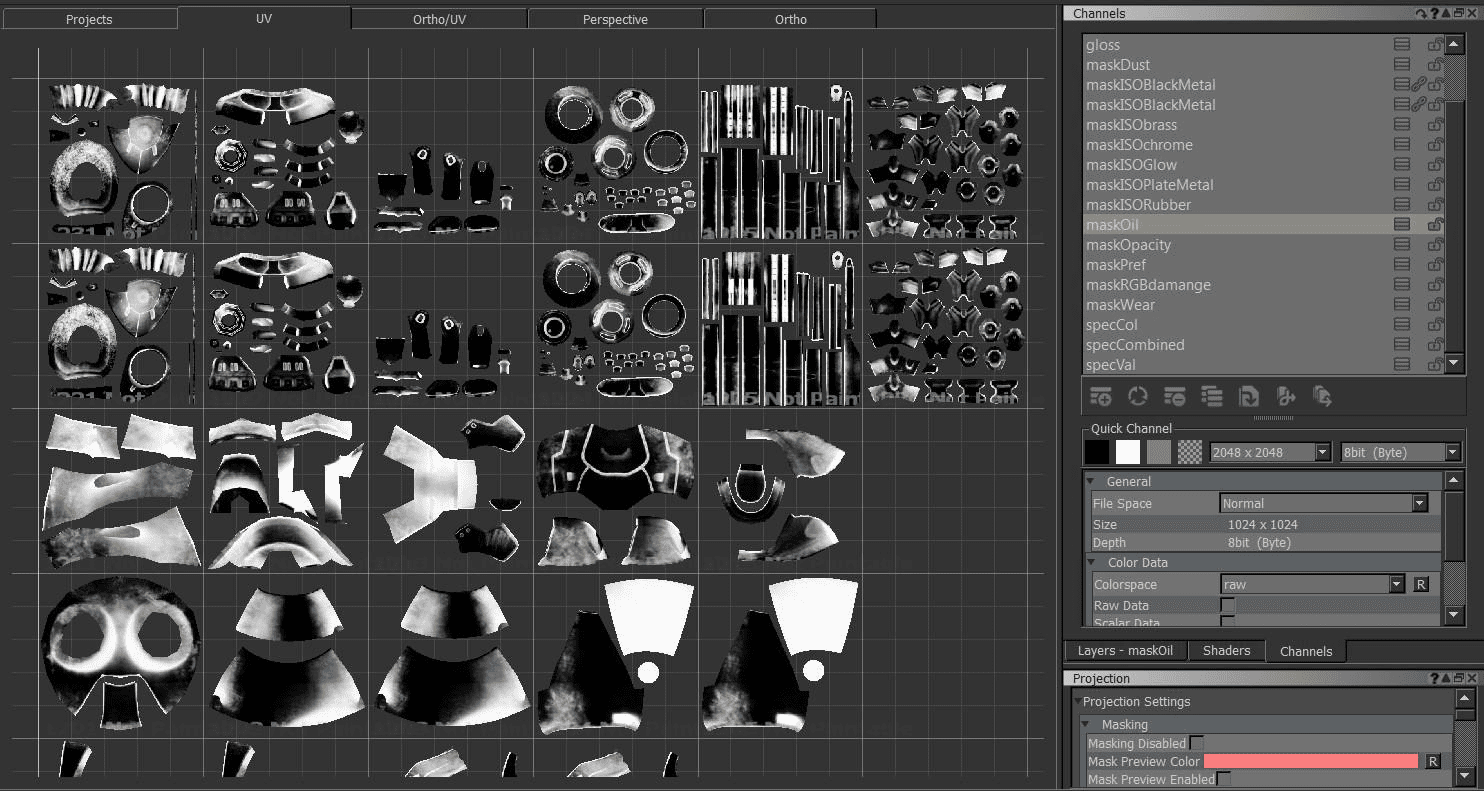
For all these layers that I created in my diffuse map, they were all created with masks. This helps to keep things tidy. Masking is incredibly helpful when texturing as you can always paint out or paint in areas that need information without disrupting other layers that were made for a different material. Remember to go back to your reference board and refer to it when you start working on your texture maps.
UDIMs for the Diffuse MapIsolation masks for layering over your textures
Look Development and testing maps
As I have already created the groups and sets when blocking out my colours and separating my materials, it has made the lookdev process a lot more straightforward now. I simply have to create a material for each group and then plug in the maps that I’ve exported from Mari. The parts with the same materials are already isolated within their own groups. This speeds up the render tests as you can just focus on working on that one material.
You will have to go back and forth within Mari and Maya/Vray as you test the textures on the materials. Time will be spent tweaking your maps within Mari, re-exporting it into Maya and then tweaking your shader. Minor colour/value adjustments to your maps can be made in the Maya Hypershade with the “remapHSV” or the “remapValue” nodes. However, I would advise going back to Mari to make major changes instead of relying heavily on nodes to change the look of your maps.
Sets and groups created to sort and organize materials
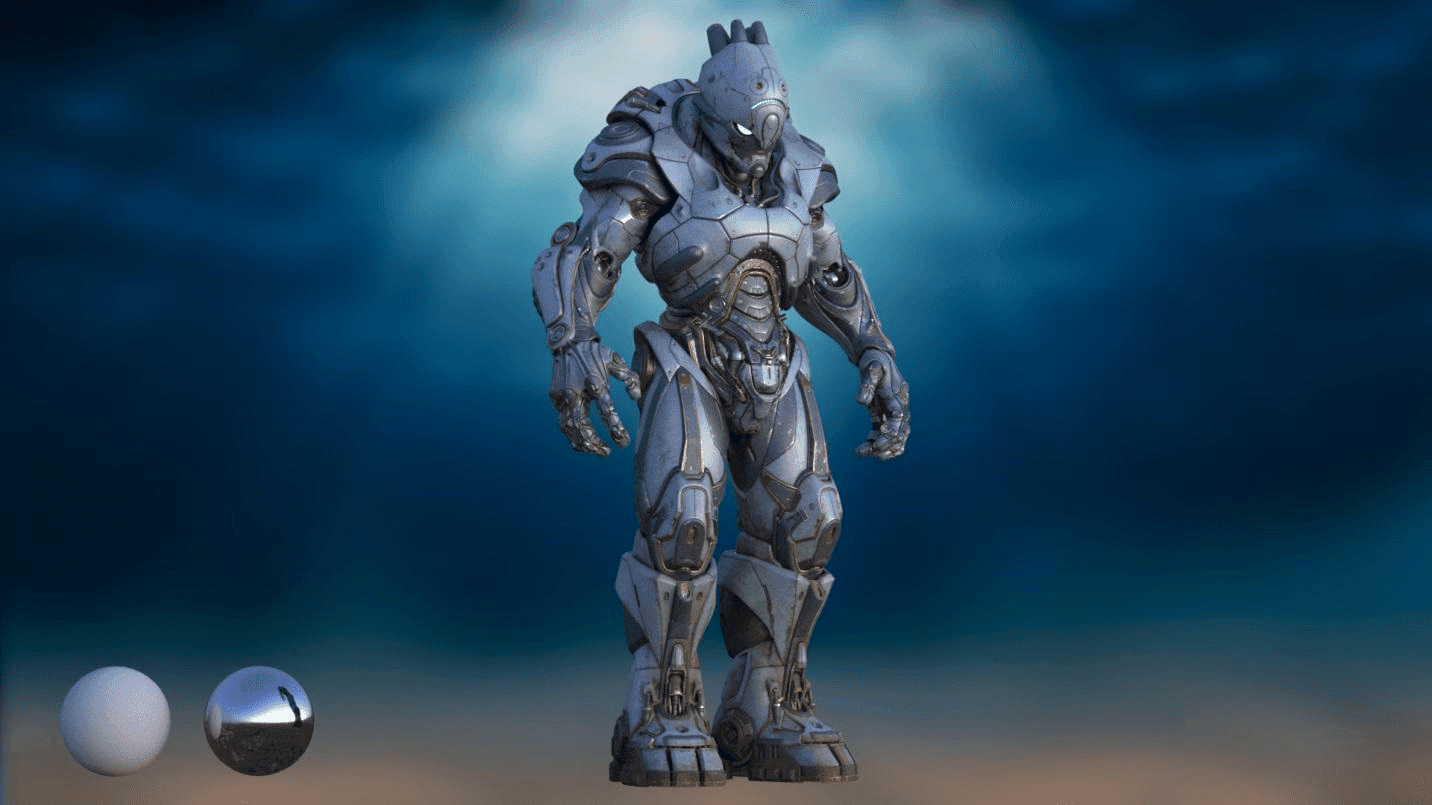
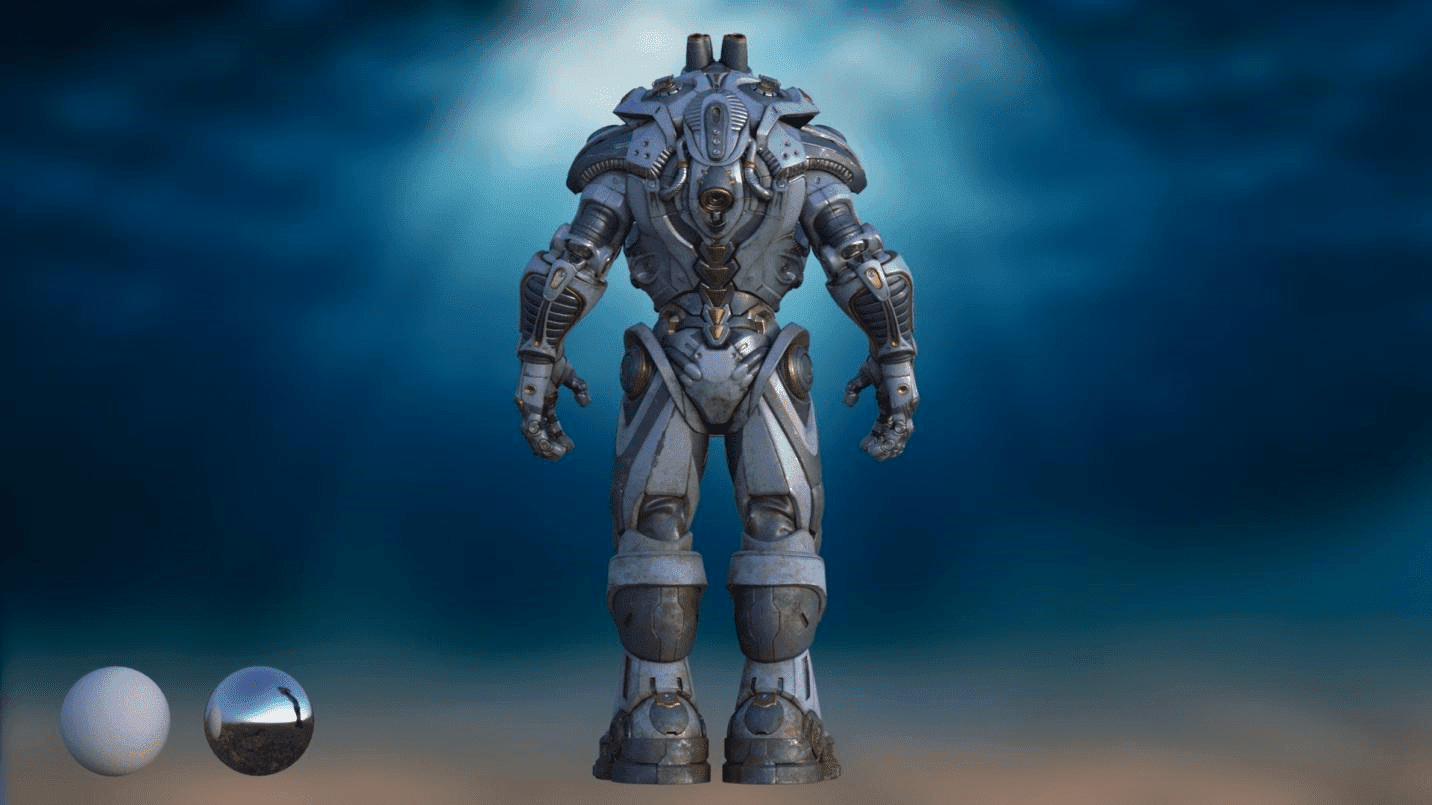
Lighting and Rendering
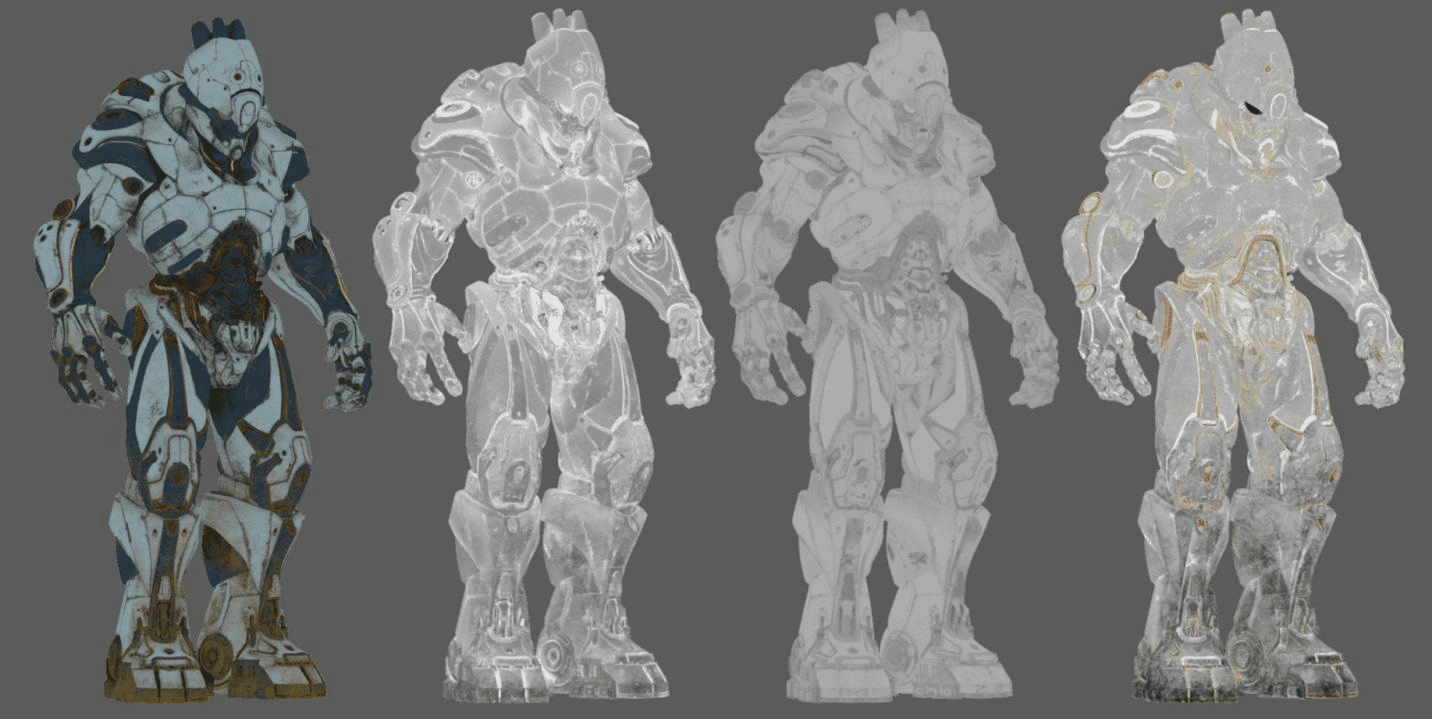
I used a 3-point lighting in my turntable as well as a blurred ocean HDRI background. I created a key light, fill light and a rim light. It’s a very simple and effective way to showcase your textures and materials. I used VRAY to render my turntable and Nuke for any other final edits.
Final Turntable
Acknowledgement
I would like to thank Paul H. Paulino for guiding me through this project and teaching me the right way to optimize, organize as well as approach such a heavy asset. I would also like to thank David Letondor for providing this model for students at Think Tank to use, as well as my fellow classmate Nark Sese for helping me as we worked on our project together.