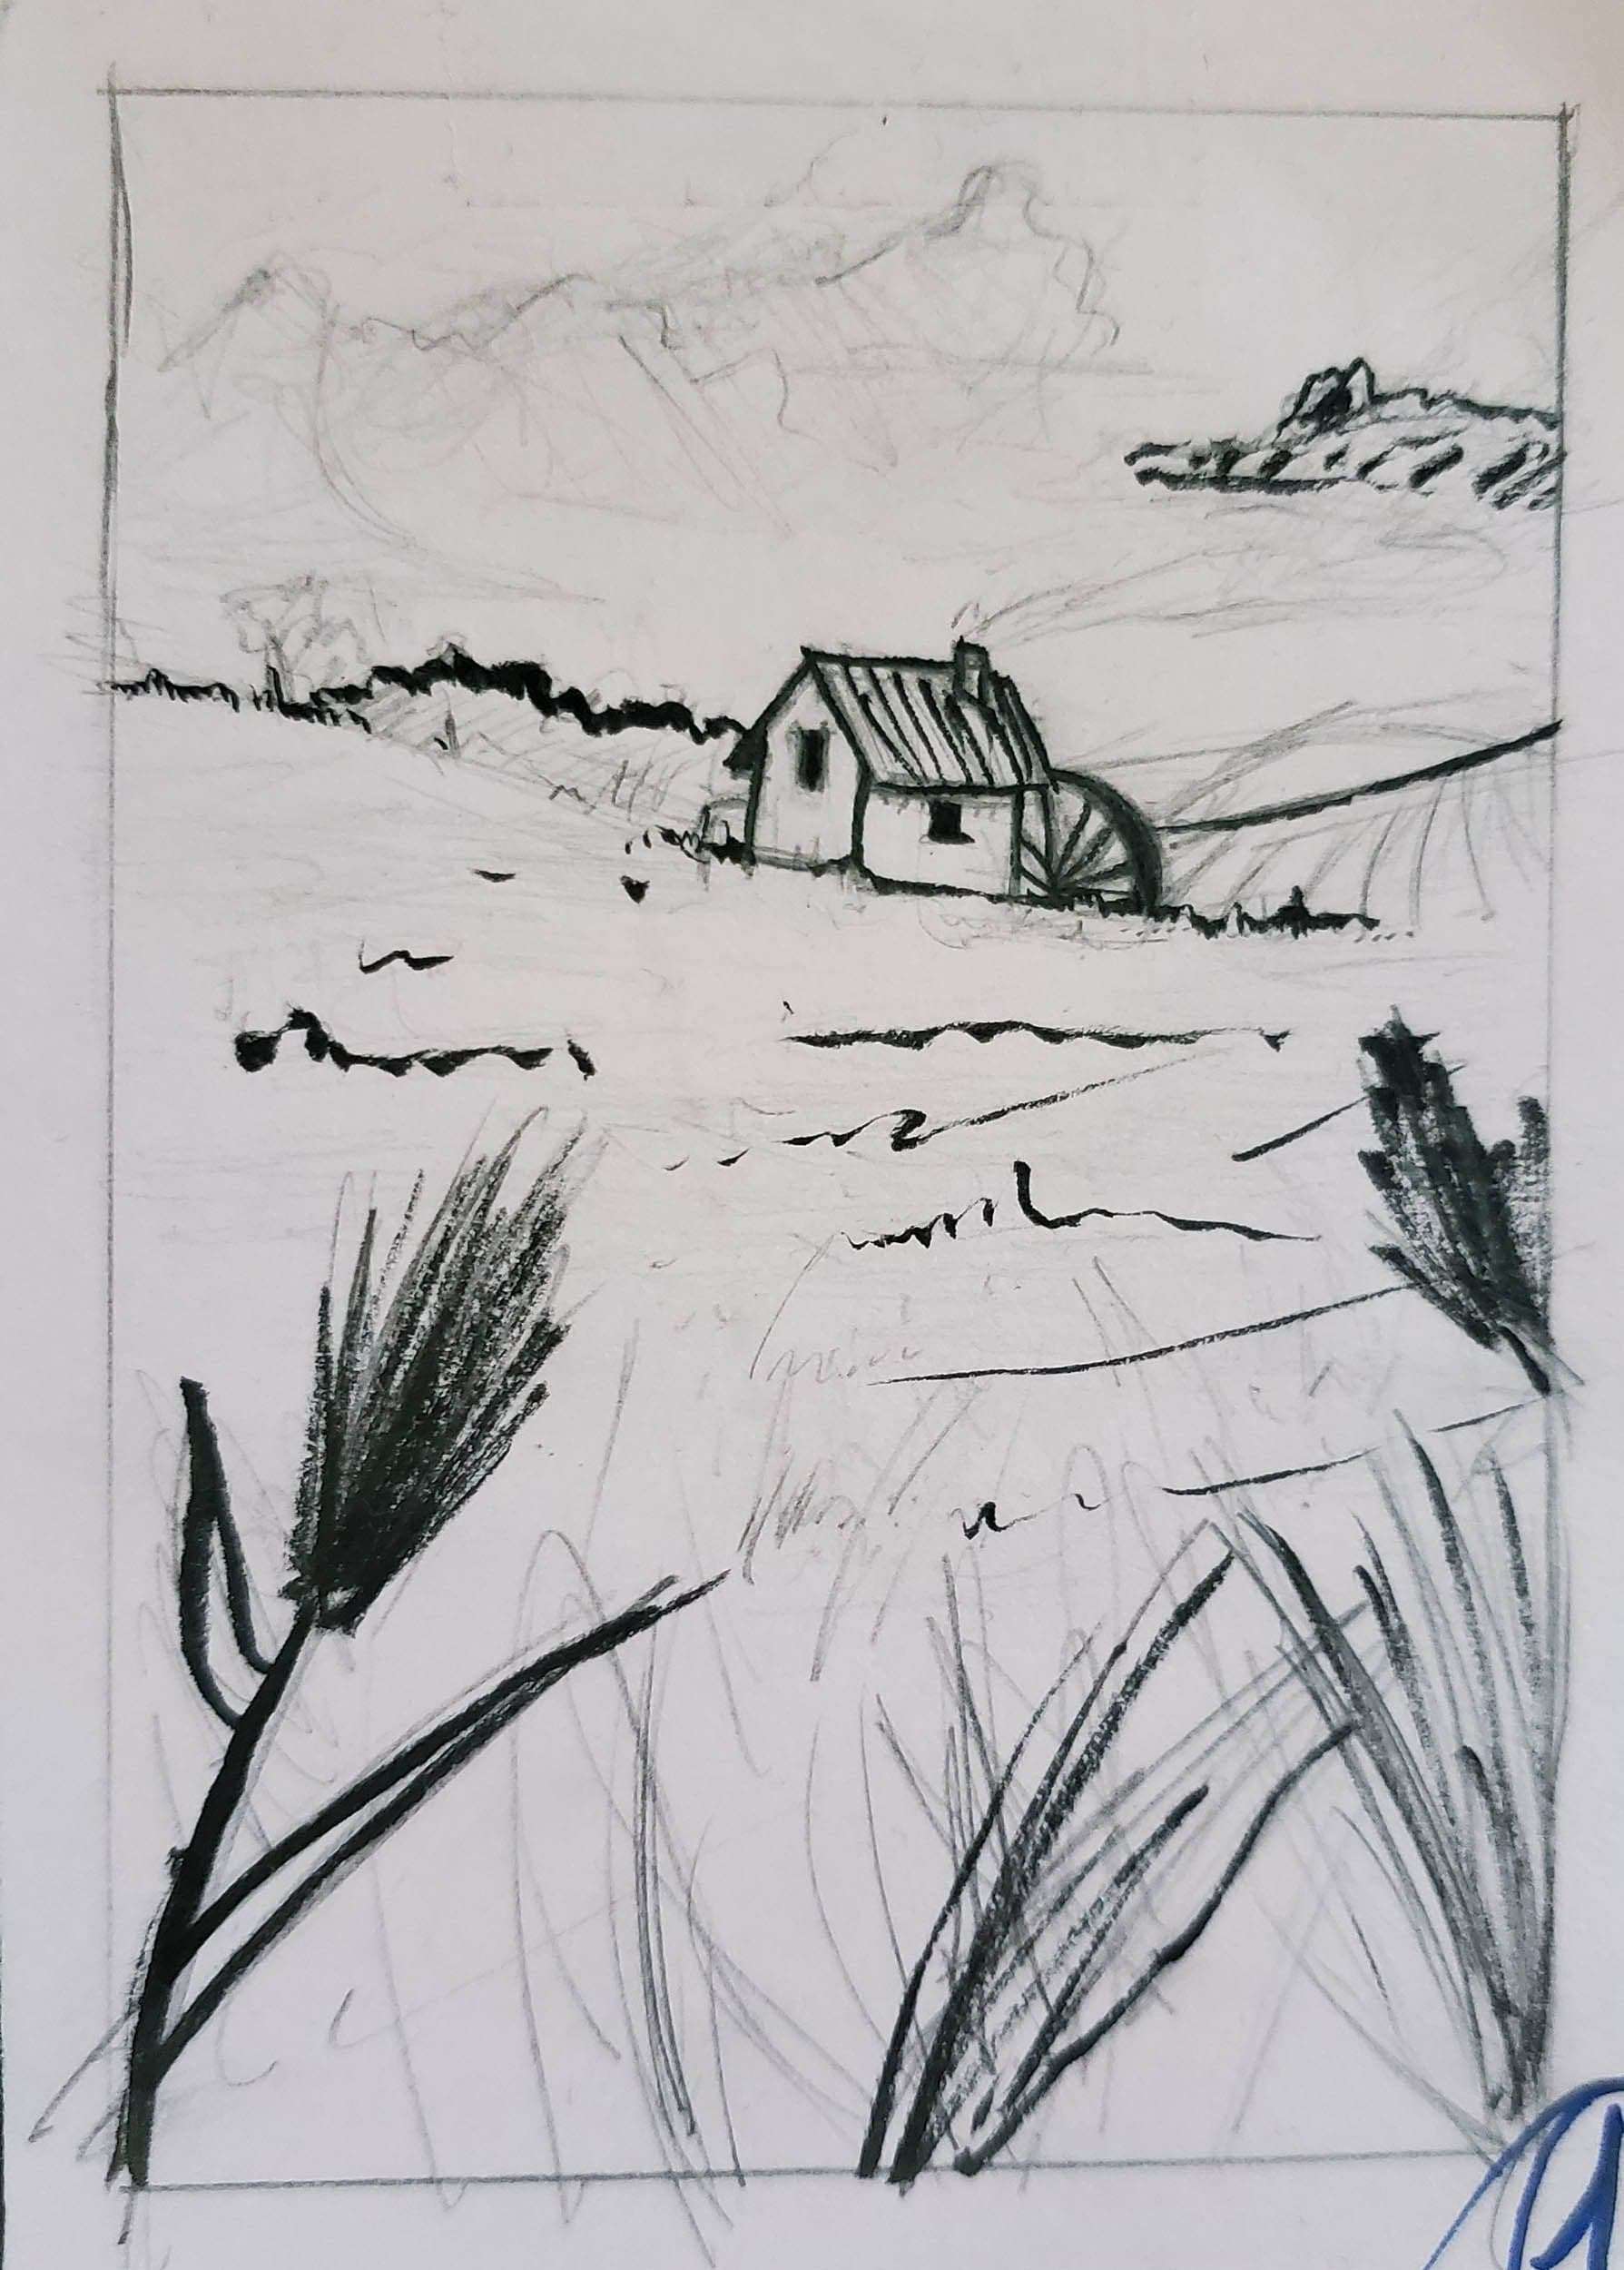
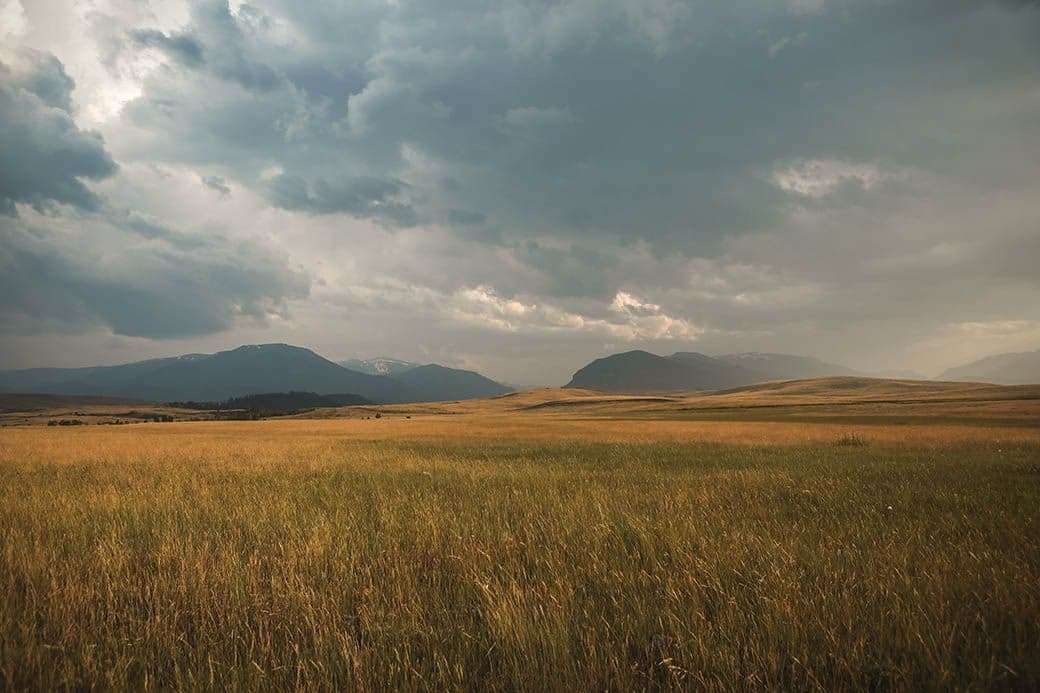
Some images can be interesting for their lighting, others for the composition and colour grading.In my case, I sketched my idea. I was searching for a good composition and wanted to try a different format from what I am used to.
Discover how to create a 3D scene with mood and realism, with Robin Picard, a 5th year student at ArtFX. Robin is currently working on his graduation short film. Robin is interested in Lighting and environment creation.
Pre Production
All projects should start from here - the pre-production stage is your foundation. Thanks to sketches or concepts, you will have a clear idea of where you are going. You will know from the very first step if it will work. You can use as many references as you need. Some images can be interesting for their lighting, others for the composition, colour grading, and so on. In my case, I sketched my idea. I was searching for a good composition and wanted to try a different format from what I am used to.
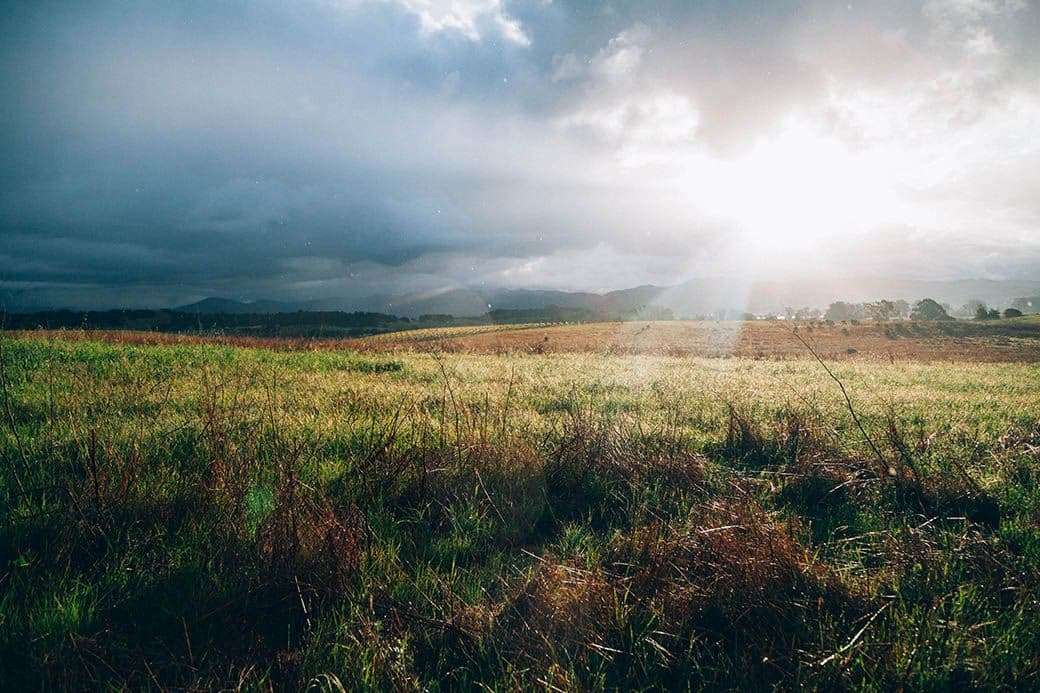
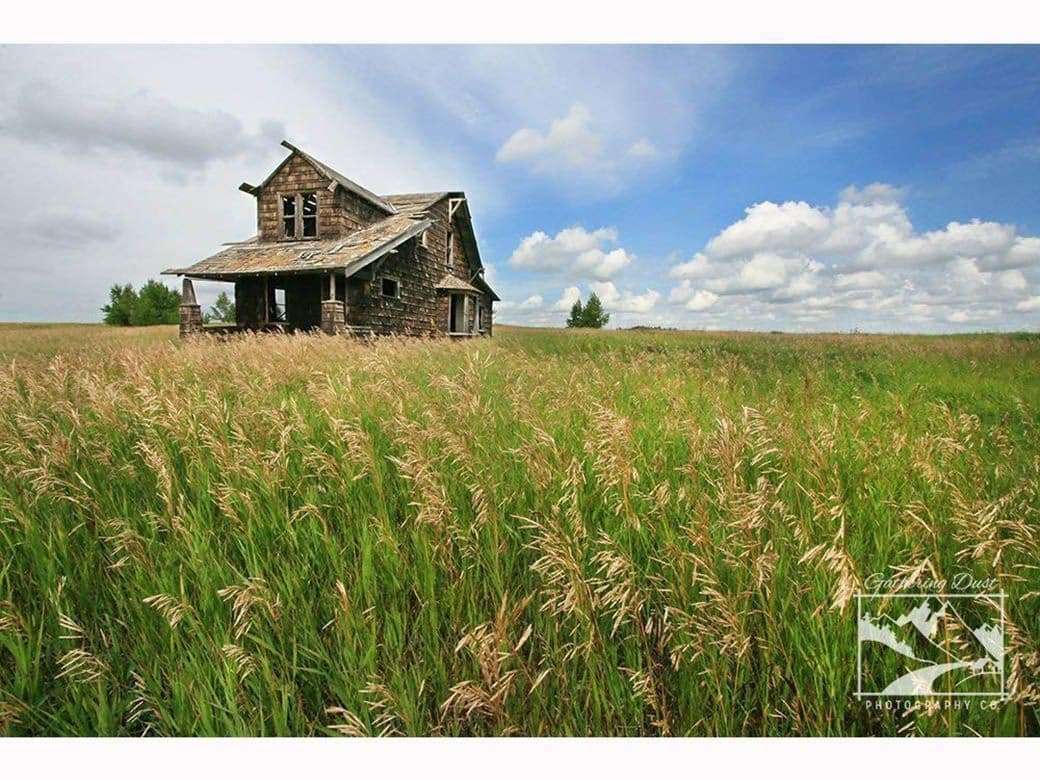
This step done, I gathered some image references to help me during the production. I wanted the environment to be peaceful and attractive.
The Layout
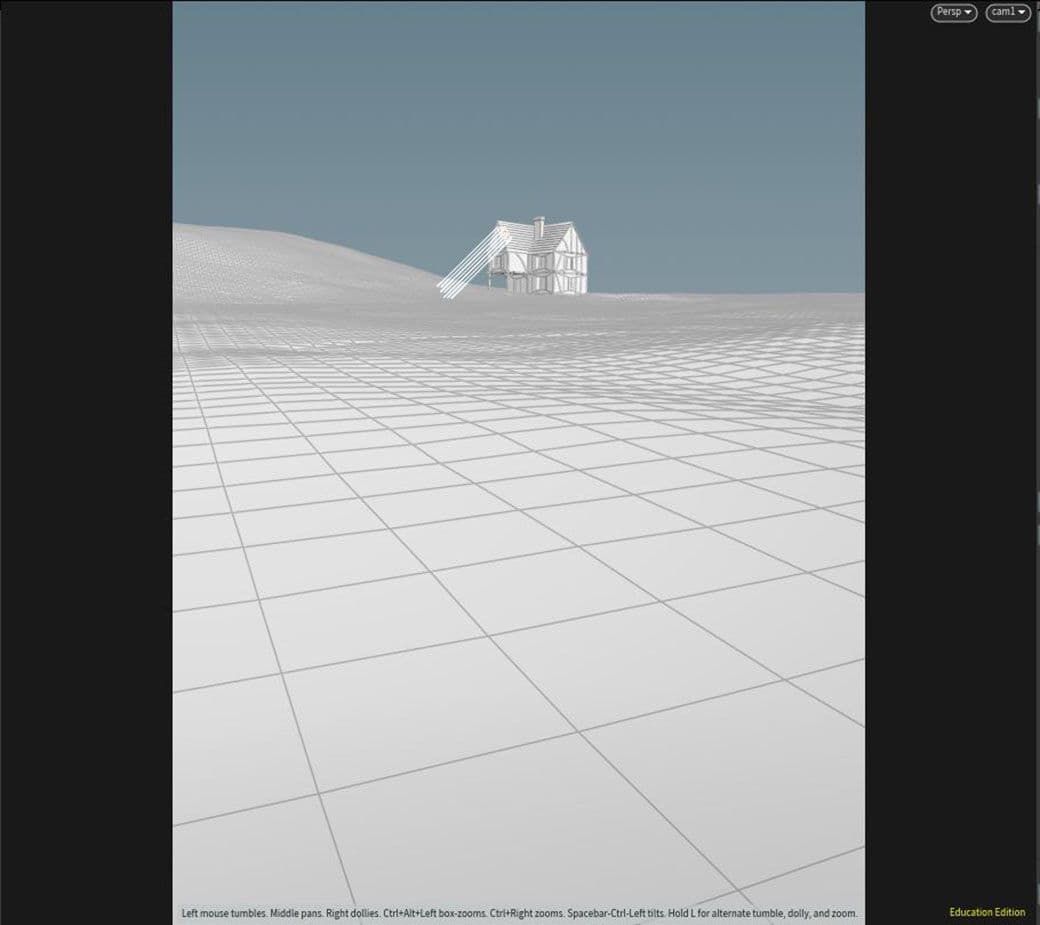
The goal now is to transcribe what you have on paper, or in your mind, on screen. Once I had a limpid idea of my image, I started to build the 3D scene. I used Houdini Redshift because it is my main pipeline for my graduation movie. I like to work with these softwares and Houdini is incredibly useful for environments.
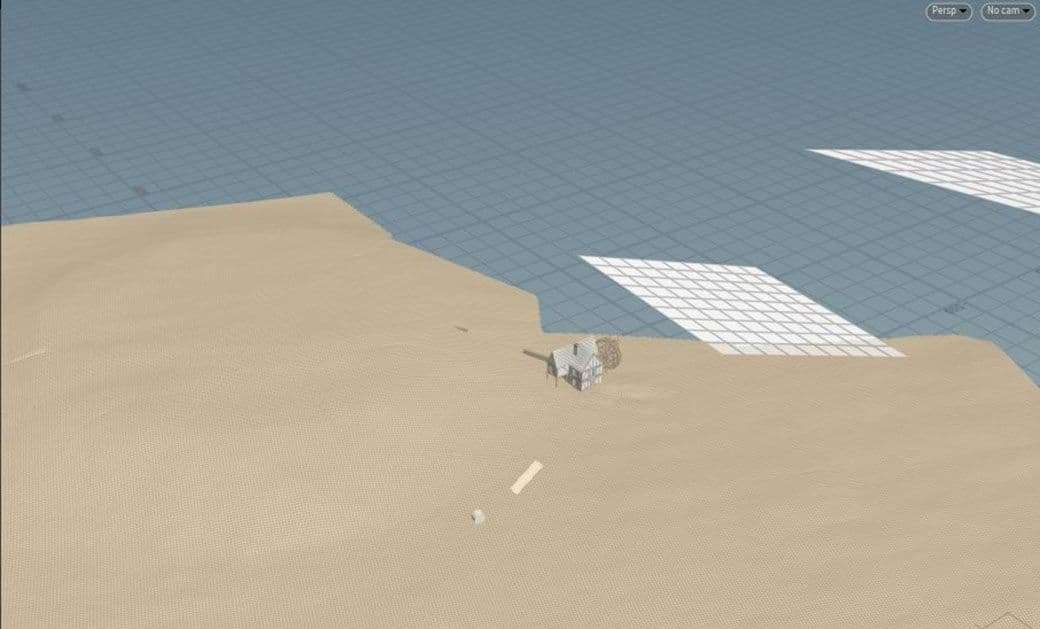
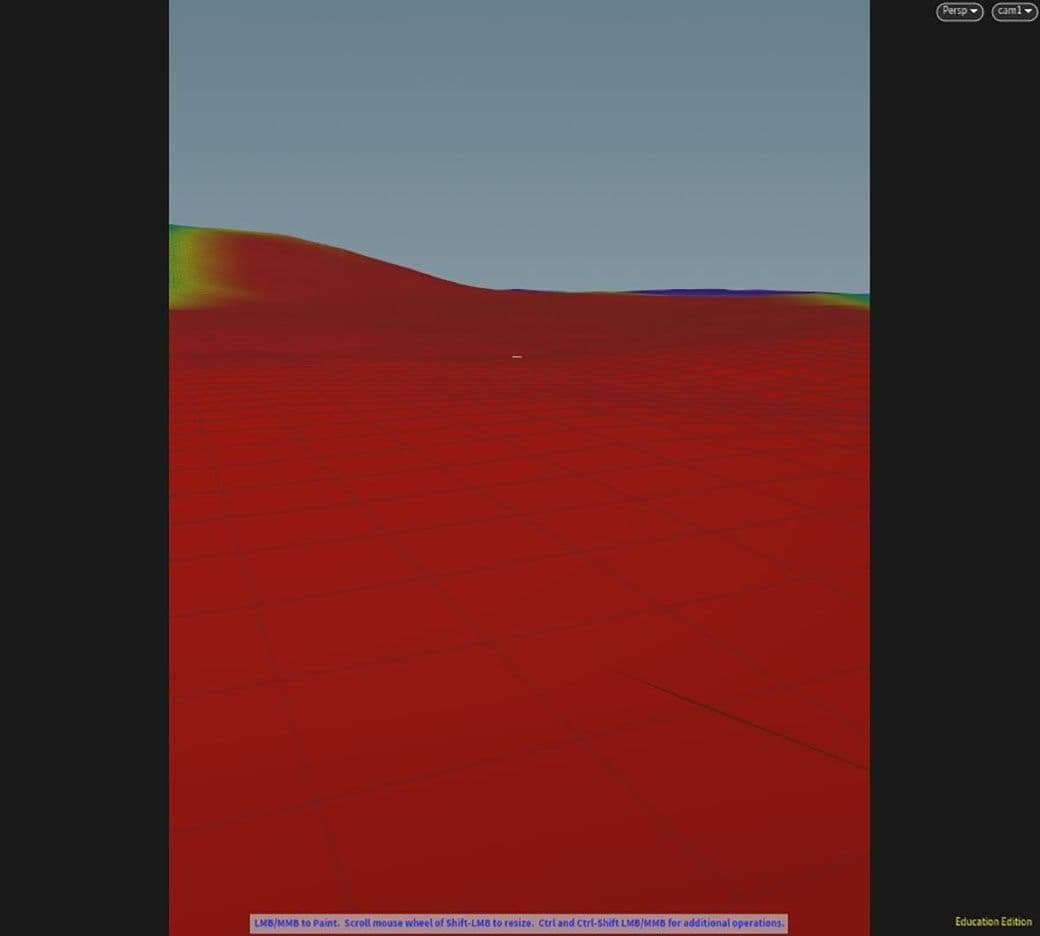
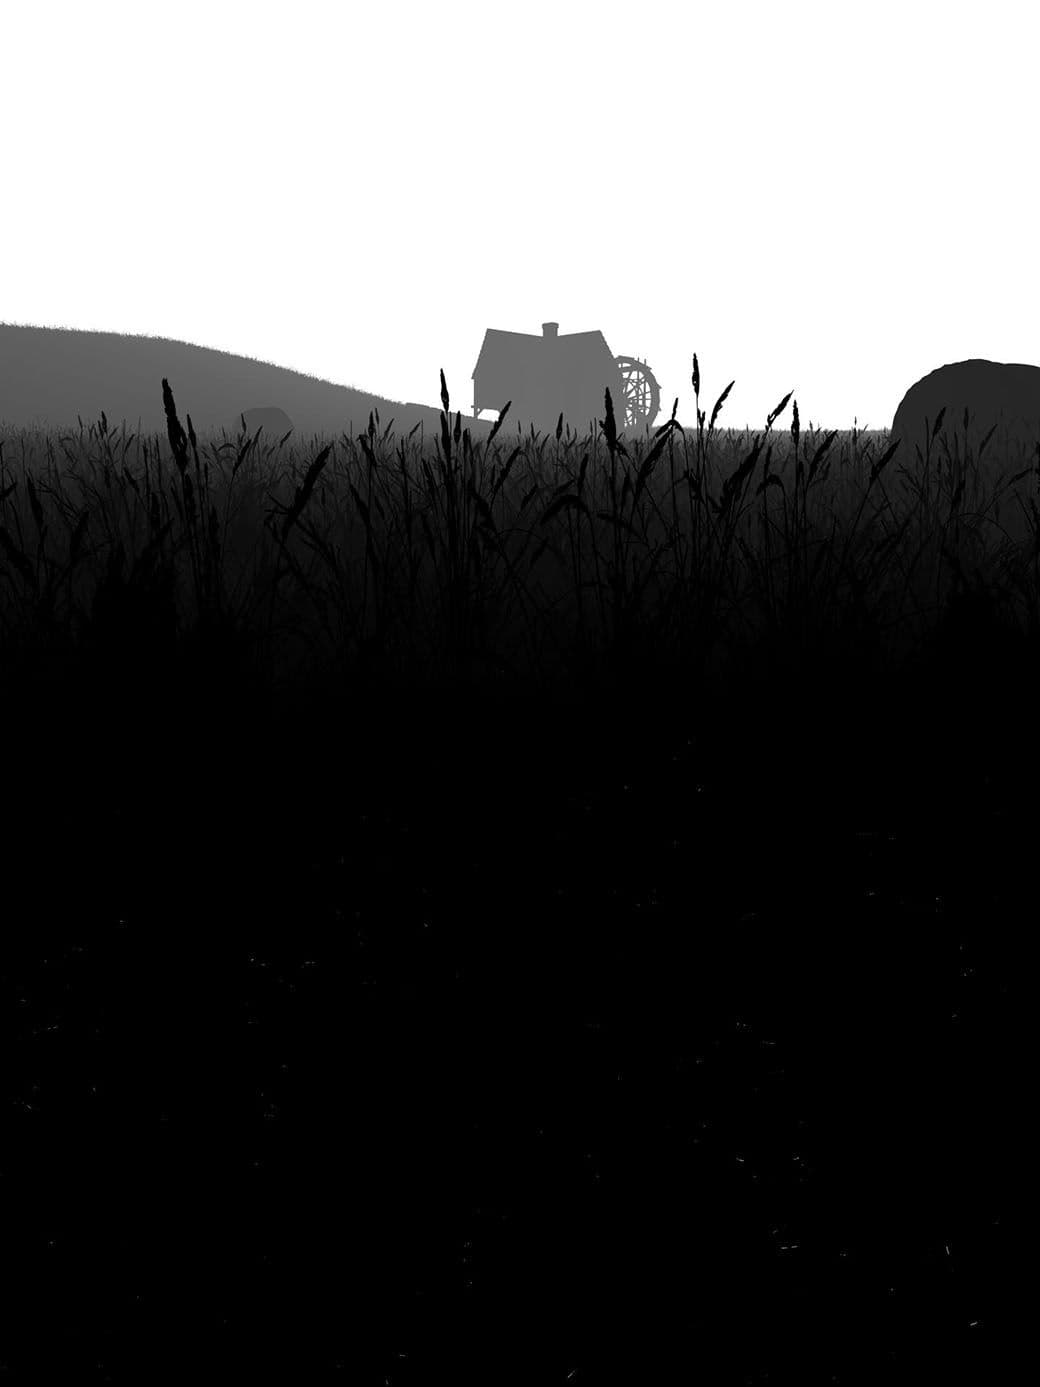
First, I created my ground using Houdini’s Heightfield tools to be more realistic. Then, I quickly created a camera and placed my main asset, the house. This step is very important, you have to put on your director’s cap. Work on the composition, the camera movement and settings to fit with what you did during pre production, or improve it. This is the very first step to highlight your main asset. Of course, be careful with the scene scale, it has to be realistic and this could create some issues later.
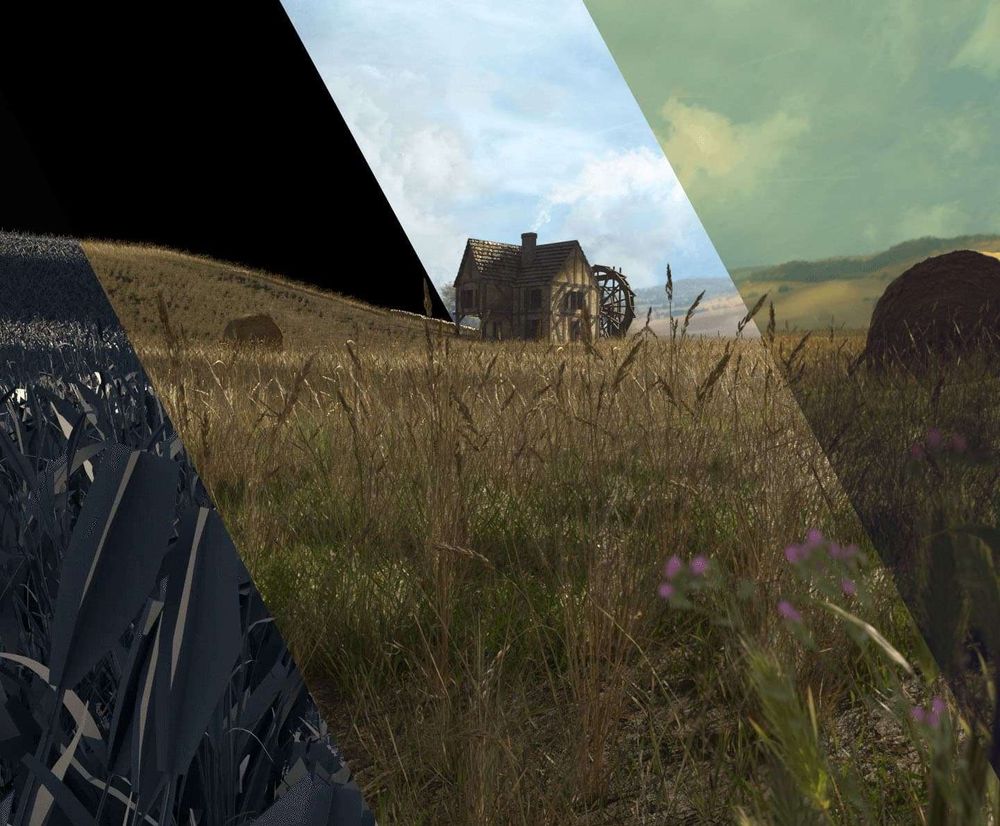
As you can see in the previous image, I knew from the start that I would create a matte painting for the background. This allows me to know exactly where I would split up the CG from the 2D parts.
The Lighting
Here is my favorite part. Lights can express so many things about your image. It can tells stories, brings different moods and emotions. Most importantly, you can use it to highlight what you want to show.
When you look at an image, your eyes should be instantly drawn to a target. If the viewer wonders “what should I watch?”, you lose. This is because you didn’t tell the story you wanted to. Even if on a single frame you have time to focus on different areas, you won’t have this chance in a movie. Indeed, the shot goes to the next one quickly, so you don’t have any time to lose the viewer in your image. You want to go straight to the point.
Always remember to start lighting on a grey shader, If it doesn’t work, you shouldn’t move on to the shading/lookdev step yet.
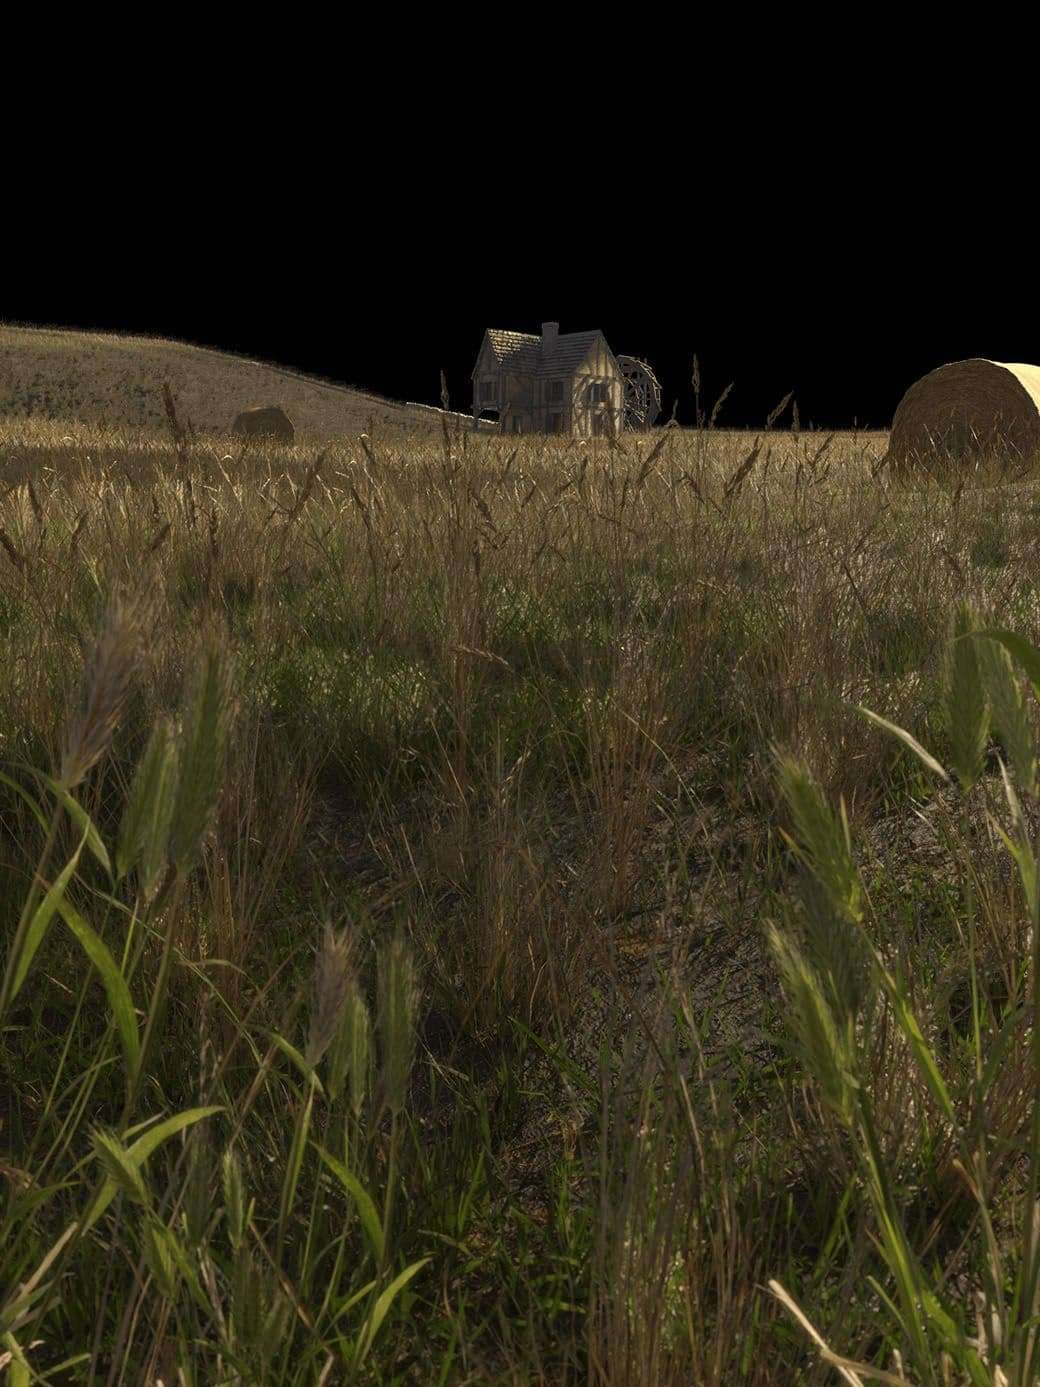
That is why a correct balance of luminance and colours are very important, but I'll come back to this in the compositing part. You shouldn’t light some unessentials areas as much as your main asset or character. In my case, I used clouds to create shadows and lower the brightness where I wanted.
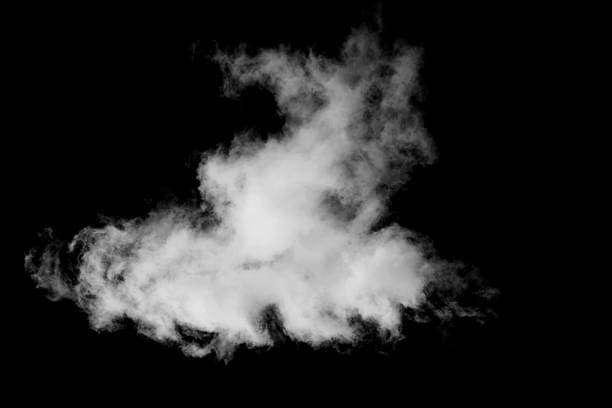
My lighting setup is quite simple, an HDRI and a sun light. The tricky part is how you could turn this simple setup into something interesting. Don’t hesitate to use gobo filters in the opacity to bring variation and realism.
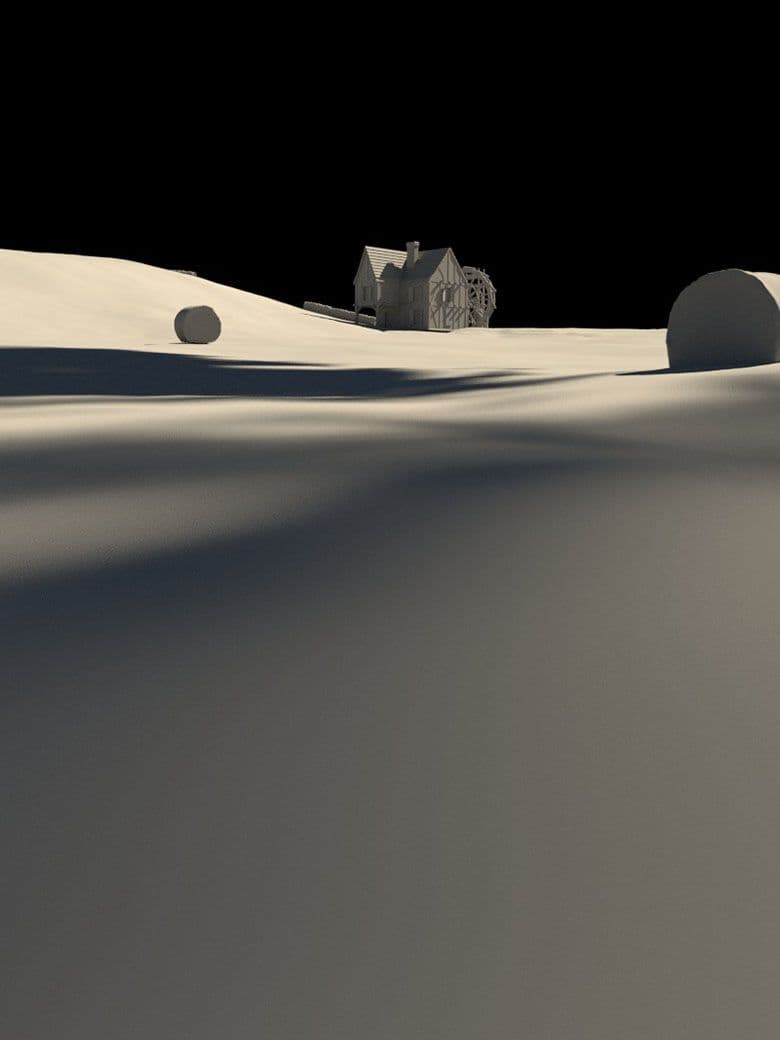
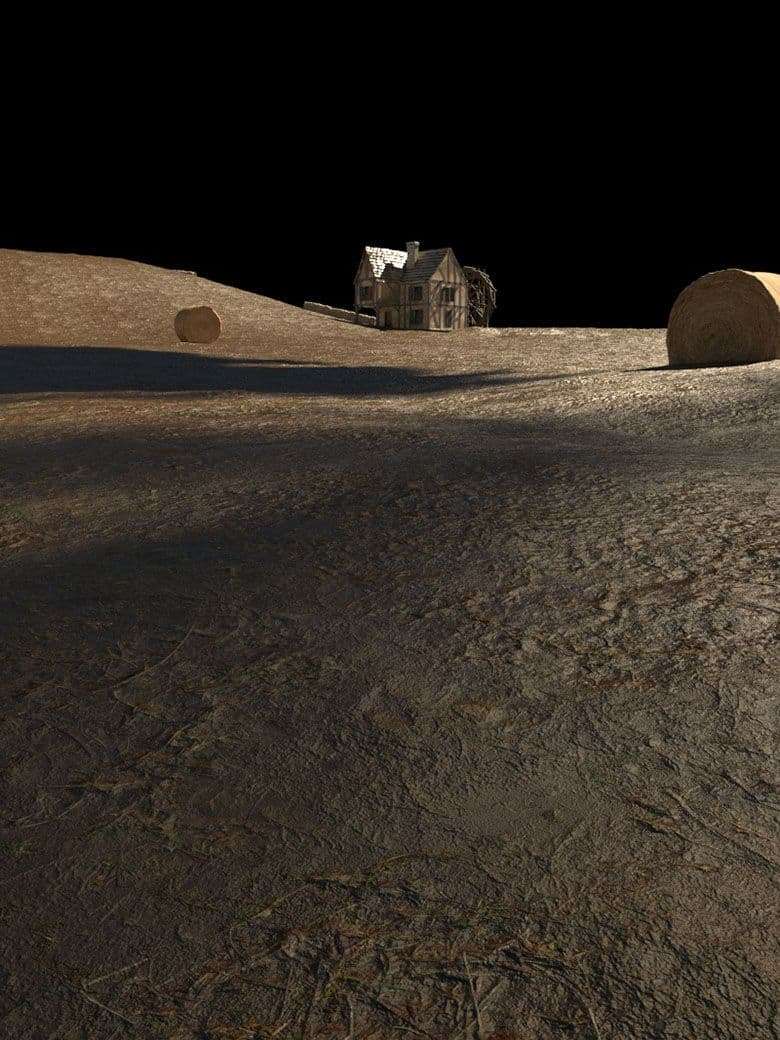
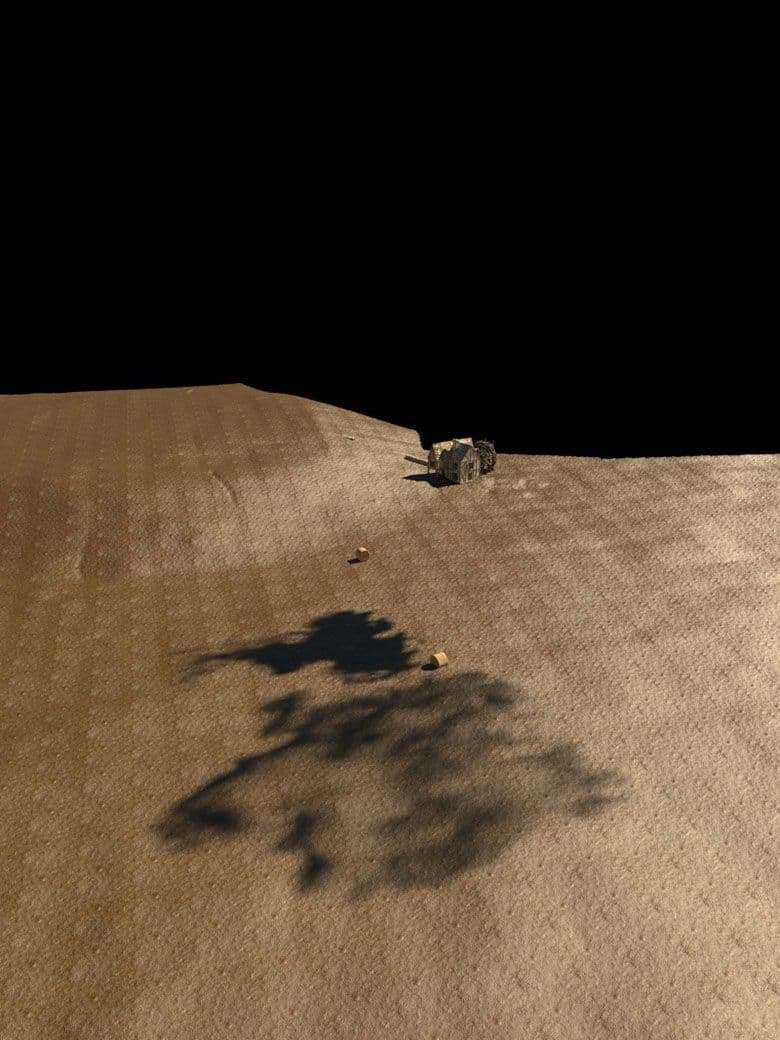
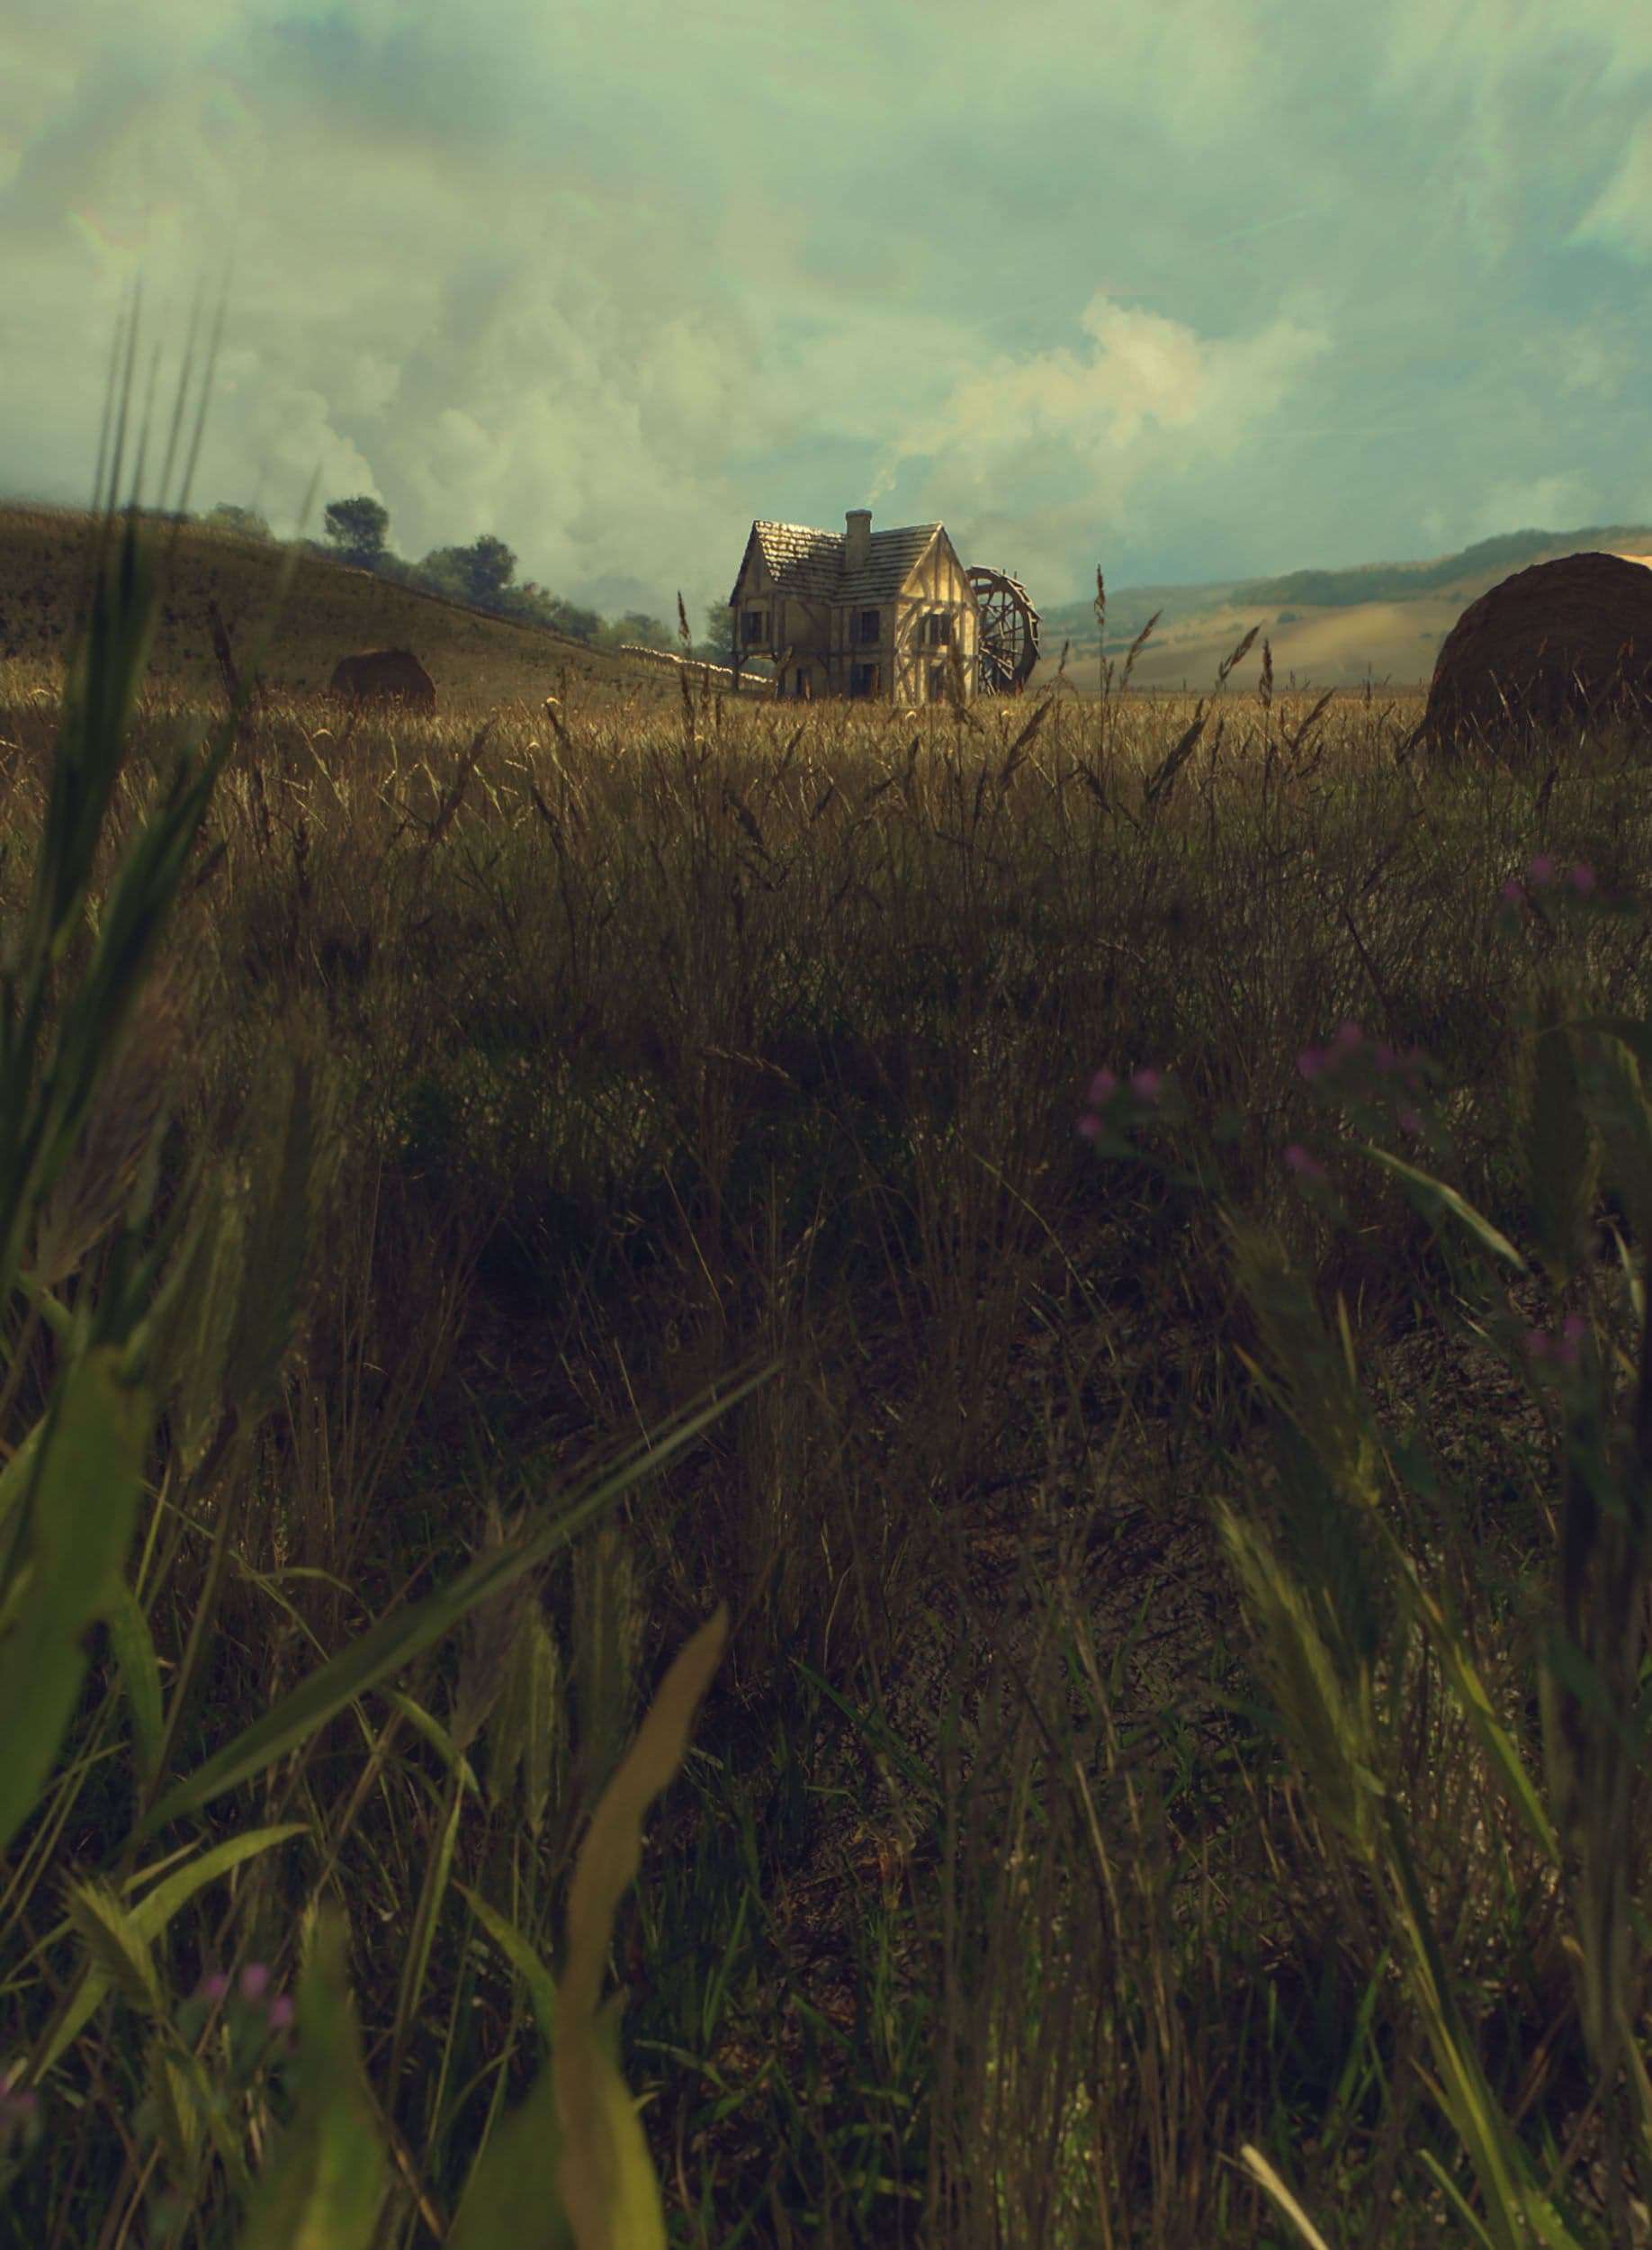
overview of the scene
examples of gobo filters
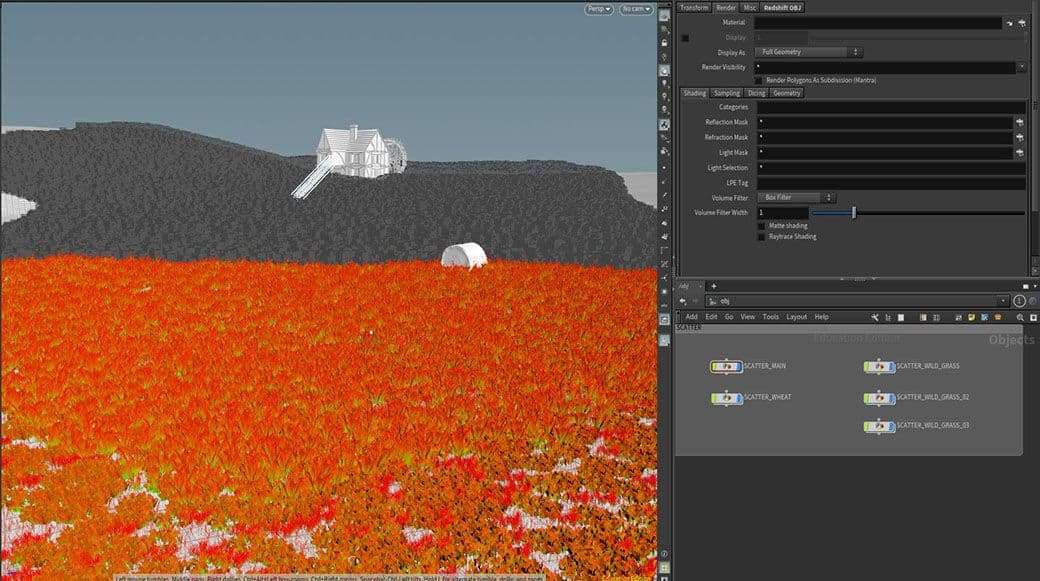
The Scattering
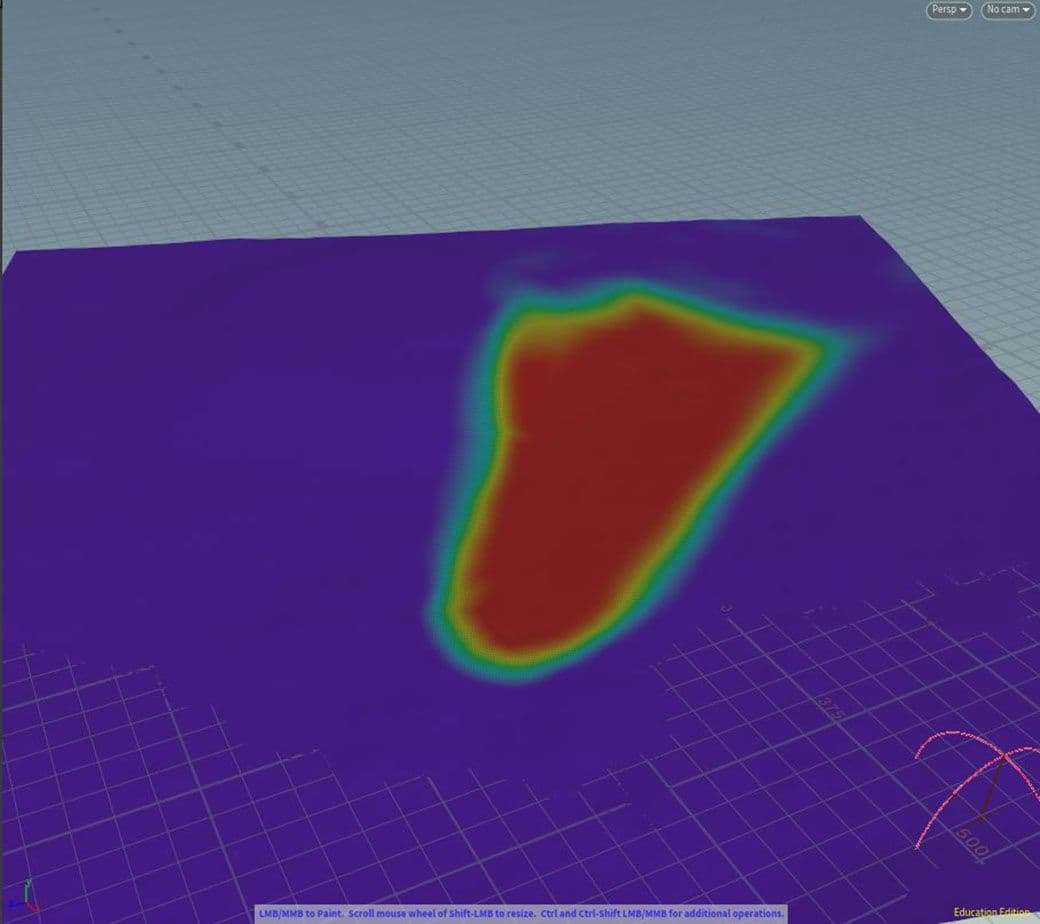
For the scene to be as realistic as it could be, I knew I had to scatter many different instances to create variation. Houdini can handle a lot of scatter points. Anyways, optimisation is very important when you work on environments, the scene can quickly become out of control. That is why I painted a mask on the ground to decide where grass would be scattered or not. (You can also use camera frustrum). Again, to optimize try to instance proxies ( or Stand-Ins in Maya ).
To break this scattering aspect, you have to create multiple layers. Use various plants, or rocks, and place them differently. For the same reason, some meshes can be hand-placed ( in the foreground for example ). In my case, I used 5 different layers, some with wild grass, others with wheat.
The Compositing
Before this step, make sure to have all the AOVs you’ll need. Create light groups, this will be very useful.
some of my AOVs (diffuse sunlight, specular,Z Depth)
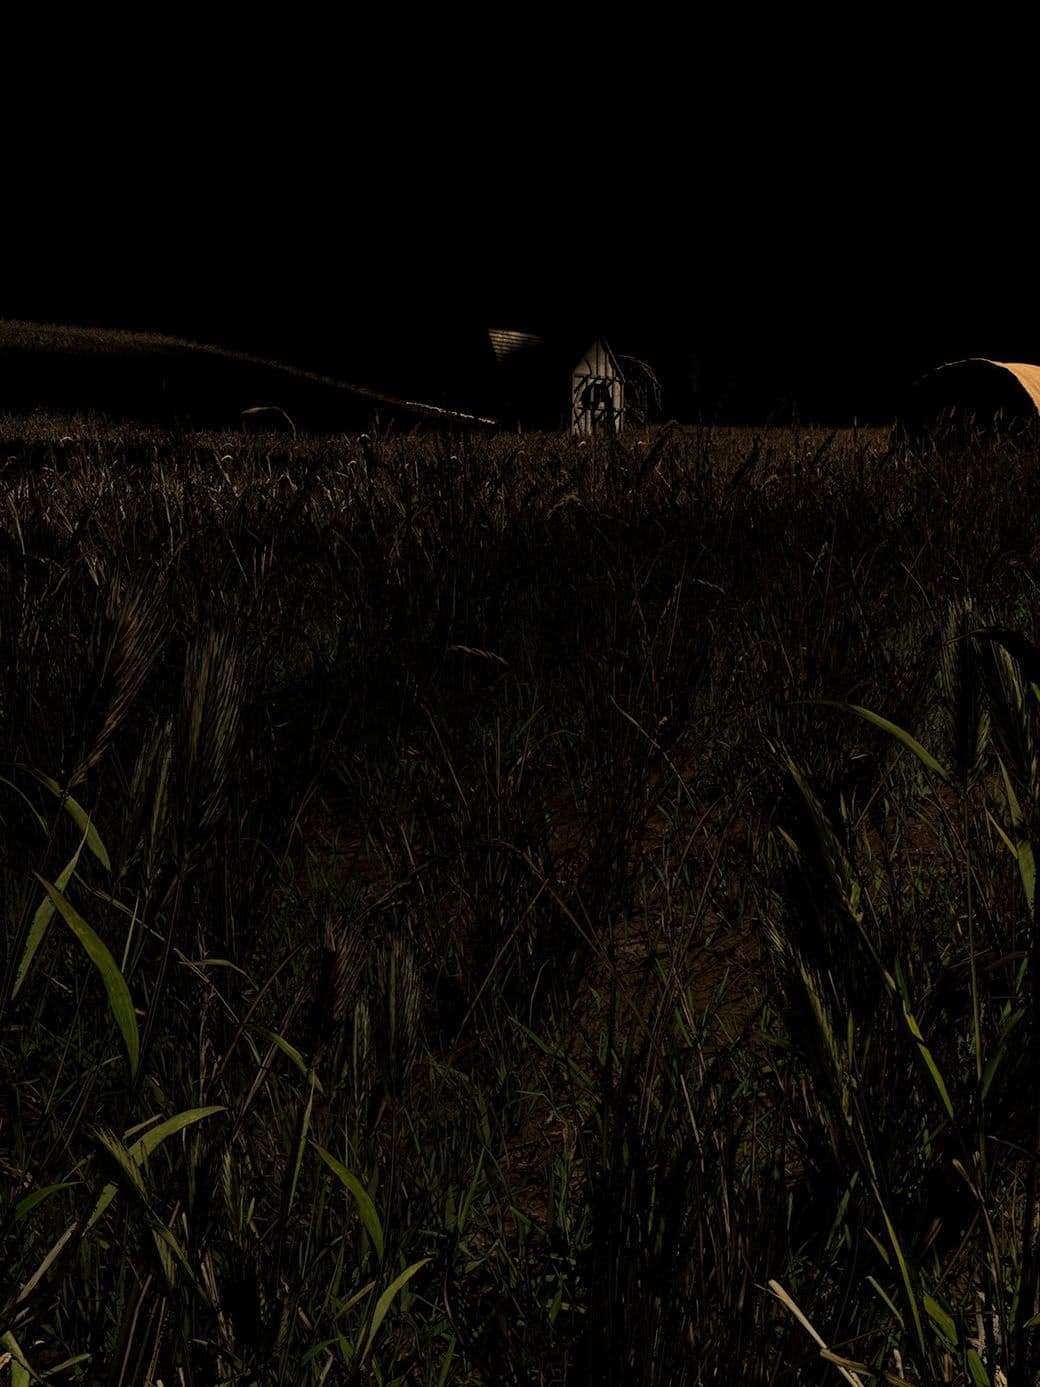
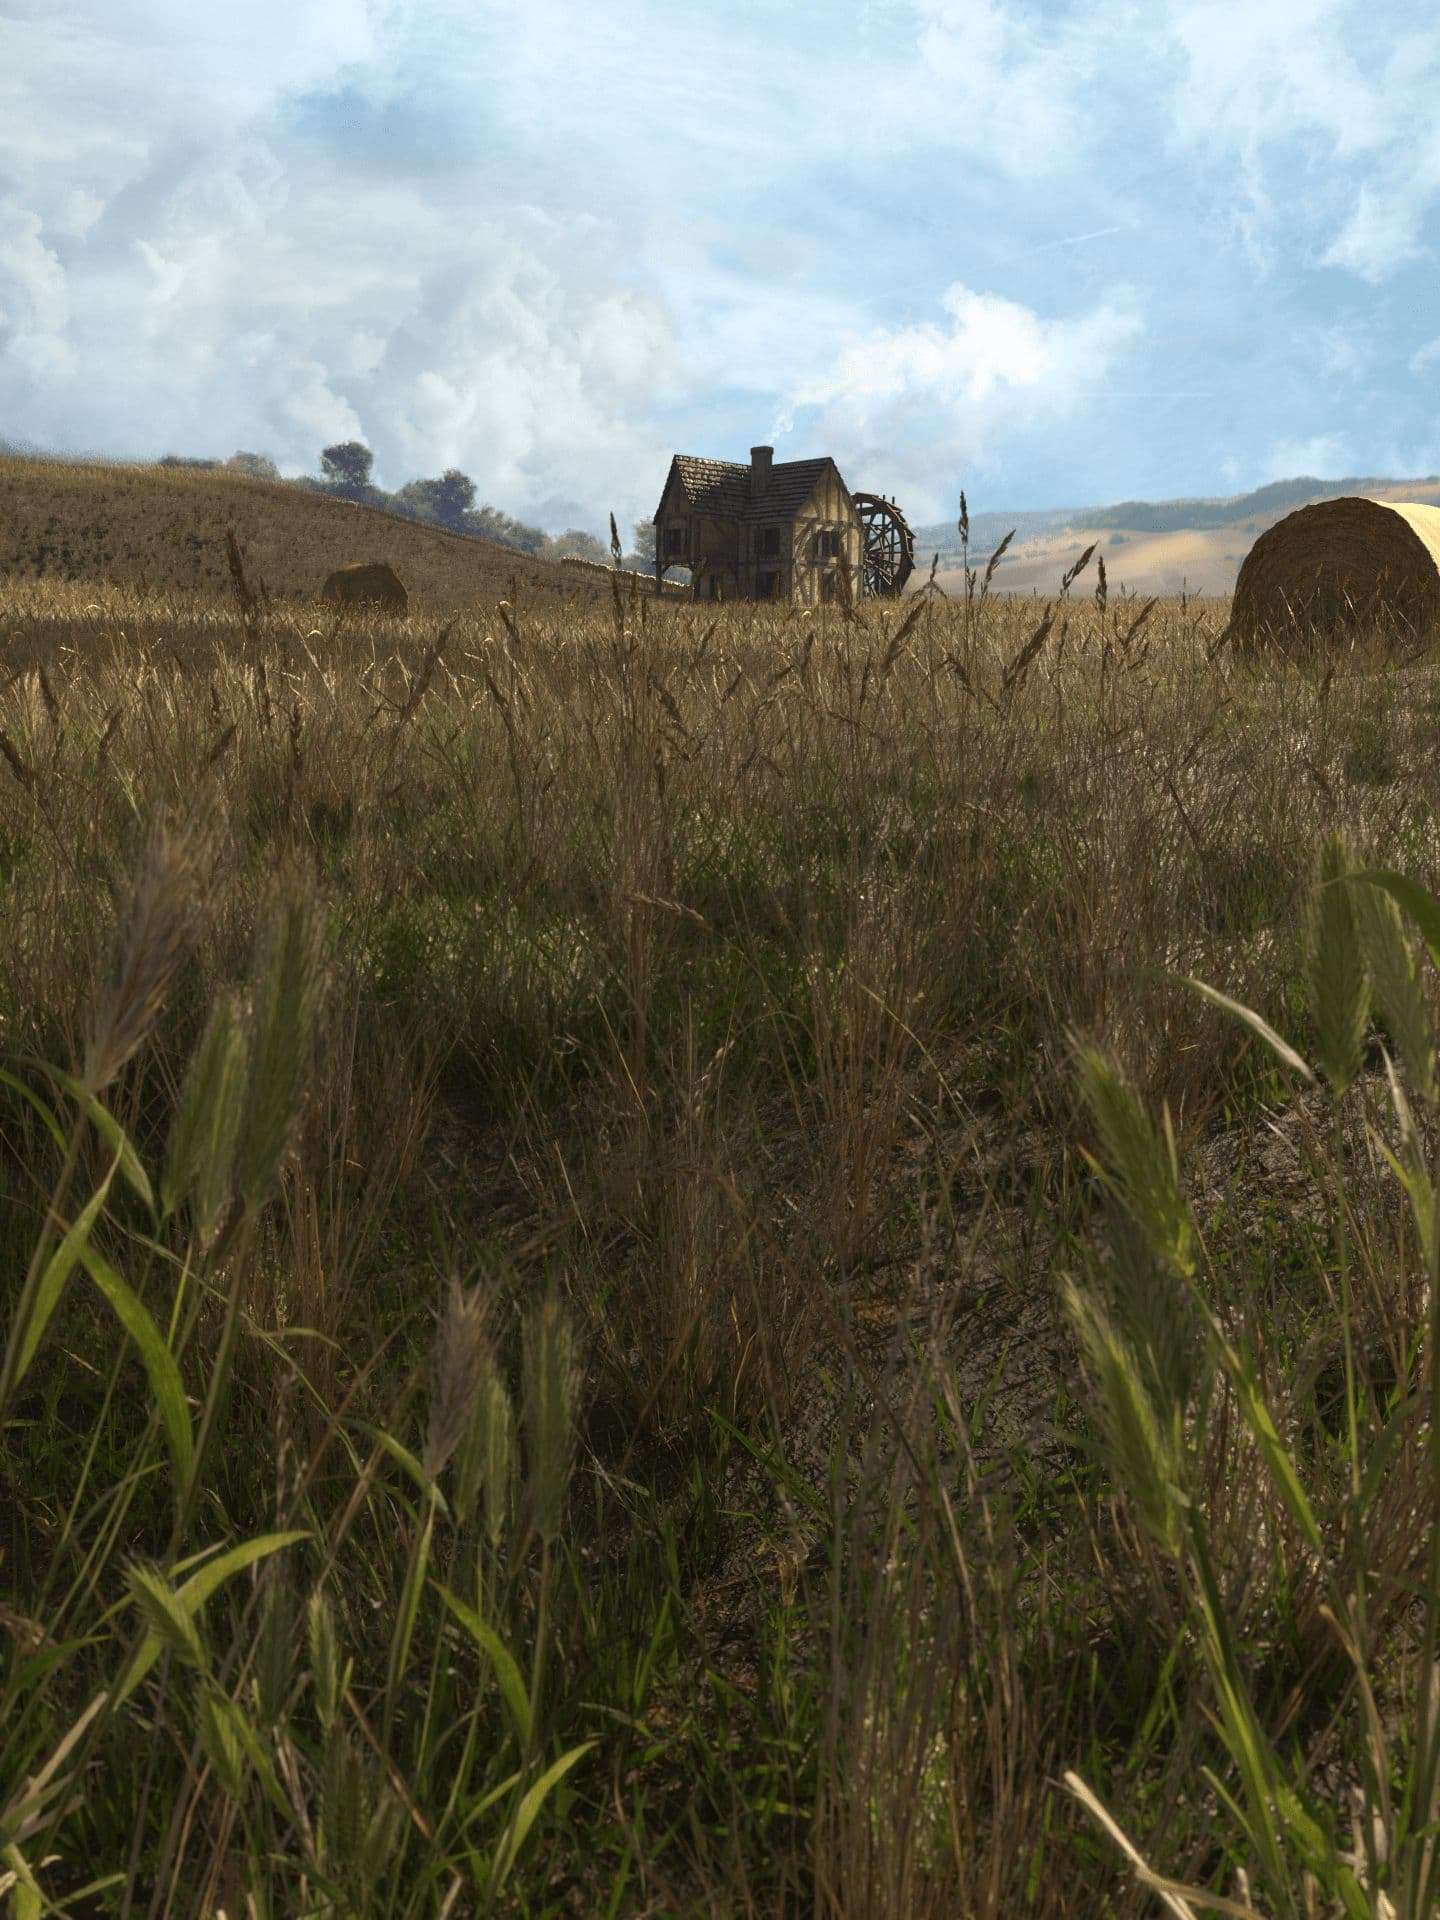
My first step was to take care of the CG, reinforcing the lighting by making the shadows darker, lowering the higher speculars. Then, I created some atmospheric perspective and defocused with the Z pass to increase the feeling scale.
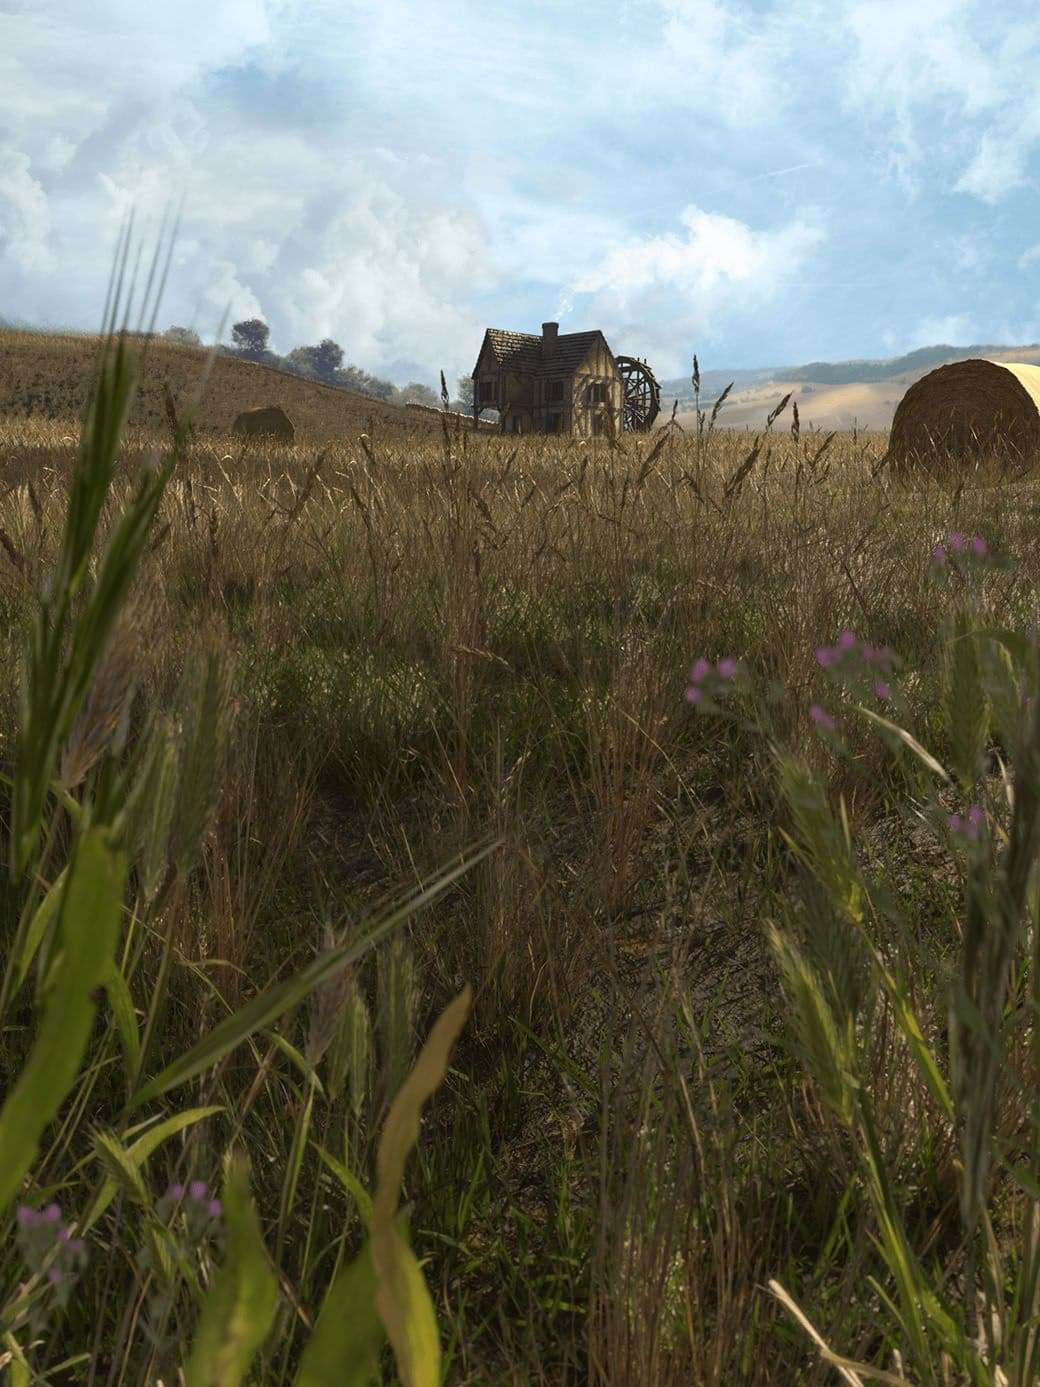
The CG part done, I worked on my 2D, beginning with the matte painting. created using Photoshop, I had to then correct it in Nuke to make it match the CG (soften, colour grading, grain).
The colour grading can bring a special mood to your image, and a cinema aspect.
In the foreground, I used some stock images, to bring realism, and recreate the composition I made during pre production. This technique is very useful to melt the CG into live action.
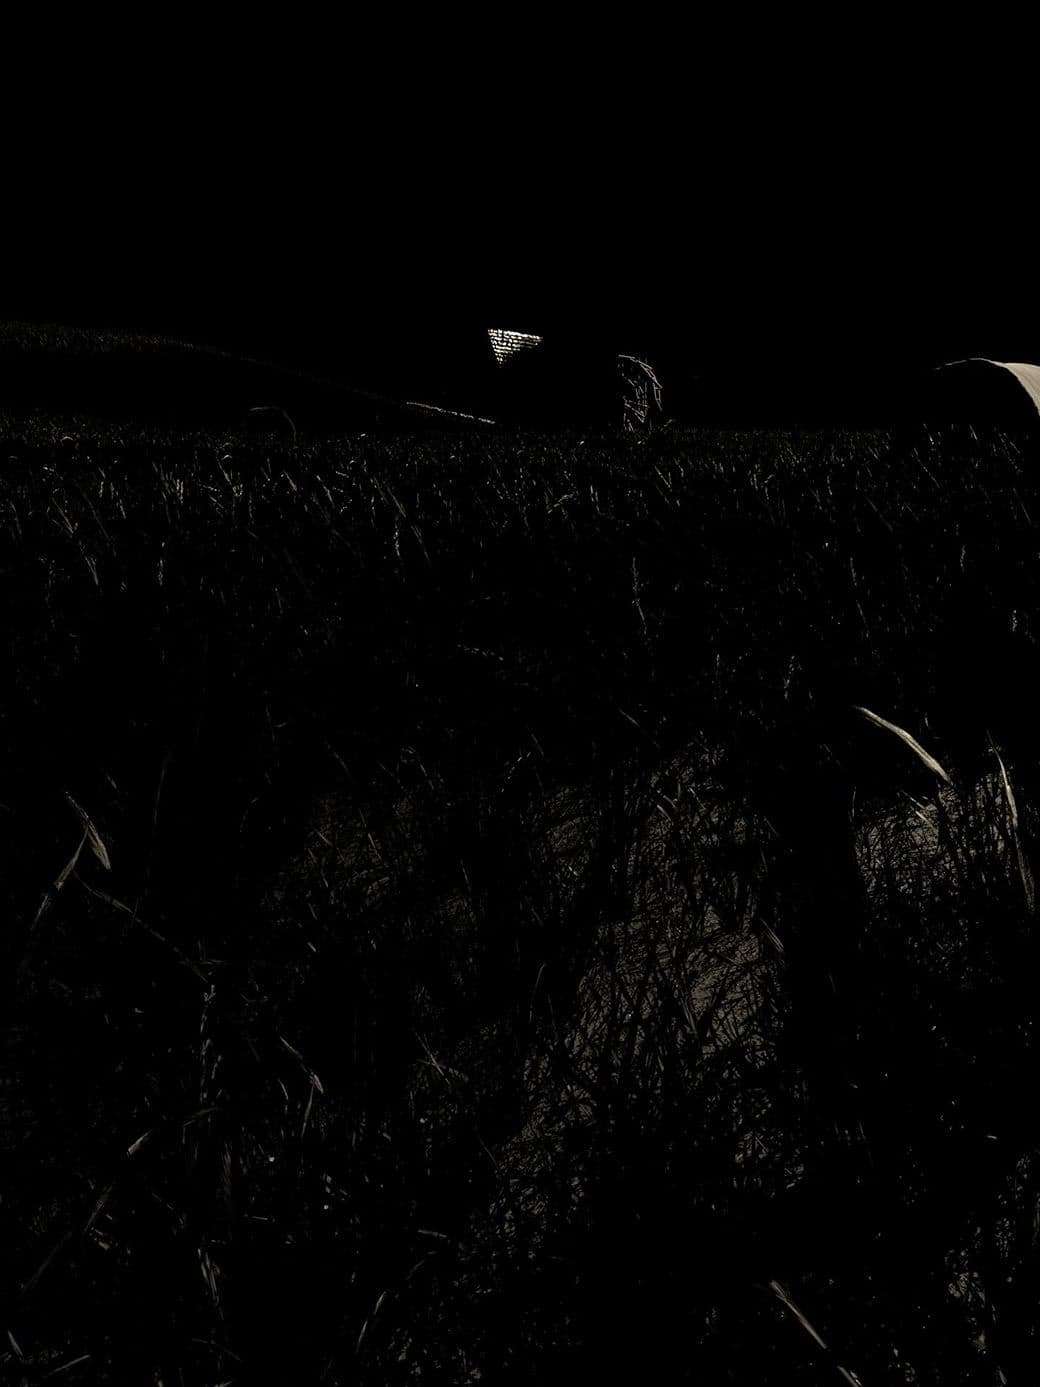
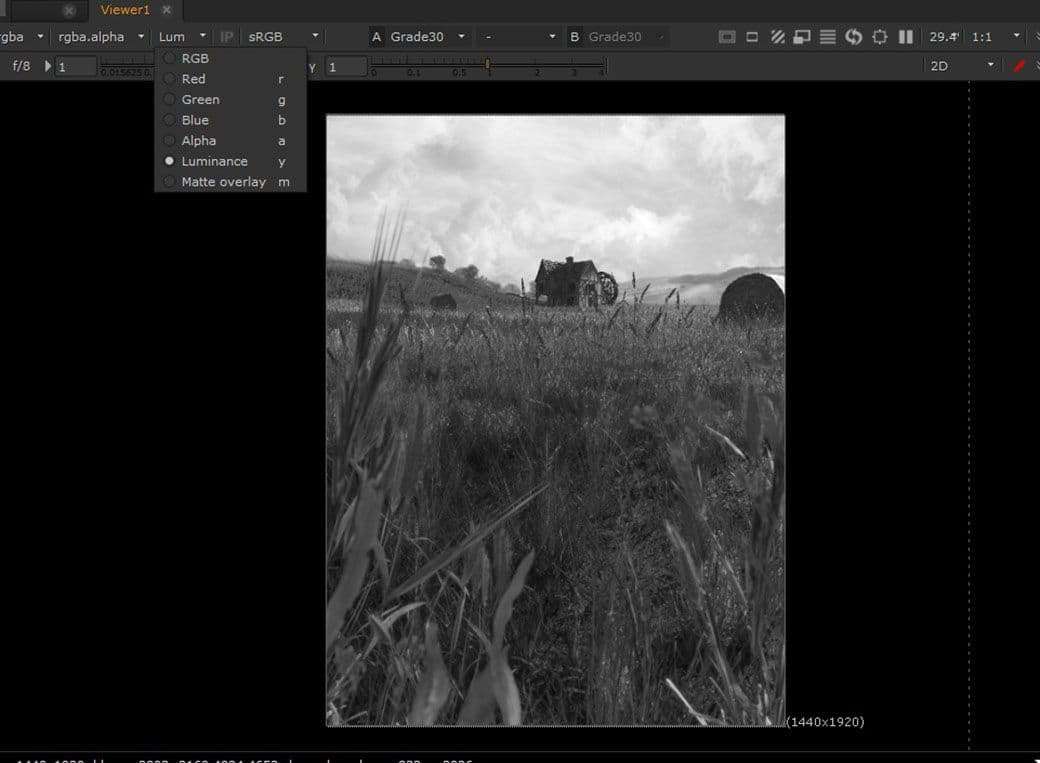
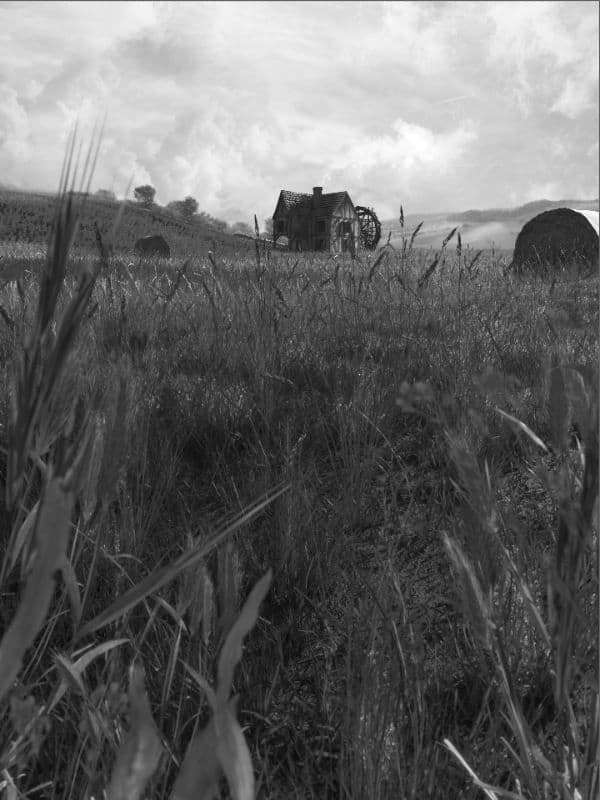
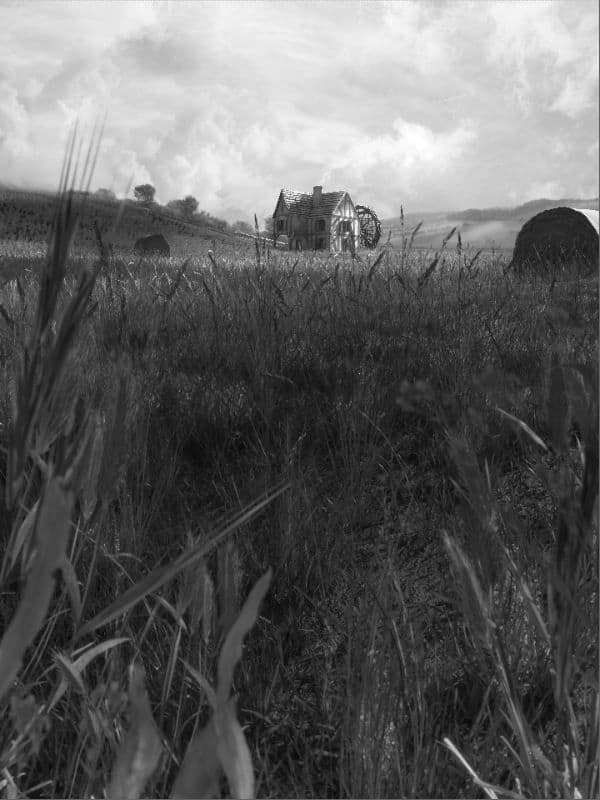
Here comes the interesting part I talked about earlier: The luminance. You have to balance your image to bring contrast and attract the viewer's eye where you want. That is why I have done some rotos to increase the light at some spots. In Nuke, use your luminance view to help you.
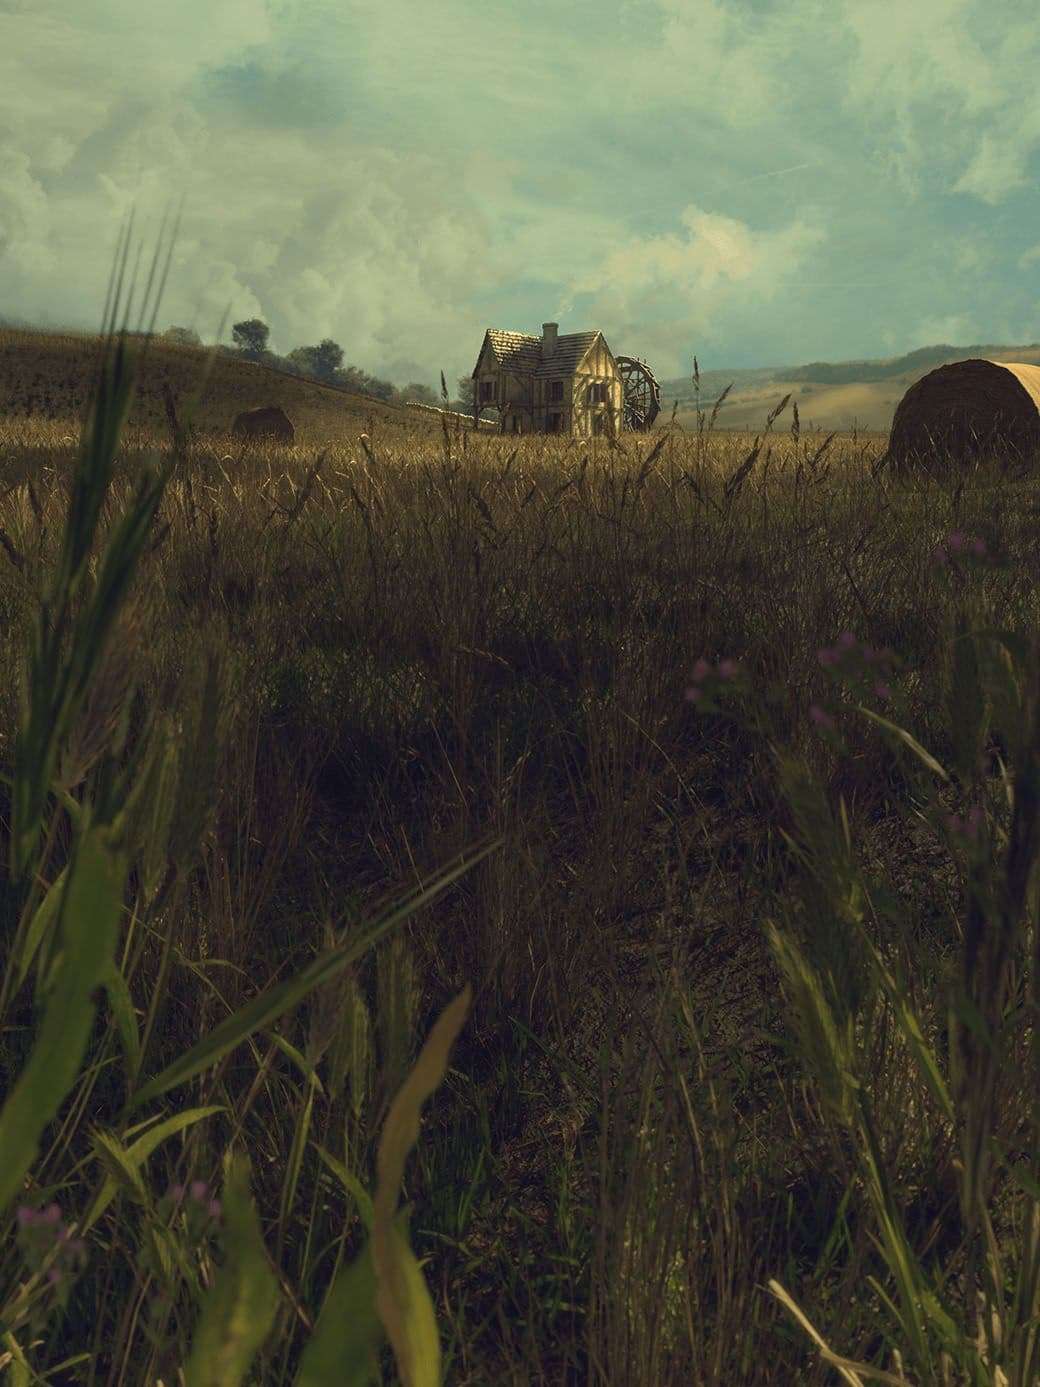
As you can see, In the first image, the house wasn't lit enough, it didn't attract the eye as much as I wanted it to.
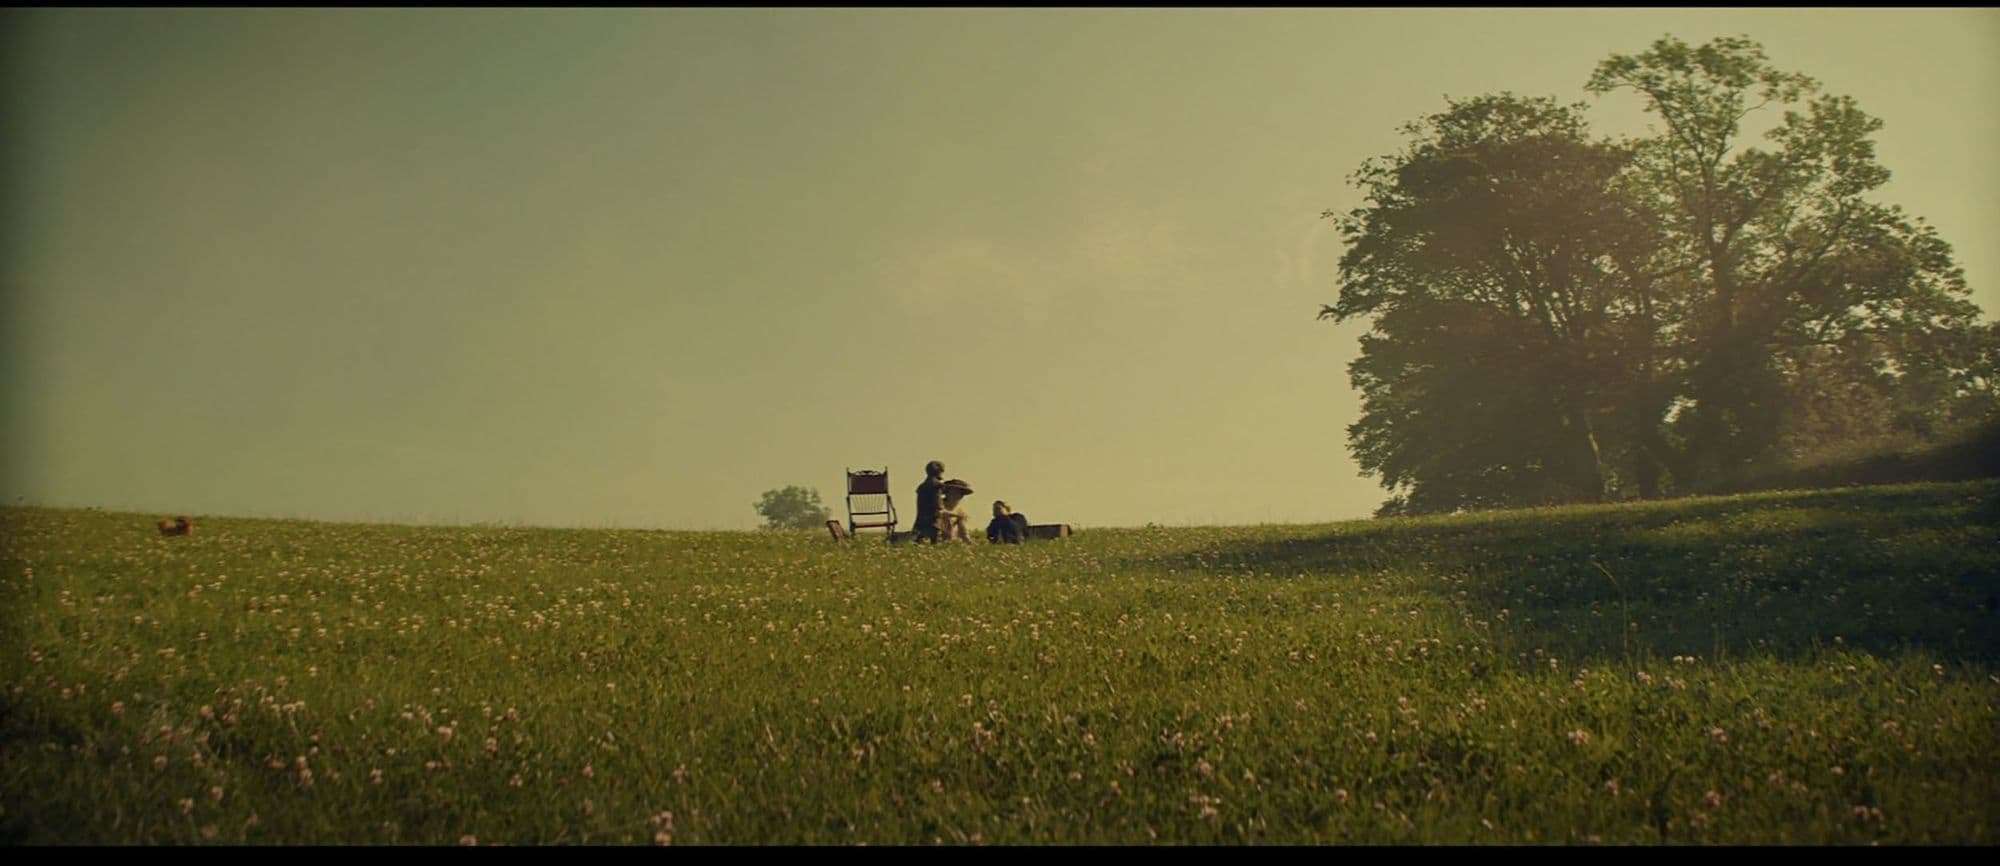
Later, I added special colour grading to my image. My reference was “The Lost City of Z”. The colour grading can bring a special mood to your image, and a cinema aspect.
Finally, to create a cinematic look on my image, I added lens distortion, chromatic shift, and grain.
Thanks a lot for reading ! You can find my entry here or my profile on Artstation or LinkedIn.