KIWANUKA: Creating a Digital Double of an Iconic Performer From Photographic Reference
3D Modeller and ESMA graduate, Felix Gourlaouen, takes us through his process of creating a digital double from photographic reference.
3D Modeller and ESMA graduate, Felix Gourlaouen, takes us through his process of creating a digital double from photographic reference.

Felix Gourlaouen is a 3D modeller and an ESMA Montpellier Graduate from the class of 2022. Felix recently created a digital double without using scan data, forcing him to work strictly from photo reference.
In this article he takes us through his process, inspiring other digital artists to take on a similar challenge!
For this project, I wanted to create a digital double without using scan data, forcing me to work strictly from photo reference.
I had already worked with scans for a self portrait, and wanted to take my sculpting skills further.
When setting out on a new project, of any kind, I’d suggest choosing something you are passionate about.
It’s too easy to give up when it starts getting more difficult, so doing something you love will help you push through.
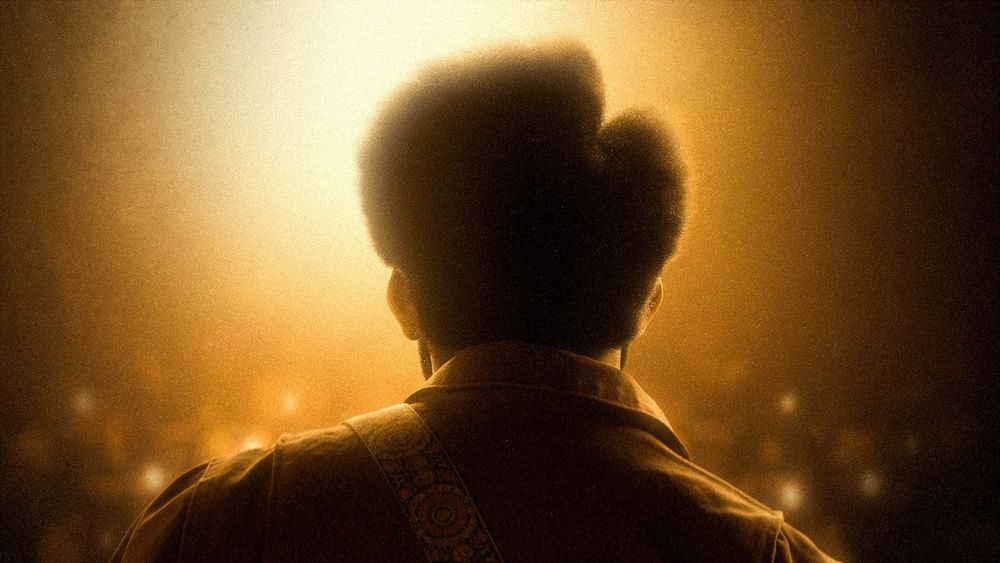
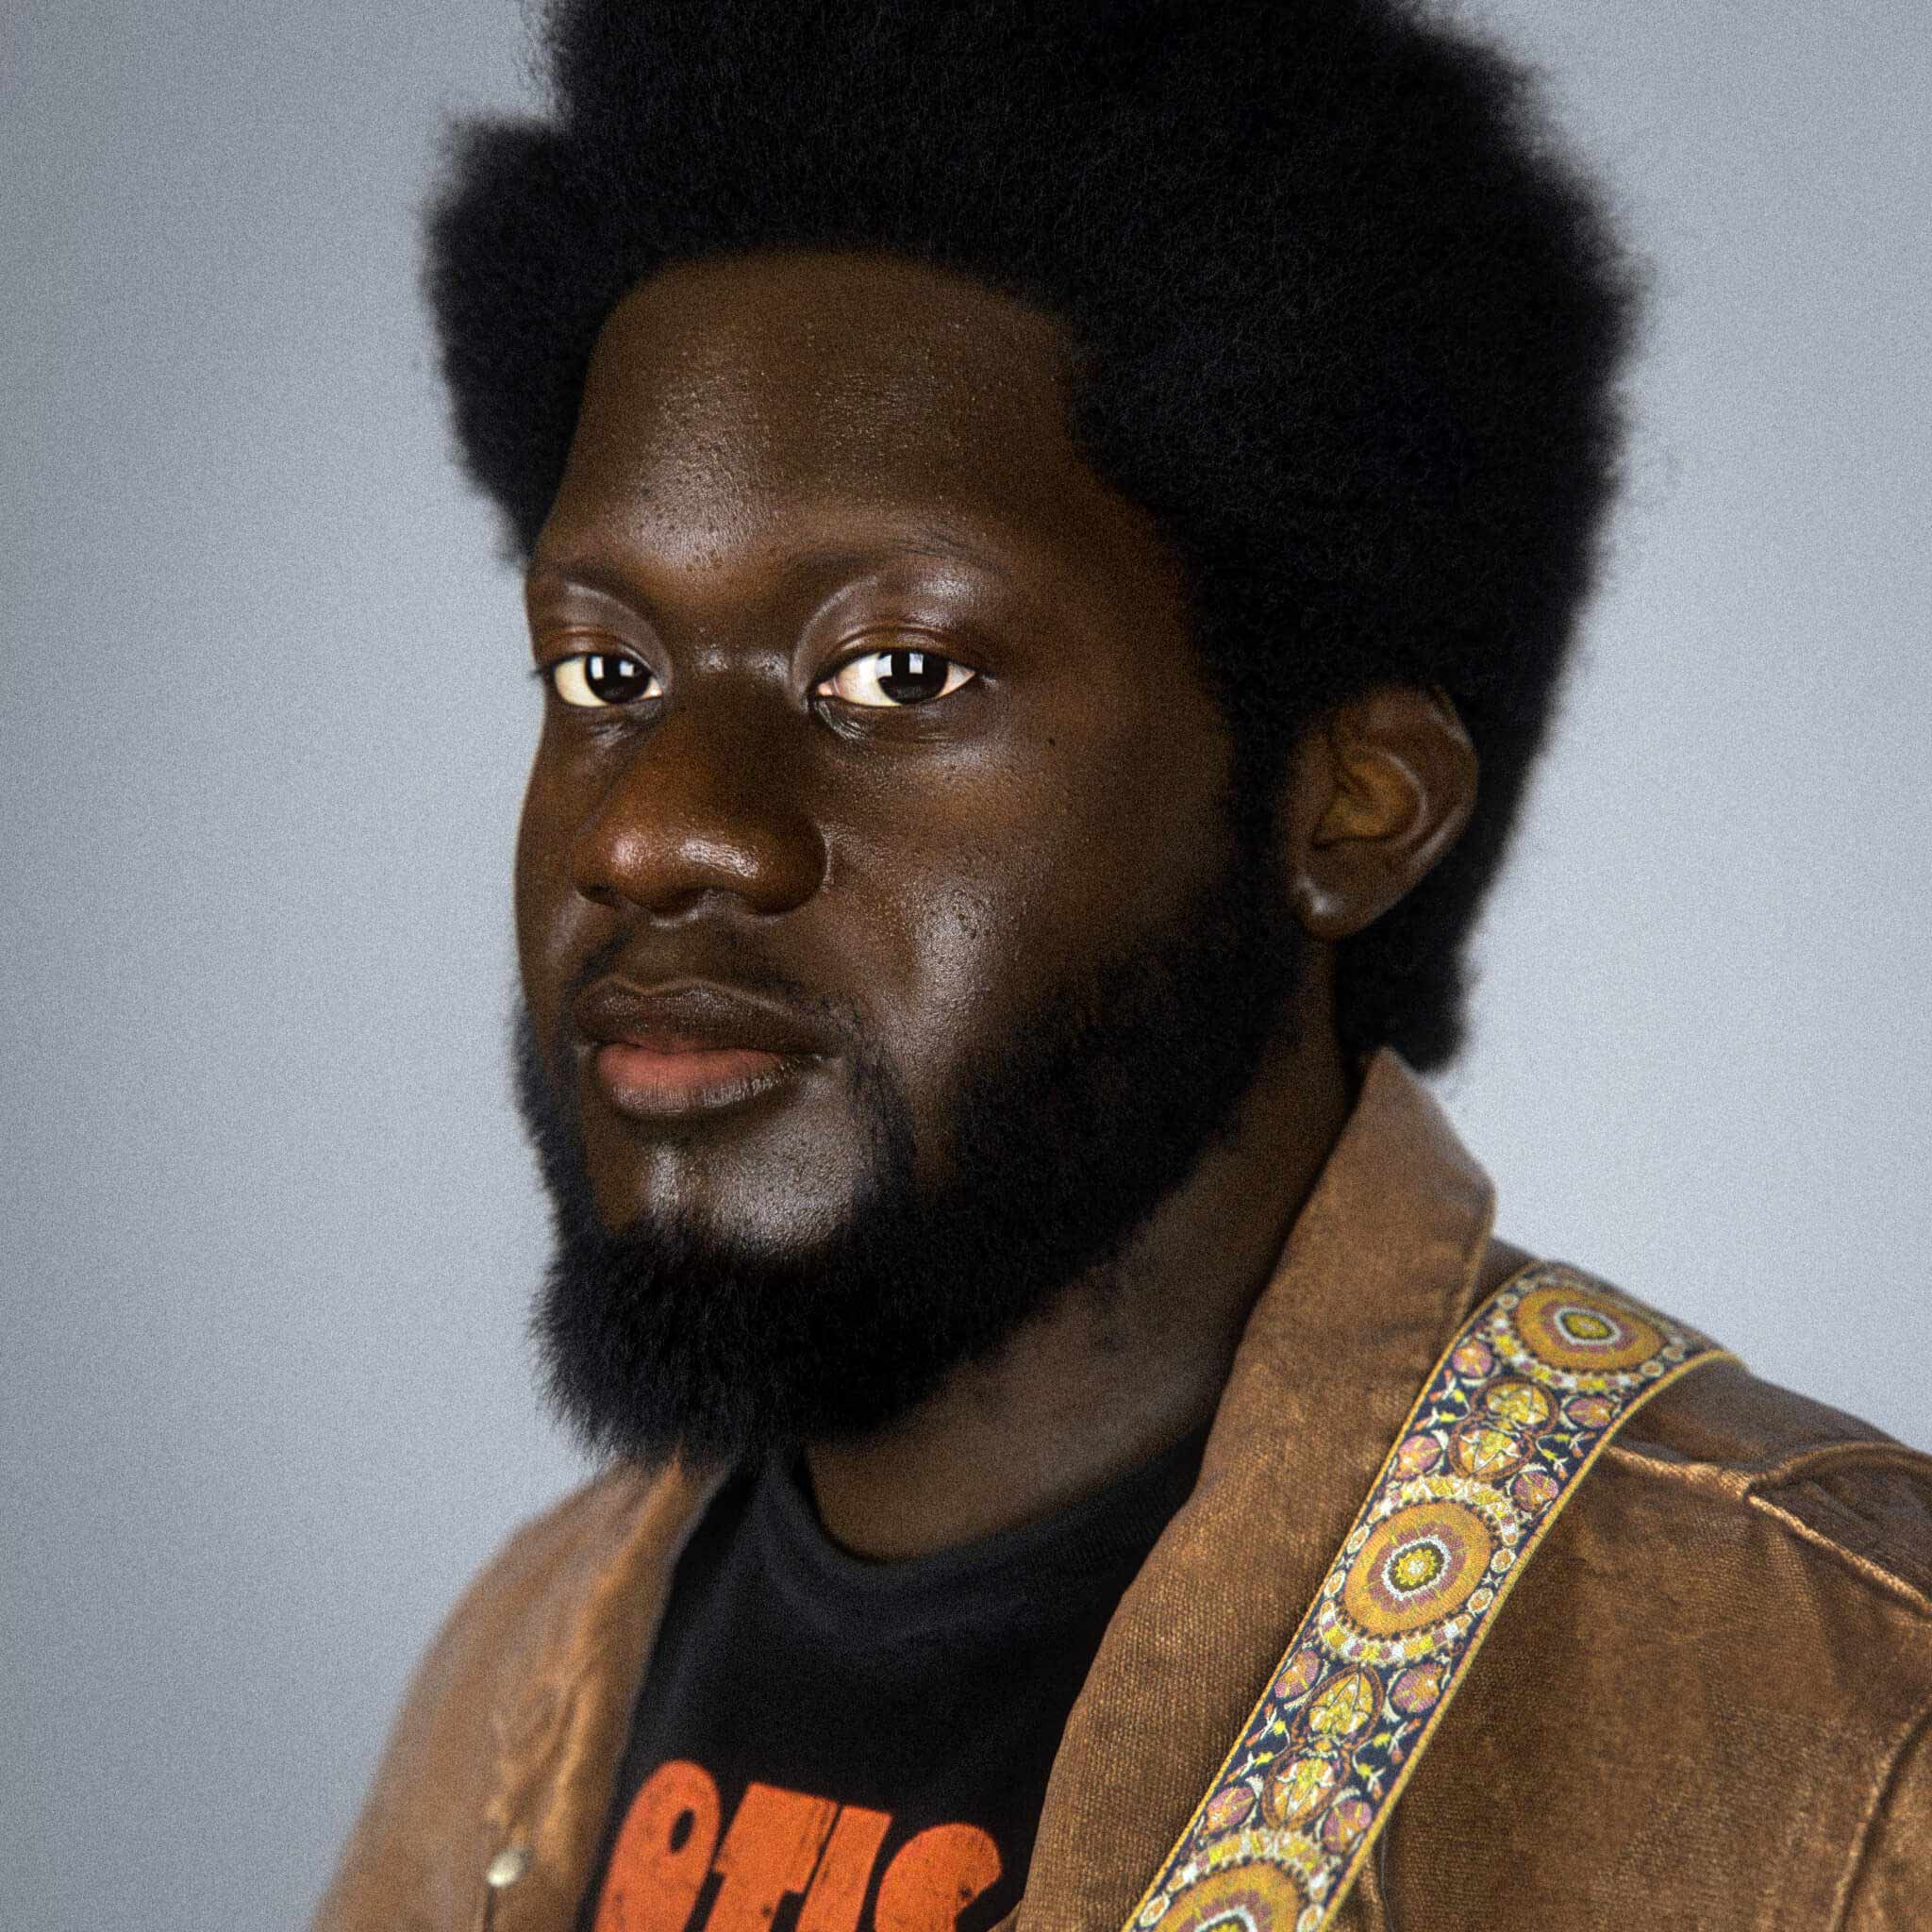
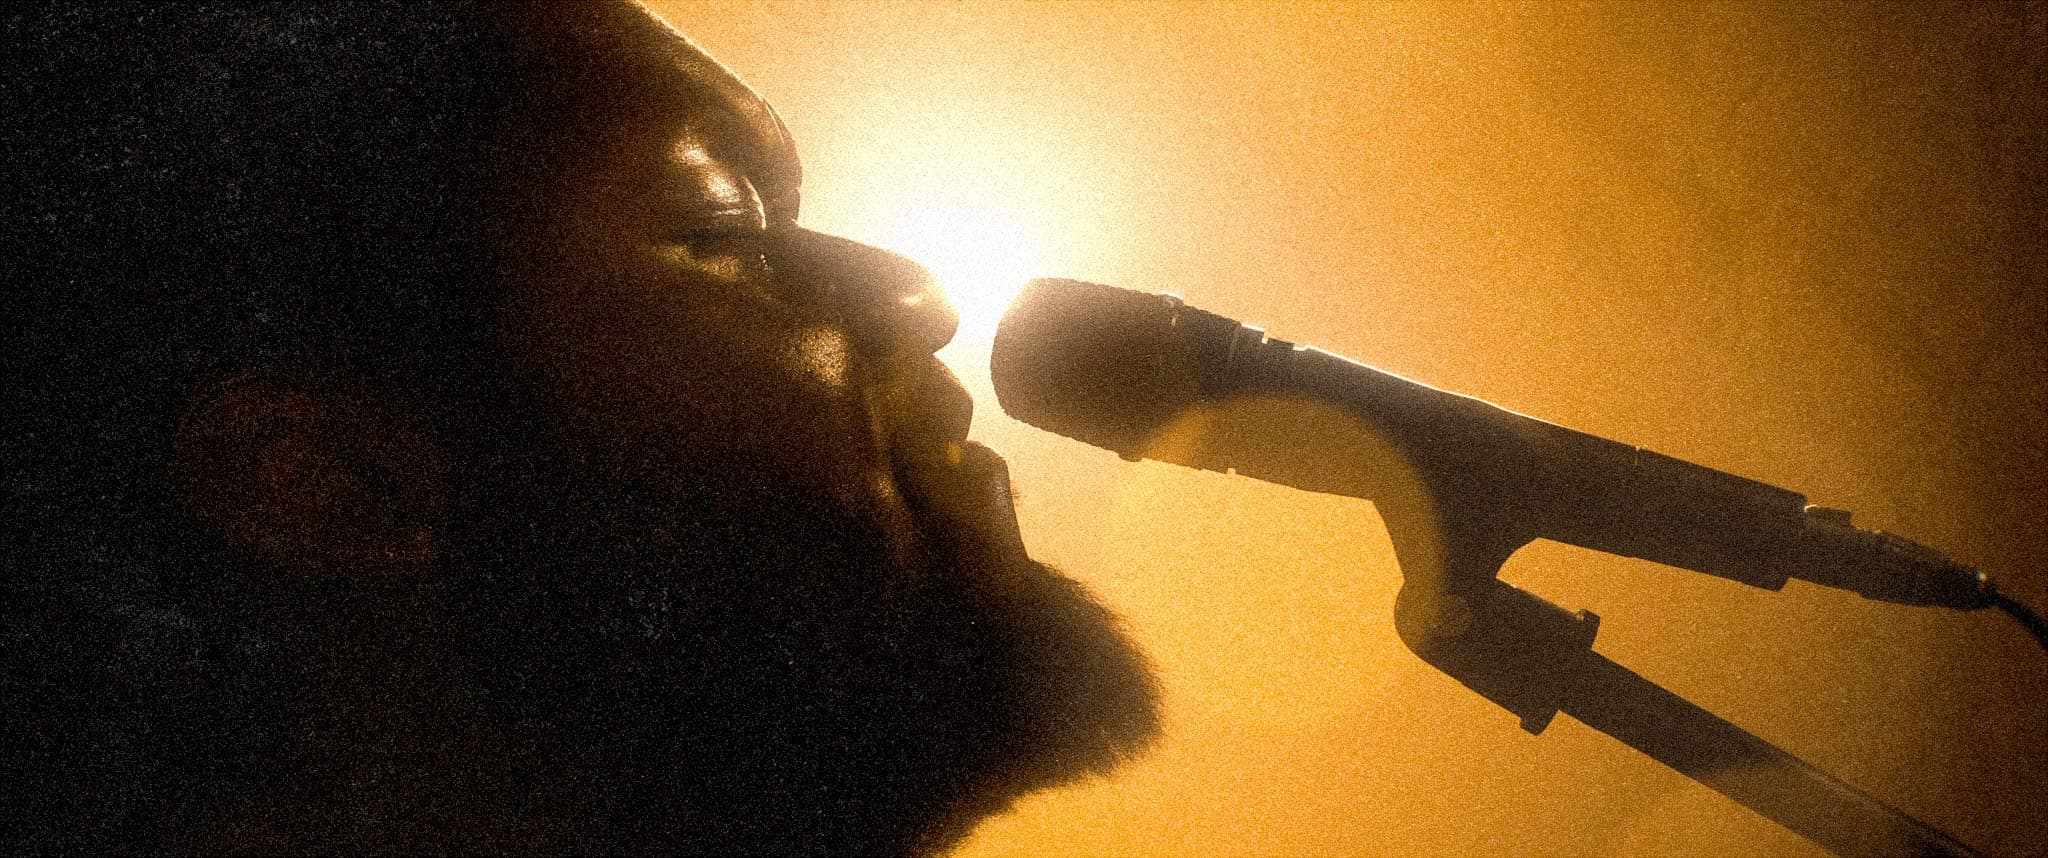
I chose to work on the likeness of singer-songwriter Michael Kiwanuka. I set myself the end goal of creating shots that could look like they were taken on stage.
Everyone will tell you that references are the key to everything. In light of that, I set out to gather as many references from different angles and different lighting.
A good place to find references like these are interviews, as there’s a lot of listening and sitting still. Another great place is stock photo websites such as GettyImages. You’ll be able to find a series of pictures from the same moment, usually from award ceremonies or red carpets and such. That was a great help in finding photos of Michael facing straight ahead, with a relatively long focal length. The longer the focal length, the less camera deformation, therefore less guess work.
The goal of gathering reference is to create a patchwork of photographs to make your own reference turntable.
For me, the two best places to keep your references together and organised are PureRef and Miro.
Now, jumping into Zbrush with my references, I started sculpting away using the Head plane base mesh.
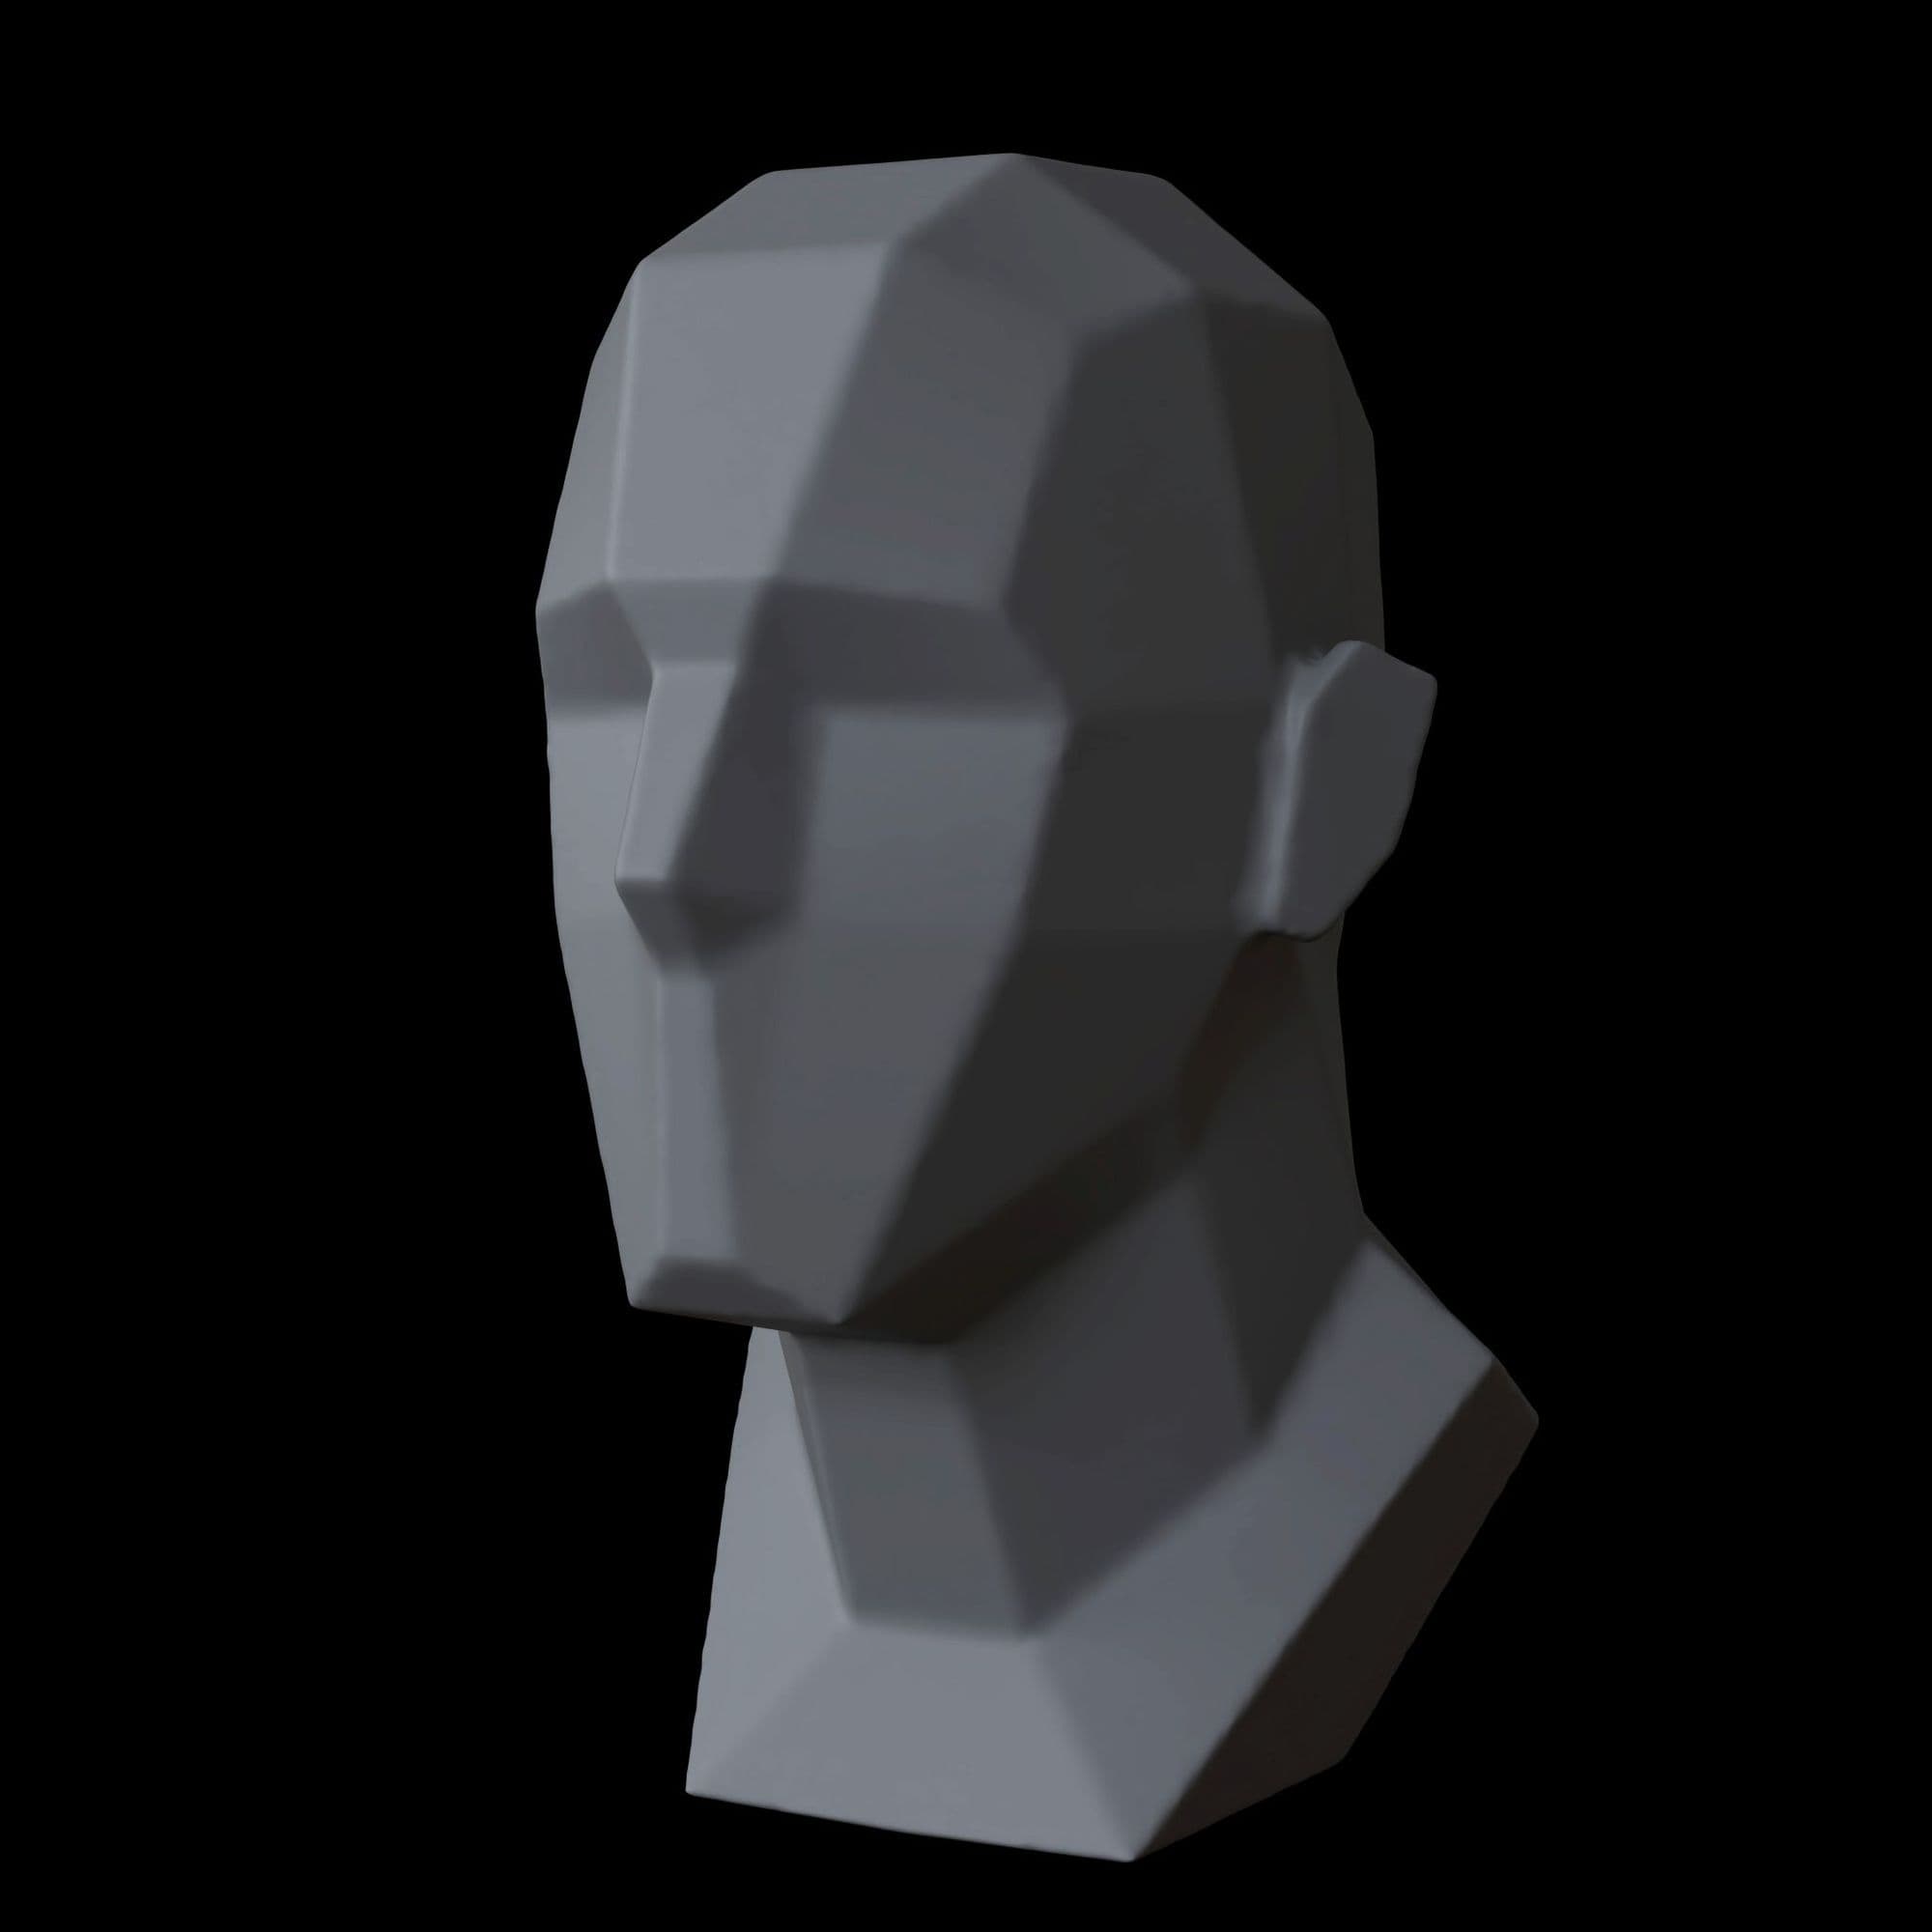
At this point I’m not lining up my photographs or heading for something perfect. I’m first looking to find something human-like and leaning more and more towards the likeness as I go. I soon started lining up my pictures underneath my ZBrush page. The See Through slider at the top right of your default Zbrush page comes in very handy.
Keeping the model with as little polygons as possible is not necessarily intuitive, but will definitely make finding the form and modifying it much easier.
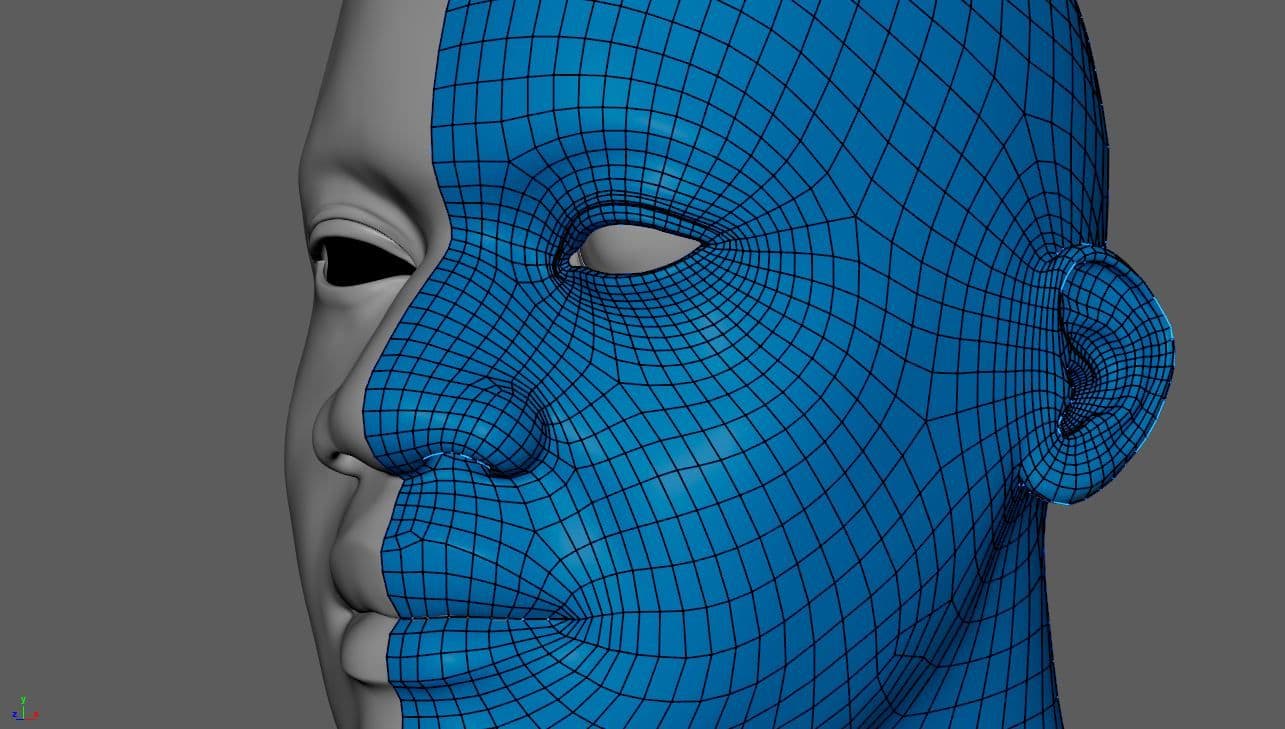
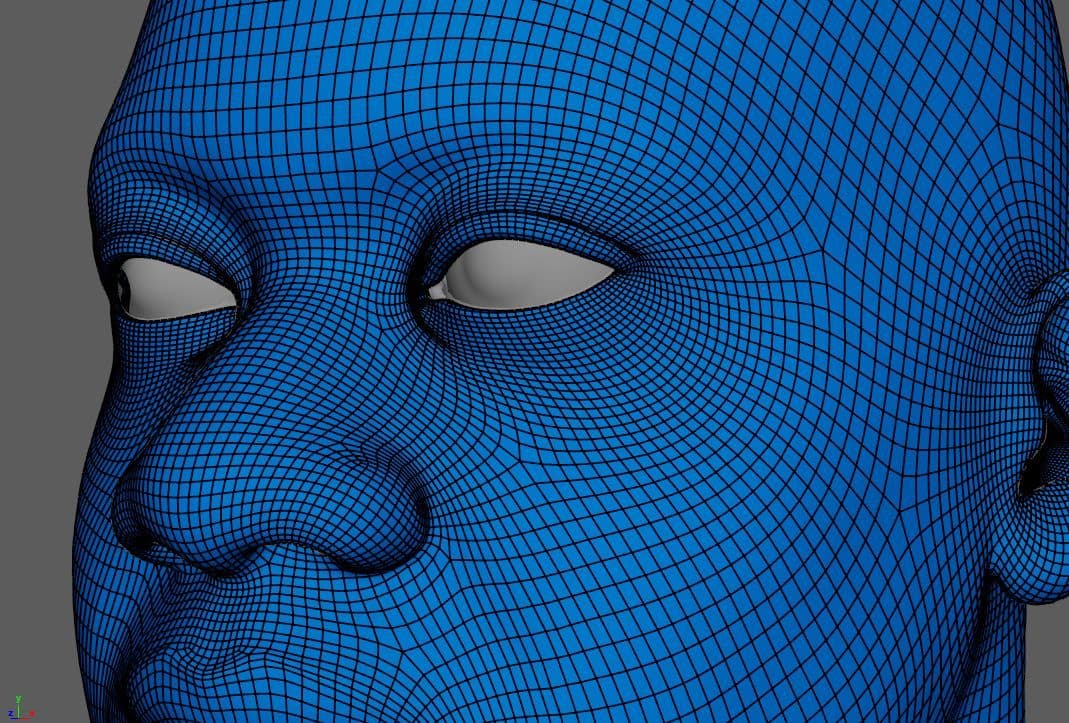
Speaking of, once I had my primary forms set, I moved to Maya and started retopologising using Quad Draw. I find that working on one side of the face to be the easiest and lightest way to go, instead of using symmetry all the time. This allows you to add edge loops without having to worry about where they go; you will be mirroring the other half of the face anyway.
I enjoy doing the retopology before getting into secondary forms as it enables me to get into poly modelling and have more control. Working the eyelid folds, making sure they are thick enough, properly lined up with the eyes, etc. Creating the inner mouth and tweaking the lips is also easier to do at this stage.
I went back and forth with ZBrush and Maya, sometimes adjusting the topology to match my needs.
Once I was liking where the secondary forms were at, I subdivided my original topology once, to have the forms baked in the model. The Anatomy for Sculptors book (and ArtStation) was an amazing ressource for me, it really helps with understanding skin, fat and much more.
Taking a break from your model can help you come back with fresh eyes. In the case of likenesses, it’s very easy to tell something is off, but not so much to know what is wrong. Leaving the model for a few hours or overnight will give you the needed hindsight to make it work better.
I tend to share my progress to my phone just to see it on a smaller screen from further away. It's really helpful to change your own perspective.
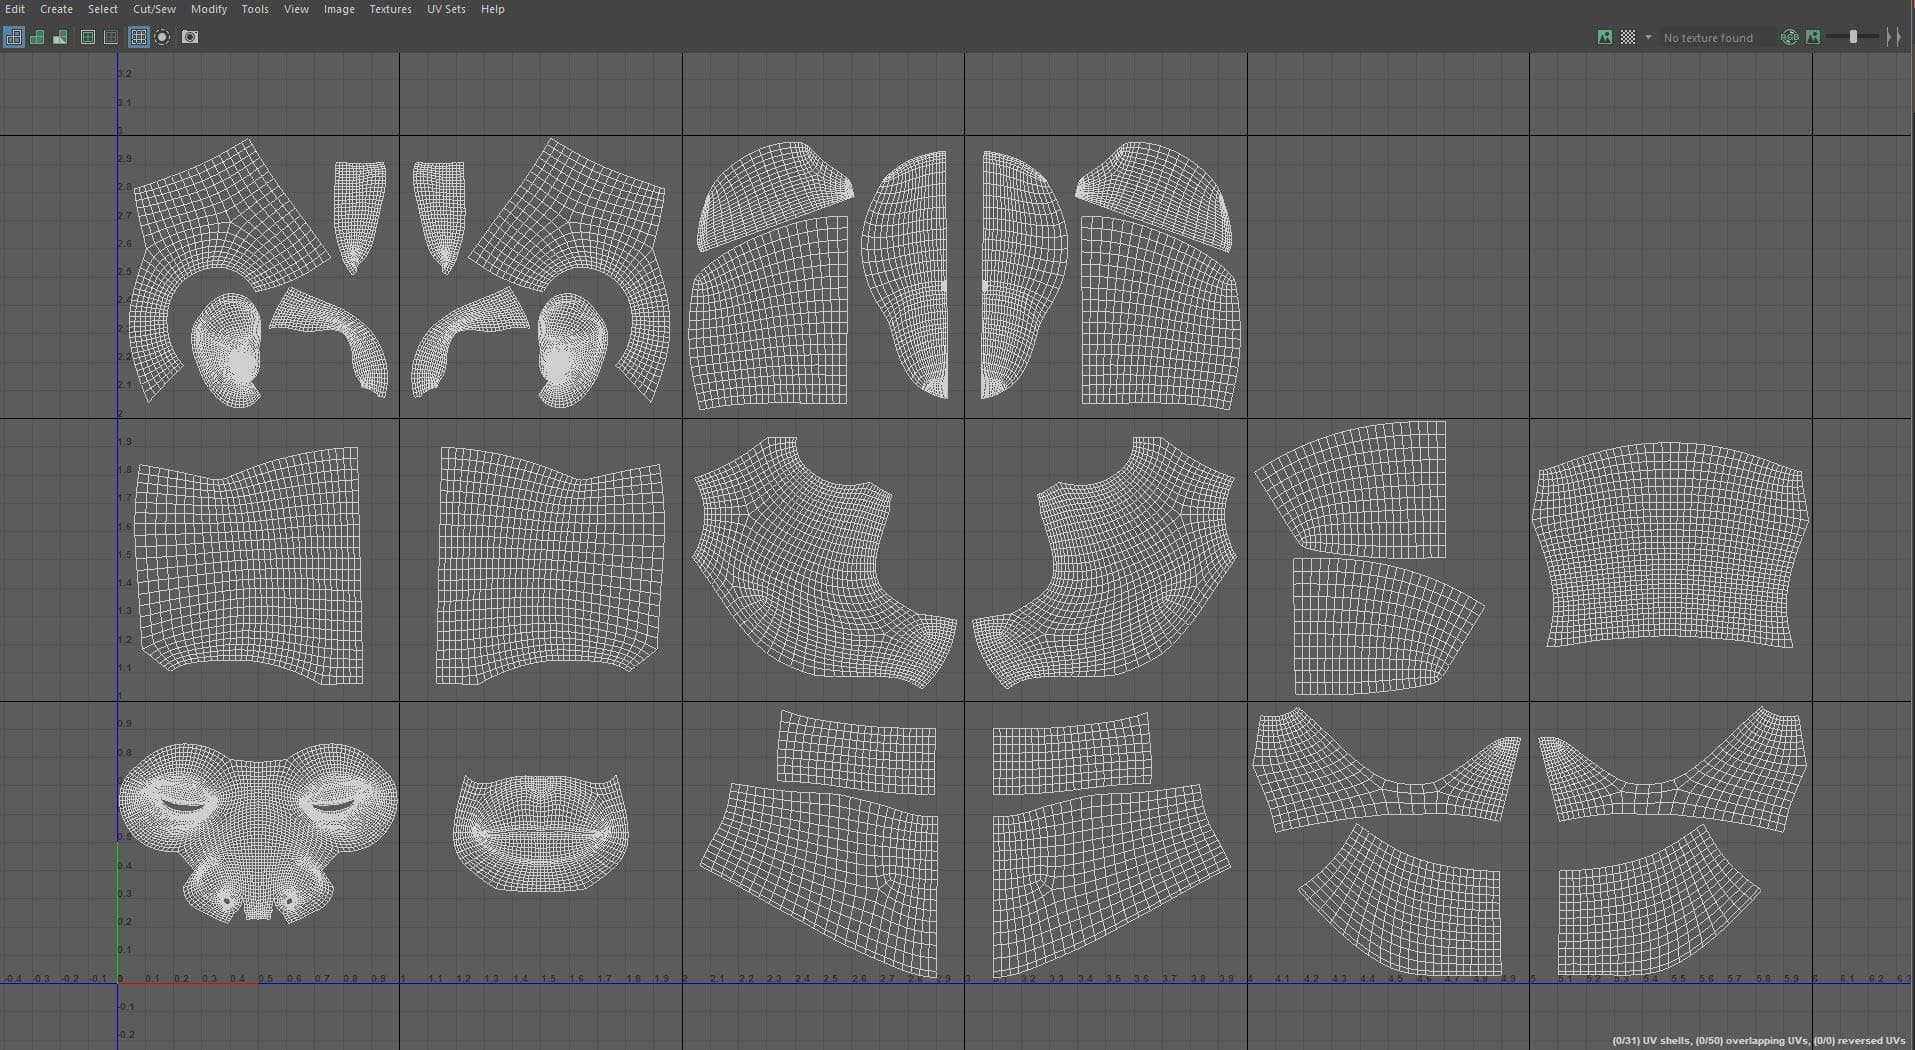
As well as with the retopology, I like to get the UVs over and done with earlier on than at the end.
I knew I would be having close up shots so I made the most of my UDIMs. Cutting up your UVs prevents any stretching, and is not a worry when using softwares such as Mari or Substance 3D Painter.
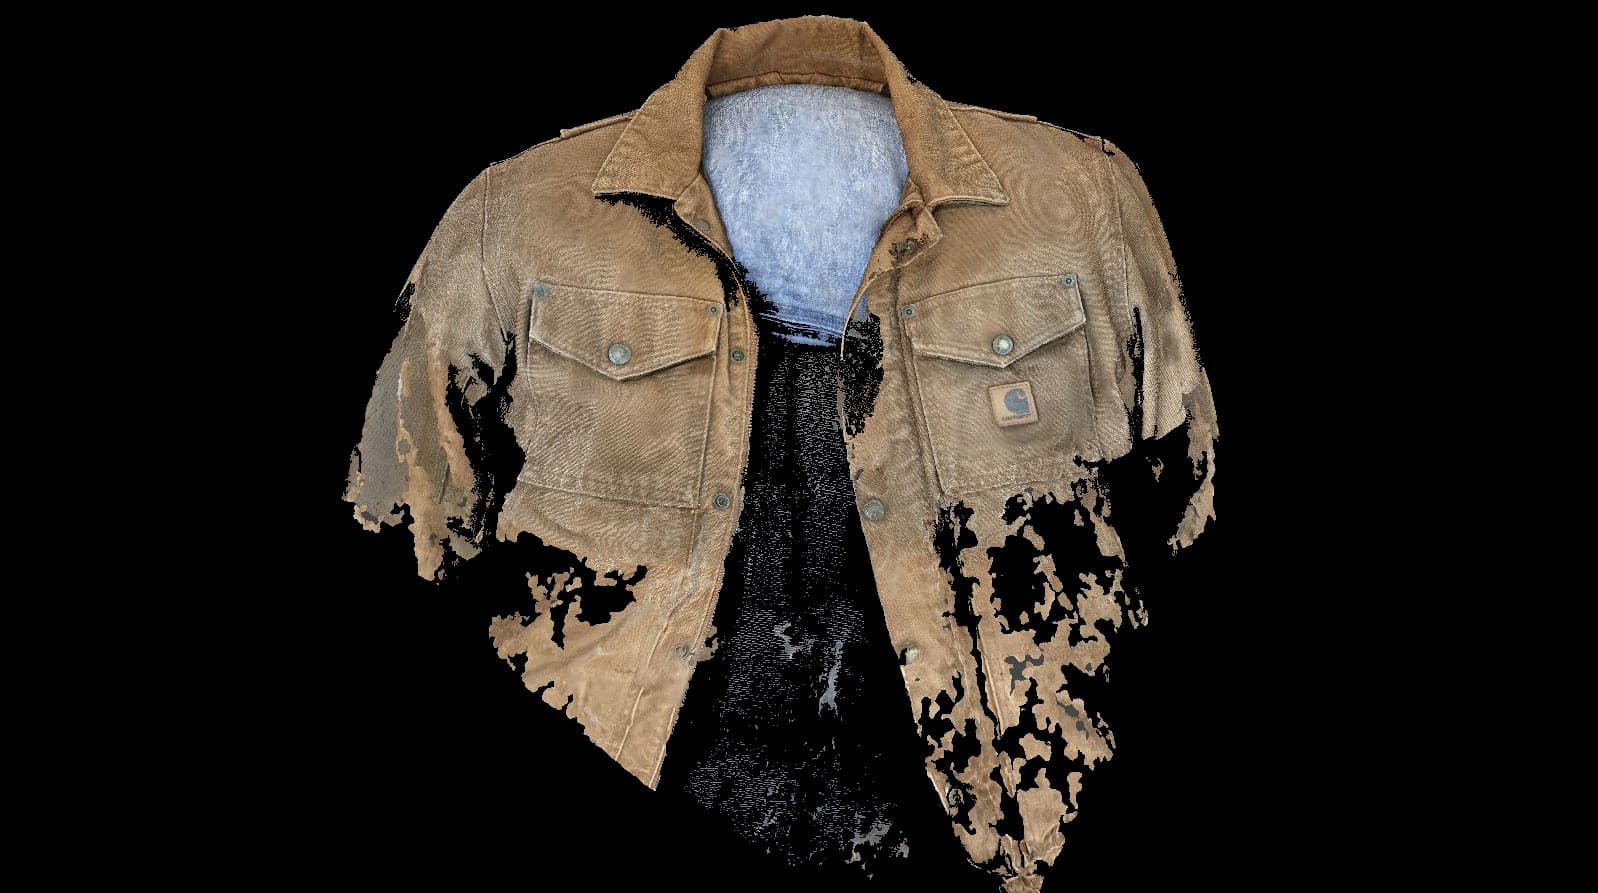
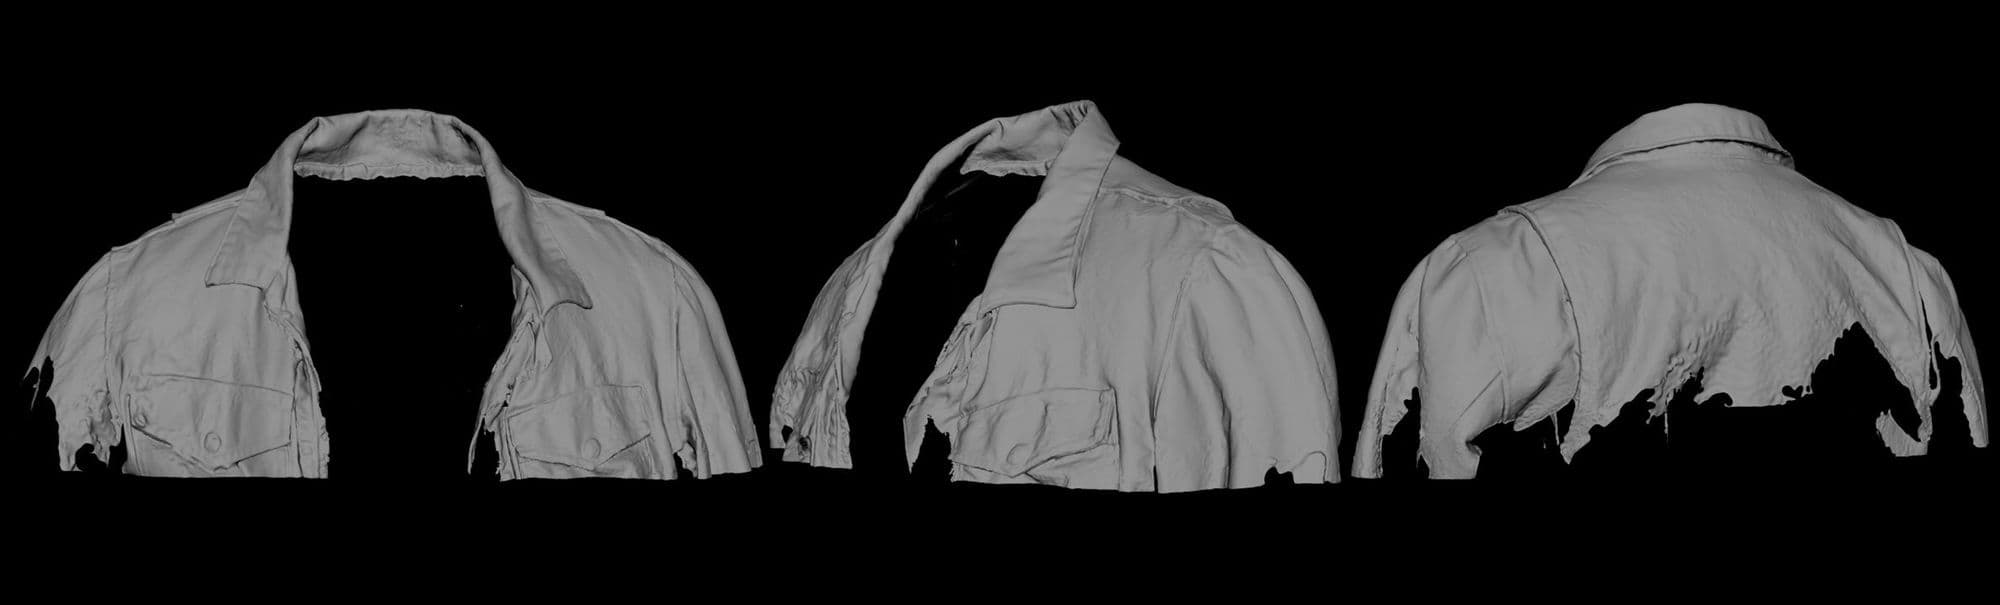
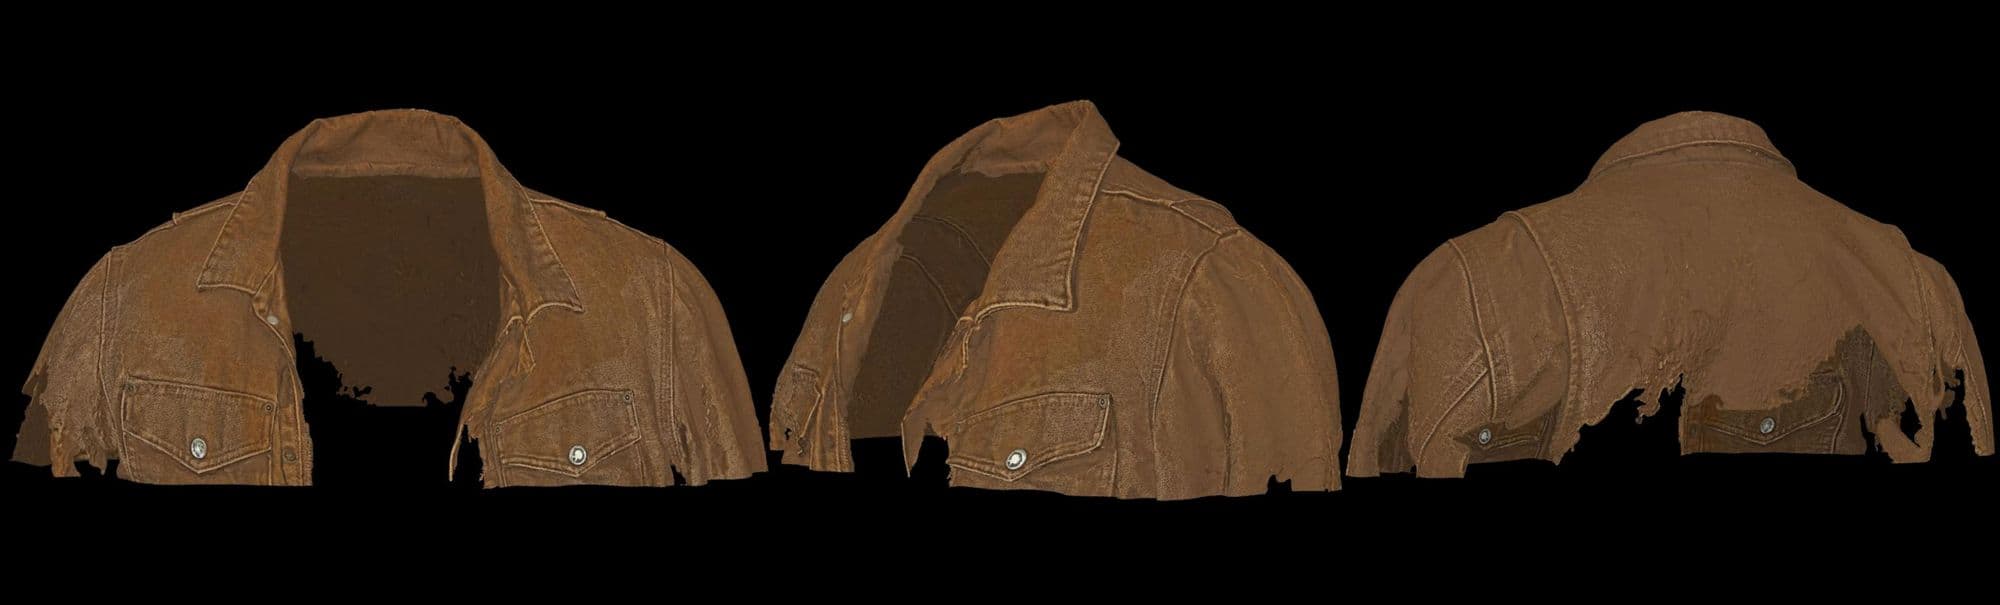
With this project, my focus really was on Michael Kiwanuka’s face, so I opted out of modelling his jacket. Instead, I decided to use what I’d learned about scanning to recreate a jacket of mine. Using Agisoft Metashape and the camera from my phone, I managed to get a usable model. I focused the pictures I took on the upper chest, shoulders and collar, as I knew this was what I would be framing.
The lower half of his chest was completely unusable, but I had what I wanted. I cleaned up what I had in Zbrush, and it was ready to go.
Maya was really struggling to function with the high-poly scanned jacket.
A great tip when you have a really dense model is to import it as an alembic file with GPU cache. This will considerably speed up your scene and the time you have to wait for it to open.
For the t-shirt, I made a very basic one using Marvelous Designer.
To take breaks from the head model like I mentioned earlier, I would work on the microphone. I completely modelled it inside Maya. There are countless types of microphones out there, so it was easy to find good reference.
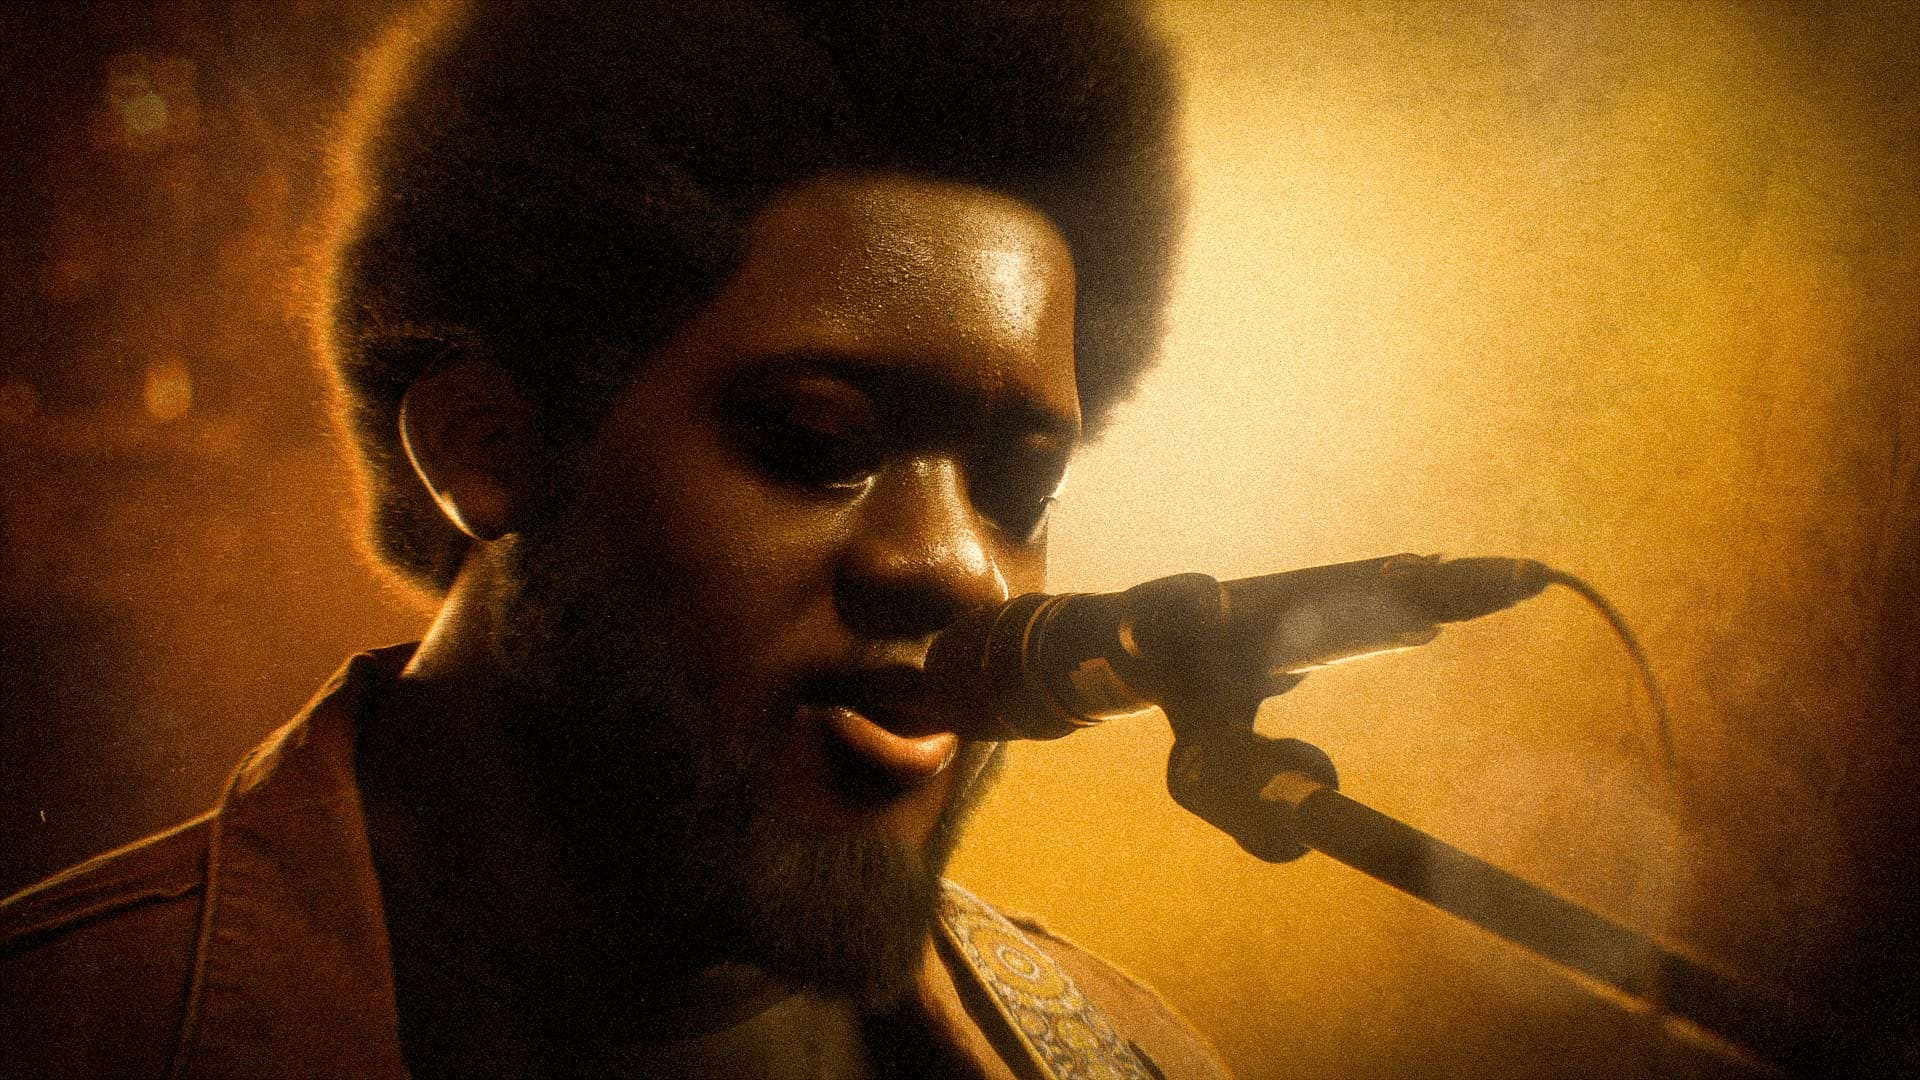
At this point, I had all that I needed to start setting up cameras. I used photographs of live concerts as inspiration. I created a few shots from different angles but settled on 5 shots later on.
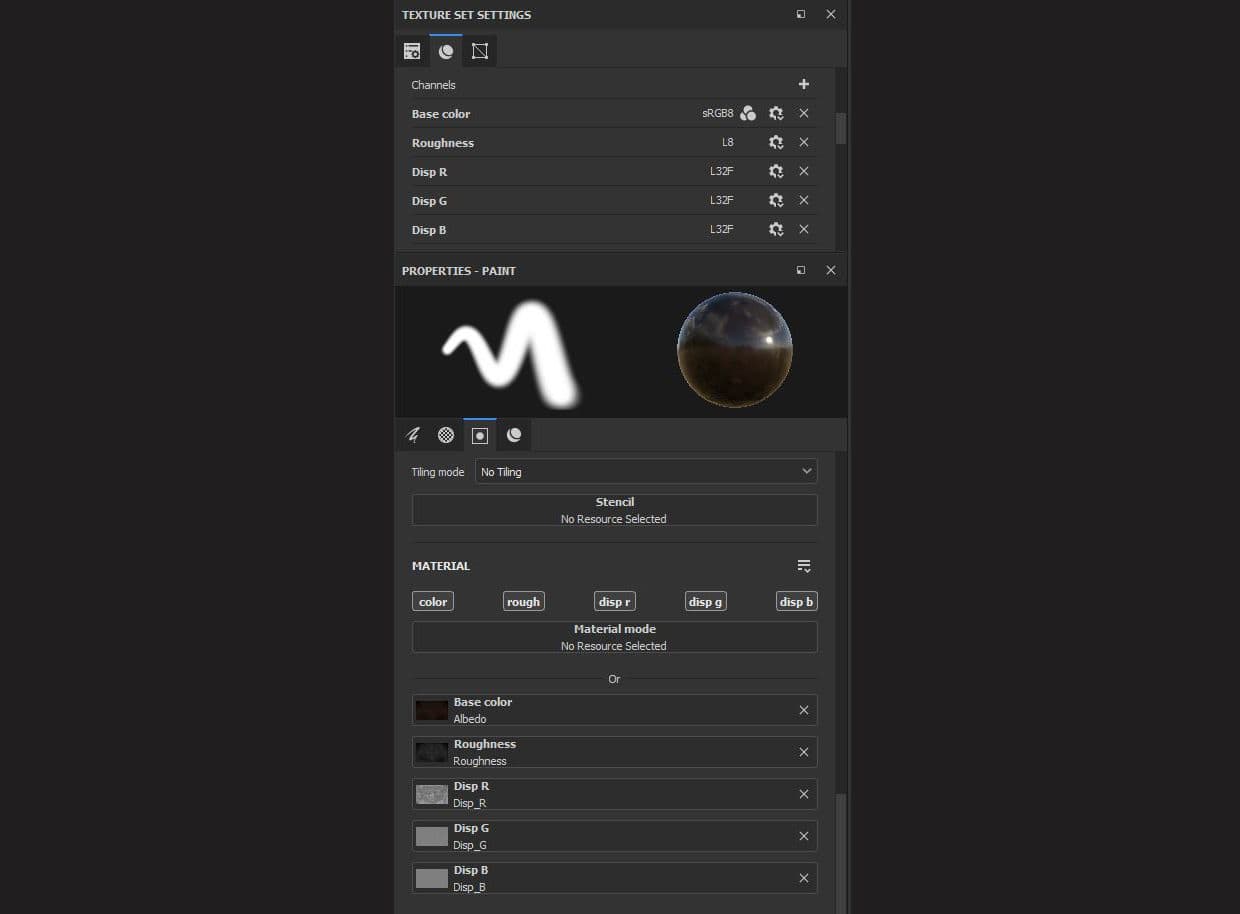
All the while, I did some texturing and look-development tests. I purchased a skin texture pack from Texturing XYZ, who have an immense library of textures. It came with an albedo for the skin and a displacement map. My software of choice here was Substance 3D Painter. To save myself some time when painting and to have more control, I separated the RGB displacement map into three separate texture files, R, G and B.
This meant that once in Substance, I could create specific channels for my newly separated maps. With one single stroke, using the stencil mode, I was able to paint the Albedo, Roughness, and my different levels of displacements R,G and B.
The albedo had loads of great information and variations to start with, but of course lacked Michael Kiwanula’s specificities. One way that really helped getting that kind of detail was by projecting an image of his face onto my model.
First of all, this helps you realise that you need to tweak your model a bit more, de-symmetrise... It also shows you where moles, scars, darker patches, etc., should go.
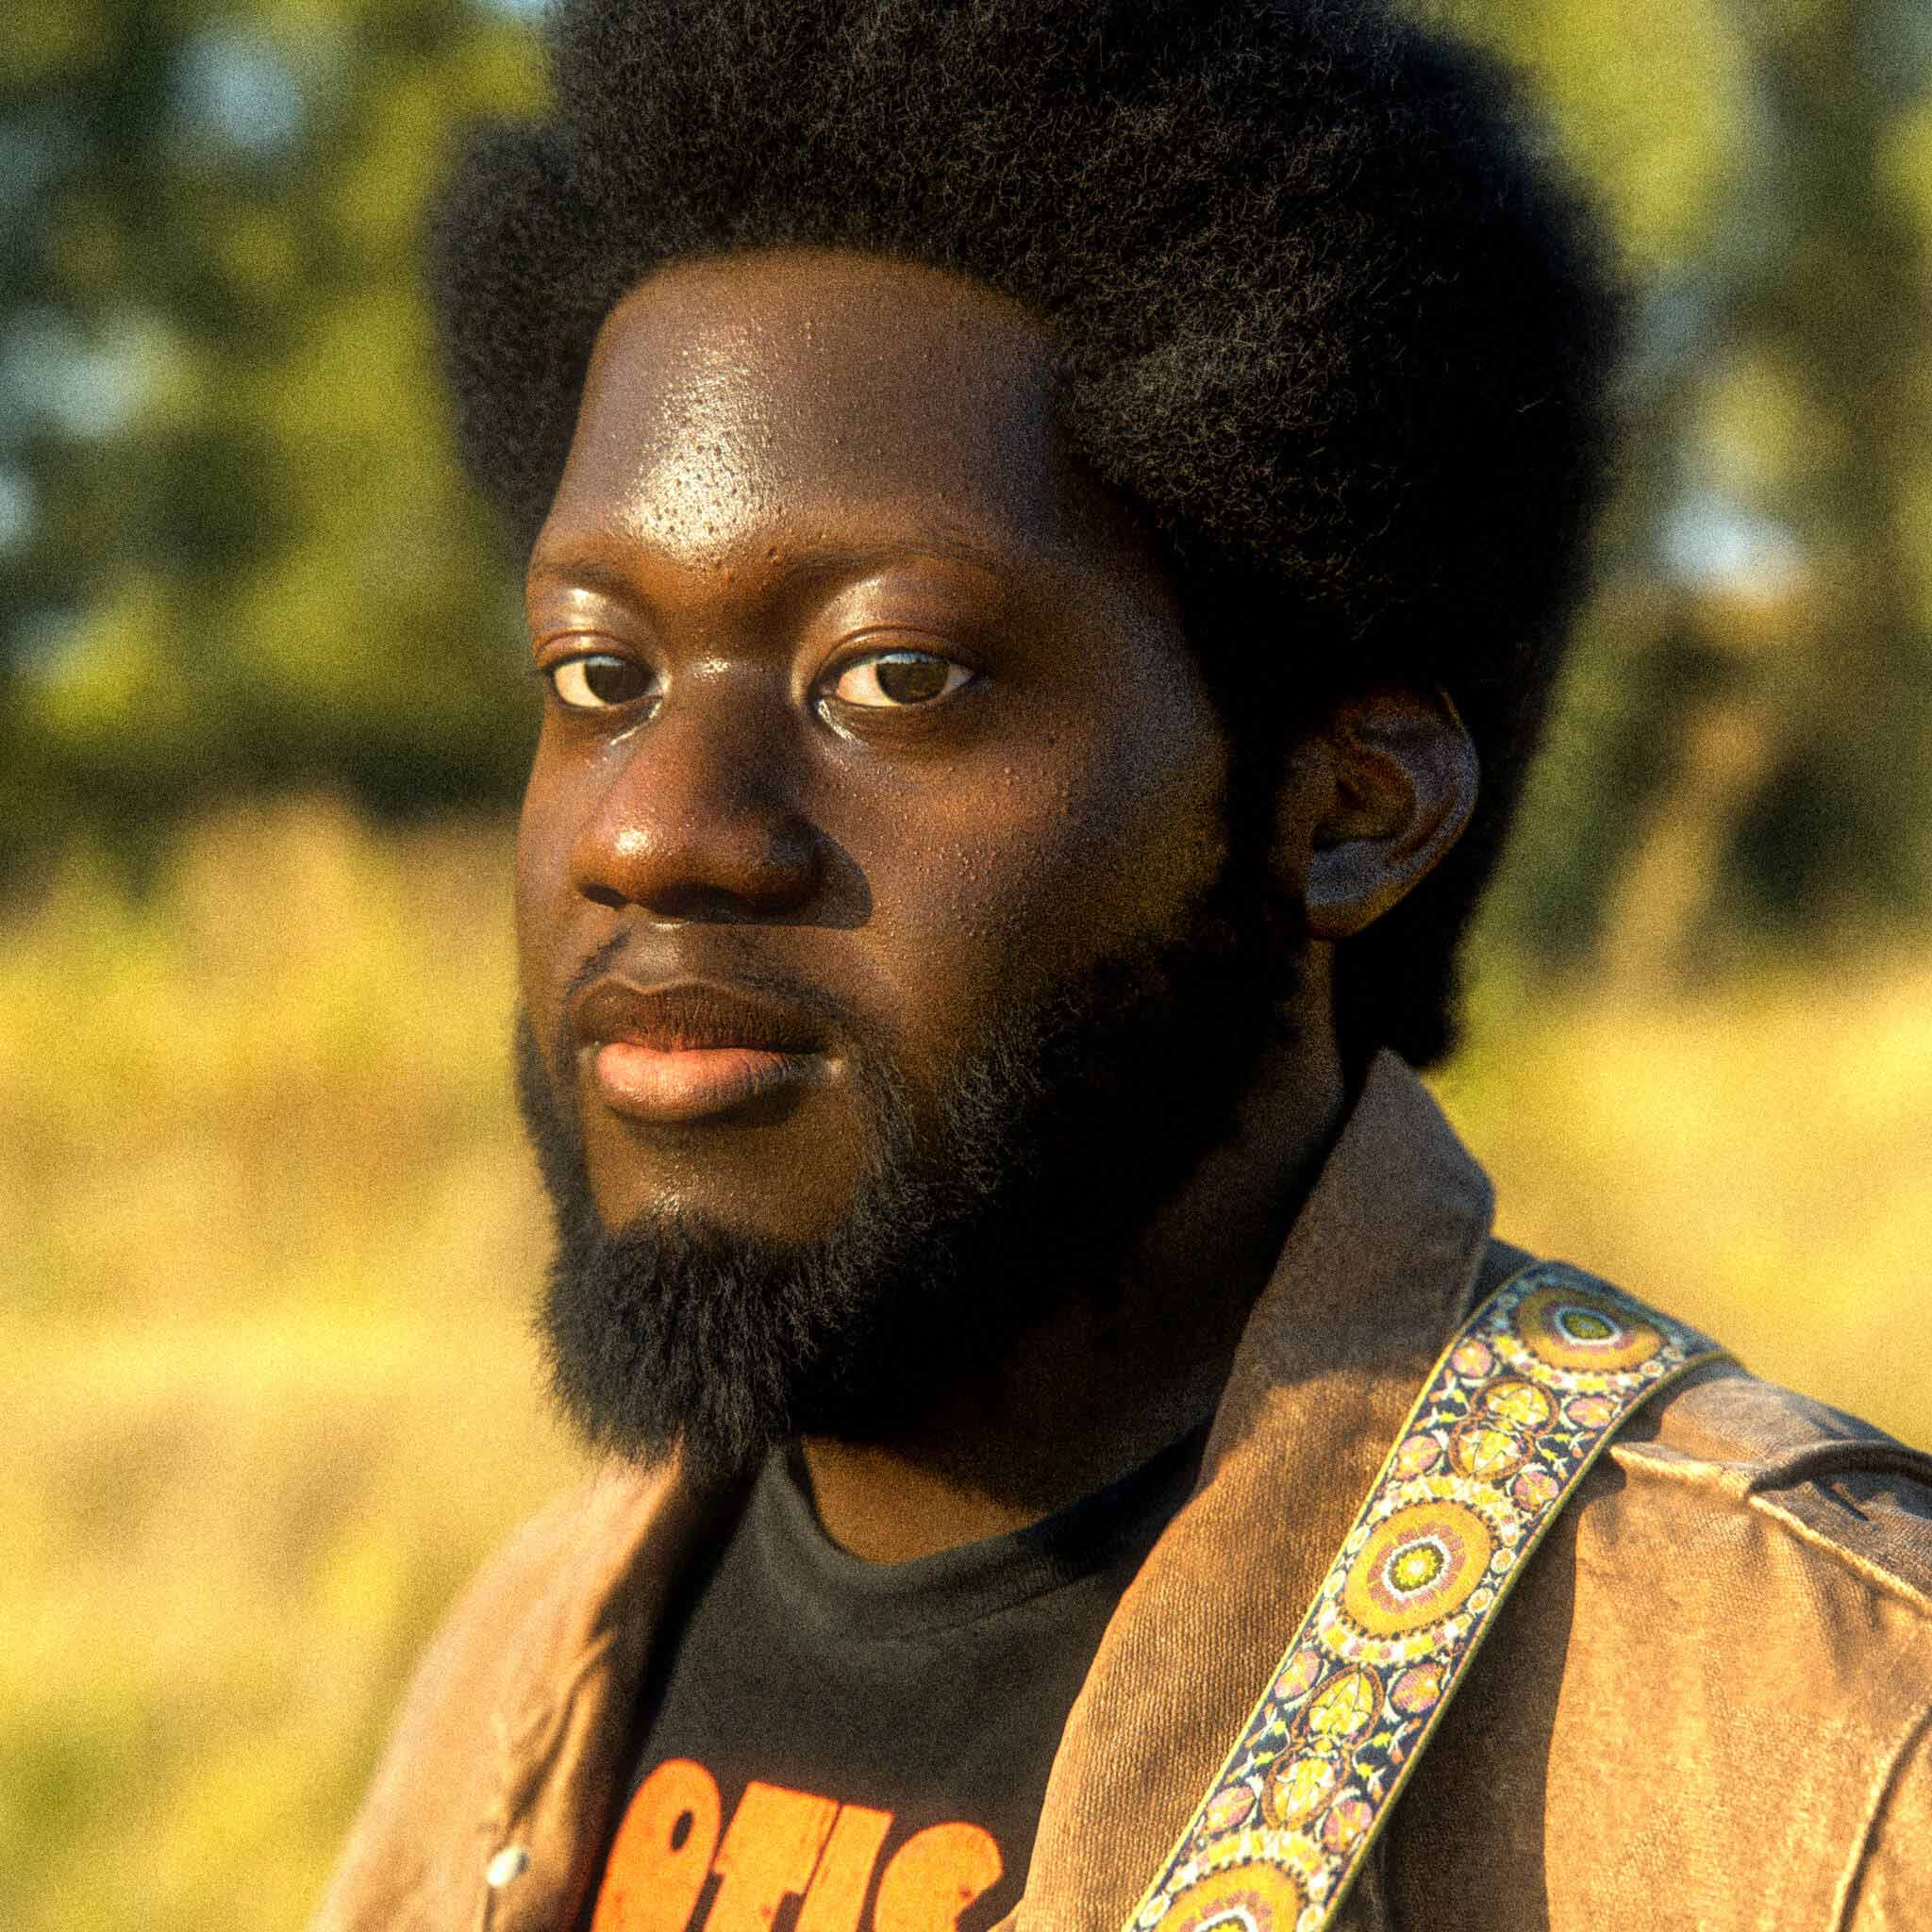
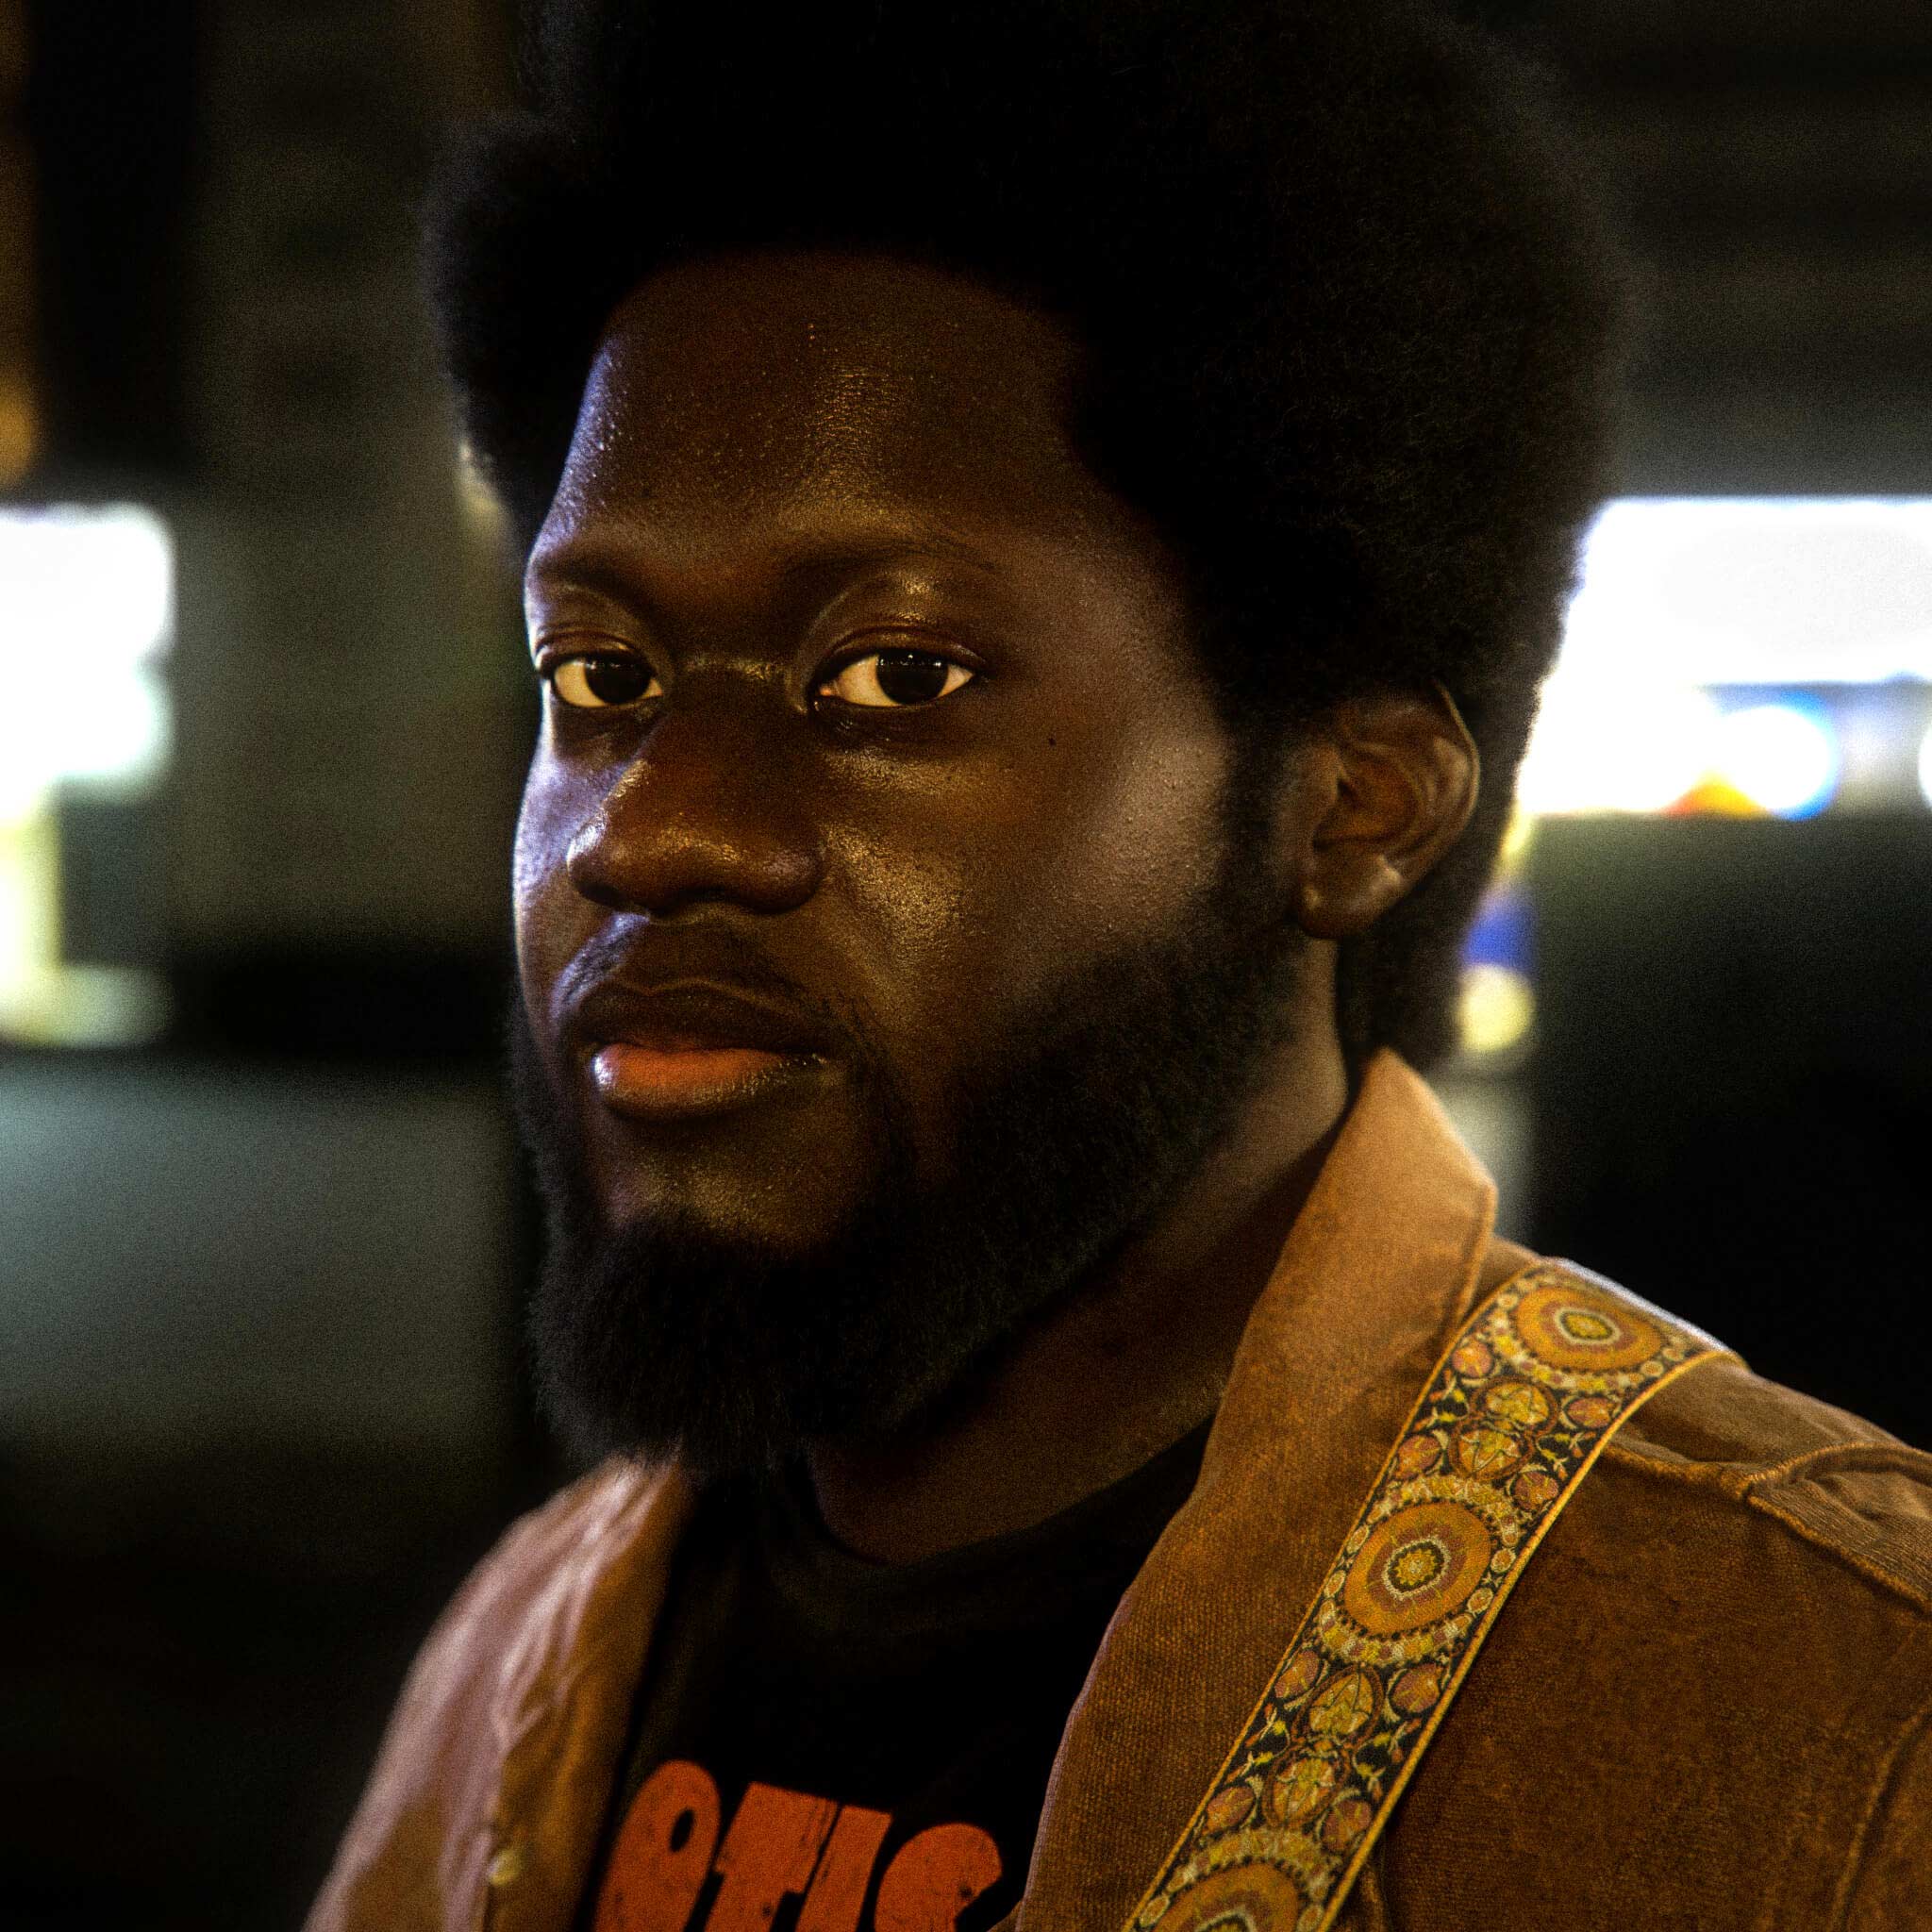
Using Pixar’s Renderman for the look-development, I tested my maps a lot, going in and out of Substance. I used a combination of HDRIs to light my models. Cave Academy’s Studios Lights are great but the one I like the most for its detail and variation, is Artist’s Workshop from Polyhaven. It gives off a natural/realistic mood, and also I feel it gives a lot of life to eyes.
Here are a few examples of different lighting scenarios to try out the look-dev:

So, for the tertiary details of the face, the final product is a combination of both XYZ’s displacement maps and hand sculpted details. I used a couple of alphas and noises as well that helped me get that granulated skin look. I worked in both Zbrush and Mudbox.
ZBrush is amazing at working with a lot of polygons, whereas Mudbox struggles a bit more. But for the ease of use of Mudbox's layers and export system, I chose to use it too. I went for a mix of programs to best suit the needs of the model.
This article written by fellow ESMA student Timothée Maron helped me out a lot in the lookdev stage. He talks about it in a way I could not, so please give it a read!
Once I had the lookdev for the face and assets nailed down I focused on the groom.
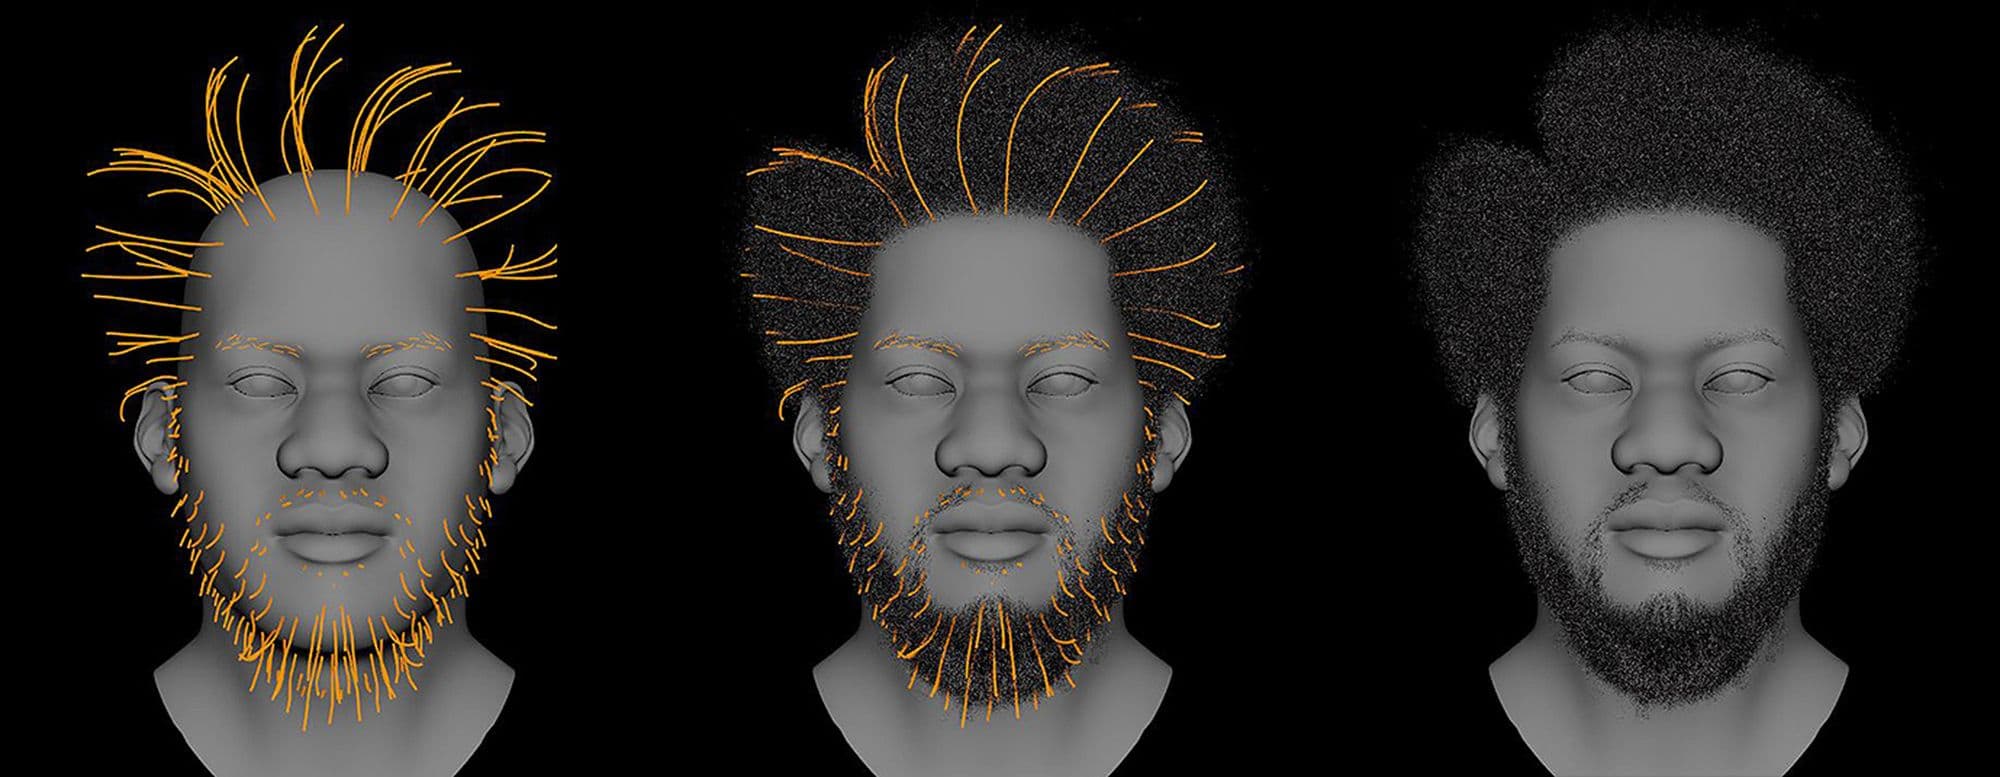
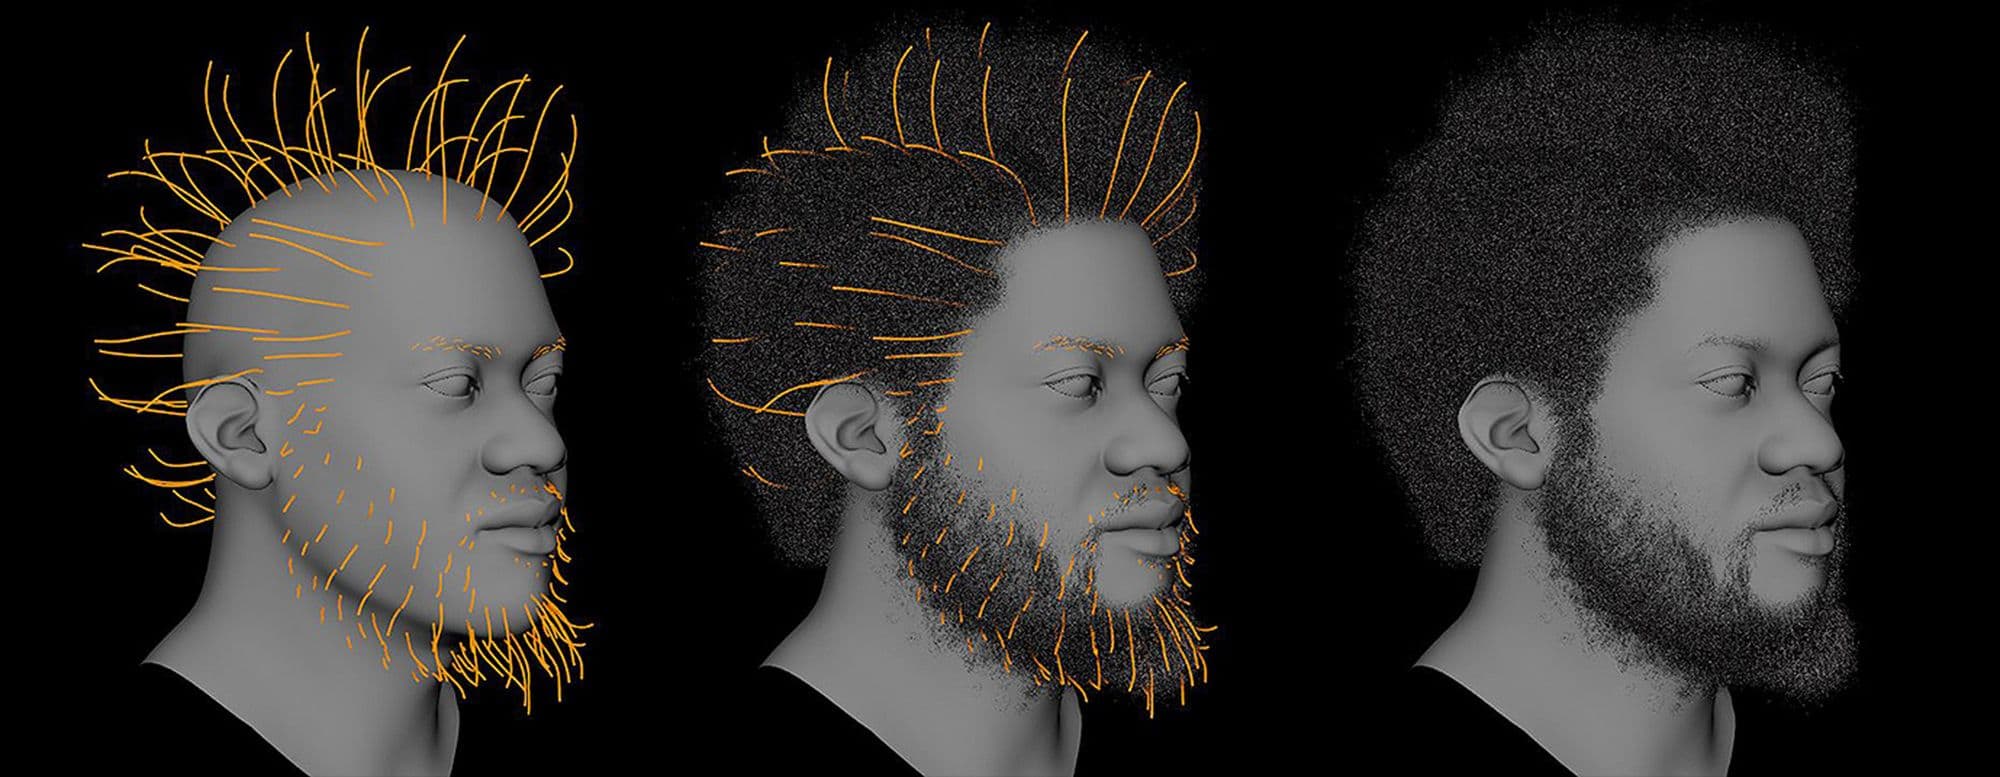
I decided upon one of his hair styles and started placing guides using Xgen Interactive. Having lined up my references, I’d now created the main structure for his hair and beard. I kept the guides themselves quite simple as they would just influence the shape.
With a combination of noise and clump deformers I started to match the look I wanted. The key word for me here was break-up. I didn’t want the hair nor the beard to look razor sharp. I went out of my way to add stray hairs, creating separate descriptions for the hair line and neckline. I wanted to add in these tiny curls that would blend everything together.
Here’s the final look of the piece, along with the wireframe, the albedo and the direct specular:
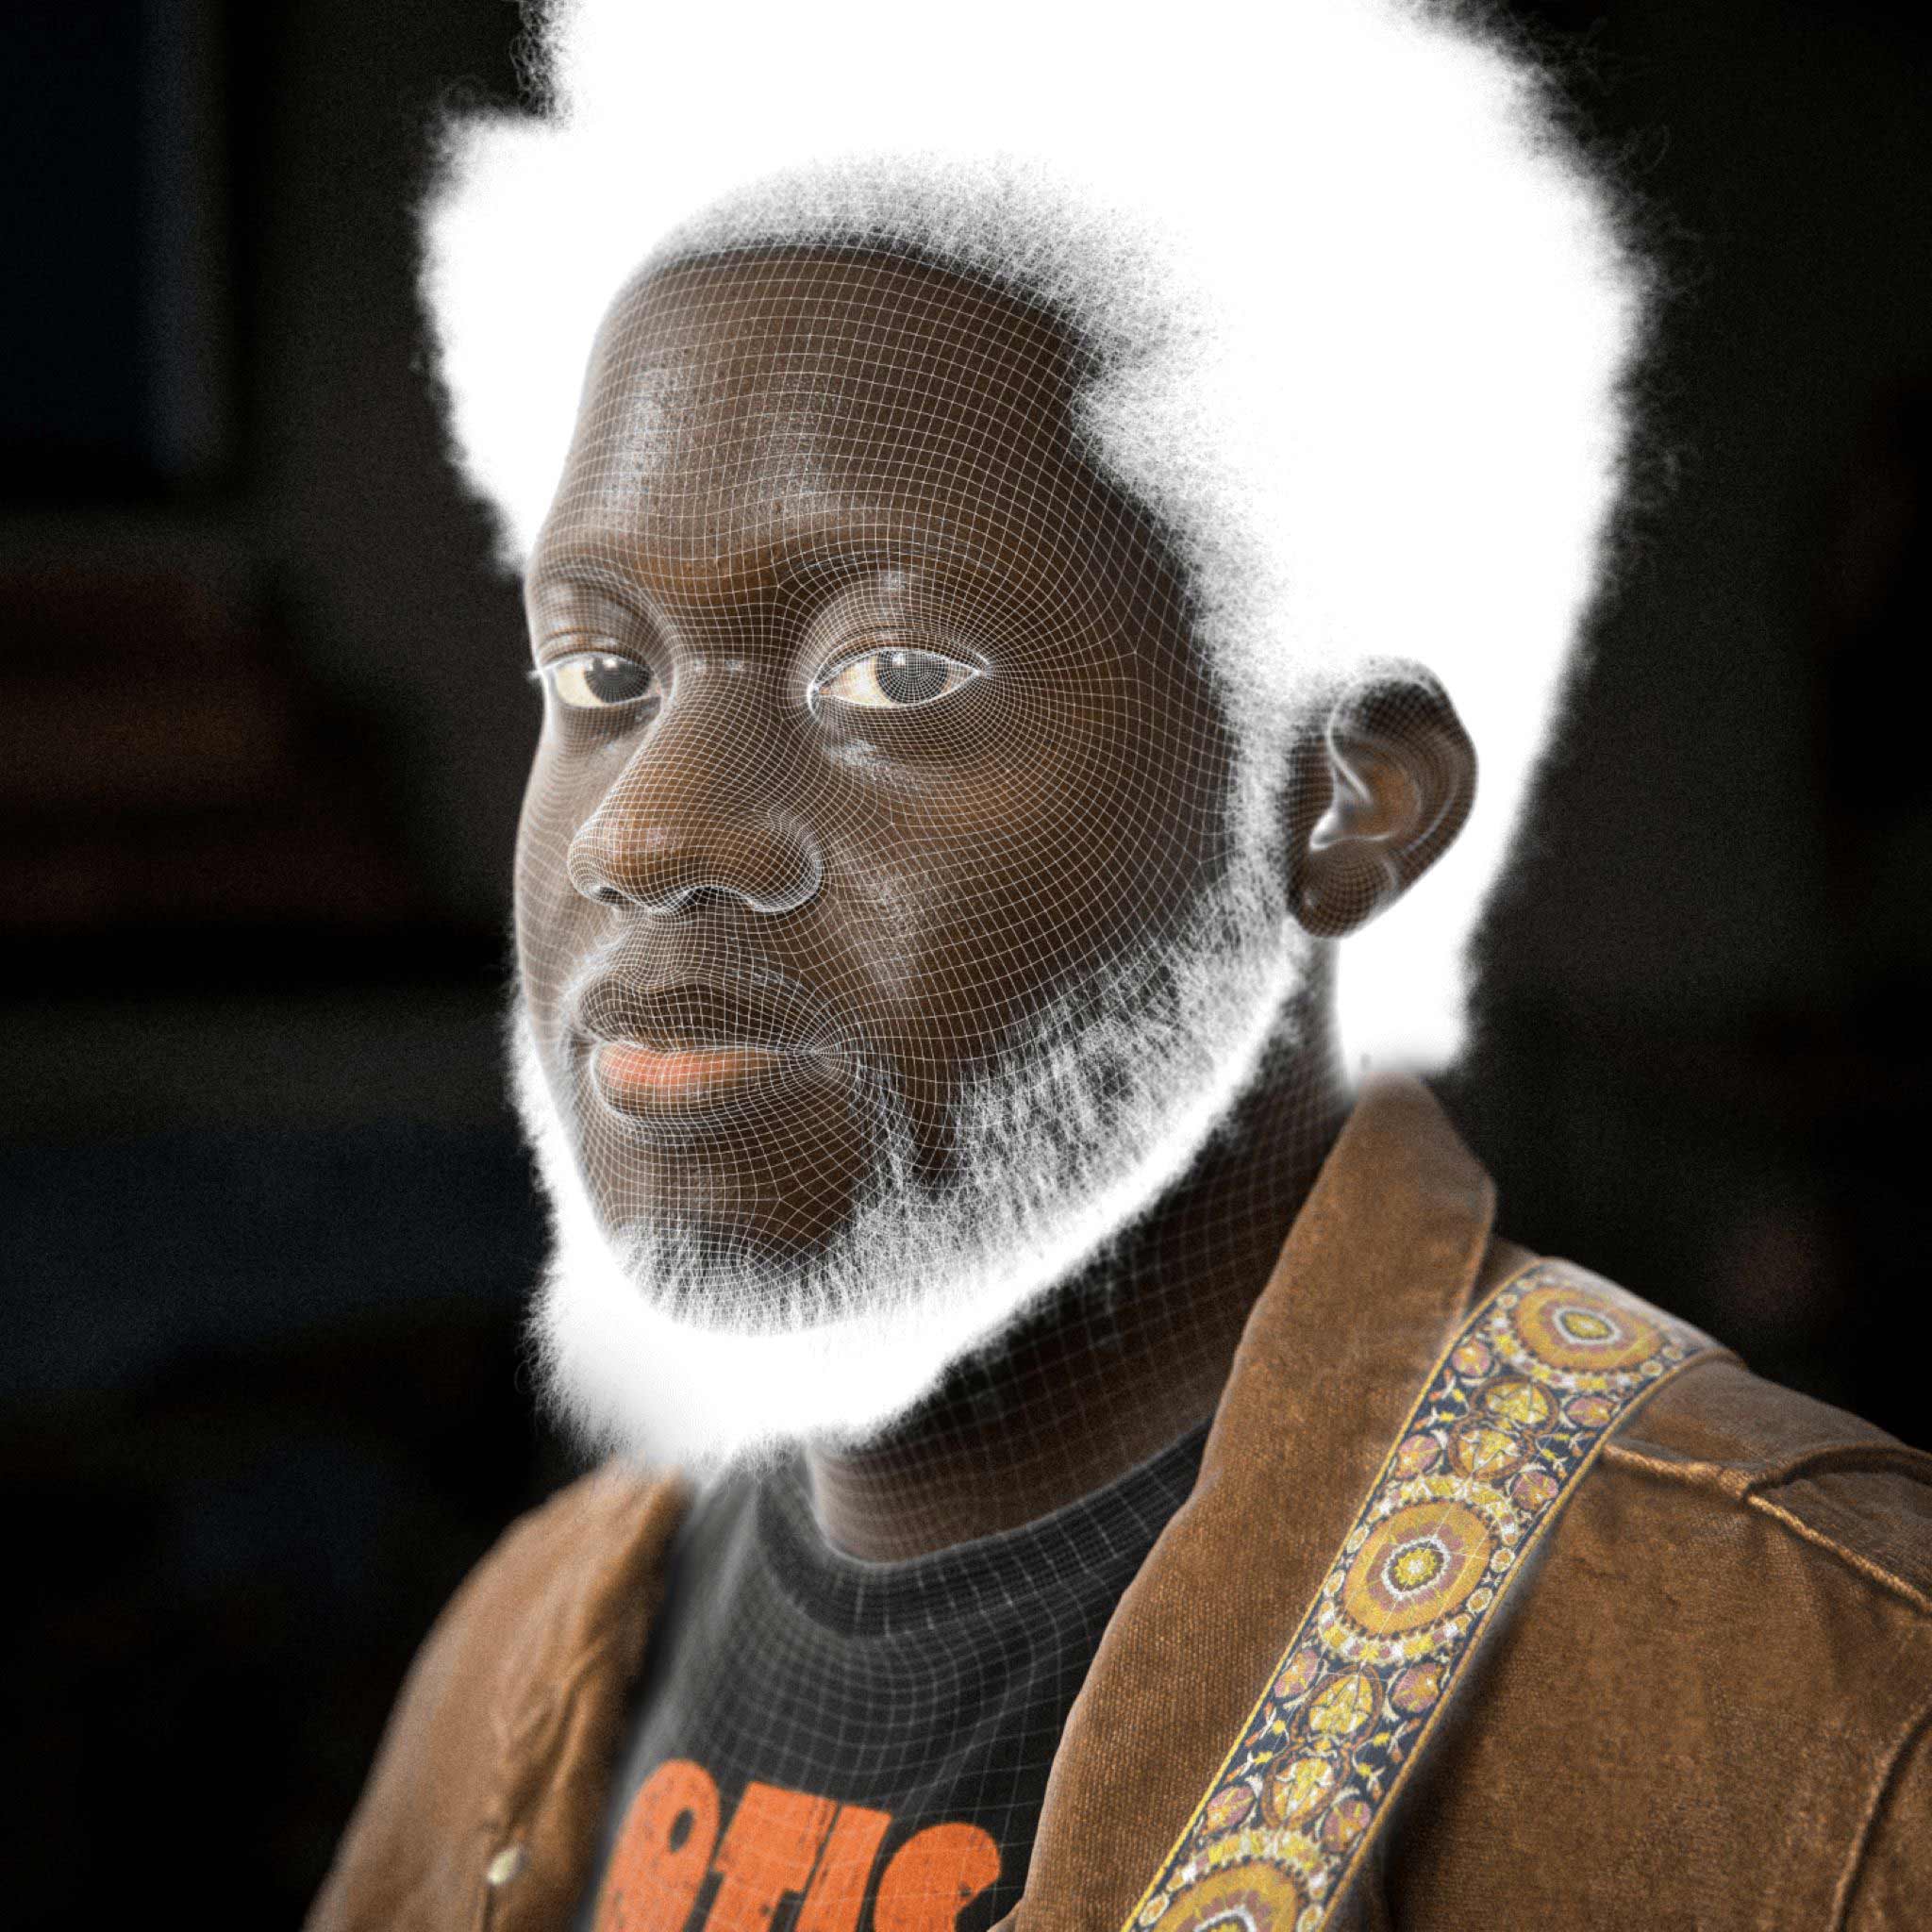
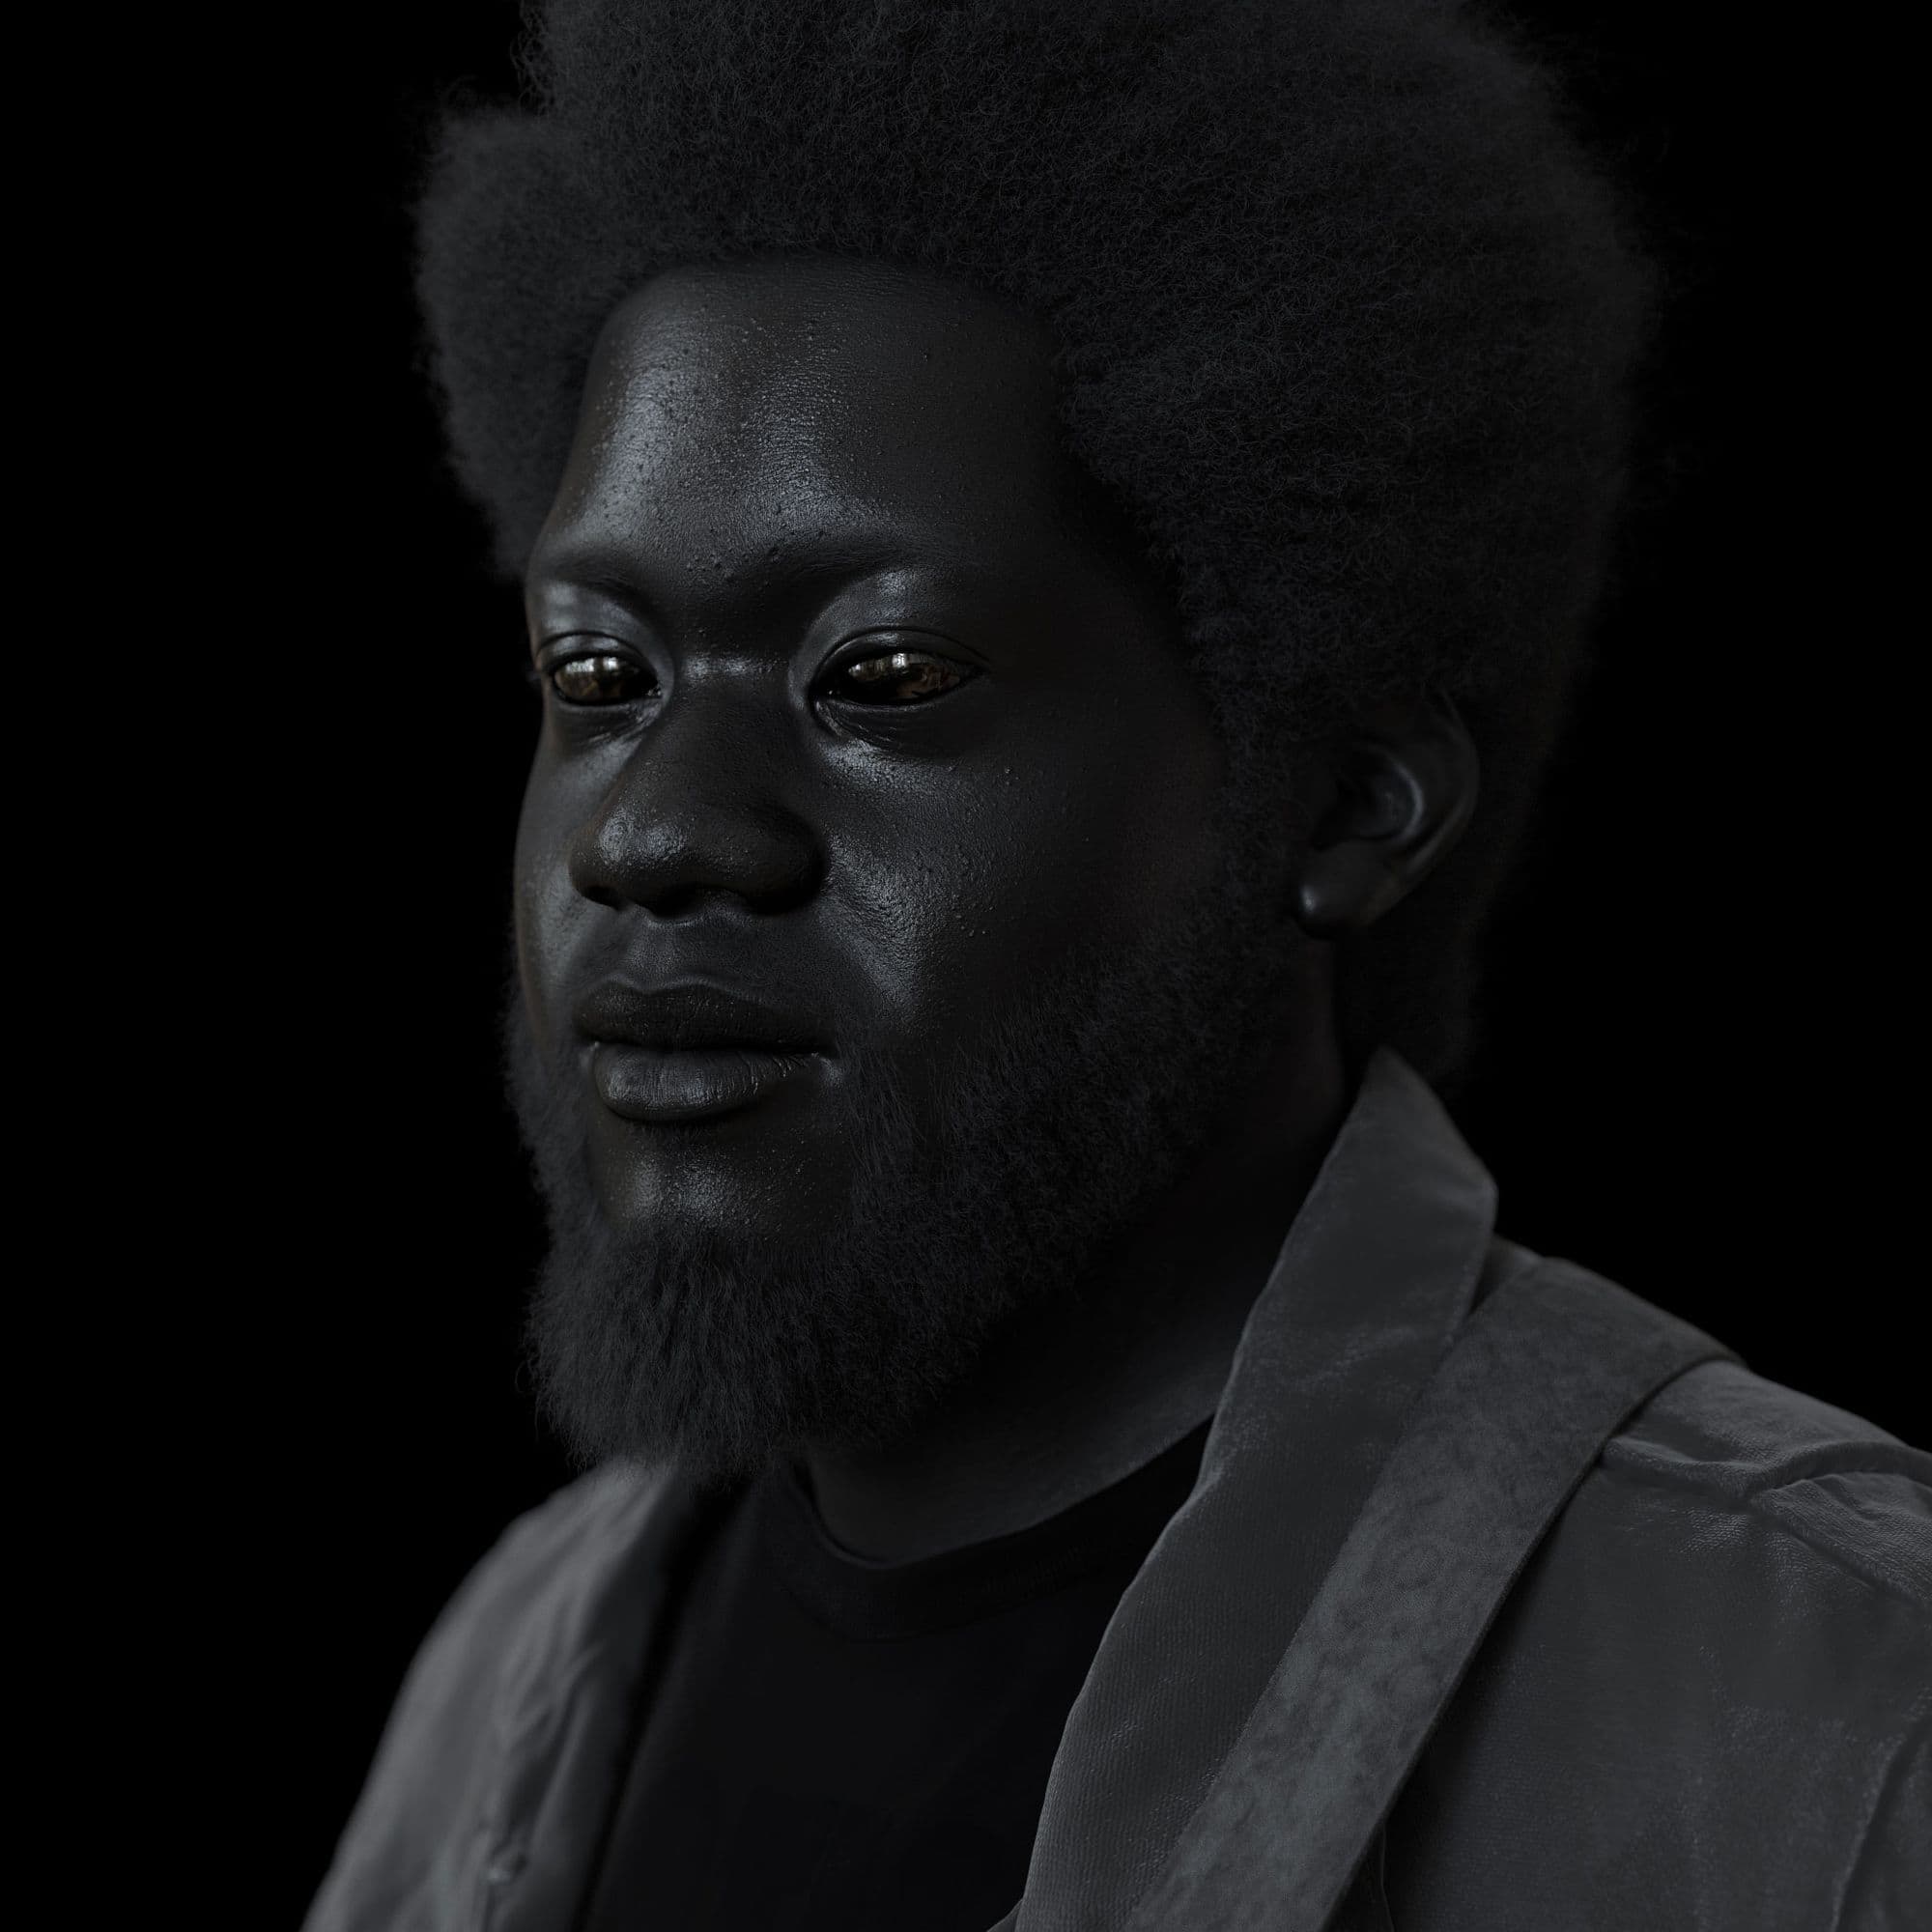
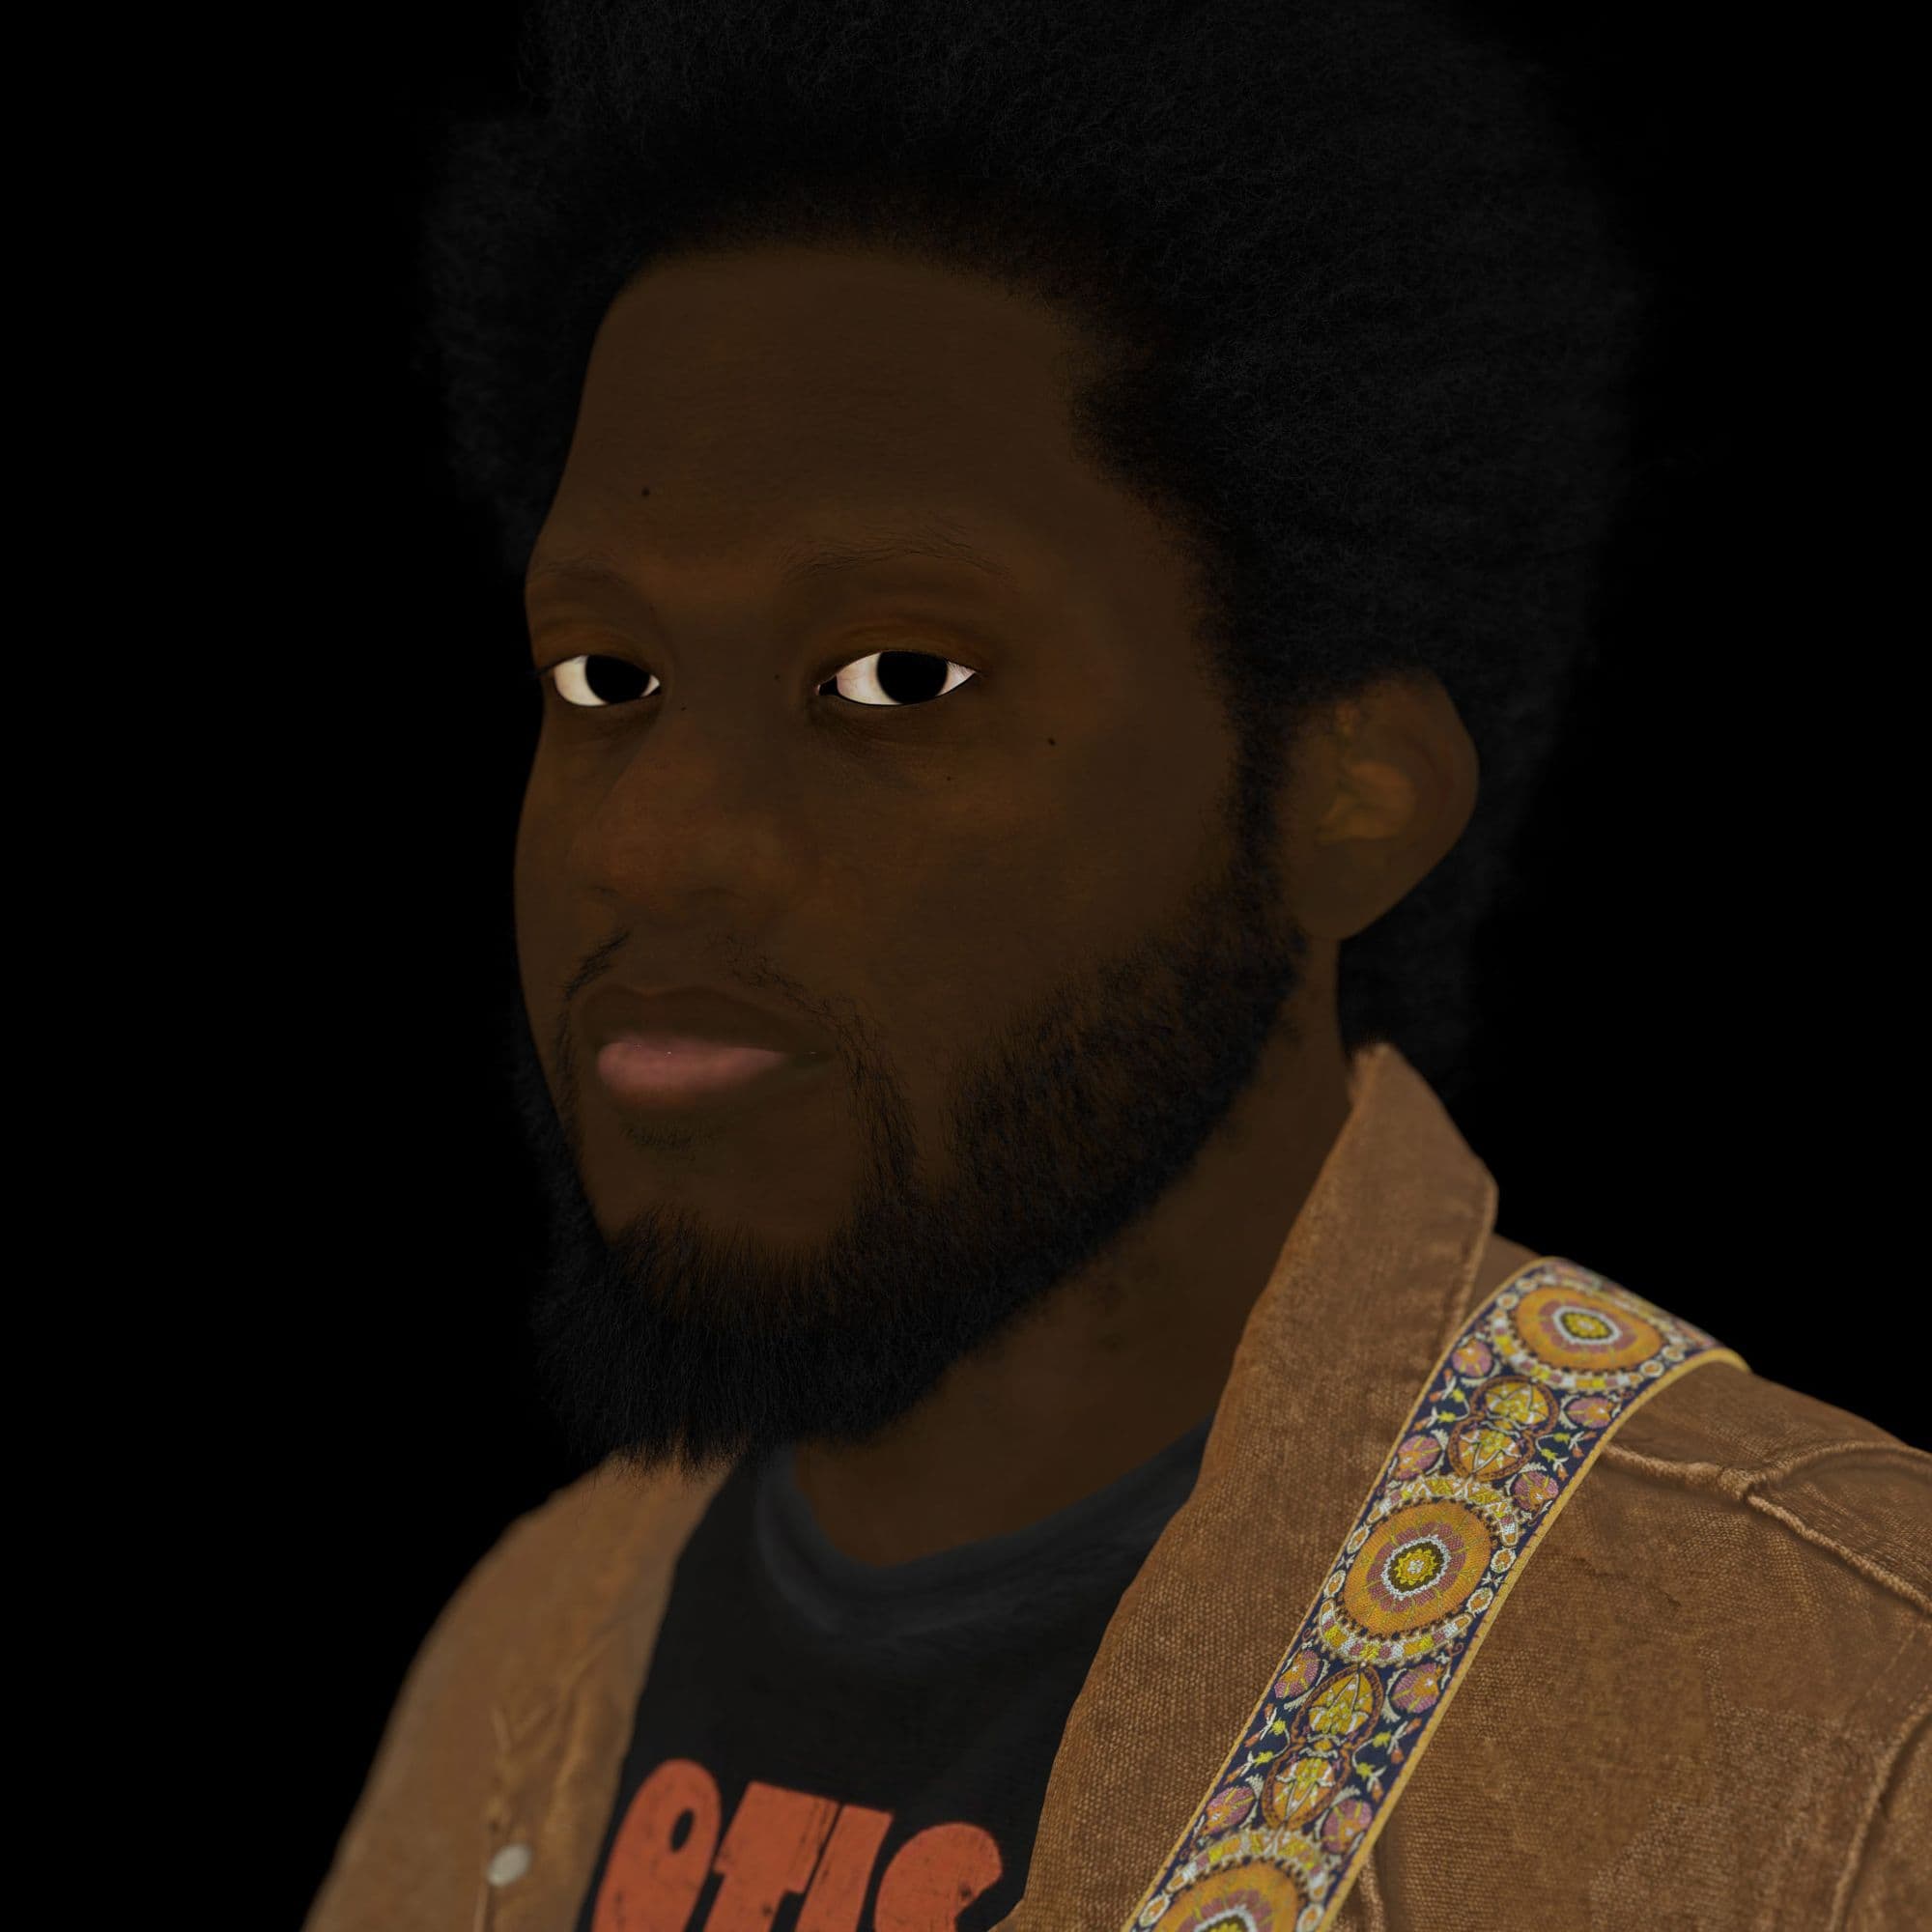
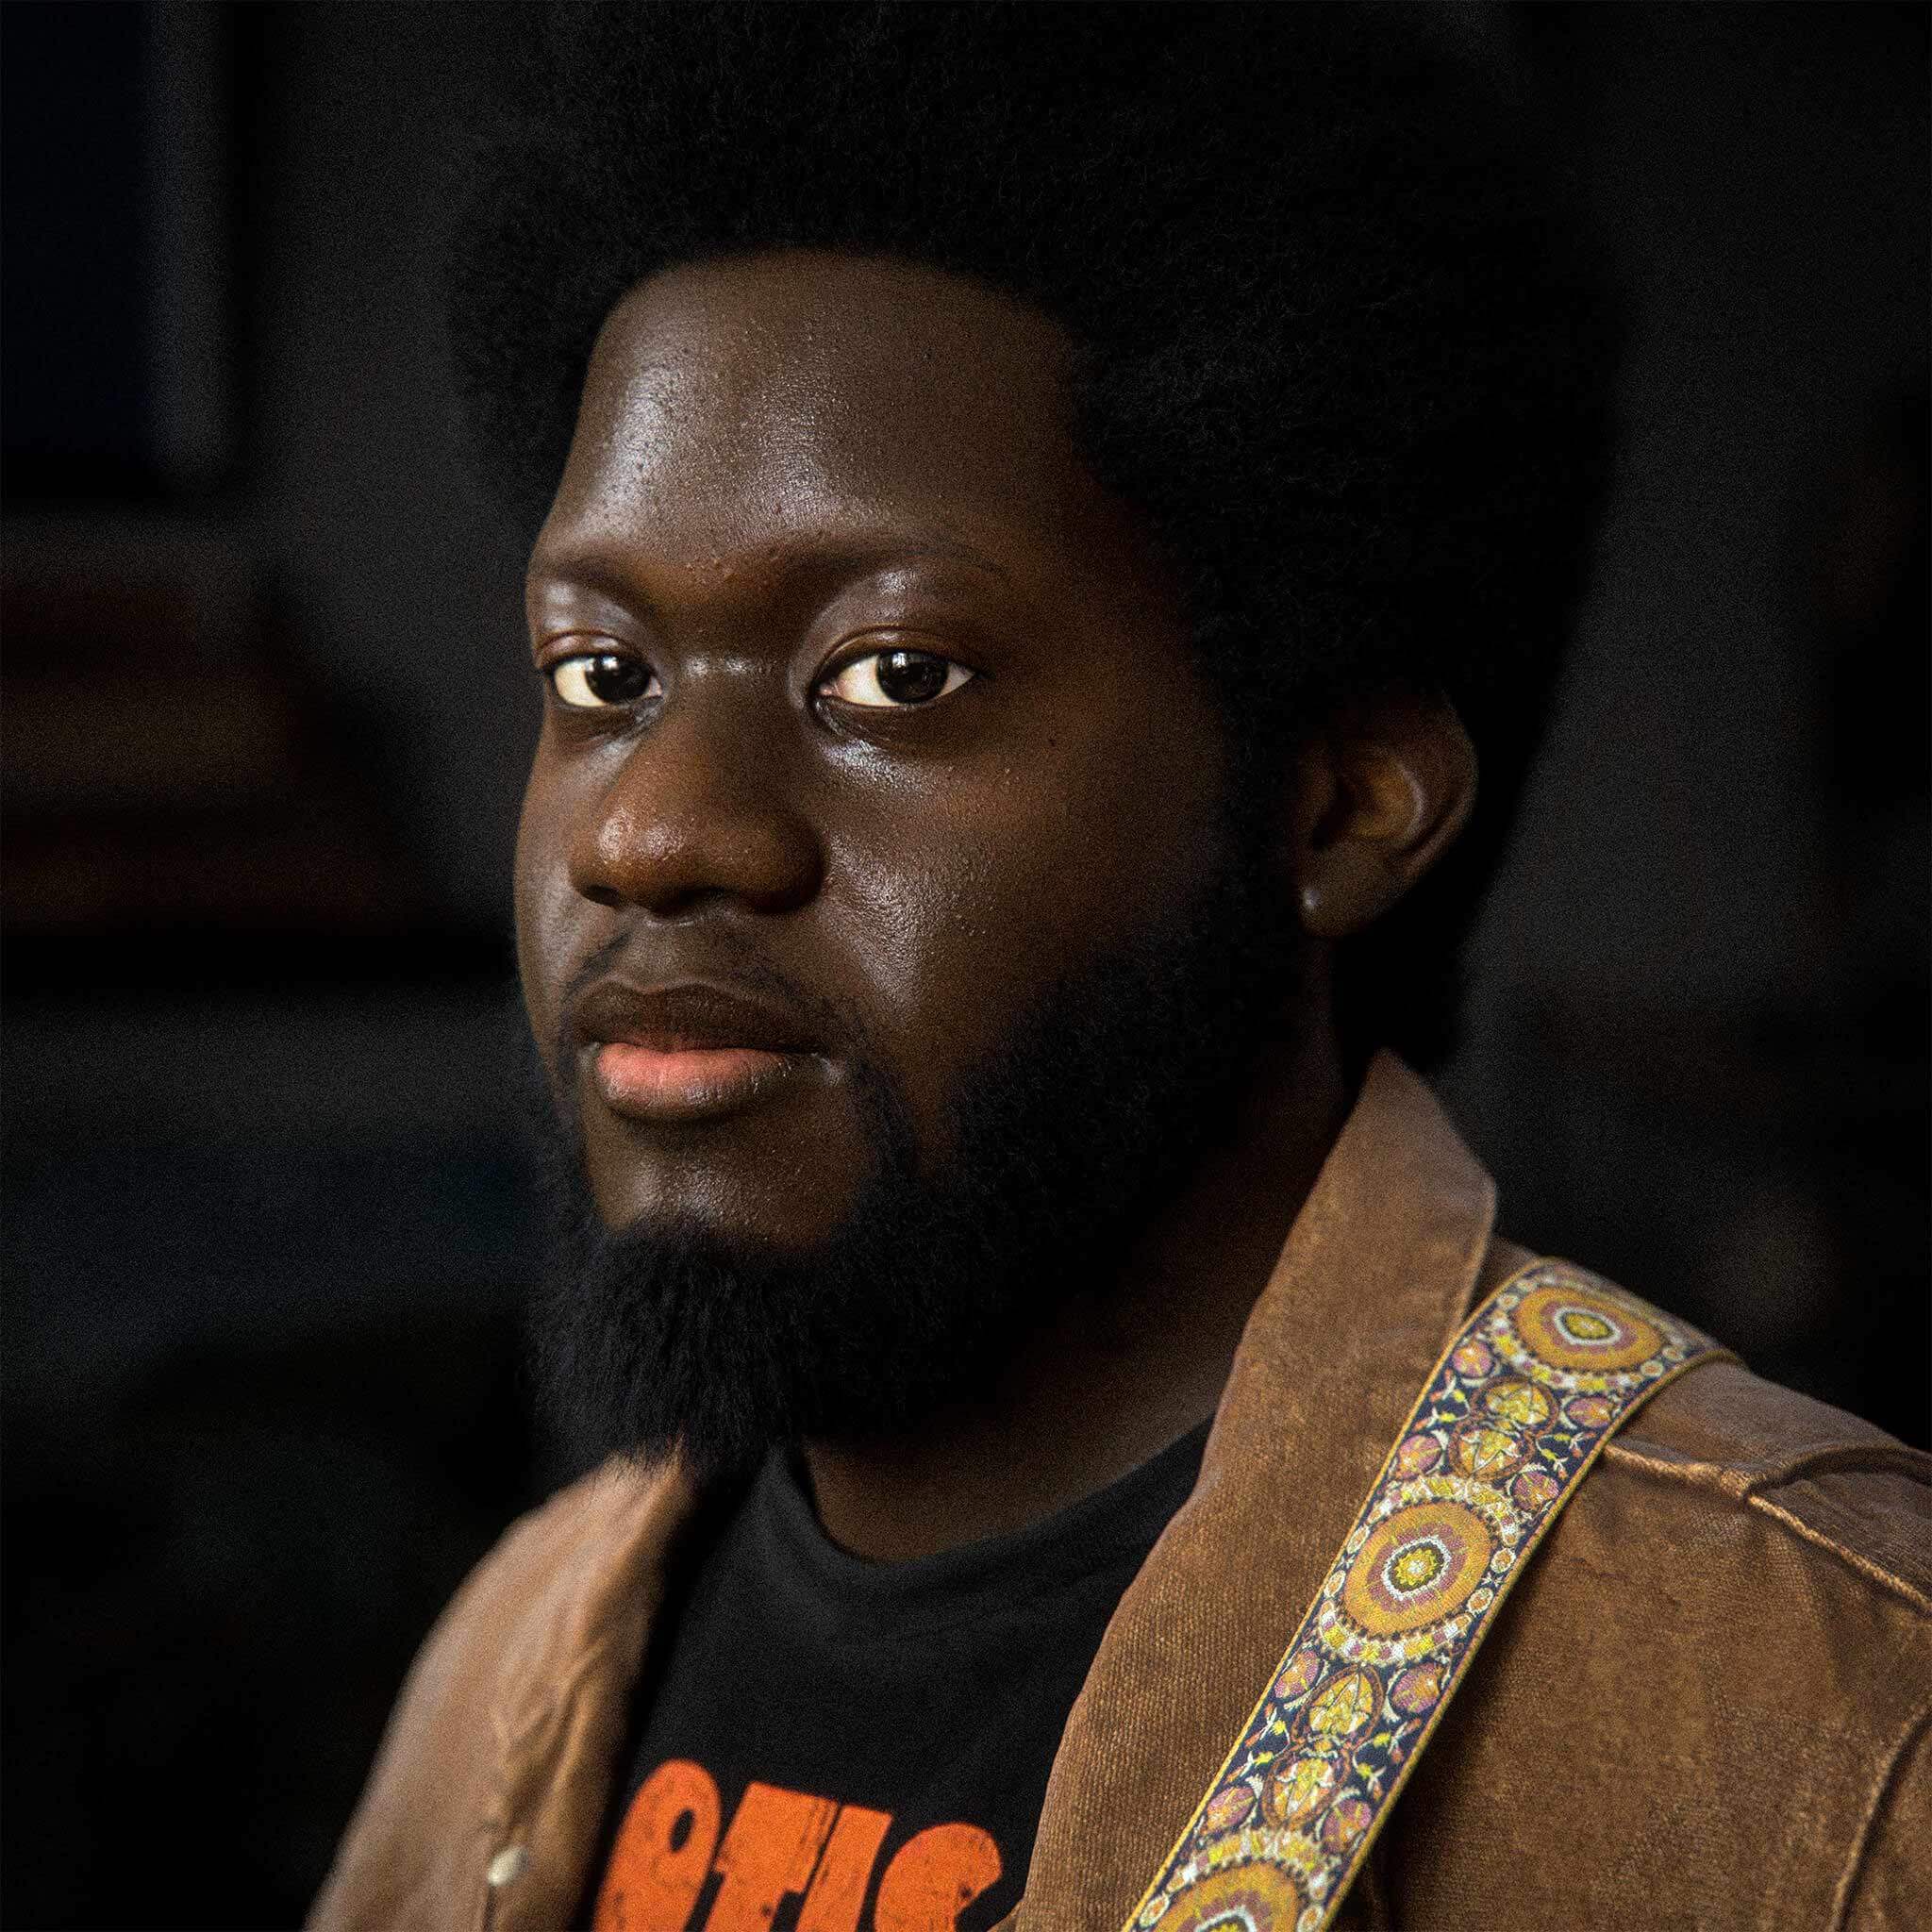
For this image, I didn’t want to have him just look ahead with dead eyes. I tried to give him a tiny hint of his personality, having him look at us through the camera, with an ever so little brow raise and even smaller corner smile.
Blendshapes were something I’ve really been wanting to learn for a while, and this was the perfect occasion to try. For a first go, I limited myself to the eyes, but it turned out to be extremely useful when trying out poses.
My friend Tristan Giandoriggio kindly showed me the basics of skin clusters and how to create blendshapes from them. I can definitely see the potential of the technique, and want to push it further on future projects.
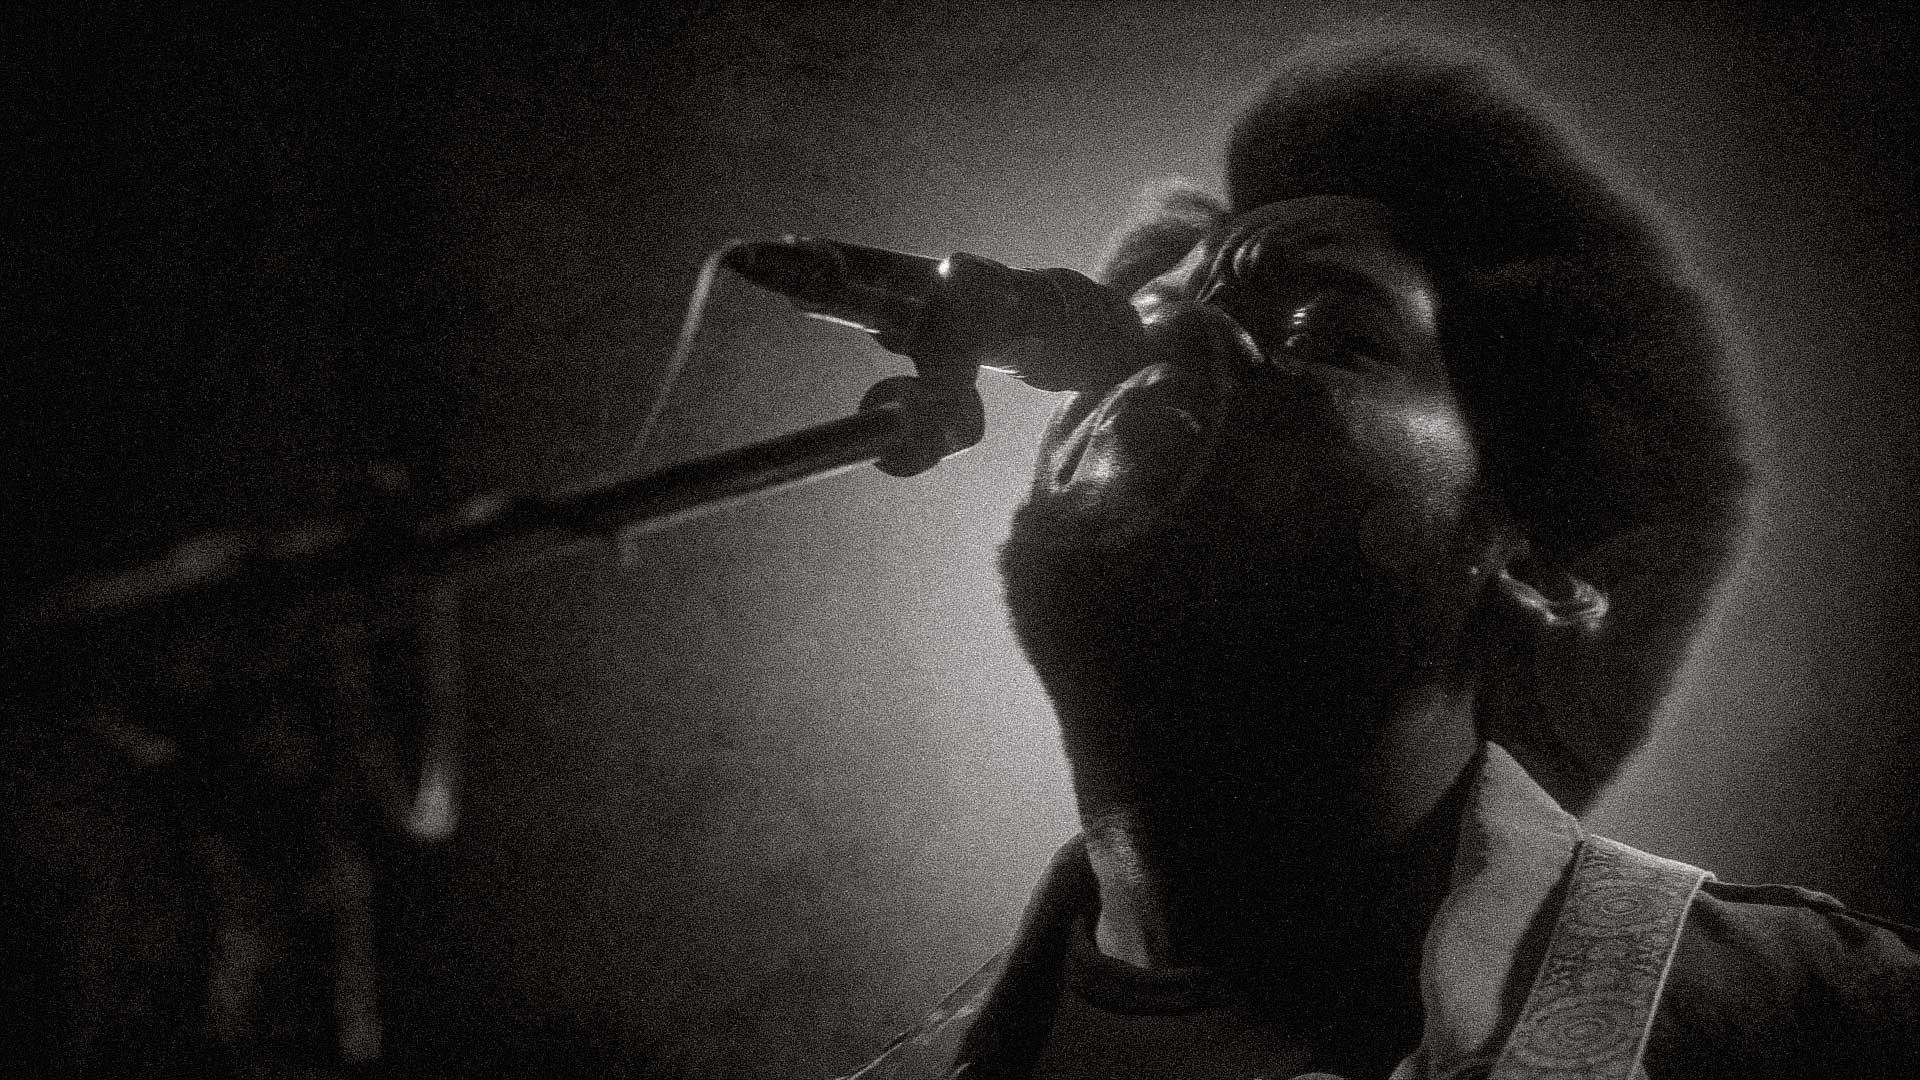
As for the actual shots, I wanted to have him frowning. To me, when he frowns you can feel how much emotion he puts into his songs. I wanted to translate that, and it was different to any expression I'd ever sculpted. I started out using my clusters to shut the eyes and used Zbrush to sculpt the rest.
Working with blendshapes allowed me to wrap the groom scalps to my geometry and have the hair move along seamlessly.


From the start I asked my friend Laurent Chavalle if he would like to do the compositing on this project. Without hesitation he accepted!
I gave him some guidelines and references of what I was looking for in the shots:
Within that frame I also wanted Laurent to have fun with it and experiment, because I knew I would like the end result.
Thanks to Miro once more, we were able to give notes, share our thoughts and latest updates on images, share ideas of new shots we could do, etc...
It was a really enjoyable experience being able to art direct and collaborate like that.
I’m very happy with how this project turned out and how creative Laurent got on the images, sneaking in easter eggs and trying things out.
Thanks for reading this article, I do hope you found something useful in here for you!
You can find more of Felix's work on The Rookies, ArtStation, and Instagram.